vmware vms migration to openstack
2015-08-12 11:26
411 查看
Converting a VMware Workstation virtual machine to KVM
Leave a commentPosted by rbgeek on August 13, 2013In this tutorial, I’ll show you the step by step procedure to convert the vmware machine into kvm, during this conversation, I have faced some issues, which I’ll also share with you along with solution.
Before converting the vmware machine,I strongly recommend removing the vmware tools and any existing snapshots of the virtual machine.Then, on the windows machine, convert this multi-file image into a single image:
cd "C:\Program Files (x86)\VMware\VMware Workstation"
vmware-vdiskmanager.exe -r "D:\VMWare\winxplite\XP-Lite.vmdk" -t 0 "D:\VMWare\winxplite\winxp.vmdk"

Note: Please change the path of vmdk file according to your requirement.
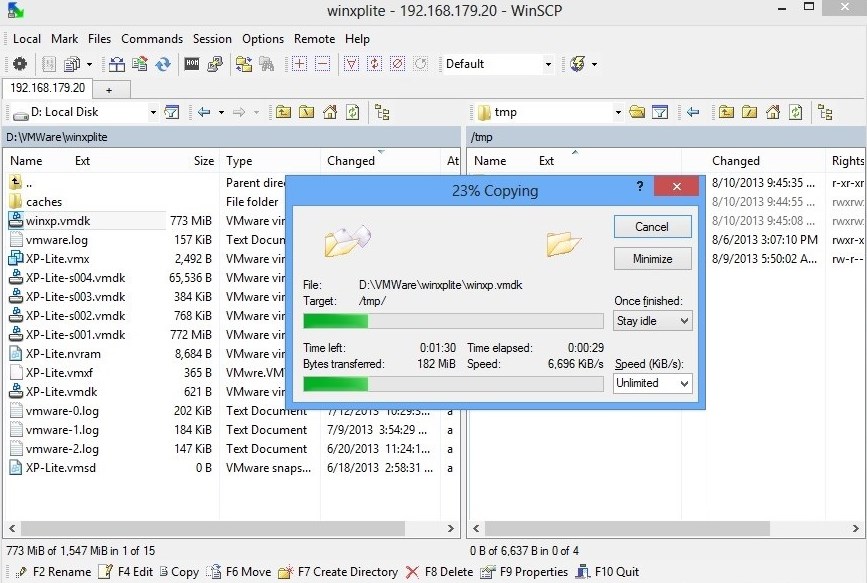
Copy this new vmdk file to the Linux box using WinSCP:
Next, convert the transfered image file (vmdk) into qcow2 format:
qemu-img convert winxp.vmdk -O qcow2 winxpvm.img

Move the qcow2 image to the /var/lib/libvirt/images/ directory and check the permission:
mv winxpvm.img /var/lib/libvirt/images/
cd /var/lib/libvirt/images/
ls -l

Start virt-manager by running the virt-manager command,click New to create a new guest.In the Virtual Machine Name window, enter a name for your guest. In this example, the virtual machine is named winxpvm and also select the “import existing disk image“. Click Forward.

Click on “Browse” button:

Locate the qcow2 image that we have converted above and select it:

Next,choose the amount of RAM and number of virtual CPUs allocated to the guest:

In the Summary window, verify the settings for creating the guest. When you are satisfied, click Finish.

Right click on the newly created virtual machine and select Run:

After boot, I got the (0x0000007B) BLUE SCREEN OF DEATH (BSOD):

Shutdown the Machine:

The main reason for BSOD problem is that most VMware Windows images are installed on SCSI virtual disk but KVM requires IDE device driver for converted images. To solve this problem, copy the MergeIDE.reg text from the below mentioned URL:
https://github.com/TJC/kvm-ievms/blob/master/MergeIDE.reg

Create a new file:
nano mergeide.reg

Paste the text inside it that we have copied from the above link:

Install all libguestfs related packages:
yum install qemu-img '*libguestfs*'

Now, we need to merge the mergeide.reg with the VM using virt-win-reg command:
virt-win-reg --merge winxpvm mergeide.reg

Note: You must not use virt-win-reg with the –merge option on running virtual machines. If you do this, you will get irreversible disk corruption in the VM.
Start the VM from the virt-manager again:

This time, virtual machine will boot successfully :-)

Enjoy
Hope this will help you!
Please Remember me in your prayers!


相关文章推荐
- OC学习笔记五 内存管理(property 参数)
- 架构、框架和设计模式关系(转)
- Linux Socket
- 用secureCRT通过SSH连接你的Linux(本文基于Ubuntu 10.04)
- Linux下简单的取点阵字模程序
- tomcat优化
- 莱特币LTC矿池p2pool架设之Linux篇(自动调节矿工难度)
- 哥们别逗 了,写个脚本那真不叫运维自动化!
- Apache Maven 使用 profile 和 filtering 实现多种环境下的资源配置管理
- RedHat Linux RHEL6配置本地YUM源
- X210烧写linux系统
- 在linux jexus下新建站点
- 如何收集 NGINX 指标(第二篇)
- Linux命令详解 -- iptables
- linux中查找对应结构或者变量
- linux文件描述符与打开文件之间的关系
- MapReduce将HDFS文本数据导入HBase中
- 如何监控 Nginx(第一篇)
- hdu 1195 Open the Lock(基础bfs)
- CentOS下为python命令行添加Tab键自动补全功能