简单实现浏览Android SD卡中的文件
2014-12-10 00:00
141 查看
摘要: Android SD卡 文件浏览
----Main.java
布局文件----main.xml
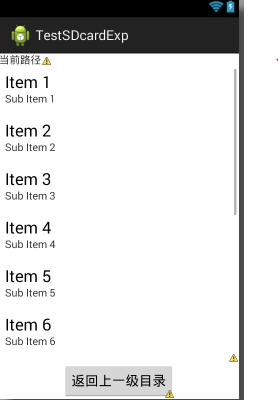
效果:
listview的每一条的布局:
---listitem.xml
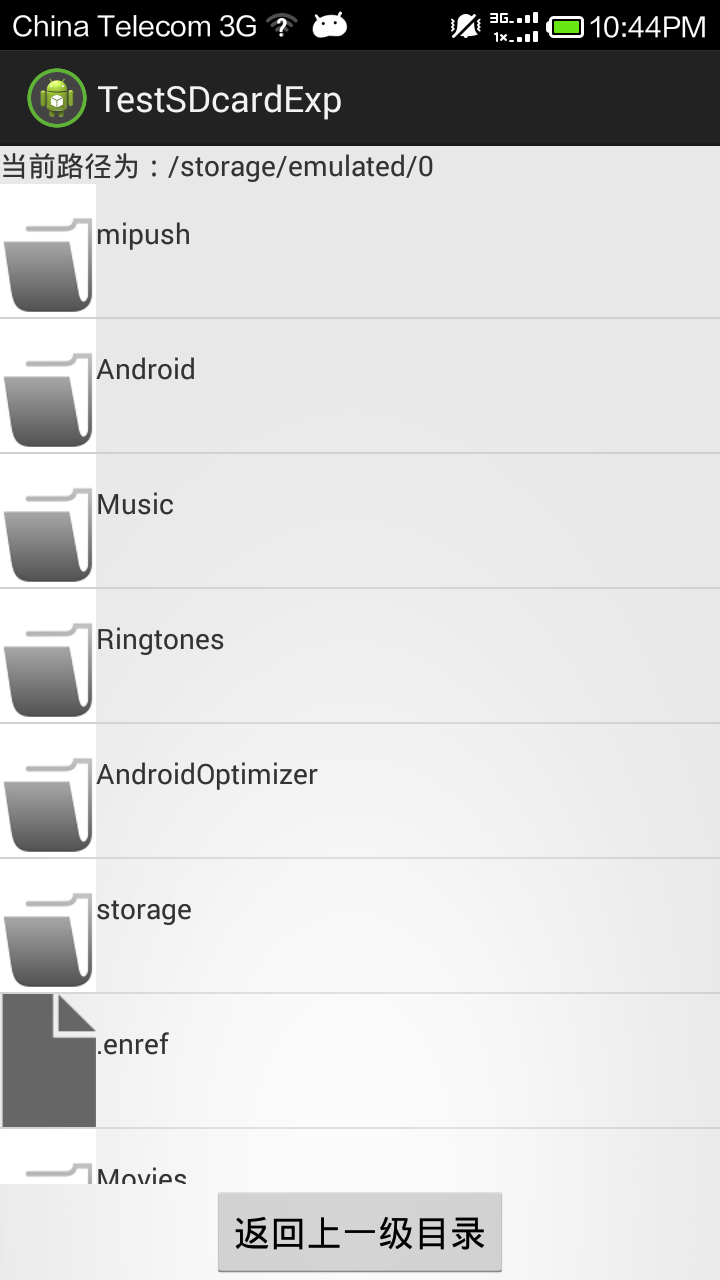
demo运行效果:
----Main.java
public class Main extends Activity {

private TextView textView;
private Button button;
private ListView listView;

public File currentParentFile;
public File[] currentFiles;
public static  String sdcardDir ;
static {
try {
//sd卡的路径
sdcardDir = Environment.getExternalStorageDirectory().getCanonicalPath();
} catch (IOException e) {
e.printStackTrace();
}
}
@Override
protected void onCreate(Bundle savedInstanceState) {
super.onCreate(savedInstanceState);
setContentView(R.layout.main);
textView = (TextView) findViewById(R.id.textView1);
button = (Button) findViewById(R.id.button1);
listView = (ListView) findViewById(R.id.listView1);
File root = new File(sdcardDir);
if(root.exists()){
currentParentFile = root;
currentFiles = root.listFiles();
updateListView(currentFiles);
}

listView.setOnItemClickListener(new OnItemClickListener() {

@Override
public void onItemClick(AdapterView<?> parent, View view,
int position, long id) {
if (currentFiles[position].isFile())
return;
File[] tmp = currentFiles[position].listFiles();
if (tmp == null || tmp.length == 0) {
Toast.makeText(Main.this, "当前路径无效,或没有文件",
Toast.LENGTH_SHORT).show();
} else {
currentParentFile = currentFiles[position];
currentFiles = tmp;
updateListView(currentFiles);
}
}
});
button.setOnClickListener(new OnClickListener() {

@Override
public void onClick(View v) {
try {
if (!currentParentFile.getCanonicalPath().equals(
sdcardDir)) {
currentParentFile = currentParentFile.getParentFile();
currentFiles = currentParentFile.listFiles();
updateListView(currentFiles);
}
else
return;
} catch (IOException e) {
// TODO Auto-generated catch block
e.printStackTrace();
}
}
});
}

private void updateListView(File[] files) {
List<Map<String, Object>> itemps = new ArrayList<Map<String, Object>>();
for (int i = 0; i < files.length; i++) {
Map<String, Object> listItem = new HashMap<String, Object>();
if (files[i].isDirectory())
listItem.put("icon", R.drawable.folder);
else
listItem.put("icon", R.drawable.file);
listItem.put("name", files[i].getName());
itemps.add(listItem);
}

SimpleAdapter simpleAdapter = new SimpleAdapter(this, itemps,
R.layout.listitem, new String[] { "icon", "name" }, new int[] {
R.id.imageView1, R.id.text });
listView.setAdapter(simpleAdapter);
try {
textView.setText("当前路径为:"+currentParentFile.getCanonicalPath());
} catch (IOException e) {
e.printStackTrace();
}
}
}
布局文件----main.xml
<RelativeLayout xmlns:android="http://schemas.android.com/apk/res/android"
xmlns:tools="http://schemas.android.com/tools"
android:layout_width="match_parent"
android:layout_height="match_parent"
tools:context="${relativePackage}.${activityClass}" >

<TextView
android:id="@+id/textView1"
android:layout_width="wrap_content"
android:layout_height="wrap_content"
android:text="当前路径:" />

<Button
android:id="@+id/button1"
android:layout_width="wrap_content"
android:layout_height="wrap_content"
android:layout_alignParentBottom="true"
android:layout_centerHorizontal="true"
android:text="返回上一级目录" />

<ListView
android:id="@+id/listView1"
android:layout_width="match_parent"
android:layout_height="wrap_content"
android:layout_above="@+id/button1"
android:layout_alignParentLeft="true"
android:layout_below="@+id/textView1" >

</ListView>

</RelativeLayout>
效果:
listview的每一条的布局:
---listitem.xml
<?xml version="1.0" encoding="utf-8"?>
<RelativeLayout xmlns:android="http://schemas.android.com/apk/res/android"
android:layout_width="match_parent"
android:layout_height="match_parent" >

<ImageView
android:id="@+id/imageView1"
android:layout_width="wrap_content"
android:layout_height="wrap_content"
android:layout_alignParentLeft="true"
android:layout_alignParentTop="true"
android:src="@drawable/ic_launcher" />

<TextView
android:id="@+id/text"
android:layout_width="wrap_content"
android:layout_height="wrap_content"
android:layout_alignParentTop="true"
android:layout_marginTop="15dp"
android:layout_toRightOf="@+id/imageView1"
android:text="TextView" />

</RelativeLayout>
demo运行效果:

相关文章推荐
- android简单实现从网络下载文件到手机sd卡
- android浏览SD卡目录文件,实现音频播放
- Android 实现简单截屏并保存为文件
- Android实现文件浏览对话框
- Android把手机作为FTP服务器,在PC端管理手机文件的简单实现
- Android SD卡简单的文件读写操作
- android 打开SD卡文件夹,并获得选中文件的路径怎么实现?
- 【android】 浏览文件,如浏览sd卡下的图片文件
- 也发一个自己实现的android简单文件选择器代码。支持多卡,排序
- Android把手机作为FTP服务器,在PC端管理手机文件的简单实现
- Android下c++调用java实现内置外置sd卡MP3扫描并保存在文件中
- [安卓源代码]简单实现SD卡上遍历所有文件夹寻找指定格式文件
- android上如何实现后台日志记录并写文件到sd卡
- Android 最简单的SD卡文件遍历程序
- android 打开SD卡文件夹,并获得选中文件的路径怎么实现?
- Android jni aes加解密,实现文件的加解密,具体实现可以自行修改,上面的代码为简单介绍,下面的是JNI端实现文件加解密,可以修改为字符串加解密
- android上如何实现后台日志记录并写文件到sd卡
- Android 一个简单的登陆窗口的实现(文件的保存与读取)
- 用android-logging-log4j去实现log输出内容到sd卡中的文件的功能
- android 打开SD卡文件夹,并获得选中文件的路径怎么实现?