VSTO二次开发PowerPoint之:XML方式创建Ribbon并自定义图标
2014-04-30 10:10
417 查看
初学者做PowerPoint插件,需要用XML方式创建Ribbon,还要使用自定义的图标,上网找了一些都是使用系统自带的图标。经过努力,终于实现了自定义图标的添加。所以写一篇Blog,希望能帮助到其他初学者。
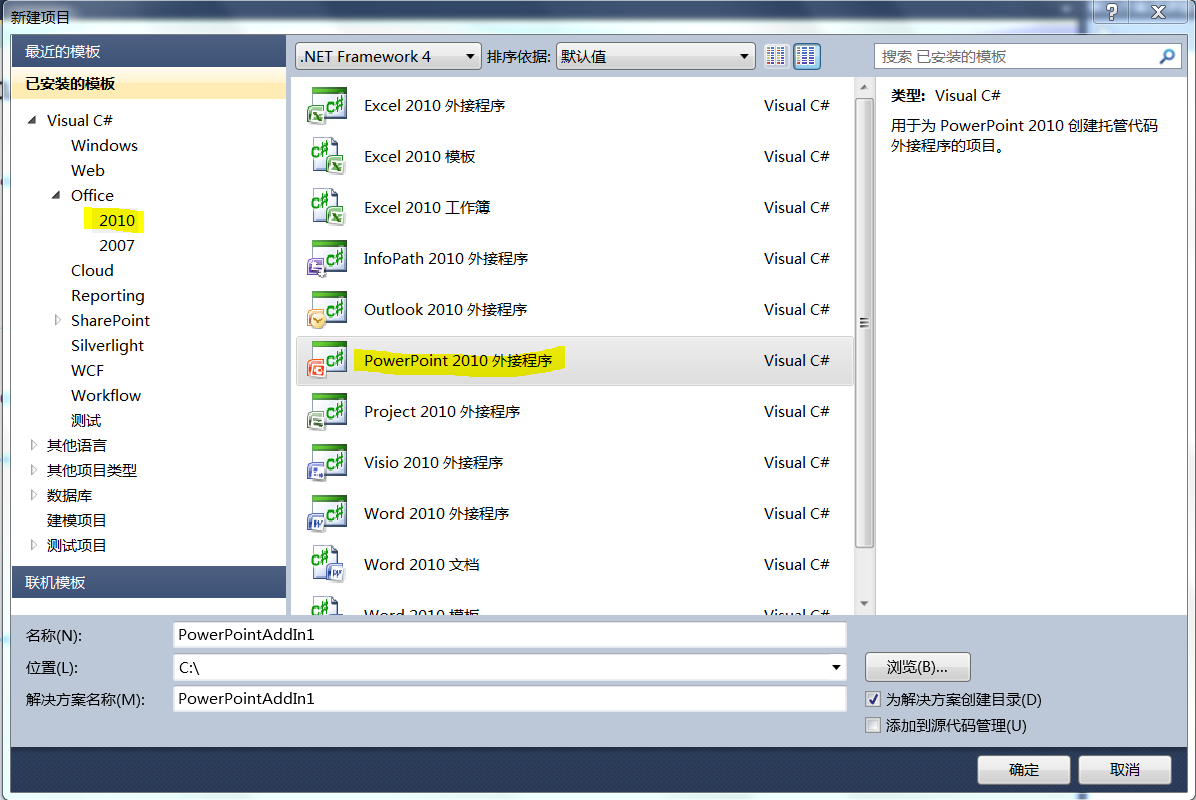
1.创建PPT应用程序级外接程序(C#程序)
文件 > 新建项目 > 选择“Visual C#” > 选择“Office” > 选择“2010" > 选择“PowerPoint 2010 外接程序 > 设置名称、位置、解决方案名称,点击“确定”,则创建完毕。
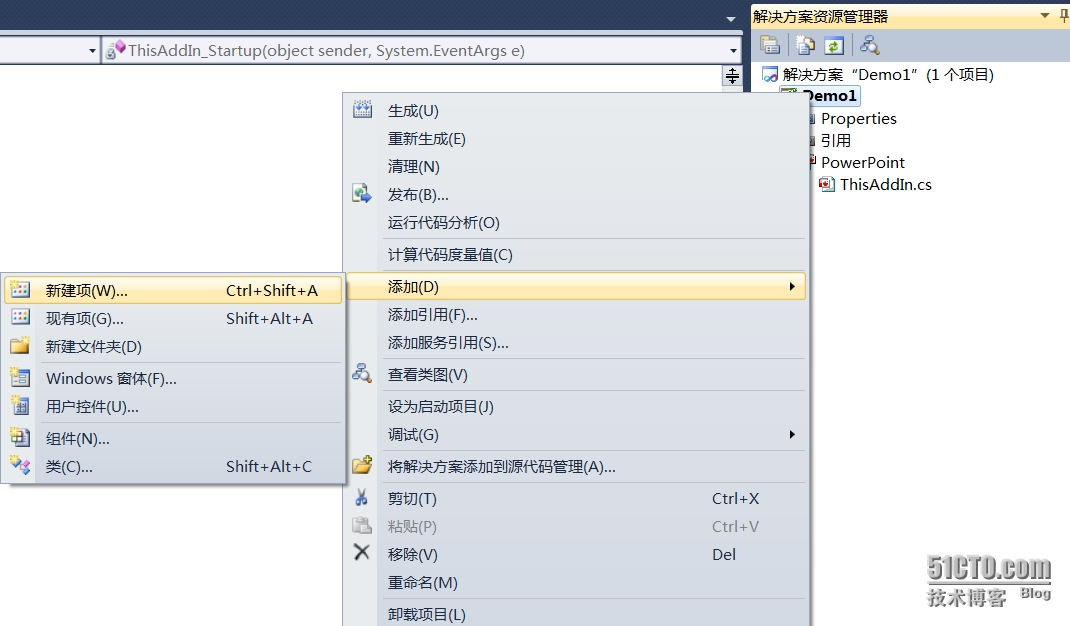
2.创建Ribbon:
右键点击创建的项目,添加 > 新项目
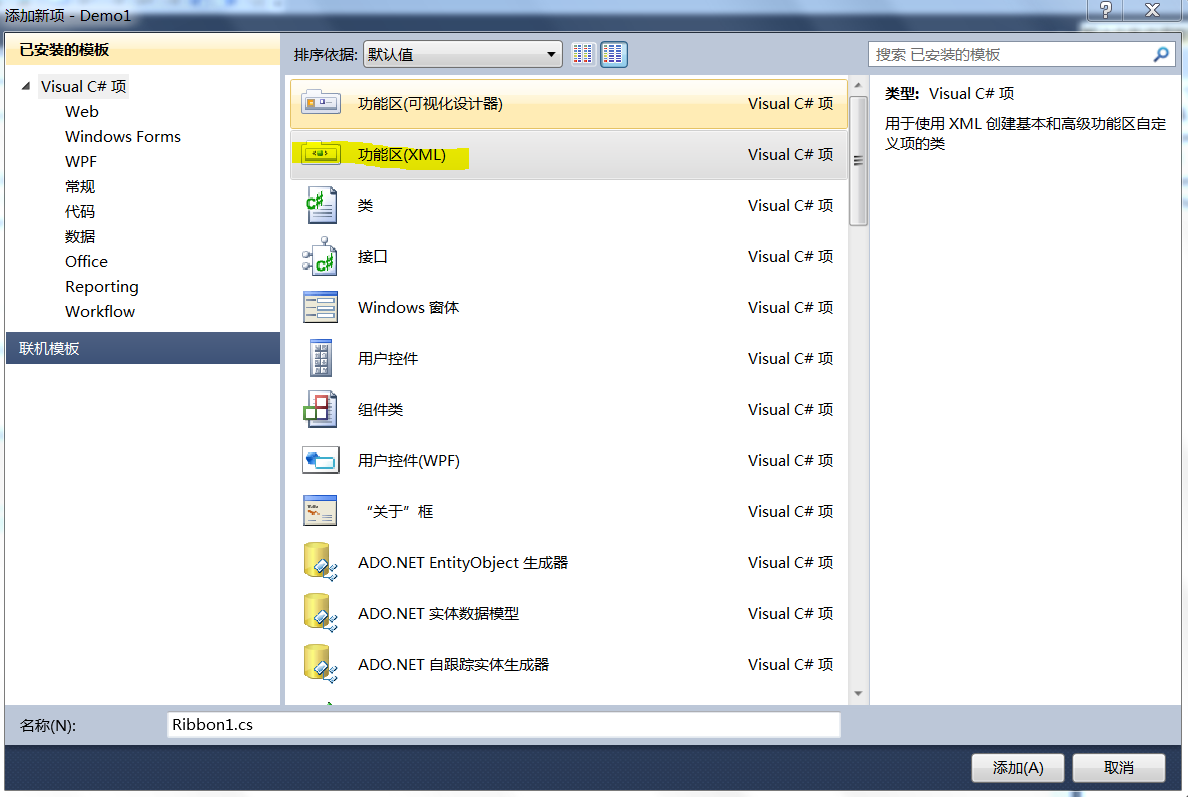
选择功能区(XML) > 设置名称 > 点击“添加”
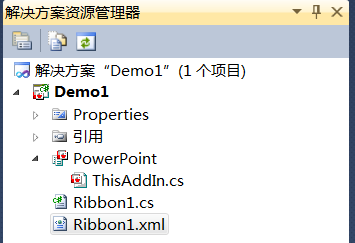
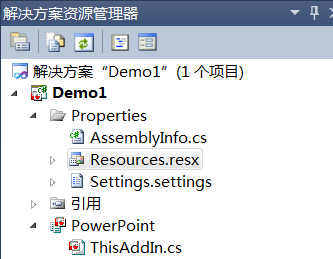
此时会多出两个文件,后缀分别为.CS和.xml
现在添加自定义的图片到工程中
展开Properties,双击Resources.resx
点击“添加资源”的下拉按钮,选择“添加现有文件”
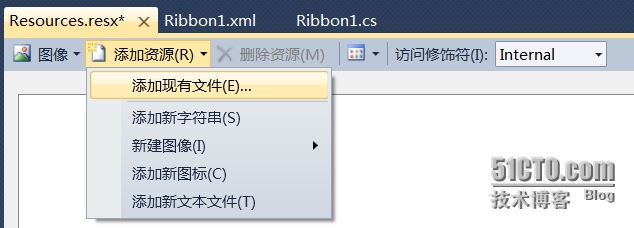
选择要添加的文件,即生成一个名为Resources的文件夹,添加的图片就在其中。
双击.xml文件,添加代码
自定义图标的关键在第2行的loadImage="GetImage"和第18行的image="arrow_down_alt2_32x32.png" />
GetImage为回调方法,需要在.cs文件中创建相应的方法。
双击.cs文件其他不用更改,只将下面代码添加到类中即可,注意case的条件要与图片文件名一致
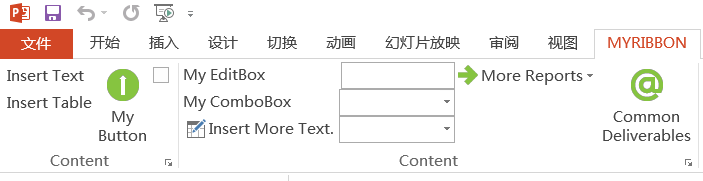
最后效果为
好了,成功。
1.创建PPT应用程序级外接程序(C#程序)
文件 > 新建项目 > 选择“Visual C#” > 选择“Office” > 选择“2010" > 选择“PowerPoint 2010 外接程序 > 设置名称、位置、解决方案名称,点击“确定”,则创建完毕。
2.创建Ribbon:
右键点击创建的项目,添加 > 新项目
选择功能区(XML) > 设置名称 > 点击“添加”
此时会多出两个文件,后缀分别为.CS和.xml
现在添加自定义的图片到工程中
展开Properties,双击Resources.resx
点击“添加资源”的下拉按钮,选择“添加现有文件”
选择要添加的文件,即生成一个名为Resources的文件夹,添加的图片就在其中。
双击.xml文件,添加代码
<?xml version="1.0" encoding="UTF-8"?>
<customUI xmlns="http://schemas.microsoft.com/office/2009/07/customui" onLoad="Ribbon_Load" loadImage="GetImage">
<ribbon>
<tabs>
<tab idMso="TabAddIns" label="MyRibbon">
<group id="ContentGroup" label="Content">
<button id="textButton" label="Insert Text"
screentip="Text" onAction="OnTextButton"
supertip="Inserts text at the cursor location."/>
<button id="tableButton" label="Insert Table"
screentip="Table" onAction="OnTableButton"
supertip="Inserts a table at the cursor location."/>
<toggleButton id="toggleButton1"
size="large"
label="My Button"
screentip="My Button Screentip"
onAction="OnToggleButton1"
image="arrow_down_alt2_32x32.png"  />
<checkBox id="checkbox1"
enabled="true"
getLabel="GetLabel"
keytip="A1"
getScreentip="GetScreentip"
supertip="This is a super tip for the checkBox."
visible="true"
getPressed="GetPressed"
onAction="OnCheckBoxAction" />
<dialogBoxLauncher>
<button id="button2"
screentip=
"Launched by the DialogBoxLauncher
control."
onAction="dialogBoxLauncherOnAction" />
</dialogBoxLauncher>
</group>
<group id="ContentGroup1" label="Content">
<editBox id="EditBox1" getText="ThisDocument.MyTextMacro"
label="My EditBox" onChange="ThisDocument.MyEditBoxMacro"/>
<comboBox id="Combo1" label="My ComboBox"
onChange="ThisDocument.MyComboBoxMacro">
<item id="Zip1" label="33455" />
<item id="Zip2" label="81611" />
<item id="Zip3" label="31561" />
</comboBox>
<comboBox id="comboBox2"
label="Insert More Text."
getText="GetText"
imageMso="TableDrawTable" />
<menu id="mnuProjectsReports" label="More Reports"
image ="arrow_right_alt1_32x32.png" itemSize="large" >
<button id="cmdProjectsCompletedAndDeferred" label="Completed and Deferred Projects"
imageMso="ViewsReportView" onAction="Ribbon.ProjectsCompletedAndDeferred"/>
<button id="cmdProjectsBalanceSheet" label="Project Balance Sheet"
imageMso="ViewsReportView" onAction="Ribbon.ProjectsBalanceSheet"/>
</menu>
<button id="cmdProjectsCommonDeliverables" label="Common Deliverables"
image="at_32x32.png" size="large" onAction="Ribbon.ProjectsCommonDeliverables"/>
<dialogBoxLauncher>
<button id="button3" screentip="show task pane." onAction="dialogBoxLauncherOnAction1" />
</dialogBoxLauncher>
</group>
<group id="ContentGroup2" label="SplitButton">
<splitButton id="cmdVendorSplitButton" size="large" >
<menu id="mnuVendor" imageMso ="RecordsAddFromOutlook" itemSize="large" >
<button id="cmdVendorList"  label="Vendor List" imageMso="RecordsAddFromOutlook"
onAction="Ribbon.VendorList"/>
<button id="cmdVendorAddressBook" label="Address Book" imageMso="ViewsReportView"
onAction="Ribbon.VendorAddressBook"/>
<button id="cmdVendorPhoneList" label="Phone List" imageMso="ViewsReportView"
onAction="Ribbon.VendorPhoneList"/>
</menu>
</splitButton>
</group>
</tab>
</tabs>
</ribbon>
</customUI>
自定义图标的关键在第2行的loadImage="GetImage"和第18行的image="arrow_down_alt2_32x32.png" />
GetImage为回调方法,需要在.cs文件中创建相应的方法。
双击.cs文件其他不用更改,只将下面代码添加到类中即可,注意case的条件要与图片文件名一致
public Image GetImage(string imageName)
{
Image returnimage=null;
switch (imageName)
{
case "arrow_down_alt2_32x32.png":
returnimage = Properties.Resources.arrow_down_alt2_32x32;
break;
case "at_32x32.png":
returnimage = Properties.Resources.at_32x32;
break;
case "arrow_right_alt1_32x32.png":
returnimage = Properties.Resources.arrow_right_32x32;
break;
default:
break;
}
return returnimage;
}
最后效果为
好了,成功。

相关文章推荐
- Linux下XWindow图形界面的基本概念
- 什么是Mac OS X?跟Linux有什么区别
- clientX,pageX,offsetX,x,layerX,screenX,offsetLeft区别分析
- AJAX 请求区分 $_SERVER['HTTP_X_REQUESTED_WITH'] 小解
- java读取word-excel-ppt文件代码
- FreeBSD5.4Release X Windows 安装笔记 (Freebsd5.4R+Gnome2.10.0)
- java使用poi读取ppt文件和poi读取excel、word示例
- OS X Mavericks 10.9.2 Retail VMware Image
- Mac OS X 背后的故事(二)——Linus Torvalds的短视
- Mac OS X 背后的故事(四)—— 政客的跨界
- 从进程PID查找X Window ID
- PPT
- PPT无法输入中文
- 一篇实用的关于ppt的文档
- PPT图片模板等素材打包下载
- TECHED 2010 PPT
- xz
- Mac os 10.9开发环境搭建
- 2010版PPT保存速度慢是咋回事?