PEX无人值守装系统,为集群、测试机、装机。
2014-04-20 12:26
211 查看
集群无人值守装机(手册)
一、配置DHCP服务。1、配置静态IP
二、配置nfs共享。(共享rhel-server-5.9-x86_64-dvd)1、检测按装软件。
1、检测安装软件包
1、检测安装软件包。
1、寻找pxelinux.0
六、新增无人值守文件。
1、检测软件安装。


然后将文件保存到桌面
3、将ks.cfg文件复制到/var/www/wcfgl/下
7、装机。装机时要进入BIOS,调整启动顺序。

终结:1、必须有dhcp服务。如果有需要添加:next-server 192.168.1.1; filename "pxelinux.0"; 2、必须有共享协议,这里以nfs为例:共享内容为:rhel-server-5.9光盘 3、共享kc.cfg文件,以http为例:cp /root/Desktop/ks.cfg /var/www/wcfgl/4 、需有tftp服务:共享相关内核和引导文件5、编写系统安装过程和脚本。6、修改服务器启动顺序安装….
一、配置DHCP服务。1、配置静态IP
[root@localhost ~]# ifconficfg
eth0      Linkencap:Ethernet  HWaddr00:0C:29:0B:56:FE
inet addr:192.168.1.1  Bcast:192.168.1.255  Mask:255.255.255.0
[root@localhost ~]# chkconficfg network on
[root@localhost ~]# service network restart
2、检测安装软件包
[root@localhost Server]# rpm -q dhcp
dhcp-3.0.5-31.el5_8.1
3、配置dhcp。
[root@ks html]# vim /etc/dhcpd.conf
3 ddns-update-style interim;
4 icfgnoreclient-updates;
5 subnet192.168.1.0 netmask 255.255.255.0 {
6 next-server 192.168.1.1;
7filename "pxelinux.0"; 这俩行内容必加
8 # --- defaultcfgateway 9 option subnet-mask 255.255.255.0; 10 option domain-name "wcfgl.com"; 11 option domain-name-servers 192.168.1.1; 12 option time-offset -18000; 13 rancfge dynamic-bootp 192.168.1.10192.168.1.50; [@localhostServer]# chkconficfg dhcpd on [@localhostServer]# service dhcpd restart
二、配置nfs共享。(共享rhel-server-5.9-x86_64-dvd)1、检测按装软件。
[root@localhost Server]# rpm -q nfs-utils portmap
nfs-utils-1.0.9-66.el5
portmap-4.0-65.2.2.1
2、配置nfs。
[root@localhost Server]# cat/etc/exports
/wcfgl/rh5.9 127.0.0.0/24(ro)
[root@localhost ~]# chkconficfgportmap on
[root@localhost ~]# chkconficfg nfson
[root@localhost ~]# serviceportmap restart
[root@localhost ~]# service nfsrestart
三、配置http。
1、检测安装软件包
[root@localhost ~]# rpm -q httpd
httpd-2.2.3-74.el5
2、新建网站存放路径和网页。
[root@localhost ~]# mkdir /var/www/wcfgl
[root@localhost ~]# cat /etc/httpd/conf.d/wcfgl.conf
NameVirtualHost *:80
<VirtualHost *:80>
DocumentRoot /var/www/wcfgl
ServerName ks.wcfgl.com
ErrorLocfg locfgs/ks.com-error_locfg
CustomLocfg locfgs/ks.com-access_locfg common
</VirtualHost>
[root@localhost ~]# service httpdrestart
[root@localhost ~]# chkconficfghttpd on
3、增加域名解析文件(如果已经配置DNS更好,在其中增加一条就好)。
[root@localhost ~]# cat /etc/hosts
192.168.1.1             ks.wcfgl.com
四、配置tftf服务。
1、检测安装软件包。
[root@localhost ~]# yum -y install tftp2、启动tftp服务
[root@localhost ~]# vim /etc/xinetd.d/tftp
14        disable                 = no
[root@localhost ~]# service xinetd restart
五、配置搭建PXE。
1、寻找pxelinux.0
[root@localhost ~]# find /usr -namepxelinux*
/usr/share/syslinux/pxelinux.0
2、复制相关内核和启动引导文件。
[root@localhost ~]# cp /usr/share/syslinux/pxelinux.0 /tftpboot/
[root@localhost ~]# cp /wcfgl/rh5.9/isolinux/vmlinuz /tftpboot/
[root@localhost ~]# cp/wcfgl/rh5.9/isolinux/isolinux.cfg /tftpboot/
[root@localhost ~]# cp /wcfgl/rh5.9/isolinux/initrd.imcfg /tftpboot/
[root@localhost ~]# cp/tftpboot/isolinux.cfg /tftpboot/pxelinux.cfg/default
3、编辑default(增加启动引导ks.cfg文件)。
[root@localhost ~]# vim /tftpboot/pxelinux.cfg/default
1 default ks
18   append ks=http://192.168.1.1/ks.cfg initrd=initrd.imcfg
六、新增无人值守文件。
1、检测软件安装。
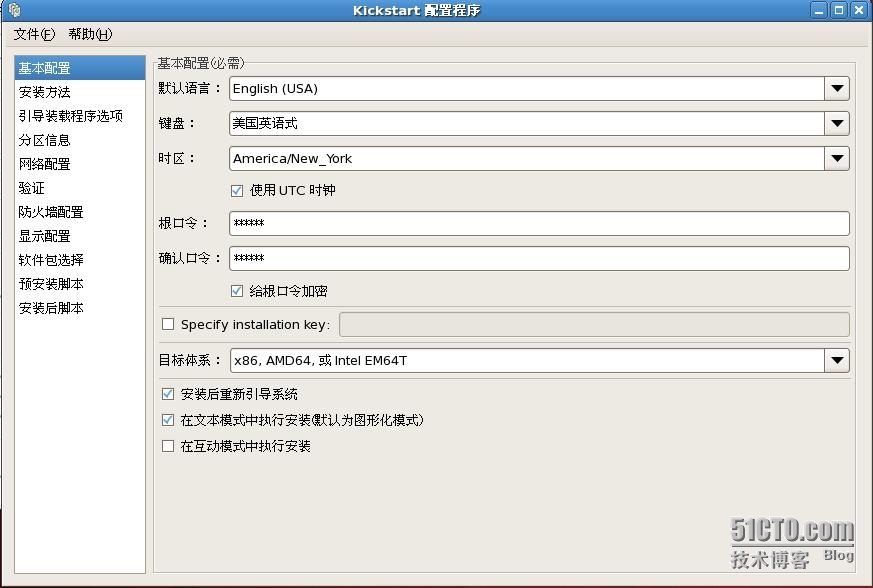
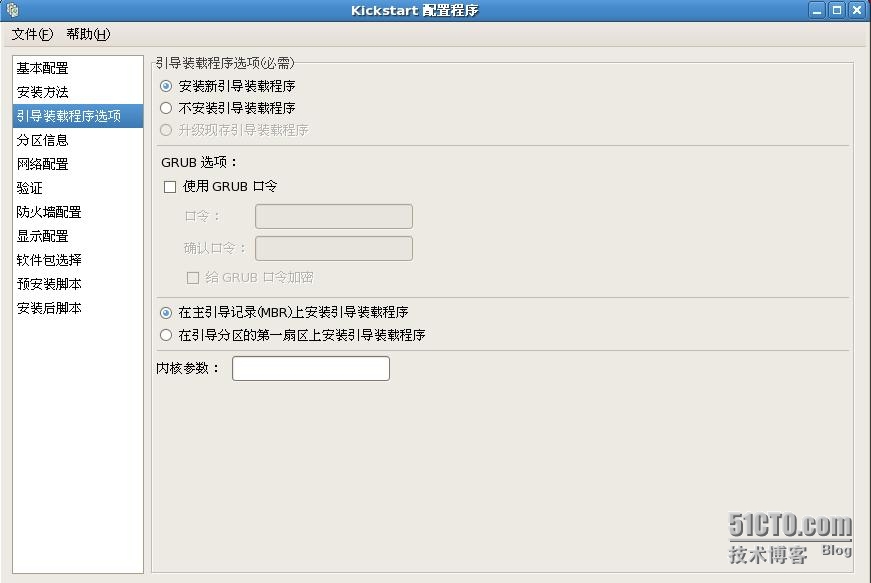
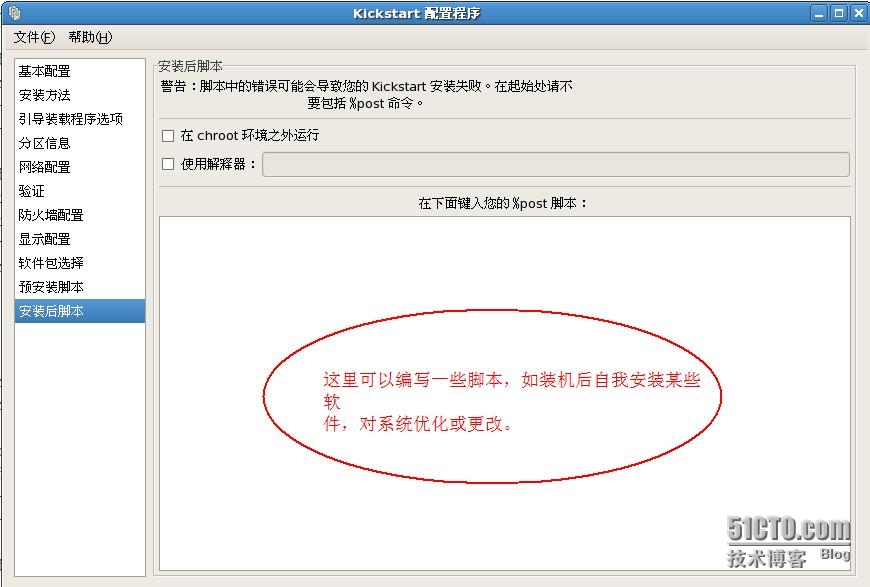
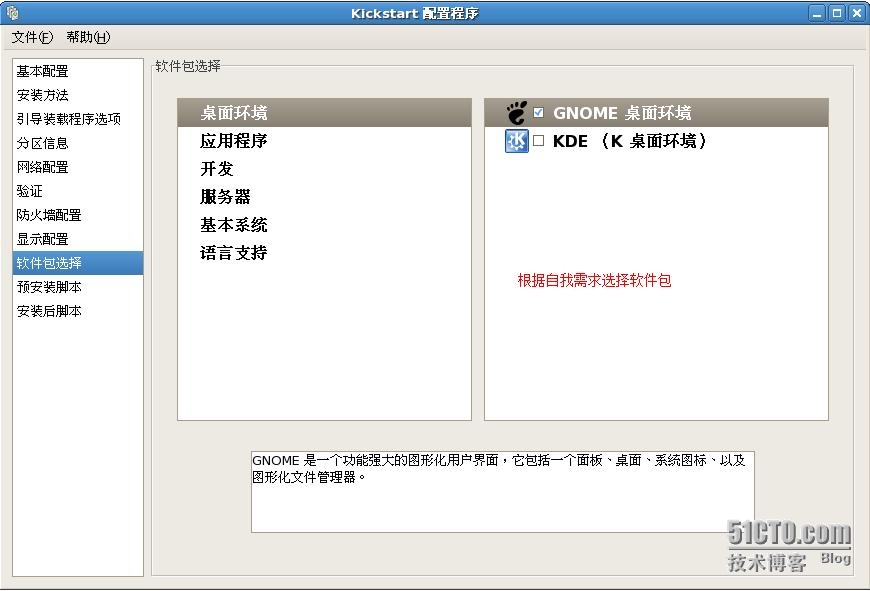
[root@localhost ~]# yum -y install system-conficfg-kickstart2、运行软件包(编辑系统装机过程)。
[root@localhost ~]# system-conficfg-kickstart
然后将文件保存到桌面
3、将ks.cfg文件复制到/var/www/wcfgl/下
[root@localhost~]# cp /root/Desktop/ks.cfg /var/www/wcfgl/
[root@localhost ~]# vim /var/www/html/ks.cfg
4、测试http共享ks.cdcfg成功与否。
在服务器浏览器中:ks.wcfgl.com/ks.cfg(会看到文件ks.cfg内容)
7、装机。装机时要进入BIOS,调整启动顺序。
终结:1、必须有dhcp服务。如果有需要添加:next-server 192.168.1.1; filename "pxelinux.0"; 2、必须有共享协议,这里以nfs为例:共享内容为:rhel-server-5.9光盘 3、共享kc.cfg文件,以http为例:cp /root/Desktop/ks.cfg /var/www/wcfgl/4 、需有tftp服务:共享相关内核和引导文件5、编写系统安装过程和脚本。6、修改服务器启动顺序安装….

相关文章推荐
- 部署PXE远程安装系统并通过Kickstart无人值守装机
- Kickstart无人值守安装系统(含DHCP超详细原理)
- pxe无人值守linux系统安装
- 搭建PXE及kickstart无人值守装机
- 系统安装之无人值守安装(PXE)
- yum网络装机与kickstart无人值守
- Linux下KickStart+PXE无人值守装机服务器的配置
- 基于linux构建无人值守系统(看门狗)
- 实战:Cobbler 无人值守自动部署系统
- 光盘引导实现无人值守系统安装
- 无人值守可作为一个徇系统稳定性的参考指标
- PXE-kickstart无人值守批量装机
- PXE+kickstart实现无人值守系统批量部署
- 部署PXE高效批量网络装机并实现Kickstart无人值守自动安装
- 【高效装机】PXE实现无人值守安装CentOS 6
- PXE+Kickstart无人值守安装系统
- PXE无人值守系统安装配置简要说明
- Kickstart无人值守安装系统
- Cobbler——无人值守全自动装机
- Kickstart无人值守安装系统