Silverlight 2中实现文件上传和电子邮件发送
2013-12-10 00:07
351 查看
Silverlight 2中实现文件上传和电子邮件发送
[收藏此页] [打印]作者:IT168 TerryLee 2008-05-30
内容导航:
使用Web Service上传文件
【IT168技术专稿】
我们知道,在Silverlight 2中提供了丰富的网络通信API,包括支持SOAP服务、REST服务、基于HTTP通信、Socket通信等。本文我将通过一个几个示例来演示如何在Silverlight 2中实现文件上传和电子邮件发送。
1. 使用Web Service上传文件
我将通过一个示例来展示如何使用Web Service向服务器上传文件,首先创建Silverlight项目,并在Web测试项目中添加一个ASP.NET Web Service文件。现在来实现相关的WebMethod,在此方法中,将会接收两个参数:字节数组和文件扩展名,并会在服务器上创建文件,如下代码所示:
C#
[WebMethod]
public int UploadFile(byte[] FileByte, String FileExtention)
{
FileStream stream = new FileStream(String.Format(@"D:\example.{0}", FileExtention),FileMode.CreateNew);
stream.Write(FileByte, 0, FileByte.Length);
stream.Close();
return FileByte.Length;
}
添加一个简单的界面,供用户选择本地文件,我们将在按钮单击单击事件中调用Web Service,如下代码所示:
XAML
<Canvas Background="#FF333333">
<TextBox x:Name="txtFile"></TextBox>
<Button x:Name="btnUpload" Click="OnUploadClick"></Button>
<TextBlock x:Name="tblStatus"></TextBlock>
</Canvas>
调用Web Service上传文件,此处使用了OpenFileDialog对象弹出择窗口以便选择文件,此对象将选择的文件作为Stream返回,我们把Stream转换为一个字节数据传递给Web Service,如下代码所示:
void OnUploadClick(object sender, RoutedEventArgs e)
{
OpenFileDialog openFile = new OpenFileDialog();
if (openFile.ShowDialog() == DialogResult.OK)
{
String fileName = openFile.SelectedFile.Name;
FileServiceSoapClient client = new FileServiceSoapClient();
client.UploadFileCompleted += new EventHandler<UploadFileCompletedEventArgs>(OnUploadFileCompleted);
Stream stream = (Stream)openFile.SelectedFile.OpenRead();
stream.Position = 0;
byte[] buffer = new byte[stream.Length + 1];
stream.Read(buffer, 0, buffer.Length);
String fileExtention = fileName.Substring(fileName.IndexOf('.') + 1);
client.UploadFileAsync(buffer, fileExtention);
}
}
void OnUploadFileCompleted(object sender, UploadFileCompletedEventArgs e)
{
if (e.Error == null)
{
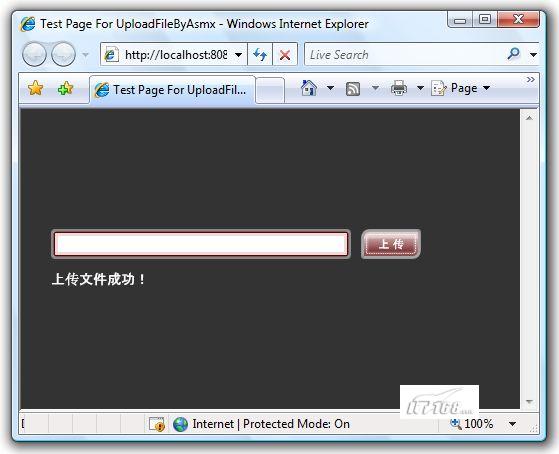
tblStatus.Text = "上传文件成功!";
}
}运行程序后,选择一个文件并上传,如下图所示:
至此,我们就完成了一个使用Web Service上传文件的示例,后面的章节我还会介绍在Silverlight中使用WCF等其它方式上传文件。
2. 使用WCF上传文件
前面我介绍了如何使用Web Service上传文件,同样也可以使用WCF来实现文件上传,我们通过一个示例来说明这一点。首先定义上传文件服务契约,如下代码所示:
C#
[ServiceContract]
public interface IFileService
{
[OperationContract]
void Upload(byte[] FileByte, String FileExtention);
}
编写服务实现,在Upload方法里面,实现将文件写入服务器,此处为了演示使用了绝对路径和固定的文件名,在实际开发中大家可以根据实际需要来设置具体文件命名规则以及保存路径,如下代码所示:
public void Upload(byte[] FileByte, String FileExtention)
{
FileStream stream = new FileStream(@"D:\Example." + FileExtention, FileMode.Create);
stream.Write(FileByte, 0, FileByte.Length);

stream.Close();
stream.Dispose();
}
修改配置配置文件,别忘了设置绑定为basicHttpBinding,并添加服务引用。编写一个简单的用户界面,大家可以参考使用Web Service上传文件一节中的代码,这里不再重复,直接编写代码调用WCF服务,如下代码所示:
C#
void OnUploadClick(object sender, RoutedEventArgs e)
{
OpenFileDialog openFile = new OpenFileDialog();

if (openFile.ShowDialog() == DialogResult.OK)
{
String fileName = openFile.SelectedFile.Name;

FileServiceClient client = new FileServiceClient();
client.UploadCompleted += new EventHandler<AsyncCompletedEventArgs>(OnUploadCompleted);

Stream stream = (Stream)openFile.SelectedFile.OpenRead();
stream.Position = 0;
byte[] buffer = new byte[stream.Length + 1];
stream.Read(buffer, 0, buffer.Length);
String fileExtention = fileName.Substring(fileName.IndexOf('.') + 1);

client.UploadAsync(buffer, fileExtention);
}
}

void OnUploadCompleted(object sender, AsyncCompletedEventArgs e)
{
if (e.Error == null)
{
tblStatus.Text = "上传文件成功!";
}
}
整个过程与使用Web Service上传文件基本一致。但是当我们上传大文件时将会遇到一些问题,basicHttpBinding绑定默认的字节大小是65536字节,所以需要做一些修改,如下代码所示:
XML
<bindings>
<basicHttpBinding>
<binding name="uploadBinding" maxReceivedMessageSize="4000000" maxBufferSize="4000000">
<readerQuotas maxArrayLength="4000000" maxStringContentLength="4000000"/>
</binding>
</basicHttpBinding>
</bindings>
大家可以根据开发中的实际需求来进行设定可以上传文件的大小。
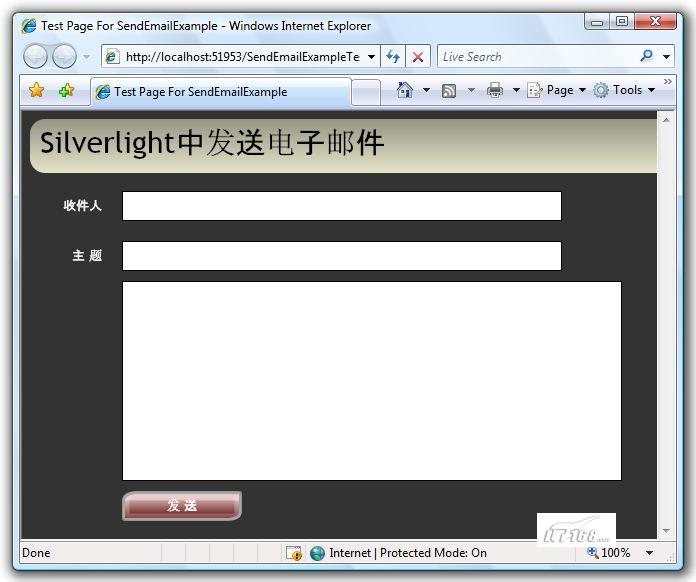
3. 在Silverlight 2中发送电子邮件
众所周知,发送电子邮件需要使用SMTP协议,遗憾是Silverlight中并不支持SMTP通信,但是我们可以借助于Web Service来发送电子邮件。本节将通过一个示例讲解这一内容,最终完成的效果如下图所示:
我们首先添加一个ASP.NET Web Service,并实现WebMethod,此方法将接受四个参数:发件人、收件人、邮件主题以及邮件内容,并使用SmtpClient对象发送邮件,关于SmtpClient的使用,大家可以参考MSDN,它位于System.Net.Mail命名空间下。如下代码所示:
C#
[WebMethod]
public bool Send(String fromAddress,String toAddress,String subject,String body)
{
try
{
MailMessage msg = new MailMessage();
msg.From = new MailAddress(fromAddress);
msg.To.Add(new MailAddress(toAddress));
msg.Subject = subject;
msg.Body = body;
msg.IsBodyHtml = false;

SmtpClient smtp = new SmtpClient();
smtp.EnableSsl = true;
smtp.Send(msg);

return true;
}
catch
{
return false;
}
}
使用SmtpClient需要在Web.config文件中配置一下邮件服务器,这里使用Google的服务器,大家可以使用自己的Gmail帐号,如下代码所示:
XML
<system.net>
<mailSettings>
<smtp>
<network host="smtp.gmail.com" port="587" userName="terrylee@gmail.com" password="password"/>
</smtp>
</mailSettings>
</system.net>
在浏览器中测试Web Service,确保它可以正确的发送邮件。编写一个简单
用户界面,如下代码所示:
XAML
<Grid x:Name="LayoutRoot" Background="#333333">
<TextBox x:Name="txtToEmailAddress"></TextBox>
<TextBox x:Name="txtSubject"></TextBox>
<TextBox x:Name="txtBody"></TextBox>
<Button x:Name="btnSend" Content="发 送"
Click="OnSendClick"></Button>
</Grid>
在Silverlight项目中添加Web Service引用,并编写代码来调用Web Service,相信大家都已经熟悉了该如何调用,如下代码所示:
C#
void OnSendClick(object sender, RoutedEventArgs e)
{
// 发送邮件地址
String fromAddress = "terrylee@gmail.com";
EmailServiceSoapClient client = new EmailServiceSoapClient();
client.SendCompleted += new EventHandler<SendCompletedEventArgs>(OnSendCompleted);
client.SendAsync(fromAddress,
this.txtToEmailAddress.Text,
this.txtSubject.Text,
this.txtBody.Text);
}
void OnSendCompleted(object sender, SendCompletedEventArgs e)
{
if (e.Result)
{
HtmlPage.Window.Alert("发送邮件成功!");
}
else
{
HtmlPage.Window.Alert("发送邮件成功!");
}
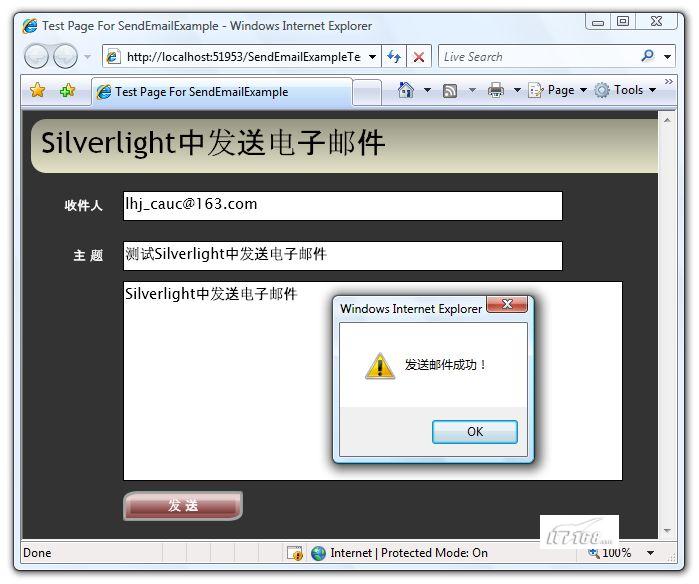
}注意在OnSendCompleted中我使用了HtmlPage对象来弹出一个浏览器对话框,这部分内容我们将在与浏览器集成一章详细讲解。
运行后输入相关信息,并发送邮件,如下图所示:
至此我们就完成一个在Silverlight中发送电子邮件的示例,大家如果有兴趣,还可以为其加上更加丰富的功能,如添加抄送人、密送人以及附件等。

相关文章推荐
- java实现Linux的文件上传/java实现邮件发送/smproxy短信发送
- Silverlight 实现文件上传
- C# 实现发送电子邮件以及上传附件
- spring+jquery 实现文件上传,二次发送
- Socket实现发送Http请求上传文件
- Silverlight文件上传下载实现方法(下载保存)
- Silverlight中用WCF实现文件快速上传(一、基本方法)
- 使用HttpClient4实现文件上传请求的发送,服务器端以MultipartFile形式接收(附依赖jar包地址)
- Silverlight中用WCF实现文件快速上传(一、基本方法)
- Silverlight中用WCF实现文件快速上传(一、基本方法)(转载)
- 使用silverlight实现多文件上传
- Silverlight中用WCF实现文件快速上传(二、改进)
- Java学习日记8:文件上传工具类的实现和服务器给客户端发送图片
- Silverlight中用WCF实现文件快速上传(一、基本方法)
- python实现requests发送/上传多个文件的示例
- 使用silverlight实现多文件上传
- Silverlight中用WCF实现文件快速上传(二、改进)
- silverlight webclient实现上传、下载、删除、读取文件
- 项目开发技巧(四):使用JspSmartupload实现文件上传下载(三):jspsmartupload samples
- 利用Nginx的上传模块和上传进度模块实现网页上传文件