ubuntu 12.04 server 安装
2012-11-26 10:50
465 查看
本文将在十五分钟内用图文的方式教你安装 LAMP (Linux, Apache, MySQL and PHP) 服务器环境,其中 12 分钟是安装 Ubuntu Server 操作系统。LAMP 只需三分钟。
本文涉及的软件版本如下:
Ubuntu 10.04 (Lucid)
Apache 2.2.14
MySQL 5.1.41
PHP 5.3.2
下面是 Ubuntu Server 以及上述软件包的安装过程:
Ubuntu Server 的下载地址:http://www.ubuntu.com/getubuntu/download-server
然后刻录CD并启动系统,选择语言

开始安装界面

选择语言

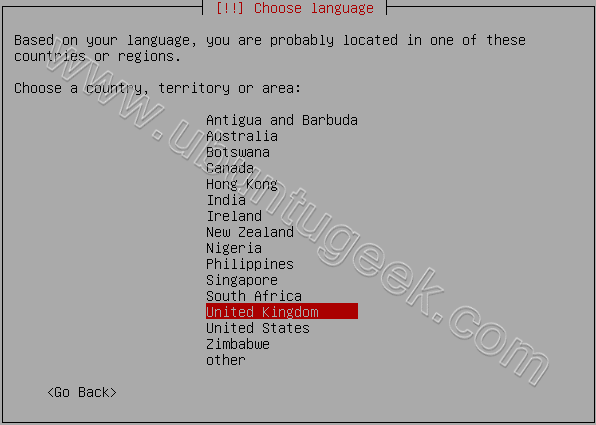
选择所在地区
是否自动检测键盘设置

Select Origin of keyboard and press enter

选择键盘布局

从 CD-ROM 驱动器中查找硬件驱动

加载附加的组件

检测网络设备过程

通过 DHCP 配置网络信息

输入服务器主机名

准备磁盘分区

询问如何使用磁盘

提示你是否开始对磁盘进行分区

Write the changes to disk here you need to select yes and press enter

创建 ext4 文件系统的过程

安装基本系统过程

提示是否需要建立其他用户

输入登录帐号名

输入用户密码

确认用户的密码

如果你输入一个比较简单的密码,将会看到如下提示

配置是否加密用户主目录

配置包管理器的代理服务器,如果需要的话

开始扫描资源库

选择是否进行系统自动更新,服务器一般不要选择自动更新

选择要安装的服务器软件,如果你之前选择了“Manual package selection” 的话,将会出现如下界面:

输入 mysql 数据库的 root 帐号的密码

确认 mysql 服务器的 root 帐号密码

下图是系统安装过程中的界面

Installing GRUB Boot loader in progress

Finishing installation in Progress

Installation complete message here you need to remove your CD select continue and press enter it will reboot your server

After rebooting your server it will prompt for username and password once you logged in you should see similar to the following screen

接下来配置服务器
先来个编辑器:
sudo apt-get install vim-full
修改静态IP地址:
sudo vi /etc/network/interfaces
内容如下:
# The primary network interface
auto eth0
iface eth0 inet static
address 172.19.0.10
netmask 255.255.255.0
network 172.19.0.0
broadcast 172.19.0.255
gateway 172.19.0.1
然后重启网络服务,使IP地址生效
sudo /etc/init.d/networking restart
再来添加DNS解析服务器
sudo vi /etc/resolv.conf
内容如下:
search domain.com
nameserver xxx.xxx.xxx.xxx
完毕!
本文涉及的软件版本如下:
Ubuntu 10.04 (Lucid)
Apache 2.2.14
MySQL 5.1.41
PHP 5.3.2
下面是 Ubuntu Server 以及上述软件包的安装过程:
Ubuntu Server 的下载地址:http://www.ubuntu.com/getubuntu/download-server
然后刻录CD并启动系统,选择语言
开始安装界面
选择语言
选择所在地区
是否自动检测键盘设置
Select Origin of keyboard and press enter
选择键盘布局
从 CD-ROM 驱动器中查找硬件驱动
加载附加的组件
检测网络设备过程
通过 DHCP 配置网络信息
输入服务器主机名
准备磁盘分区
询问如何使用磁盘
提示你是否开始对磁盘进行分区
Write the changes to disk here you need to select yes and press enter
创建 ext4 文件系统的过程
安装基本系统过程
提示是否需要建立其他用户
输入登录帐号名
输入用户密码
确认用户的密码
如果你输入一个比较简单的密码,将会看到如下提示
配置是否加密用户主目录
配置包管理器的代理服务器,如果需要的话
开始扫描资源库
选择是否进行系统自动更新,服务器一般不要选择自动更新
选择要安装的服务器软件,如果你之前选择了“Manual package selection” 的话,将会出现如下界面:
输入 mysql 数据库的 root 帐号的密码
确认 mysql 服务器的 root 帐号密码
下图是系统安装过程中的界面
Installing GRUB Boot loader in progress
Finishing installation in Progress
Installation complete message here you need to remove your CD select continue and press enter it will reboot your server
After rebooting your server it will prompt for username and password once you logged in you should see similar to the following screen
接下来配置服务器
先来个编辑器:
sudo apt-get install vim-full
修改静态IP地址:
sudo vi /etc/network/interfaces
内容如下:
# The primary network interface
auto eth0
iface eth0 inet static
address 172.19.0.10
netmask 255.255.255.0
network 172.19.0.0
broadcast 172.19.0.255
gateway 172.19.0.1
然后重启网络服务,使IP地址生效
sudo /etc/init.d/networking restart
再来添加DNS解析服务器
sudo vi /etc/resolv.conf
内容如下:
search domain.com
nameserver xxx.xxx.xxx.xxx
完毕!

相关文章推荐
- 安装ubuntu Server 12.04 64位系统小记
- ubuntu 12.04 Server 上安装 nodejs, MongoDB
- Ubuntu Server 12.04 安装 Tomcat 7.0.40
- 如何在 Ubuntu 12.04 Server 中安装图形用户界面
- ubuntu server 12.04 安装 mysql5.7
- 安装Drupal7.12+Postgresql9.1(Ubuntu Server 12.04)
- ubuntu server 12.04 安装postgresql 9.2
- Ubuntu Server 12.04安装图解教程
- 如何在 Ubuntu 12.04 Server 中安装图形用户界面
- Hyper-v 下安装ubuntu 12.04 server 网卡问题
- 如何在 Ubuntu 12.04 Server 中安装图形用户界面
- ubuntu 12.04 server编译安装nginx
- u盘安装ubuntu server 12.04的问题
- ubuntu 12.04 server 安装nginx
- ubuntu server 12.04 安装后相关设置
- Android环境搭建1--ubuntu 12.04 server硬盘安装
- ubuntu 12.04 安装 openssh-server 失败,请问怎么该弄?
- Ubuntu Server 12.04安装图解教程
- Ubuntu Server 12.04 LTS 安装LAMP环境
- Ubuntu-server 12.04 安装JDK