PS网页设计教程——小贴士:在PS中创建复古的页面
2012-07-06 18:49
746 查看
本教程展示的页面是一个很简单的页面,带有一点上世纪的复古广告风。准确的说更像是一个广告而不是网页
Step 1: Open a new document of A4 size and 300 ppi.
步骤1:新建文档,A4大小,300ppi

Step 2: Fill its background with this color #ece0cf.
步骤2:用颜色#ece0cf填充背景

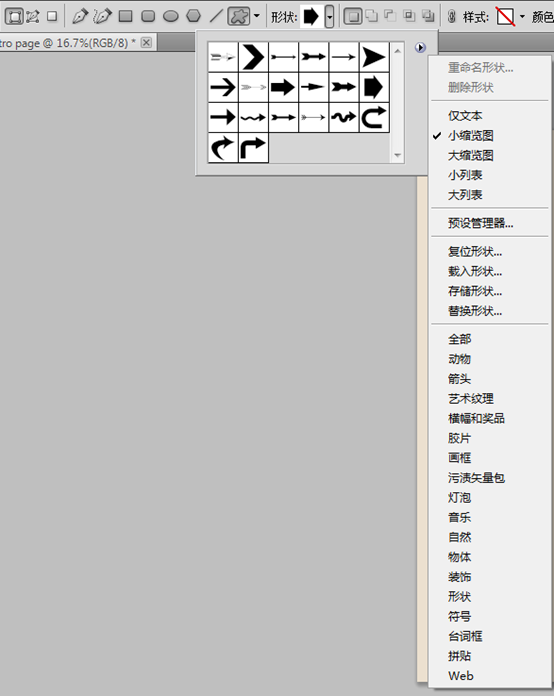
Step 3: Choose the custom shape tool and choose this particular set of custom shapes and the following shape from that set.
步骤3:选择自定形状工具,按照下图,选择“箭头”来取代默认类别

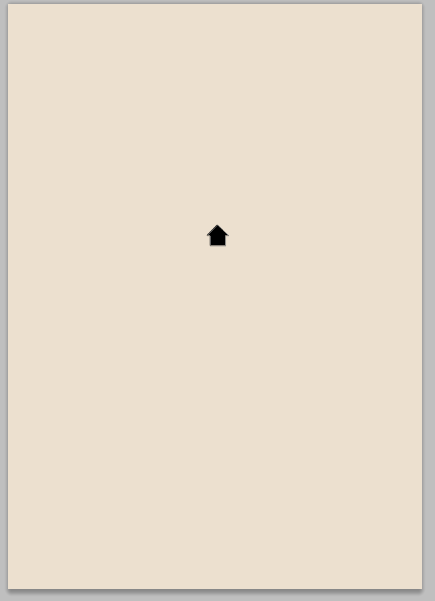
Step 4: With the shape layers option switched on click and drag on the stage to get something like this.
步骤4:在形状面板上选择合适的箭头,拖动到页面上,如下图所示:

Step 5: Next press ctrl+T and switch on the transform controls and rotate it like this.
步骤5:接下来按Ctrl + T选择变形工具,然后如下图旋转

Step 6: Select the direct selection tool and select only these two anchor points of the arrow make and pull it down to create something like this.
步骤6:选择直接选择工具,然后选择箭头下方的两个锚点,拖动两个锚点后像下图一样。

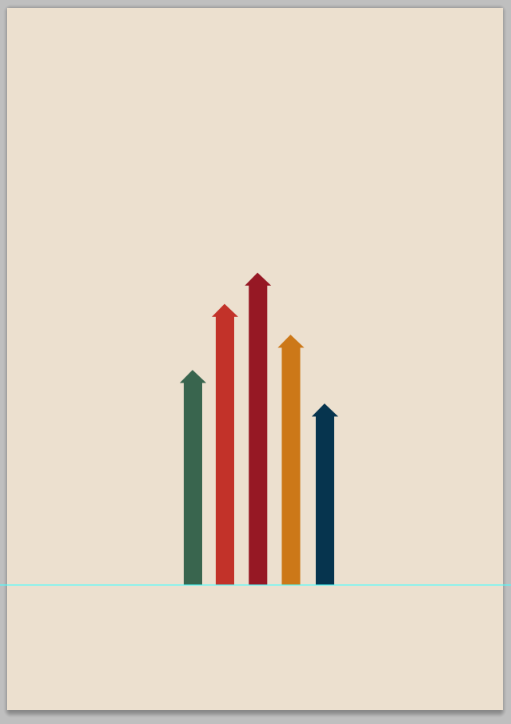
Step 7: Take copies of the same arrow and then place them like this. To shorten the height of the arrows you need to use the direct selection tool like the previous step.
步骤7:复制箭头移动到合适的位置。用直接选择工具缩短箭头的长度,就像刚才那步一样。

Step 8: Change the colors of the arrow marks as shown in image. To change the colors double click in this area of the layers palette.
步骤8:给箭头添加如下的颜色。要更改颜色得双击图层前部的方块
从左至右的颜色分别为:#39654e,#c23229,#961824,#cc7818,#06344e

Step 9: Next take the rectangle tool and with the shape layers option switched on create 5 rectangles like this with the same colors as the arrow marks but with lighter shades as per your wish.
步骤9:接下来用矩形工具在箭头的下方添加五个矩形,和箭头一样的颜色。不过按照你的意愿决定如何变亮
试了几次,总是调整不好。于是,直接复制箭头,然后自由变形,以底部中间的控制点为参照点,角度设置为180度。那就是完成一个箭头的镜像。依次完成每个箭头的镜像,再从左至右设置每个方块(实际是箭头,箭头在画布外)的颜色:#5ea982,#ff3f3a,#f1473a,#ff981f,#0e6090

Step 10: Then select all the rectangle layers together and press Ctrl + T and then right click choose perspective and apply perspective like this.
步骤10:然后选择这些矩形的图层,按Ctrl + T,然后鼠标右键选择透视,按照下图设置透视

Step 11: Select all the layers and rotate it like this.
步骤11:选择所有的图层并且旋转成如下图所示

Step 12: Then add some stars like this
步骤12:如图添加星星

Step 13: Then take the text tool and add some more text like this
步骤13:用文字工具添加一些文本

小记:简约的风格,做做还是有点难度的。
Step 1: Open a new document of A4 size and 300 ppi.
步骤1:新建文档,A4大小,300ppi
Step 2: Fill its background with this color #ece0cf.
步骤2:用颜色#ece0cf填充背景

Step 3: Choose the custom shape tool and choose this particular set of custom shapes and the following shape from that set.
步骤3:选择自定形状工具,按照下图,选择“箭头”来取代默认类别
Step 4: With the shape layers option switched on click and drag on the stage to get something like this.
步骤4:在形状面板上选择合适的箭头,拖动到页面上,如下图所示:

Step 5: Next press ctrl+T and switch on the transform controls and rotate it like this.
步骤5:接下来按Ctrl + T选择变形工具,然后如下图旋转
Step 6: Select the direct selection tool and select only these two anchor points of the arrow make and pull it down to create something like this.
步骤6:选择直接选择工具,然后选择箭头下方的两个锚点,拖动两个锚点后像下图一样。

Step 7: Take copies of the same arrow and then place them like this. To shorten the height of the arrows you need to use the direct selection tool like the previous step.
步骤7:复制箭头移动到合适的位置。用直接选择工具缩短箭头的长度,就像刚才那步一样。

Step 8: Change the colors of the arrow marks as shown in image. To change the colors double click in this area of the layers palette.
步骤8:给箭头添加如下的颜色。要更改颜色得双击图层前部的方块
从左至右的颜色分别为:#39654e,#c23229,#961824,#cc7818,#06344e
Step 9: Next take the rectangle tool and with the shape layers option switched on create 5 rectangles like this with the same colors as the arrow marks but with lighter shades as per your wish.
步骤9:接下来用矩形工具在箭头的下方添加五个矩形,和箭头一样的颜色。不过按照你的意愿决定如何变亮
试了几次,总是调整不好。于是,直接复制箭头,然后自由变形,以底部中间的控制点为参照点,角度设置为180度。那就是完成一个箭头的镜像。依次完成每个箭头的镜像,再从左至右设置每个方块(实际是箭头,箭头在画布外)的颜色:#5ea982,#ff3f3a,#f1473a,#ff981f,#0e6090

Step 10: Then select all the rectangle layers together and press Ctrl + T and then right click choose perspective and apply perspective like this.
步骤10:然后选择这些矩形的图层,按Ctrl + T,然后鼠标右键选择透视,按照下图设置透视

Step 11: Select all the layers and rotate it like this.
步骤11:选择所有的图层并且旋转成如下图所示

Step 12: Then add some stars like this
步骤12:如图添加星星

Step 13: Then take the text tool and add some more text like this
步骤13:用文字工具添加一些文本

小记:简约的风格,做做还是有点难度的。

相关文章推荐
- PS网页设计教程——小贴士:五步在PS中创建倒计时数字牌
- PS网页设计教程IV——如何在Photoshop中创建一个专业博客网站布局
- PS网页设计教程I——在Photoshop中创建时尚多彩的wordpress布局
- PS网页设计教程IX——巧用大括号设计惊艳的咨询页面
- PS教程:如何设计整洁的页面布局与漂亮的背景
- 利用PS创建几何图案的复古怀旧海报 PS入门实例教程
- PS经典教程:从零开始设计一个漂亮的网页
- PS教程:如何设计整洁的页面布局与漂亮的背景
- PS网页设计小贴士——快速设计3D点阵字
- PS制作精美的网页按钮设计教程
- 【技法操作】UI界面设计,用PS绘制日历页面教程
- 【技法操作】UI界面设计,用PS绘制闹钟页面教程
- photoshop(ps)设计网页技巧边缘像素化实例教程
- 【技法操作】UI界面设计教程,用PS绘制计算器页面
- 【技法操作】UI界面设计,用PS绘制音乐播放页面教程
- 【技法操作】UI界面设计,用PS绘制录音页面教程
- PS网页设计教程XIII——在PS中设计有创意的化妆品布局
- PS经典教程:从零开始设计一个漂亮的网页
- PS网页设计_新手建站入门视频教程
- UI界面教程:用PS设计运动周汇总页面