如何使用sharding-jdbc完成读写分离?
2022-05-29 16:08
1176 查看
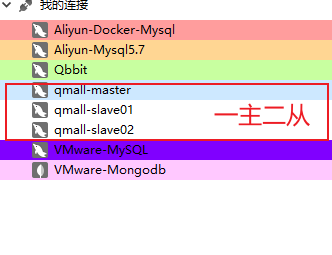
1.先搭建好一个MySQL的主从集群,可以参考MySQL高级
2.在项目中导入相关依赖(记得刷新Maven)
<!--读写分离-->
<dependency>
<groupId>org.apache.shardingsphere</groupId>
<artifactId>shardingsphere-jdbc-core-spring-boot-starter</artifactId>
<version>5.1.0</version>
</dependency>
3.编写一个application-sharding.yml配置文件,可以参考官方文档.但是推荐参考最新版本的,不然很多坑.当然也可以使用下面配置好的,亲测可用!!!
spring:
shardingsphere:
datasource:
names: master1,slave1,slave2  # 指定所有数据源的名字
master1:
type: com.zaxxer.hikari.HikariDataSource # 数据源类型
url: jdbc:mysql://192.168.137.137:3306/qmall_product?useSSL=false # 数据库连接地址
username: root # 用户名
password: root # 密码
driver-class-name: com.mysql.jdbc.Driver # 数据库驱动

slave1:
type: com.zaxxer.hikari.HikariDataSource # 数据源类型
url: jdbc:mysql://192.168.137.137:3307/qmall_product?useSSL=false
username: root
password: root
driver-class-name: com.mysql.jdbc.Driver

slave2:
type: com.zaxxer.hikari.HikariDataSource # 数据源类型
url: jdbc:mysql://192.168.137.137:3308/qmall_product?useSSL=false
username: root
password: root
driver-class-name: com.mysql.jdbc.Driver
rules:
readwrite-splitting:  # 配置读写分离规则
data-sources:
ds_0:   # 给一套集群起个名
type: static
props:
auto-aware-data-source-name: master1
write-data-source-name: master1
read-data-source-names: slave1,slave2
load-balancer-name: read-random
load-balancers:
read-random:
type: ROUND_ROBIN # 轮询负载均衡
props:
sql-show: true # 是否打印sql
sql-simple: true # 打印简单的sql
- 写完上面的配置文件别忘了在application.yml中激活引入一下
spring:
profiles:
include: sharding # 引入application-sharding.yml
4.编写测试代码
package com.qbb.qmall;

import com.qbb.qmall.model.product.BaseCategory1;
import com.qbb.qmall.product.ProductApplication;
import com.qbb.qmall.product.mapper.BaseCategoryMapper;
import org.junit.jupiter.api.Test;
import org.springframework.beans.factory.annotation.Autowired;
import org.springframework.boot.test.context.SpringBootTest;

/**
* @author QiuQiu&LL (个人博客:https://www.cnblogs.com/qbbit)
* @version 1.0
* @date 2022-05-29  15:48
* @Description:
*/
@SpringBootTest(classes = ProductApplication.class)
public class ShardingTest {

@Autowired
private BaseCategoryMapper baseCategoryMapper;

@Test
public void write() {
BaseCategory1 baseCategory1 = new BaseCategory1();
baseCategory1.setName("qiuqiu");
baseCategoryMapper.insert(baseCategory1);
}
}
写数据是操作的master1库

下面测试一下读数据
@Test
public void read() {
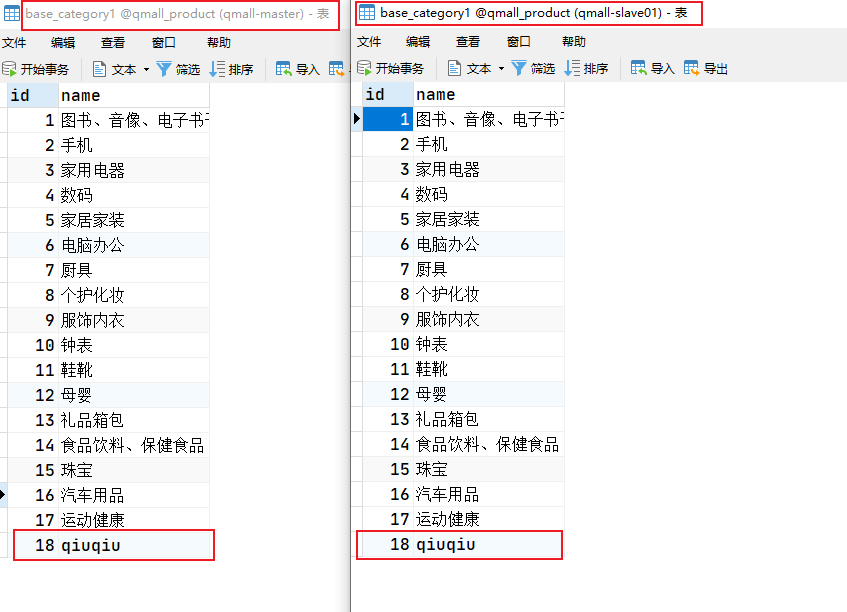
BaseCategory1 one = baseCategoryMapper.selectById(18);
System.out.println("one = " + one);
BaseCategory1 two = baseCategoryMapper.selectById(18);
System.out.println("two = " + two);
BaseCategory1 three = baseCategoryMapper.selectById(18);
System.out.println("three = " + three);
BaseCategory1 four = baseCategoryMapper.selectById(18);
System.out.println("four = " + four);
}
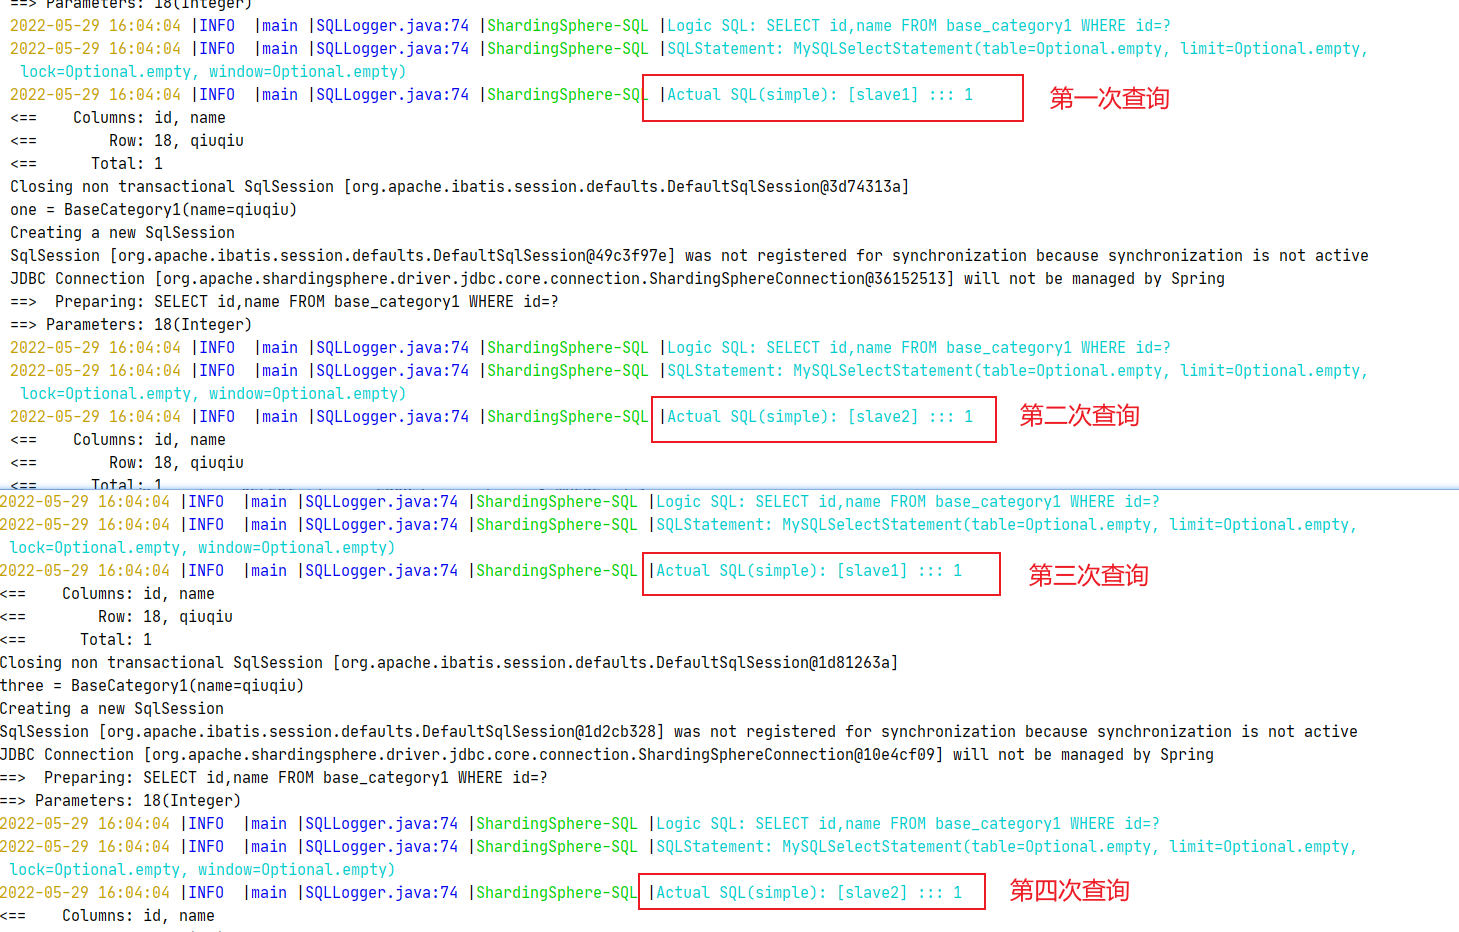
- 因为我们上面配置的是轮询的负载均衡策略,所以是如上效果

相关文章推荐
- 使用ShardingSphere-JDBC完成Mysql的分库分表和读写分离
- 如何使用MyEclipse完成Cactus测试
- 使用JDBC-ODBC方式连接数据库时,如何在代码中指定ODBC数据源信息
- Django中如何使用django-celery完成异步任务
- JSP培训(7)——使用JDBC完成动态验证、采用MVC完成数据查询
- 如何使用html5与css3完成google涂鸦动画
- 如何在Windows环境下的VS中安装使用Google Protobuf完成SOCKET通信
- Opencv配置VS2010,配置成功后如何成功使用完成vs调用opencv库
- osworkflow使用jdbc如何不用配置数据源。
- 如何使用jdbc连接上oracle数据库?
- 在SAE中如何使用JDBC连接数据库
- 如何不使用第三个变量完成a和b的交换
- 如何使用Java程序通过JDBC访问HDInsight Hive Server
- Django中如何使用django-celery完成异步任务 (2)
- 使用AutoLayout布局适配时,如何提前获得AutoLayout完成适配后的子控件的真实frame
- jango中如何使用django-celery完成异步任务 (1)
- [转]使用WebRowSet完成JDBC的大部分任务
- 如何使用VC6的工具完成DDK和SDK工程
- 如何使用jdbc template查询数据,而用ibatis组装结果?
- java中使用JDBC运用ORACLE完成增删改查的实现