如何使用 resize 实现图片切换预览功能
2021-11-23 04:07
537 查看
关键点
- CSS resize 属性允许你控制一个元素的可调整大小性
- 配合 resize 实现子元素的动态宽度
HTML:
<div class='picA'>
<div class='picB'>
<div readonly class='resizeElement'></div>
</div>
</div>
SCSS:
html {
background: #ddd;
height: 100%;
width: 100%;
}
.picA {
background-image: url(https://z3.ax1x.com/2021/08/17/fhJdpQ.png);
background-size: cover;
width: 650px;
height: 340px;
border: 5px solid #f0e5ab;
border-radius: 3px;
box-shadow: 0 0 1px #999, -2px 2px 3px rgba(0, 0, 0, 0.2);
padding: 0;
margin: 1rem auto;
position: relative;
overflow: hidden;
}
.picB {
background-image: url(https://z3.ax1x.com/2021/08/17/fhJUfg.png);
background-size: cover;
height: 340px;
position: absolute;
top: 0;
left: 0;
min-width: 0;
max-width: 650px;
box-sizing: border-box;
}
.picB:before {
content: "↔";
position: absolute;
background: rgba(0, 0, 0, 0.5);
font-size: 16px;
color: white;
top: 0;
right: 0;
height: 100%;
line-height: 340px;
}
.resizeElement {
resize: horizontal;
overflow: scroll;
opacity: 0;
position: relative;
top: 50%;
left: 0px;
height: 15px;
max-width: 650px;
min-width: 15px;
width: 0;
cursor: move;
transform: scaleY(35);
transform-origin: center center;
animation: delta 5s normal ease-in-out 1s;
}
@keyframes delta {
30% {
width: 0;
}
60% {
width: 350px;
}
100% {
width: 0;
}
}
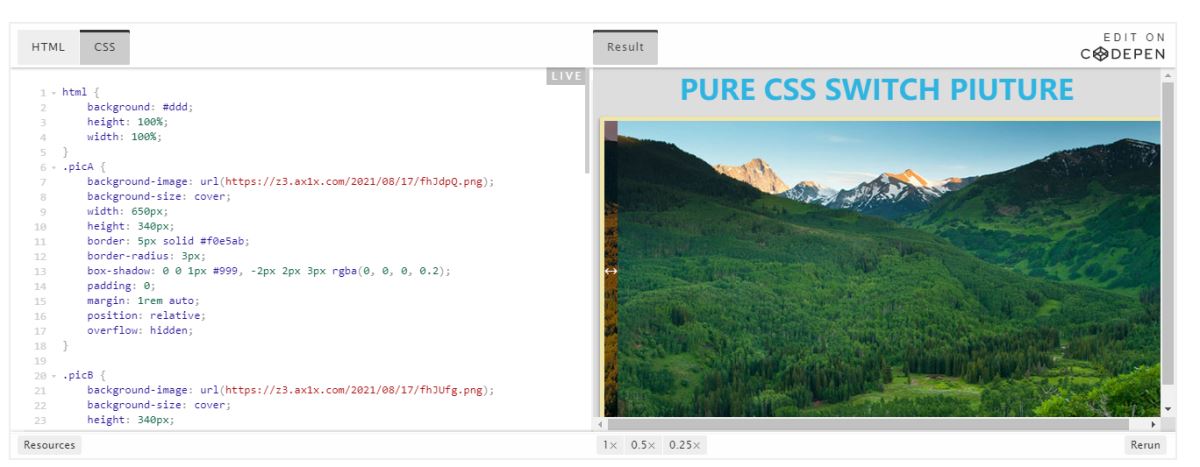
效果如下:
到此这篇关于如何使用 resize 实现图片切换预览功能的文章就介绍到这了,更多相关resize 图片切换预览内容请搜索脚本之家以前的文章或继续浏览下面的相关文章,希望大家以后多多支持脚本之家!

相关文章推荐
- Java如何实现图片裁剪预览功能
- 使用ajax,结合jquery,php实现图片上传预览功能
- 如何使用ClipDrawable实现ImageView图片切换动画
- 新版本浏览器中如何实现图片预览功能
- 使用onpropertychange属性实现FILEUPLOAD的图片预览功能!
- 如何使用富文本组件实现点击后图片预览
- Android使用ViewFlipper实现图片切换功能
- 微信小程使用swiper组件实现图片轮播切换显示功能【附源码下载】
- JS使用H5实现图片预览功能
- [置顶] viewPager+photoView实现图片轮播和手势缩放功能 支持手势缩放的imageView 如何实现相册左右滑动和手势缩放 如何让图片自适应控件大小 photoView如何使用(上)
- cocos2d中如何使用图片纹理图集的加载来实现一个动画的功能
- 如何通过js实现图片预览功能
- 使用:target实现点击按钮切换图片的功能(纯CSS)
- 如何:使用PicturBox实现类似淘宝网站图片的局部放大功能
- 图形的绘制,如何使用自定义画笔(颜色,线宽,线形)。如何为程序中添加选项菜单和选项设置对话框,如何使用标准颜色对话框,如何使用字体对话框,在选项对话框中实现预览功能。实现选项对话框和窗口类中的数据交换。如何改变对话框和控件的背景色,如何改变控件的文本颜色,
- 如何:使用PicturBox实现类似淘宝网站图片的局部放大功能
- 如何通过js实现图片预览功能【附实例代码】
- [PHP]移动端网页如何使用JqueryMobile+PHP实现上传图片的功能
- 使用 plupload 插件 上传图片 ·· 选择图片的时候实现预览功能··
- 如何使用c# 实现邮件发送功能 ,以及如何向邮件内容添加图片