手把手带你玩转 DialogFragment
1. 概述
最近项目中用到了 DialogFragment,在使用 DialogFragment 的时候,遇到了很多问题,比如如何在显示的时候保证状态栏的颜色也不发生变化,如何设置自己的背景,不用系统背景等等。
那么 DialogFragment 是什么样的呢?DialogFragment 在 android 3.0 时被引入,是一种特殊的 Fragment,用于在 Activity 的内容之上展示一个模态的对话框。典型的用于:展示警告框,输入框,确认框等等。
在 DialogFragment 产生之前,我们创建对话框:一般采用 AlertDialog 和 Dialog。注:官方不推荐直接使用Dialog创建对话框。使用 DialogFragment 来管理对话框,当旋转屏幕和按下后退键时可以更好的管理其声明周期,它和 Fragment 有着基本一致的声明周期。且 DialogFragment 也允许开发者把 Dialog 作为内嵌的组件进行重用,类似 Fragment(可以在大屏幕和小屏幕显示出不同的效果)
使用 DialogFragment 至少需要实现
onCreateView或者
onCreateDIalog方法。
onCreateView即使用定义的 xml 布局文件展示 Dialog。
onCreateDialog即利用 AlertDialog 或者 Dialog 创建出Dialog。
2. 应用
2.1 采用静态方法来构造 DialogFragment
下面我们开始自己写一个 DialogFragment,但是,当我按照习惯惯性写下如下代码的时候,给了我一个刺眼的红色提示:
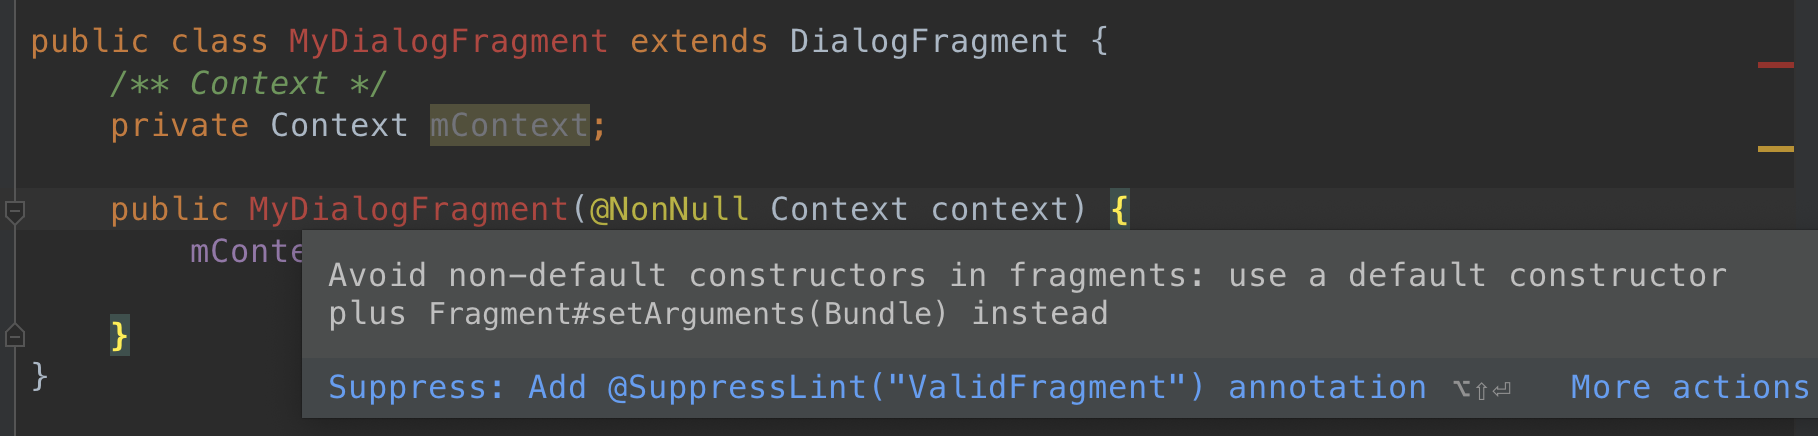
错误提示: Avoid non-default constructors in fragments: use a default constructor plus Fragment#setArguments(Bundle) instead
其原因是你重载了fragment的构造方法,但是在一些情况下,如屏幕翻转时,fragment被重新创建,就可能会造成数据丢失。
解决方案一(不推荐):
@SuppressLint({"NewApi", "ValidFragment"}) 在构造方法上加上这个注解,就可以不检察,但是这是google不推荐的做法
解决方案二(也不推荐):
禁止报错
lintOptions {
abortOnError false
}
这段加到项目的 gradle 文件中就可以不报这个错误了,不过这只是让他不报而已,实际上还是存在问题的,所以也不推荐这样做。
解决方案三(推荐):
创建 newInstance 方法来,这种方式避免了使用构造来传参数。
创建 newInstance 方法
public static final SplashViewPagerFragment newInstance(int pid, String message) {
SplashViewPagerFragment fragment = new SplashViewPagerFragment();
Bundle bundle = new Bundle();
bundle.putInt("pid",pid);
bundle.putString("message", message);
fragment.setArguments(bundle);
return fragment ;
}
重写onCreate
@Override
public void onCreate(@Nullable Bundle savedInstanceState) {
super.onCreate(savedInstanceState);
mMessage=getArguments().getString("message");
mPid=getArguments().getInt("pid");
}
创建fragment实例
SplashViewPagerFragment splashViewPagerFragment=SplashViewPagerFragment.newInstance(1,"测试");
通过上面的这种方式就可以解决问题。
不过要说的是,在 Android X 上,并没有这个提示。
2.2 重写 onCreateView 创建 Dialog
这里为了方便,直接使用 mainActivity 的布局,具体代码如下:
<?xml version="1.0" encoding="utf-8"?>
<android.support.constraint.ConstraintLayout xmlns:android="http://schemas.android.com/apk/res/android"
xmlns:app="http://schemas.android.com/apk/res-auto"
xmlns:tools="http://schemas.android.com/tools"
android:layout_width="match_parent"
android:layout_height="match_parent"
tools:context=".MainActivity">

<TextView
android:layout_width="wrap_content"
android:layout_height="wrap_content"
android:text="Hello World!"
app:layout_constraintBottom_toBottomOf="parent"
app:layout_constraintLeft_toLeftOf="parent"
app:layout_constraintRight_toRightOf="parent"
app:layout_constraintTop_toTopOf="parent" />

</android.support.constraint.ConstraintLayout>
重写 onCreateView 方法:
@Nullable
@Override
public View onCreateView(@NonNull LayoutInflater inflater, @Nullable ViewGroup container, @Nullable Bundle savedInstanceState) {
View view = inflater.inflate(R.layout.activity_main, container, false);
return view;
}
最后调用:
private void openDialog() {
MyDialogFragment fragment = new MyDialogFragment();
fragment.show(getSupportFragmentManager(),"Dialog");
}
最后的显示效果如下:
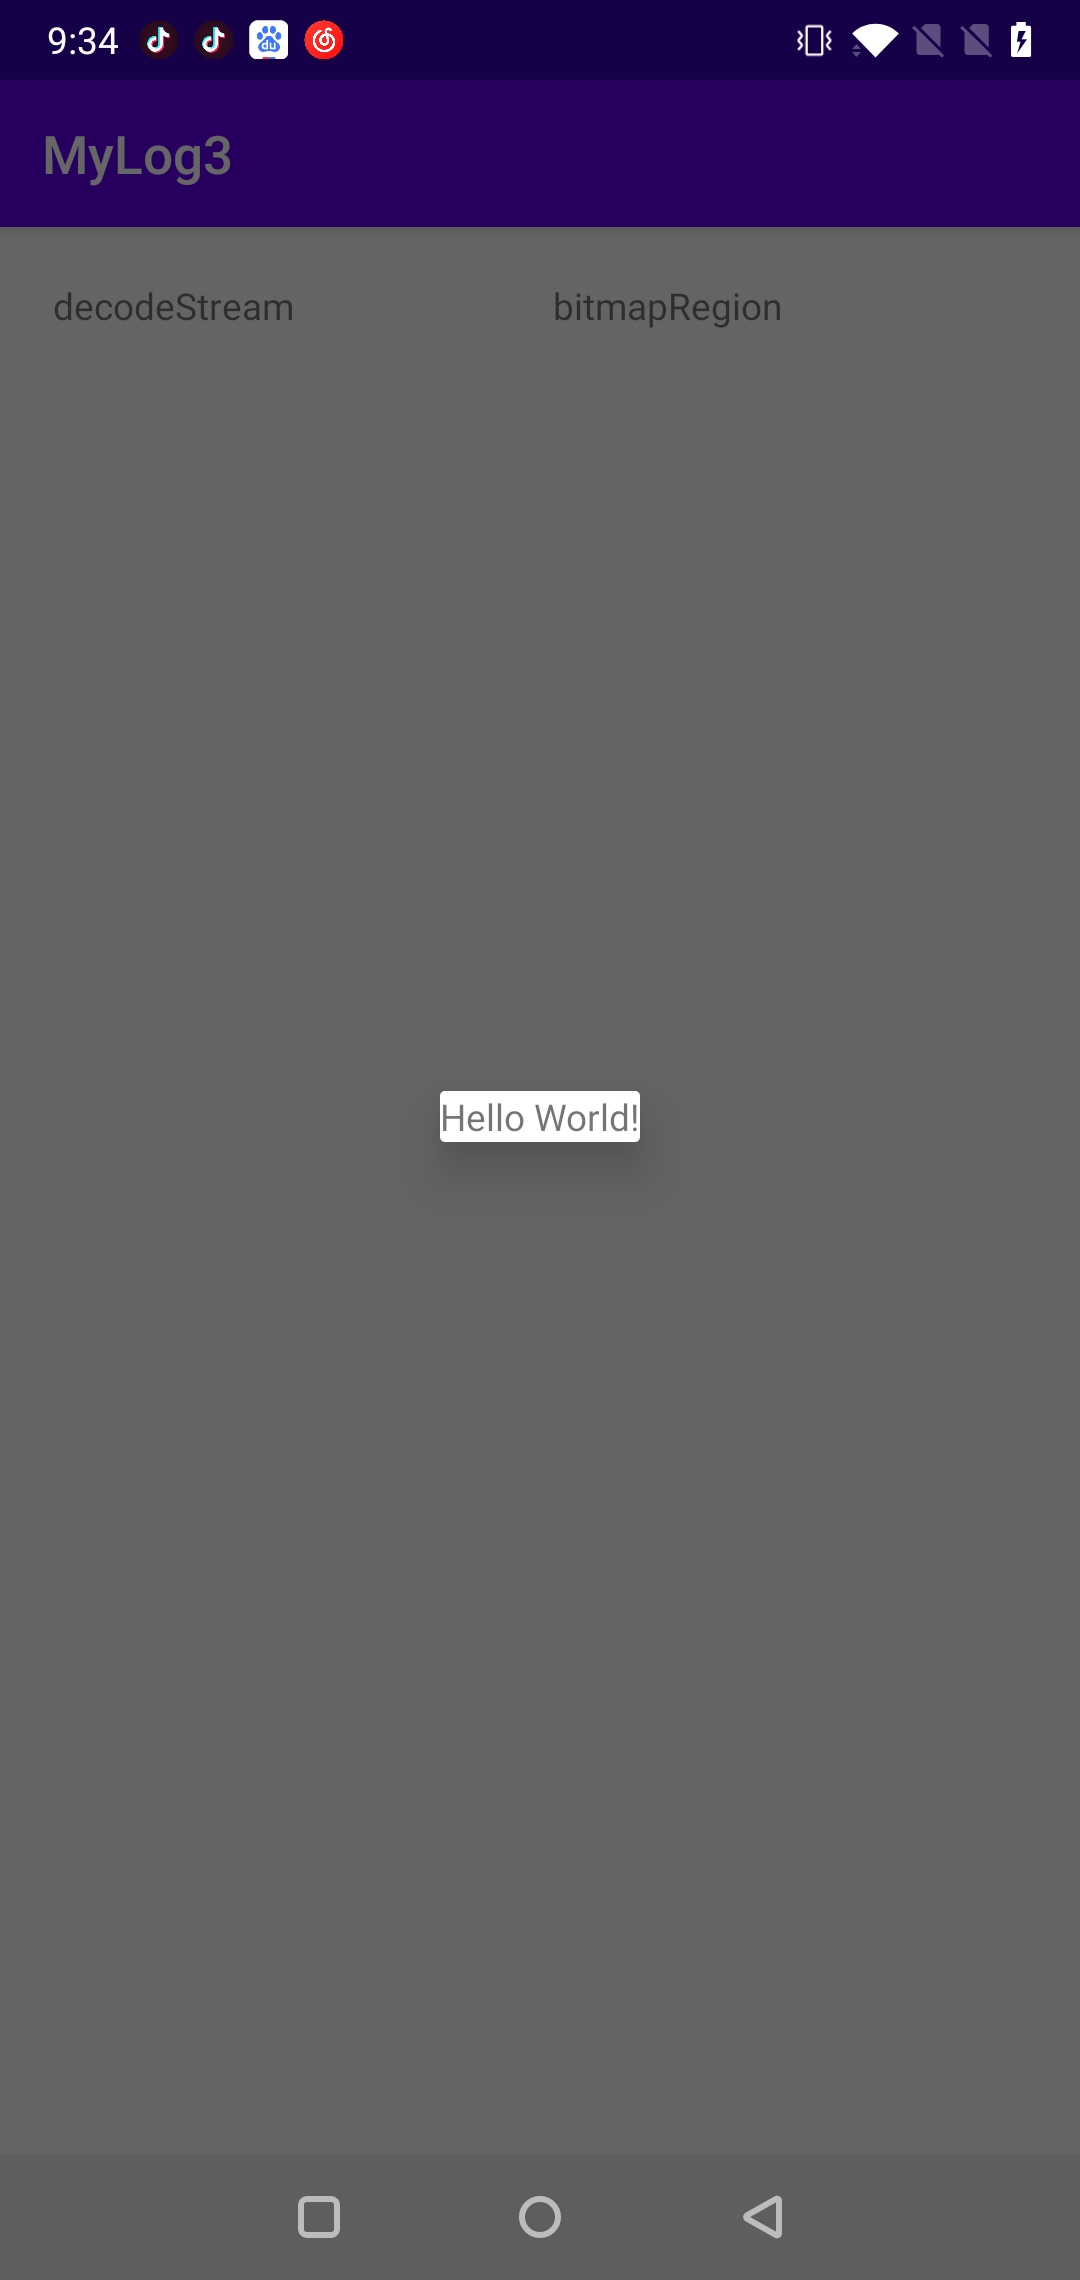
可以发现是默认居中的,这个布局属性,应该是内部就定义好的。
这里做一个小变动,如果把 xml 布局的 TextView 铺满全屏会变成什么效果呢?
然而,令人丧气的是,结果效果还是一样的....
那如果我在外面在嵌套一层呢?更改布局如下:
<?xml version="1.0" encoding="utf-8"?>
<FrameLayout xmlns:android="http://schemas.android.com/apk/res/android"
xmlns:app="http://schemas.android.com/apk/res-auto"
xmlns:tools="http://schemas.android.com/tools"
android:layout_width="match_parent"
android:layout_height="match_parent"
tools:context=".MainActivity">

<FrameLayout
android:layout_width="match_parent"
android:layout_height="3000dp"
android:background="@color/dark_blue">

<TextView
android:layout_width="match_parent"
android:layout_height="match_parent"
android:text="Hello World!" />
</FrameLayout>

</FrameLayout>
具体效果如下:

可以看到的是,DialogFragment 是自带 padding 和居中效果的,因此,如果你定义的 view 需要居中,就不需要再去定义居中等属性了。
2.3 重写 onCreateDialog创建 Dialog
在 onCreateDialog 中一般可以使用 AlertDialog 或者 Dialog 创建对话框,不过 google 不推荐直接使用 Dialog,我们就使用 AlertDialog 来创建一个登录的对话框。
具体代码如下:
@NonNull
@Override
public Dialog onCreateDialog(@Nullable Bundle savedInstanceState) {
AlertDialog.Builder builder = new AlertDialog.Builder(getActivity());
LayoutInflater inflater = getActivity().getLayoutInflater();
View view = inflater.inflate(R.layout.activity_main, null);
// 设置按钮名称和点击回调
builder.setView(view)
.setPositiveButton("test",
(dialog, id) -> {
// 此处可以添加自己的处理逻辑
})
.setNegativeButton("quit", null);
return builder.create();

}
此处为了方便,我们还是用了原来的 xml 布局。
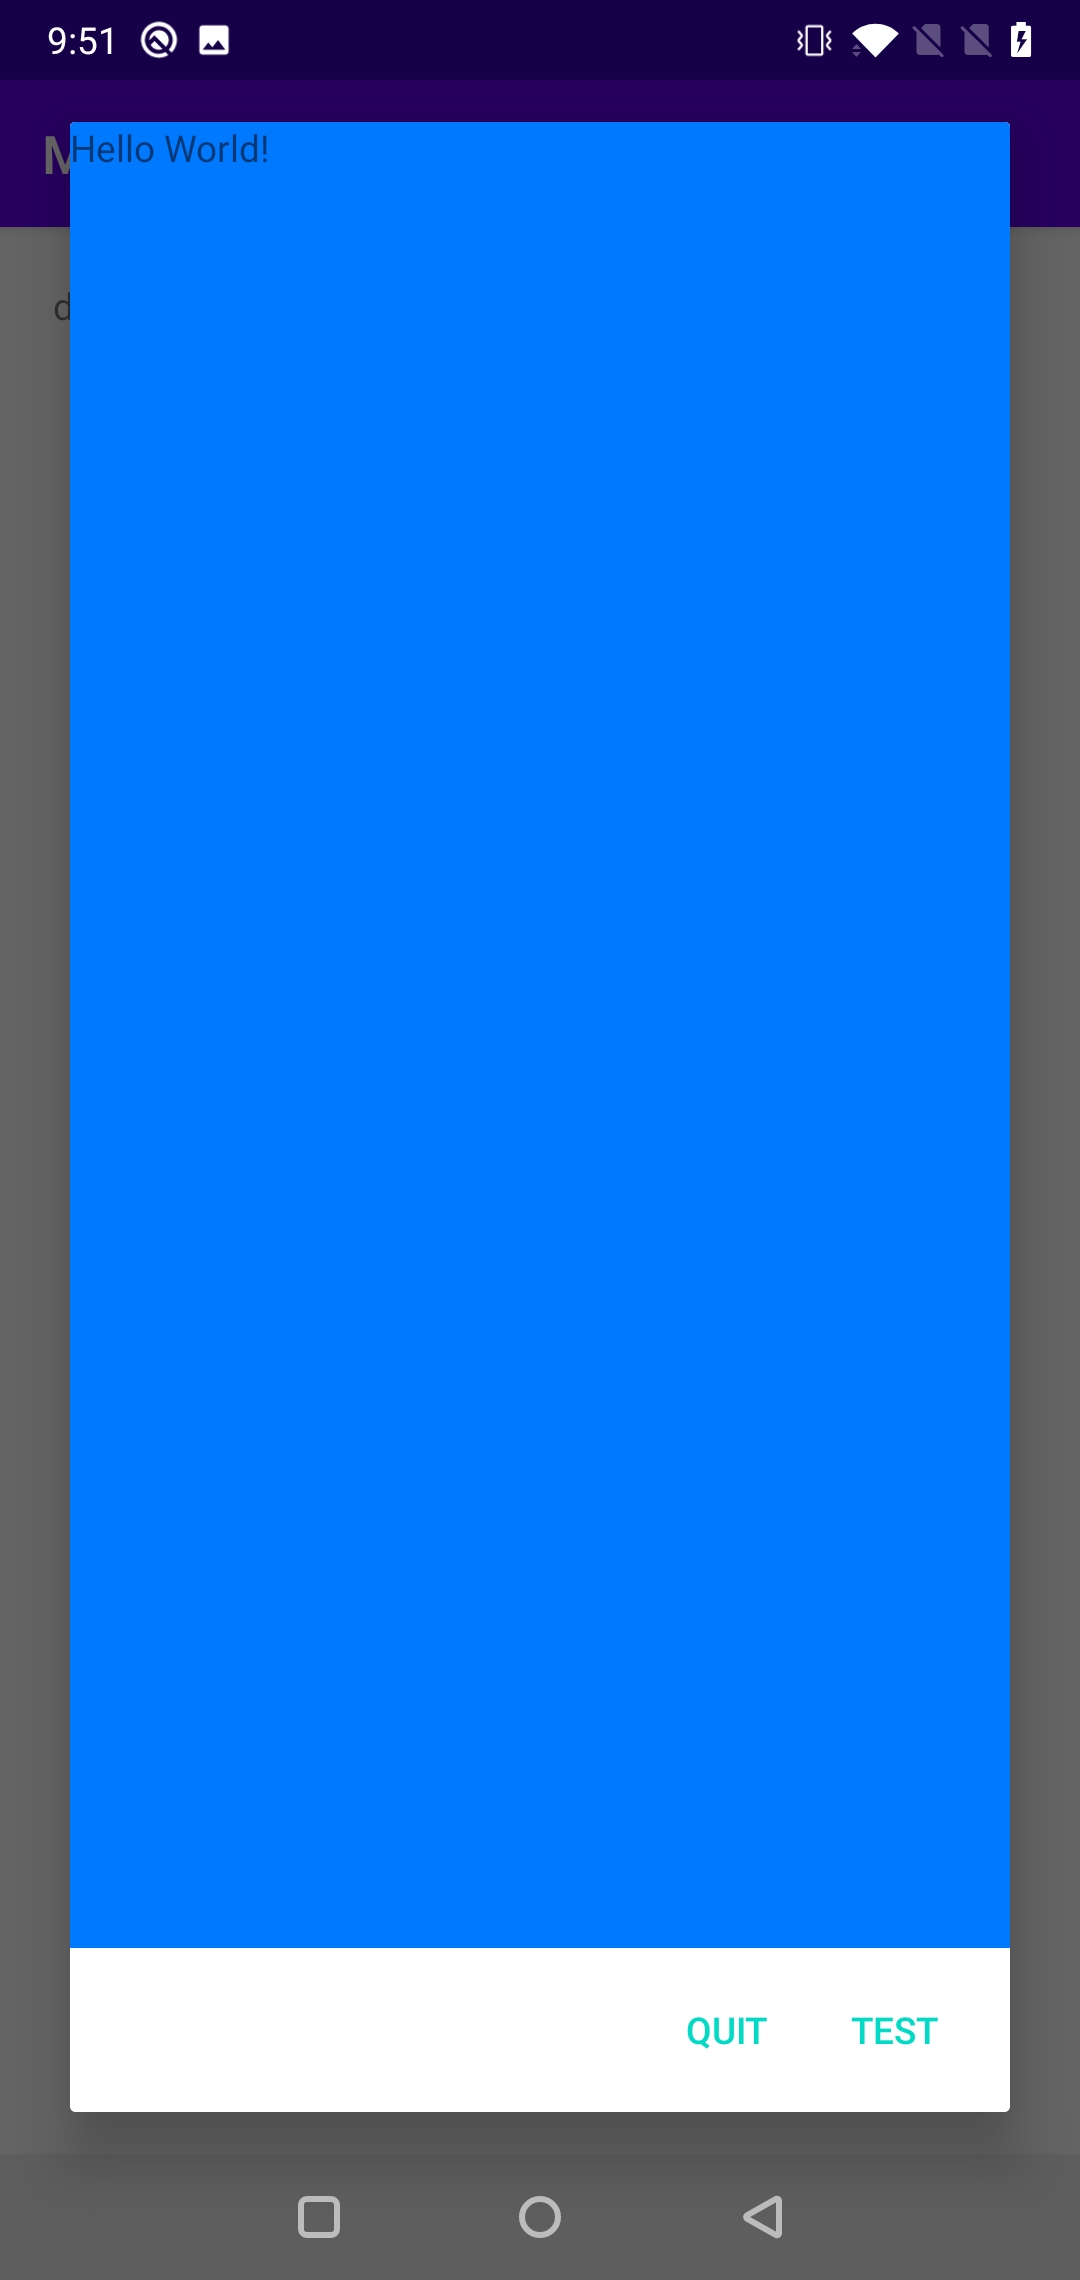
可以看到的是,最终效果是按照我们设定的一样铺满屏幕的。这个跟 onCreateView 效果是不一样的。此外还将我们的小写字母变成了大写字母。
3. 屏幕适配
3.1 如何处理屏幕翻转
如果使用传统的
Dialog,需要我们手动处理屏幕翻转的情况,但使用
DialogFragment的话,则不需要我们进行任何处理,
FragmentManager会自动管理
DialogFragment的生命周期。
3.2 如何隐藏标题栏
在基本用法里代码注释有设置主题的地方,下面详细说下两种方法下设置无标题栏的方式:
方法一:
@Nullable
@Override
public View onCreateView(@NonNull LayoutInflater inflater, @Nullable ViewGroup container, @Nullable Bundle savedInstanceState) {
View view = inflater.inflate(R.layout.activity_main, container, false);
getDialog().getWindow().requestFeature(Window.FEATURE_NO_TITLE);
return view;
}
方法二:
@Override
public void onCreate(@Nullable Bundle savedInstanceState) {
  super.onCreate(savedInstanceState);
  setStyle(DialogFragment.STYLE_NO_TITLE, 0);
}
3.3 如何实现全屏
具体代码如下:
@Nullable
@Override
public View onCreateView(@NonNull LayoutInflater inflater, @Nullable ViewGroup container, @Nullable Bundle savedInstanceState) {
View view = inflater.inflate(R.layout.activity_main, container, false);
if (getDialog() != null && getDialog().getWindow() != null) {
Window window = getDialog().getWindow();
// 铺满全屏
window.getDecorView().setPadding(0, 0, 0, 0);
WindowManager.LayoutParams lp = window.getAttributes();
lp.width = WindowManager.LayoutParams.MATCH_PARENT;
lp.height = WindowManager.LayoutParams.WRAP_CONTENT;
window.setAttributes(lp);
}
return view;
}
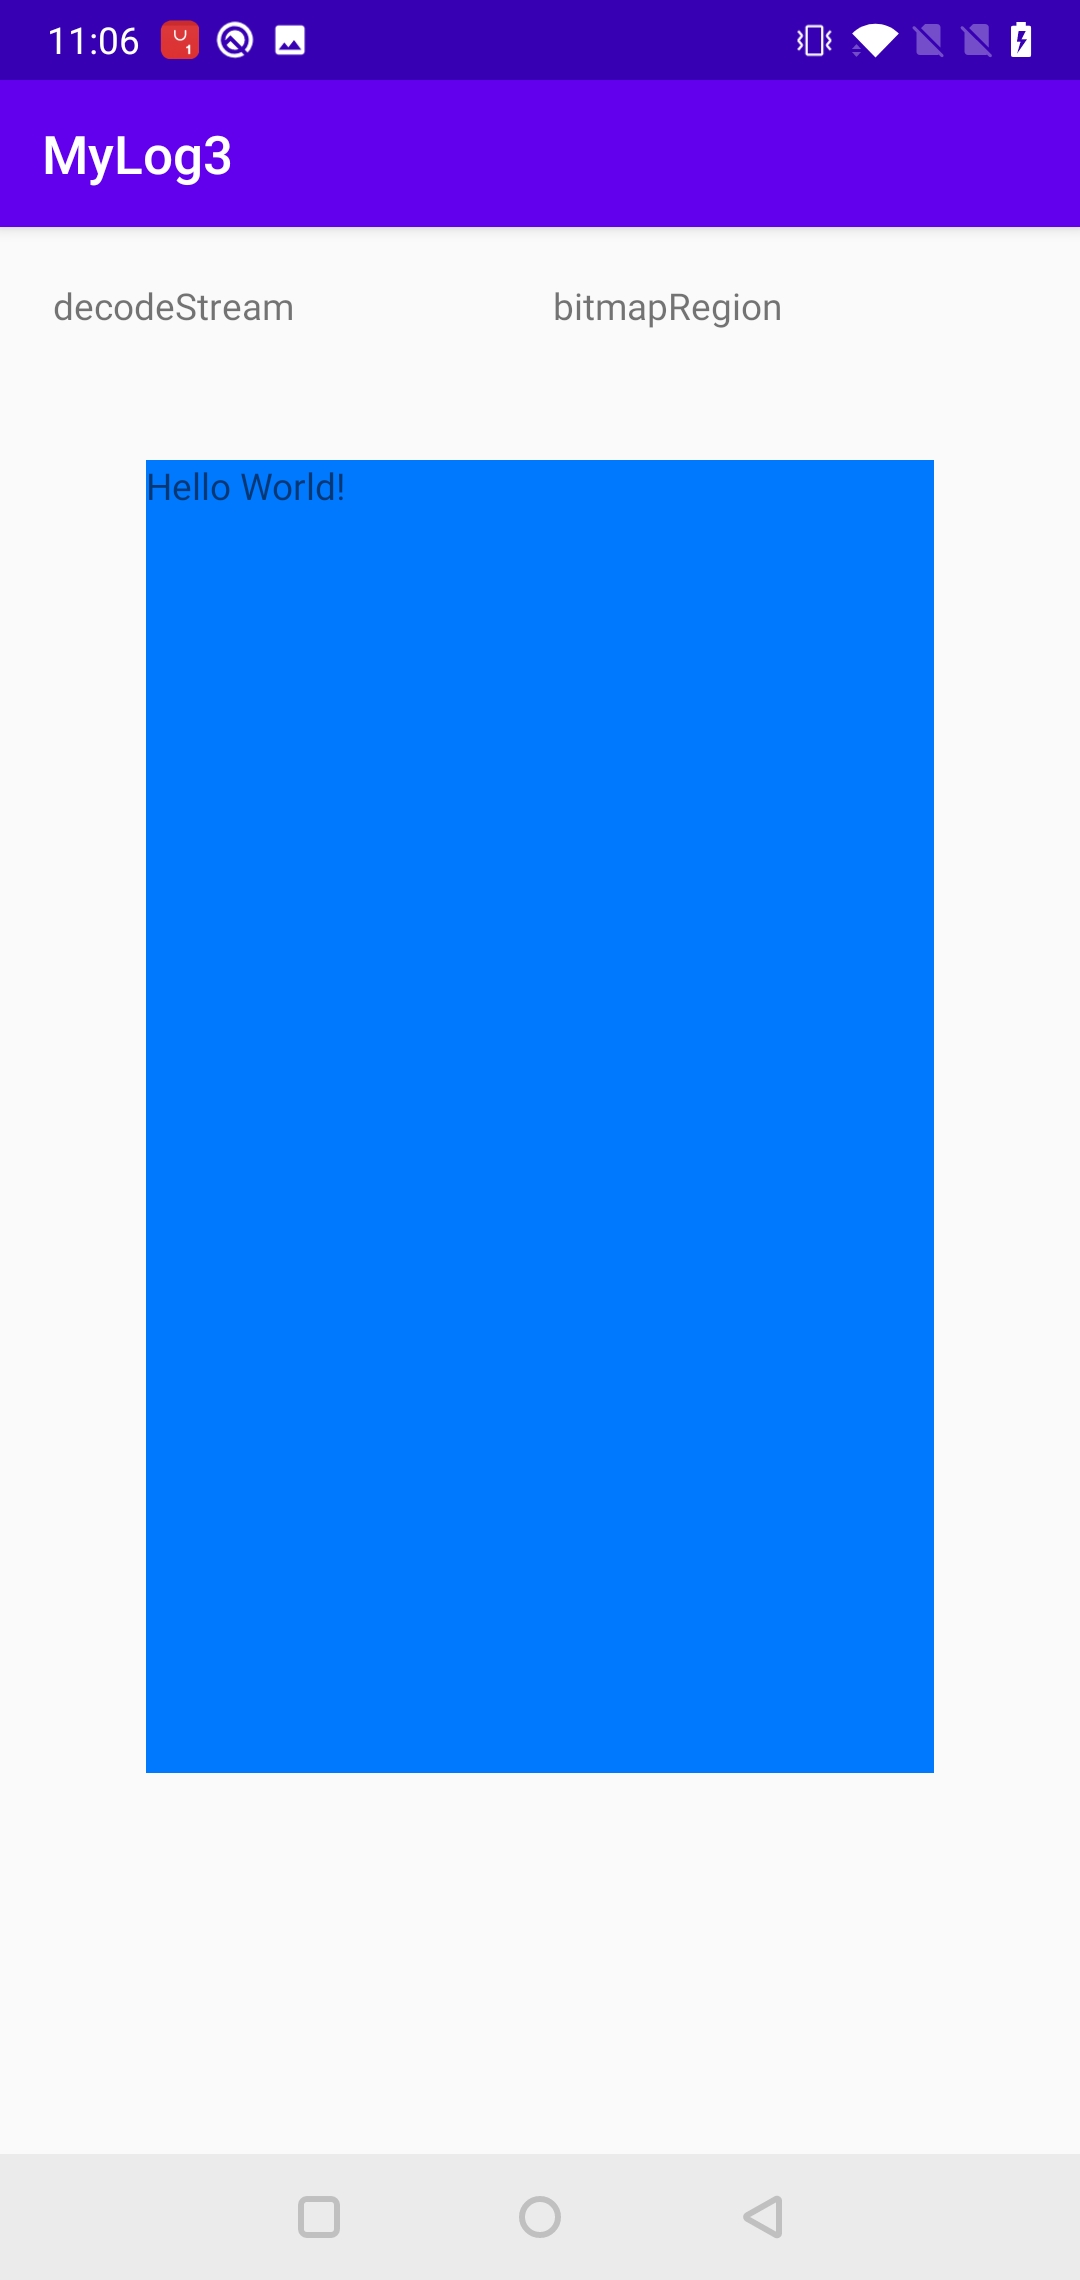
最终效果如下:
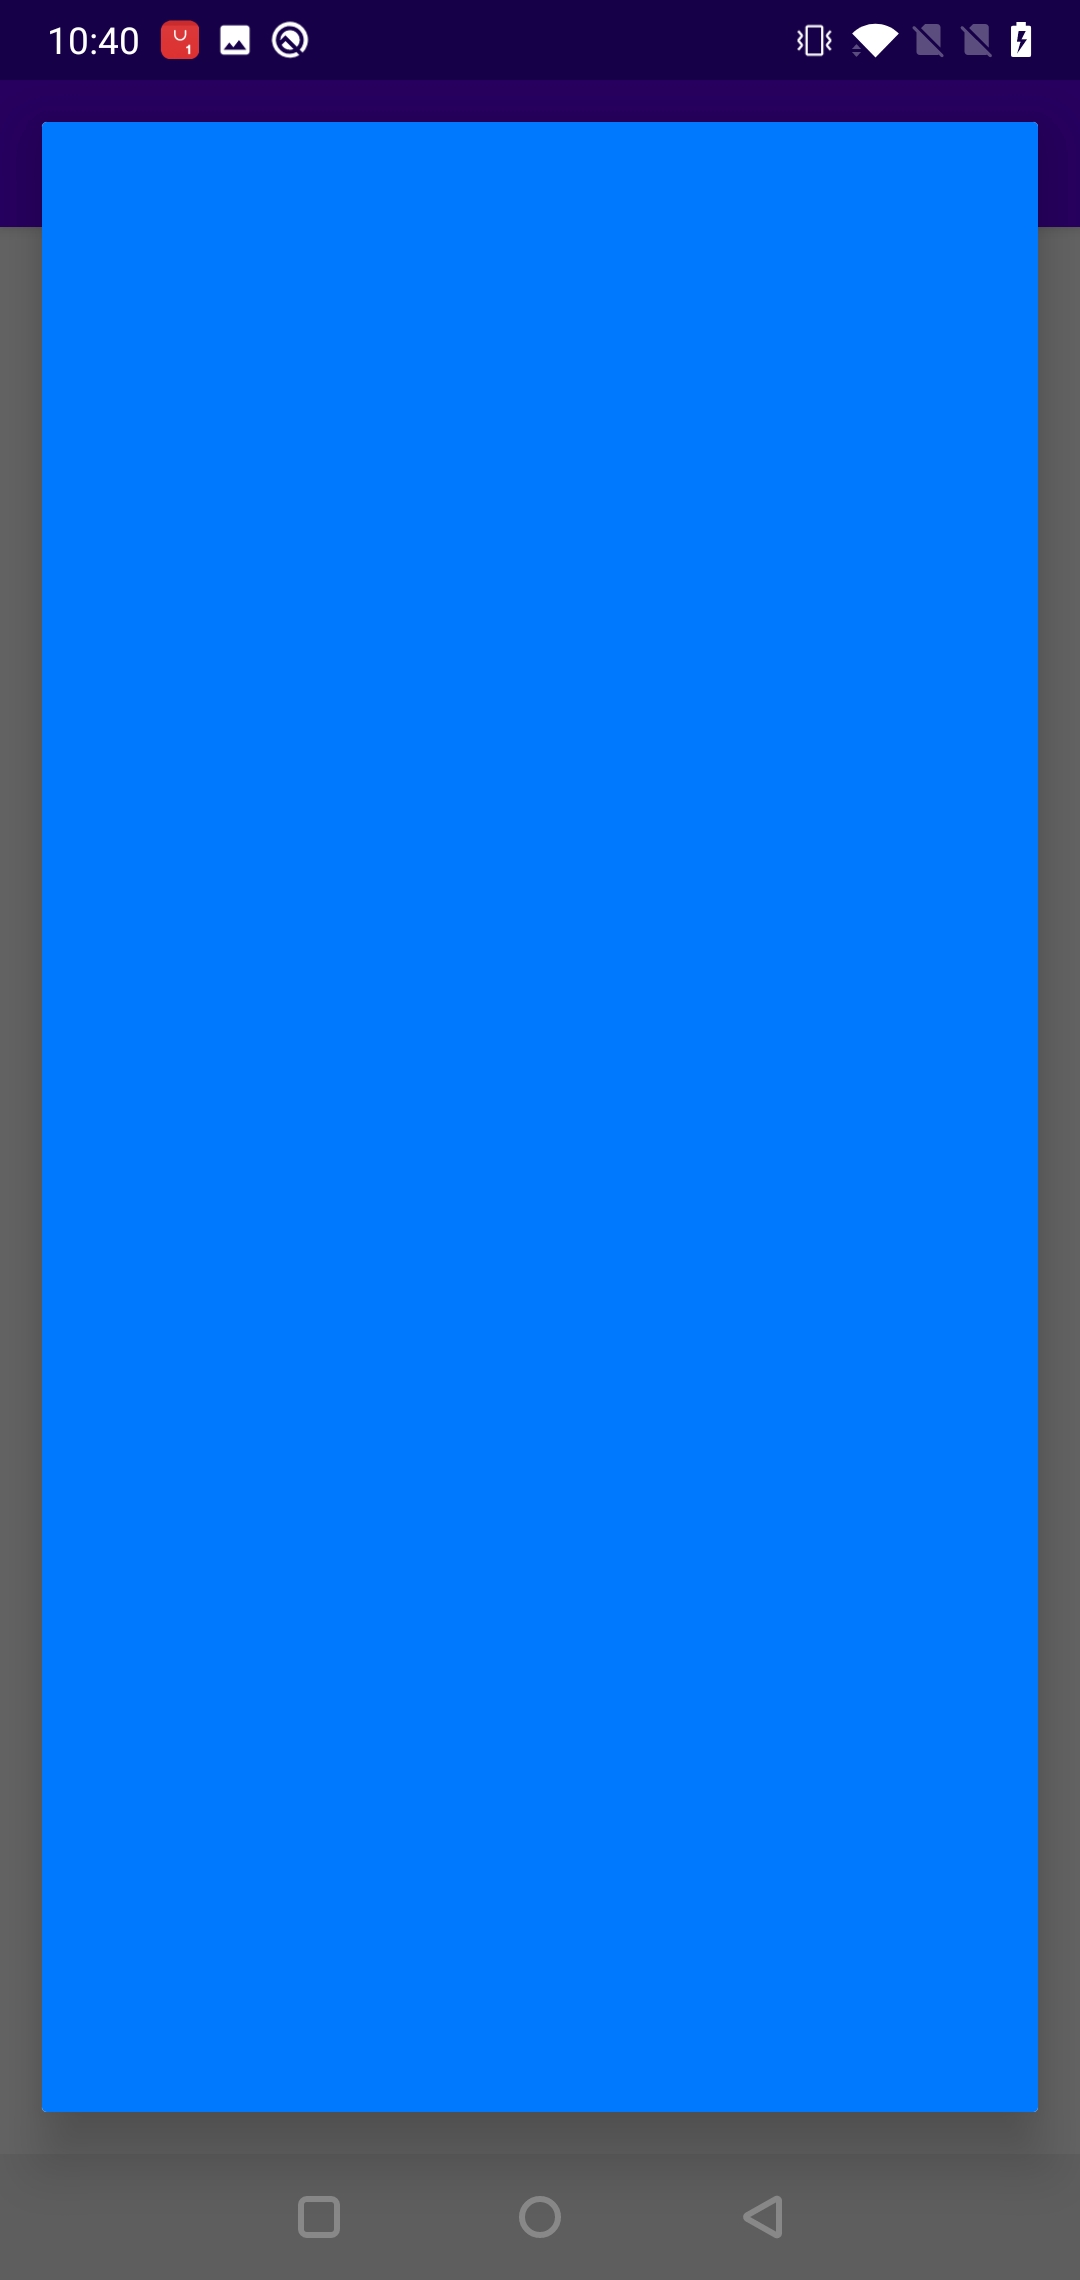
可以发现有个问题是没有铺满全屏,并且 hello world 也看不见了。那么怎么解决呢?只要加上下面这句代码就好。
if (getDialog() != null && getDialog().getWindow() != null) {
Window window = getDialog().getWindow();
// 透明背景
           window.setBackgroundDrawable(new ColorDrawable(Color.TRANSPARENT));
// 铺满全屏
window.getDecorView().setPadding(0, 0, 0, 0);
WindowManager.LayoutParams lp = window.getAttributes();
lp.width = WindowManager.LayoutParams.MATCH_PARENT;
lp.height = WindowManager.LayoutParams.WRAP_CONTENT;
window.setAttributes(lp);
}
这里我个人猜测是不是跟 setWillNotDraw 方法有关系,但是具体原因还是不明确。后来我试了下,把代码改成下面这个也是可以 work 的。
window.getDecorView().setBackgroundDrawable(new ColorDrawable(Color.TRANSPARENT));
3.4 如何与 Activity 进行交互?
由于我们是在 activity 实例上创建的 dialogFragment, 因此,acitivty 是持有 dialogFragment 实例的,只要加一些接口回调就可以了。
3.5 设置自己的想要的背景颜色
有时候因为某些特殊原因,视觉需要换一个背景颜色,由于默认是黑色透明的,因此,需要将该颜色去掉。
只要在前面的代码加上下面这行即可:
// 设置蒙层为完全透明
window.setDimAmount(0);
同时,我们也对 xml 布局进行了调整;
<?xml version="1.0" encoding="utf-8"?>
<FrameLayout xmlns:android="http://schemas.android.com/apk/res/android"
xmlns:app="http://schemas.android.com/apk/res-auto"
xmlns:tools="http://schemas.android.com/tools"
android:layout_width="match_parent"
android:layout_height="match_parent"
tools:context=".MainActivity">

<FrameLayout
android:layout_width="300dp"
android:layout_height="500dp"
android:layout_gravity="center"
android:background="@color/dark_blue">

<TextView
android:layout_width="match_parent"
android:layout_height="match_parent"
android:text="Hello World!" />
</FrameLayout>

</FrameLayout>
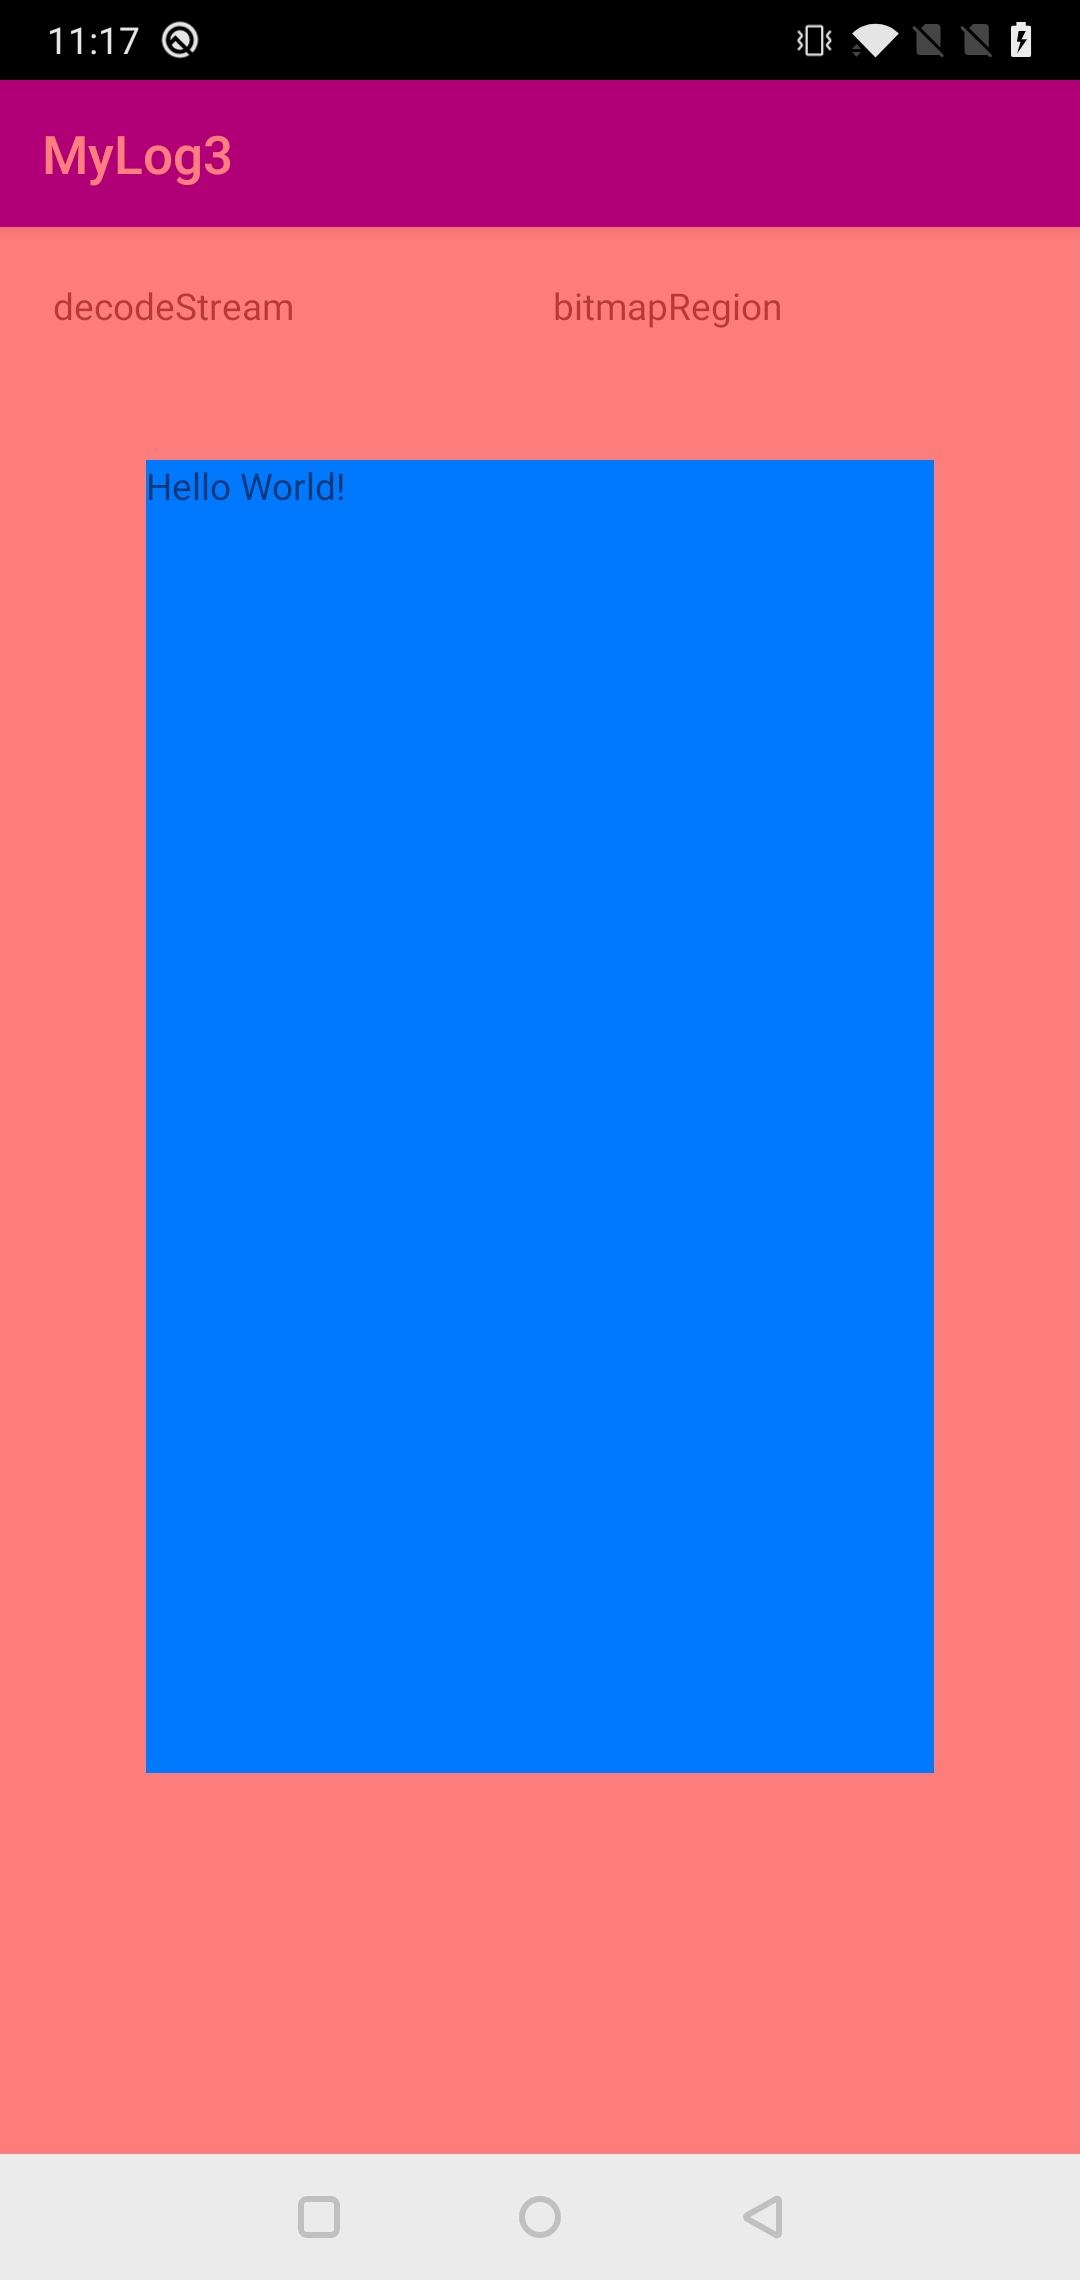
最终效果如下:
在 xml 里面给父 view 设置半透明的红色背景,最终显示效果如下所示:

这和想象的优点区别,那要怎么铺满全屏呢?机智如我的我马上写下下面的代码:
window.setBackgroundDrawable(new ColorDrawable(getActivity().getResources().getColor(R.color.trans_red)));
window.getDecorView().setBackgroundDrawable(new ColorDrawable(getActivity().getResources().getColor(R.color.trans_red)));
结果,还是一样的。看来是哪里不对。后来我终于知道是哪里的问题,是因为前面给 window 设置的 height 是 WRAP_CONTENT 类型的,于是导致一直不能屏幕。
具体原因可以参见我很早之前写的博客:Android View 的绘制流程之 Measure 过程详解 (一)
简单来说,就是 window 高度是 at_most 类型,虽然子 view 是 match_parent,但是由于 window 的类型,导致 子 view 的 match_parent 失效变成了 at_most 类型,最下面的子 view 有设定高度,于是所有是 at_most 类型的最终都会变成子 view 设定的高度。
因此,解决问题的代码如下:
564
WindowManager.LayoutParams lp = window.getAttributes();
lp.width = WindowManager.LayoutParams.MATCH_PARENT;
lp.height = WindowManager.LayoutParams.MATCH_PARENT;
window.setAttributes(lp);
最终效果如下所示:
但是,加了这行代码带来的问题是就会发现退出和进入的时候状态栏颜色会发生变化,这个对于敏感的人群来说,可能是一种不好的体验。
关于状态栏颜色,目前我没发现有比较好的解决办法,这个如果你们有解决了,可以评论区告诉我。要想不变色就是采用系统默认背景颜色,不要自己设置颜色,同时不要设置高度为 match_parent 。
3.6 禁止动画效果:
// 禁止动画
window.setWindowAnimations(0);
加了该行代码,在退出和进入的时候都不会有动画效果。 相信到这里,你对 DialogFragment 已经有了比较深的认识了。
参考文章

- 通过DialogFragment玩转高仿IOS弹框~
- Android Study 之通过DialogFragment玩转高仿IOS弹框~ ^.^
- DialogFragment如何设置大小和位置
- Android 自定义DialogFragment替代popupwindow
- android的DialogFragment设置全屏之后,里面的View不能充满整个屏幕
- 手把手玩转win8开发系列课程(27)
- android DialogFragment简单应用
- DialogFragment实践与原理
- DialogFragment设置全屏方法
- 玩转iPhone网络通讯之BSD Socket篇(手把手教你iphone开发 - 基础篇)
- onResume() called after onSaveInstanceState in FragmentActivity causing DialogFragmet.show() to cras
- 解决DialogFragment连续add引起的Crash崩溃
- DialogFragment不能findViewById的解决方法
- 通过DialogFragment从DatePicker或TimePicker中获取日期数据
- Android 使用DialogFragment 实现一个可以多选的Dialog
- 完成端口(CompletionPort)详解 - 手把手教你玩转网络编程系列之三
- Android Fragment、Activity、Dialog 各种组件直接数据共享,更新通知
- Android 官方推荐 : DialogFragment 创建对话框
- Updating a ListView inside a Fragment placed on a ViewPager on DialogFragment dismiss
- DialogFragment使用