EMCC 13添加其它主机和数据库
OMS:添加监控资源
OEMCC监控的主机需要部署对应的agent,官档描述如下:
Oracle Management Agent (Management Agent) is one of the core components of Enterprise Manager Cloud Control that enables you to convert an unmanaged host to a managed host in the Enterprise Manager system. The Management Agent works in conjunction with the plug-ins to monitor the targets running on that managed host.
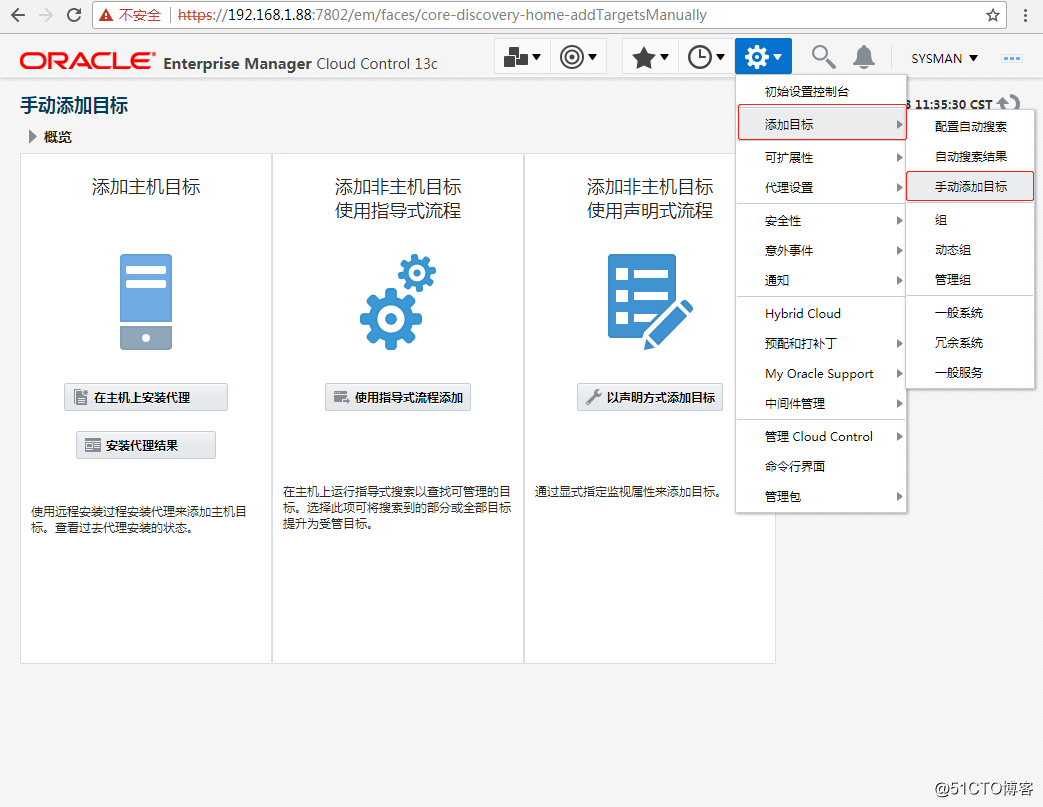
我直接在OEMCC上手动添加目标:
起初在被监控的主机上部署agent时,碰到报错,如下:

报错信息文字:
在主机 192.168.1.61 上执行命令 cd /opt/app/scratch/agentHome/ADATMP_2018-01-23_13-38-45-PM;/opt/app/scratch/agentHome/ADATMP_2018-01-23_13-38-45-PM/agentDeploy.sh -ignorePrereqs ORACLE_HOSTNAME=192.168.1.61 AGENT_BASE_DIR=/opt/app/scratch/agentHome OMS_HOST=OMS EM_UPLOAD_PORT=4903 AGENT_INSTANCE_HOME=/opt/app/scratch/agentHome/agent_inst b_doDiscovery=false START_AGENT=false b_forceInstCheck=true -force AGENT_PORT=3872 失败
错误消息: The Oracle Management Server (OMS) host and port specified via OMS_HOST and EM_UPLOAD_PORT is not available. Pass in a valid hostname and port number for the OMS to successfully deploy the agent.
退出代码 :1
开始认为是主机间可能有防火墙没关闭,或者是端口配置不对,进一步根据MOS的一些文档说明:
•EM 12C: Enterprise Manager 12c Cloud Control Agent Silent Installation Fails while Validating OMS Host and Port (文档 ID 1368010.1)
•EM 12c Agent Install fails with ERROR: The Oracle Management Server (OMS) host and port specified via OMS_HOST and EM_UPLOAD_PORT is not available (文档 ID 1524756.1)
首先确认OMS的端口配置正确:
[oracle@OMS ~]$ /u01/app/oracle/product/oem13.2/middleware/bin/emctl status oms -details
Oracle Enterprise Manager Cloud Control 13c Release 2
Copyright (c) 1996, 2016 Oracle Corporation. All rights reserved.
Enter Enterprise Manager Root (SYSMAN) Password :
Console Server Host : OMS
HTTP Console Port : 7788
HTTPS Console Port : 7802
HTTP Upload Port : 4889
HTTPS Upload Port : 4903 <<<===== ======== OMS Upload Port is same the port configured at the agent
EM Instance Home : /u01/app/oracle/product/oem13.2/gc_inst/em/EMGC_OMS1
OMS Log Directory Location : /u01/app/oracle/product/oem13.2/gc_inst/em/EMGC_OMS1/sysman/log
OMS is not configured with SLB or virtual hostname
Agent Upload is locked.
OMS Console is locked.
Active CA ID: 1
Console URL: https://OMS:7802/em
Upload URL: https://OMS:4903/empbs/upload
WLS Domain Information
Domain Name : GCDomain
Admin Server Host : OMS
Admin Server HTTPS Port: 7102
Admin Server is RUNNING
Oracle Management Server Information
Managed Server Instance Name: EMGC_OMS1
Oracle Management Server Instance Host: OMS
WebTier is Up
Oracle Management Server is Up
JVMD Engine is Up
BI Publisher Server Information
BI Publisher Managed Server Name: BIP
BI Publisher Server is Down
BI Publisher is disabled, to enable BI Publisher on this host, use the 'emctl config oms -enable_bip' command
[oracle@OMS ~]$
查看日志发现是这一段之后报错:
/opt/app/scratch/agentHome/agent_13.2.0.0.0/jdk/jre/bin/java -classpath /opt/app/scratch/agentHome/agent_13.2.0.0.0/jlib/agentInstaller.jar:/opt/app/scratch/agentHome/agent_13.2.0.0.0/oui/modules/OraInstaller.jar oracle.sysman.agent.installer.AgentInstaller /opt/app/scratch/agentHome/agent_13.2.0.0.0 /opt/app/scratch/agentHome/ADATMP_2018-01-23_13-38-45-PM /opt/app/scratch/agentHome $args -prereq
Validating the OMS_HOST & EM_UPLOAD_PORT has failed
根据文档1368010.1的思路排查:
1). OMS status
[oracle@OMS ~]$ $OMS_HOME/bin/emctl status oms
Oracle Enterprise Manager Cloud Control 13c Release 2
Copyright (c) 1996, 2016 Oracle Corporation. All rights reserved.
WebTier is Up
Oracle Management Server is Up
JVMD Engine is Up
BI Publisher Server is Down
BI Publisher is disabled, to enable BI Publisher on this host, use the 'emctl config oms -enable_bip' command
OMS is ok.
2). ping OMS
[oracle@jystdrac1 ADATMP_2018-01-23_13-38-45-PM]$ ping OMS
ping: unknown host OMS
[oracle@jystdrac1 ADATMP_2018-01-23_13-38-45-PM]$ ping 192.168.1.88
PING 192.168.1.88 (192.168.1.88) 56(84) bytes of data.
64 bytes from 192.168.1.88: icmp_seq=1 ttl=64 time=1.37 ms
64 bytes from 192.168.1.88: icmp_seq=2 ttl=64 time=0.615 ms
配置/etc/hosts,增加:
#OMS
192.168.1.88 OMS
3).
wget http://192.168.1.88:4903/empbs/genwallet
or
wget https://192.168.1.88:4903/empbs/genwallet
wget http://OMS:4903/empbs/genwallet
[oracle@jystdrac1 ~]$ wget http://OMS:4903/empbs/genwallet
--2018-01-23 16:02:03-- http://oms:4903/empbs/genwallet
Resolving oms... 192.168.1.88
Connecting to oms|192.168.1.88|:4903... connected.
HTTP request sent, awaiting response... No data received.
Retrying.
--2018-01-23 16:02:04-- (try: 2) http://oms:4903/empbs/genwallet
Connecting to oms|192.168.1.88|:4903... connected.
HTTP request sent, awaiting response... No data received.
Retrying.
--2018-01-23 16:02:06-- (try: 3) http://oms:4903/empbs/genwallet
Connecting to oms|192.168.1.88|:4903... connected.
HTTP request sent, awaiting response... No data received.
Retrying.
^C
4).
再次尝试重新部署agent成功。
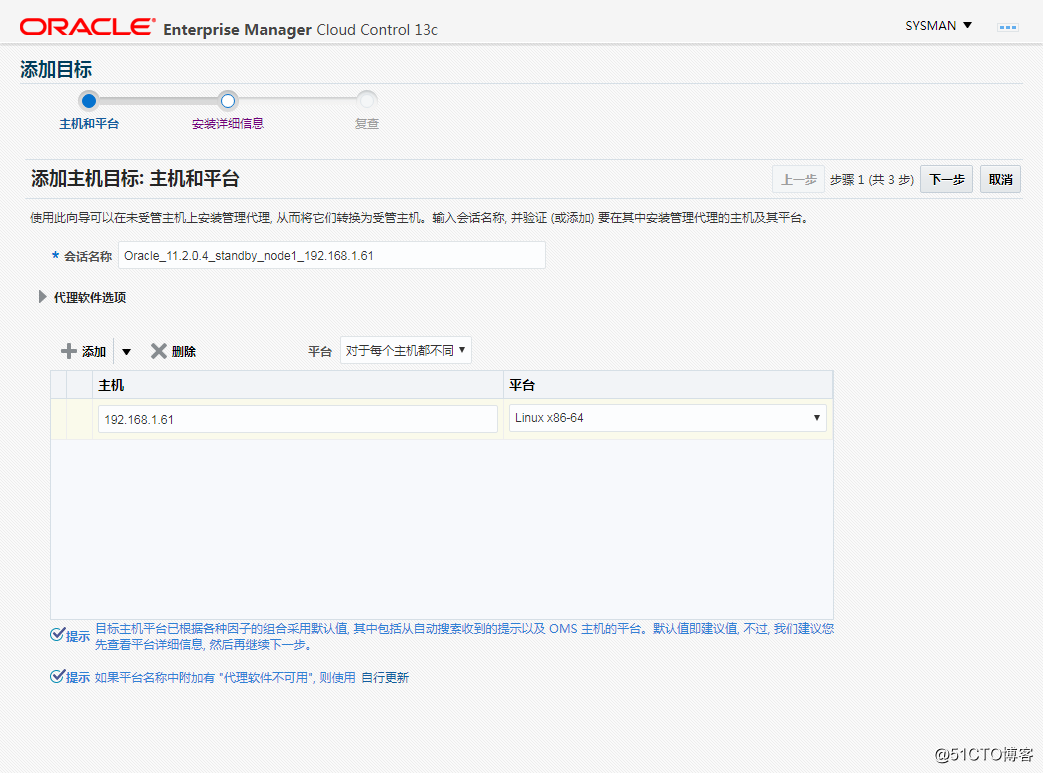
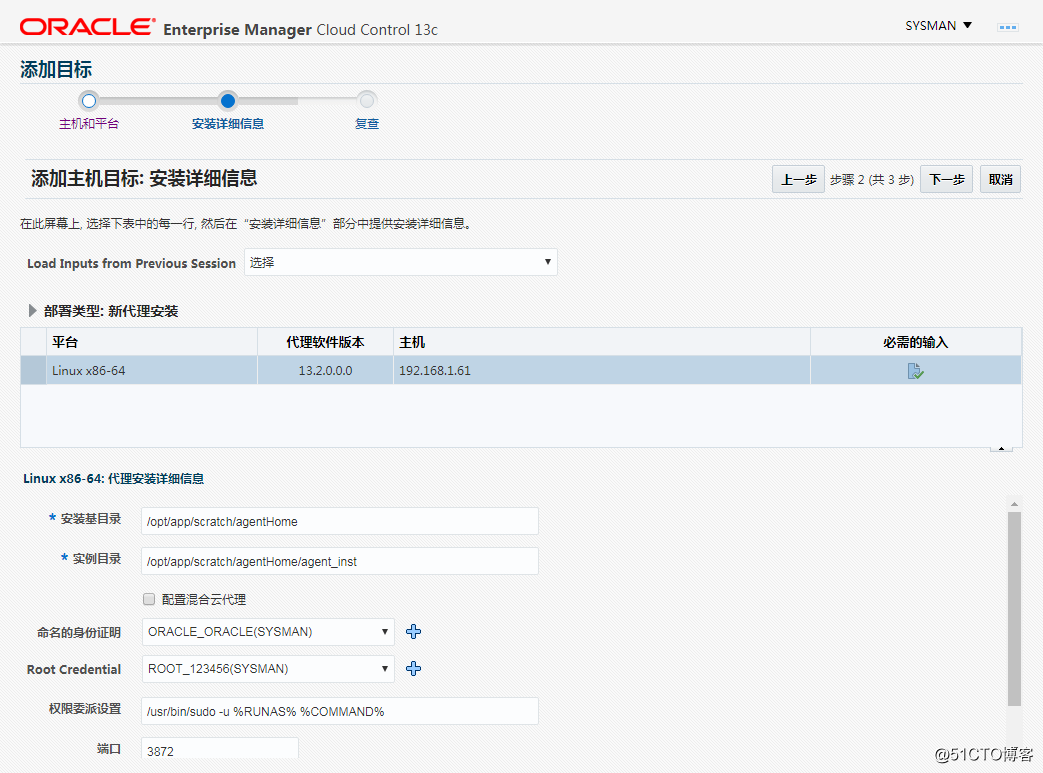
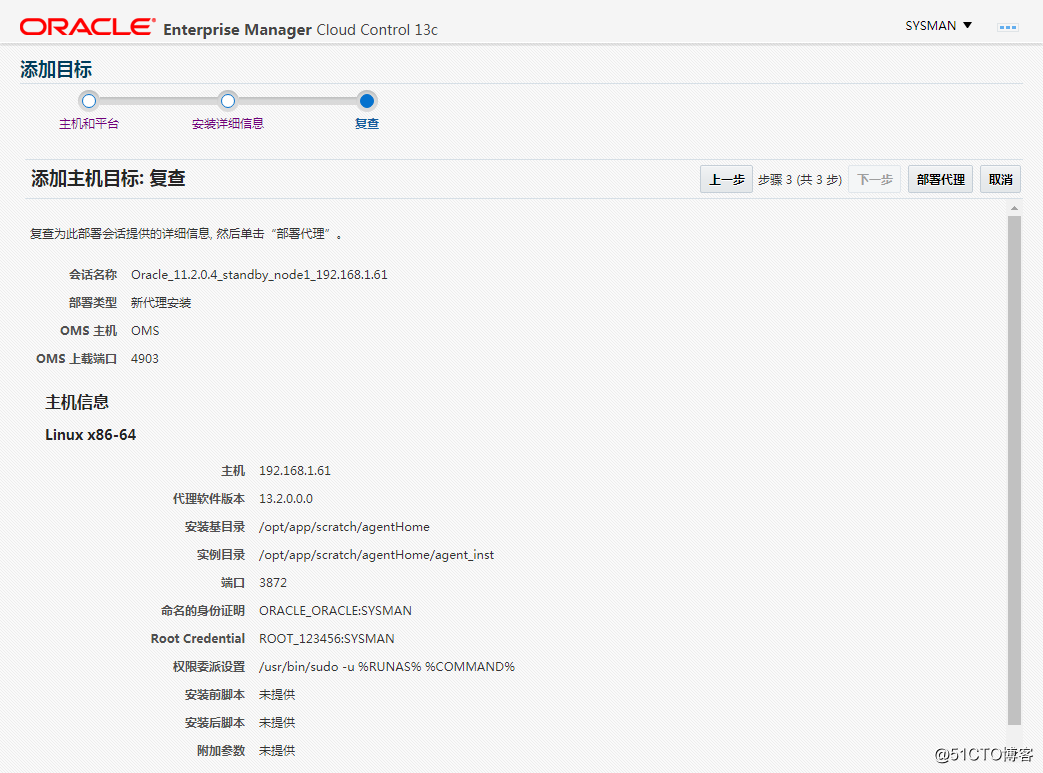
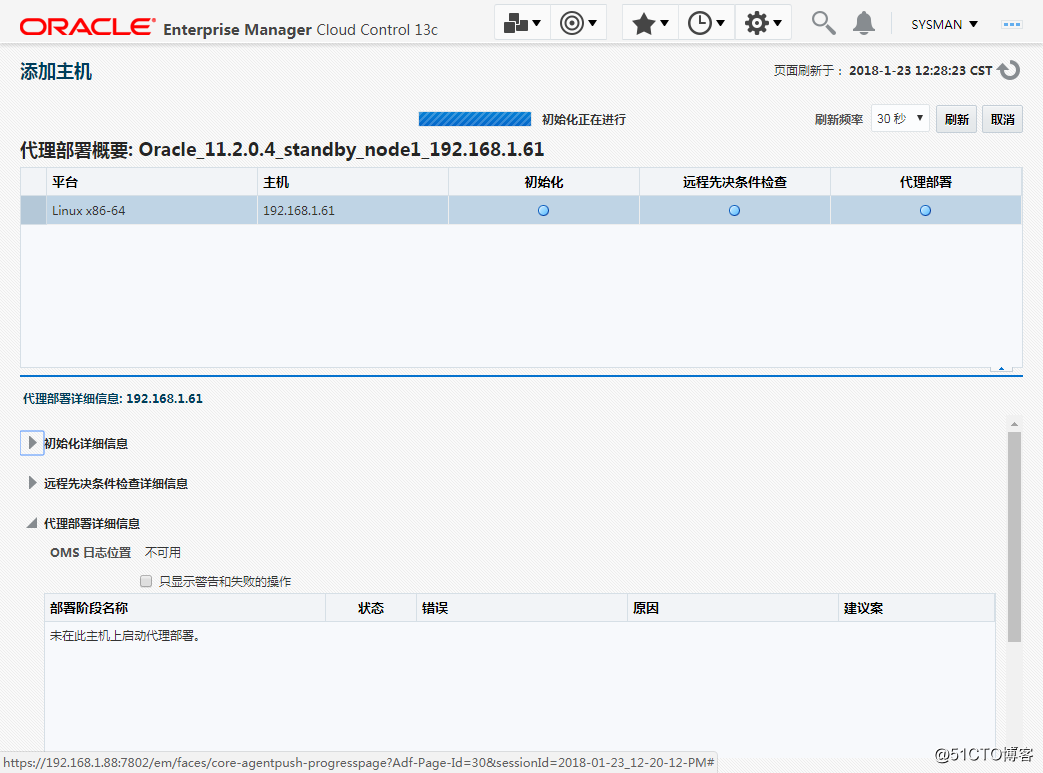
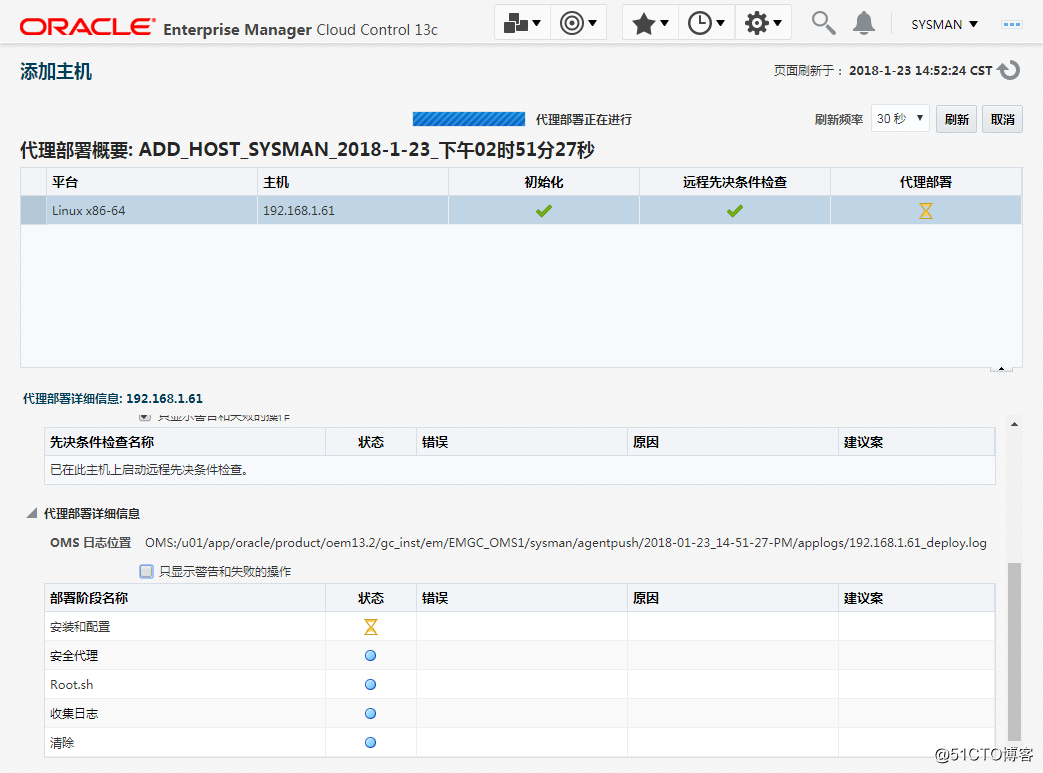
在OEMCC上部署agent(推送方式)步骤截图如下:

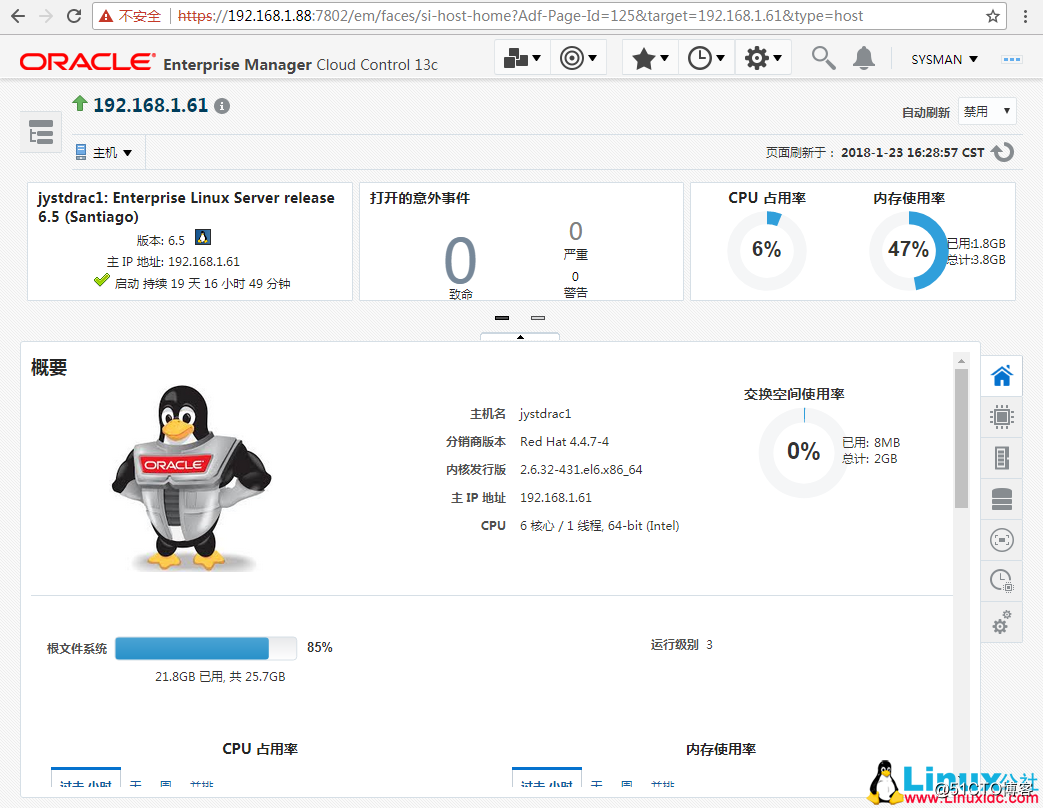
最后就可以在OEMCC上直观看到该主机的相关监控数据:
至此,我们就熟悉了OEMCC 13.2 的整体安装、部署、配置agent等基本操作,后续就可以在这个环境下逐渐深入学习并感受OEMCC的强大功能了。
来自 “ ITPUB博客 ” ,链接:http://blog.itpub.net/26736162/viewspace-2217130/,如需转载,请注明出处,否则将追究法律责任。

- 一次通过switchover物理从库迁移数据库到其它主机上(2010-11-09)
- 数据库连接慢,添加反向DNS反向解析的主机
- 从其它主机访问数据库所在主机时提示“找不到数据库”
- zabbix登山路——利用数据库添加监控主机
- 快速检测数据库是否连接上(与其它主机连接)
- IIS6批量添加主机头,修改IIS数据库
- 数据库适当添加索引进行查询优化
- ASP和C#.NET实现IIS6添加和删除站点主机头
- Spring Boot---(13)Spring Boot 使用JPA访问数据库
- morphia向数据库中存入对象时,会默认添加className的问题
- sql server添加数据库管理员
- tomcat中添加新虚拟主机
- android的content provider之二:添加数据库属性及用ContentObserver实现数据库的监听
- 数据库中添加图片和获得图片
- 好记性不如烂笔头92-spring3学习(13)-spring和hibernate访问数据库的小差异
- UIScrollView基本使用。为其它添加多个button ||-iOS objective-c
- mysql 远程连接其他主机上的数据库 + 10038错误
- easyui递归添加完所有的菜单及菜单所拥有的按钮,并根据数据库的值判断是否勾上
- MySql中添加用户,新建数据库,用户授权,删除用户,修改密码
- sql 数据库,左外链接和查询结果某一项添加自定义字符串的情况