airflow 配置 CeleryExecutor
2021-04-05 23:07
1206 查看
celery 是分布式任务队列,与调度工具 airflow 强强联合,可实现复杂的分布式任务调度,这就是 CeleryExecutor,有了 CeleryExecutor,你可以调度本地或远程机器上的作业,实现分布式任务调度。本文介绍如何配置 airflow 的 CeleryExecutor。
操作步骤
CeleryExecutor 需要 Python 环境安装有 celery。
第一步: 安装celery
pip install celery
Celery 需要一个发送和接受消息的传输者 broker。RabbitMQ 和 Redis 官方推荐的生产环境级别的 broker,这里我们选用 Redis,只是因为安装起来非常方便,而 RabbitMQ 的安装需要 再安装 erlang 。
第二步:安装 redis
先从 https://redis.io/download 下载稳定版本,目前是 redis-4.0.11.tar.gz。
tar -zxvf redis-4.0.11.tar.gz
cd redis-4.0.11
make      #编译
make test  #验证
cp redis.conf src/  #将配置文件复制以可执行文件同一目录
cd src
./redis-server redis.conf #按默认方式启动 redis-server ,仅监听 127.0.0.1 ,若监听其他 ip 修改为 bind 0.0.0.0
运行后的输出如下所示:
7359:C 16 Aug 21:19:26.539 # oO0OoO0OoO0Oo Redis is starting oO0OoO0OoO0Oo
7359:C 16 Aug 21:19:26.539 # Redis version=4.0.11, bits=64, commit=00000000, modified=0, pid=7359, just started
7359:C 16 Aug 21:19:26.539 # Configuration loaded
7359:M 16 Aug 21:19:26.541 * Increased maximum number of open files to 10032 (it was originally set to 1024).
                _._
           _.-``__ ''-._
      _.-``    `.  `_.  ''-._           Redis 4.0.11 (00000000/0) 64 bit
  .-`` .-```.  ```\/    _.,_ ''-._
 (    '      ,       .-`  | `,    )     Running in standalone mode
 |`-._`-...-` __...-.``-._|'` _.-'|     Port: 6379
 |    `-._   `._    /     _.-'    |     PID: 7359
  `-._    `-._  `-./  _.-'    _.-'
 |`-._`-._    `-.__.-'    _.-'_.-'|
 |    `-._`-._        _.-'_.-'    |           http://redis.io
  `-._    `-._`-.__.-'_.-'    _.-'
 |`-._`-._    `-.__.-'    _.-'_.-'|
 |    `-._`-._        _.-'_.-'    |
  `-._    `-._`-.__.-'_.-'    _.-'
      `-._    `-.__.-'    _.-'
          `-._        _.-'
              `-.__.-'

7359:M 16 Aug 21:19:26.544 # WARNING: The TCP backlog setting of 511 cannot be enforced because /proc/sys/net/core/somaxconn is set to the lower value of 128.
7359:M 16 Aug 21:19:26.544 # Server initialized
7359:M 16 Aug 21:19:26.544 # WARNING overcommit_memory is set to 0! Background save may fail under low memory condition. To fix this issue add 'vm.overcommit_memory = 1' to /etc/sysctl.conf and then reboot or run the command 'sysctl vm.overcommit_memory=1' for this to take effect.
7359:M 16 Aug 21:19:26.545 # WARNING you have Transparent Huge Pages (THP) support enabled in your kernel. This will create latency and memory usage issues with Redis. To fix this issue run the command 'echo never > /sys/kernel/mm/transparent_hugepage/enabled' as root, and add it to your /etc/rc.local in order to retain the setting after a reboot. Redis must be restarted after THP is disabled.
7359:M 16 Aug 21:19:26.545 * Ready to accept connections
实际应用时需要在后台持续运行:
nohup ./redis-server redis.conf 2>1&
第三步:配置 airflow.cfg
修改 airflow.cfg
#修改 3 处:
executor = CeleryExecutor
broker_url = redis://127.0.0.1:6379/0
celery_result_backend = redis://127.0.0.1:6379/0
第四步:安装 python 的 redis 包,为启动 worker 作准备
pip install redis
第五步:运行 airflow
#启动webserver
#后台运行  airflow webserver -p 8080 -D
airflow webserver -p 8080

#启动scheduler
#后台运行  airflow scheduler -D
airflow scheduler
#启动worker
#后台运行  airflow worker -D
#如提示addres already use ,则查看 worker_log_server_port = 8793 是否被占用,如是则修改为 8974 等
#未被占用的端口
airflow worker
#启动flower -- 可以不启动
#后台运行  airflow flower -D
airflow flower
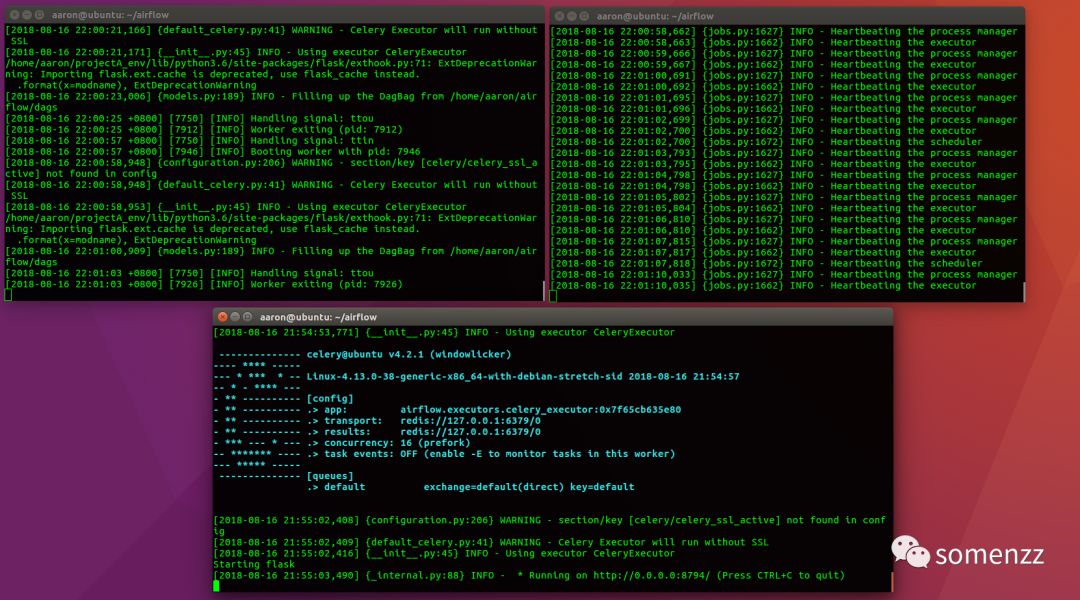
运行成功后如下所示:

相关文章推荐
- Airflow CeleryExecutor安装和配置说明
- django+celery+djcelery 最简配置
- springmvc整合TaskExecutor线程池的配置/使用
- springmvc中线程池(ThreadPoolTaskExecutor)的配置
- Tomcat性能优化(三) Executor配置
- ThreadPoolTaskExecutor的配置解释
- celery常用配置总结
- 模块和包.深入Celery之应用配置/独立模块配置实践
- Spring线程池ThreadPoolTaskExecutor 的配置与使用
- django+celery+RabbitMQ 环境配置
- storm中worker、executor与task配置
- ThreadPoolTaskExecutor的配置
- SPRING IN ACTION 第4版笔记-第八章Advanced Spring MVC-001- 配置SpringFlow(flow-executor、flow-registry、FlowHandlerMapping、FlowHandlerAdapter)
- Spring线程池ThreadPoolTaskExecutor配置及详情
- Tomcat 6.0 共享线程池的配置Shared Executor Thread pool
- 在Docker容器中配置和运行Django + Celery
- airflow的安装和配置
- 【Java 并发】Executor框架机制与线程池配置使用
- spring-boot @Async 的使用、自定义Executor的配置方法
- Python3+Django3+Celery4+Rabbirmq 使用Celery,django配置信息