Linux 搭建php环境(Nginx)
Linux[CentOS]搭建PHP+Nginx+MySQL环境教程
一,安装Nginx
可参考才菜鸟教程
https://www.runoob.com/linux/nginx-install-setup.html
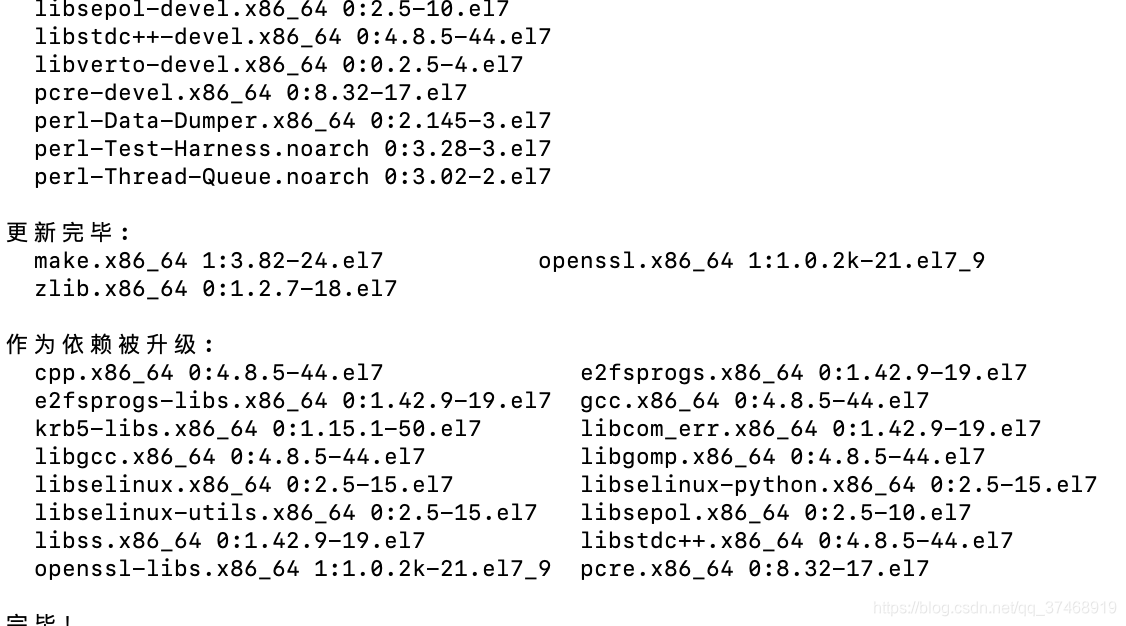
1,安装编译工具及库文件
yum -y install make zlib zlib-devel gcc-c++ libtool openssl openssl-devel
2,首先要安装 PCRE
PCRE 作用是让 Nginx 支持 Rewrite 功能。
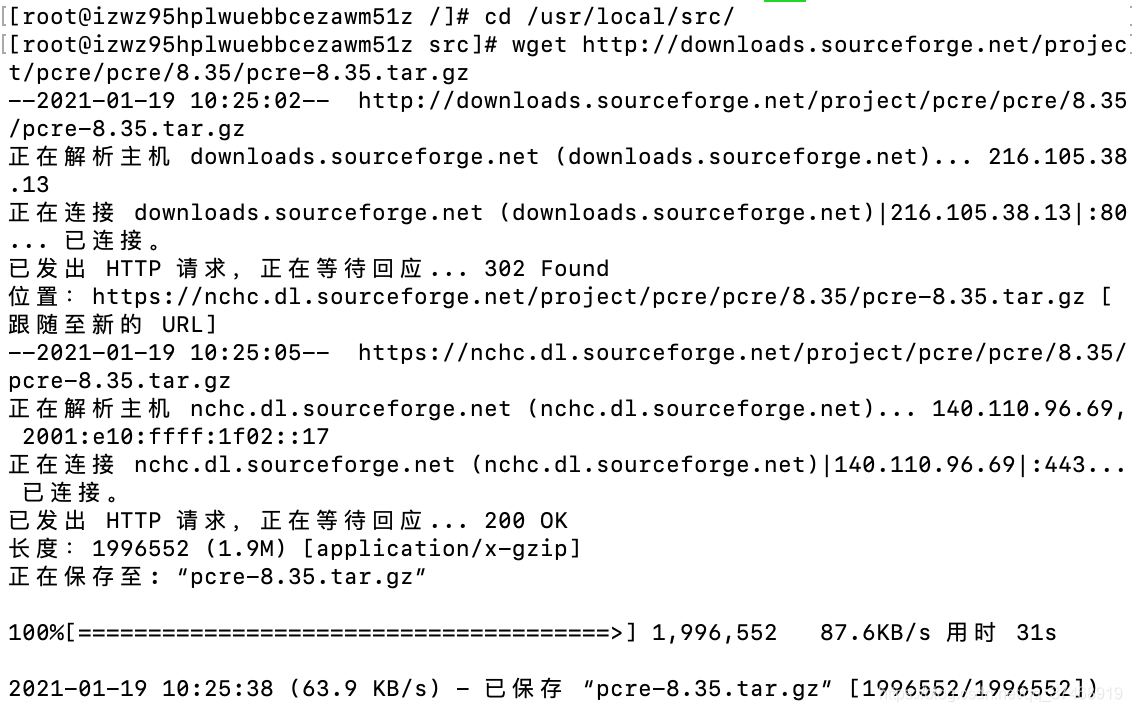
a、下载 PCRE 安装包,下载地址: http://downloads.sourceforge.net/project/pcre/pcre/8.35/pcre-8.35.tar.gz
//切换目录
cd /usr/local/src/
//安装
wget http://downloads.sourceforge.net/project/pcre/pcre/8.35/pcre-8.35.tar.gz
b、解压安装包:
tar zxvf pcre-8.35.tar.gz
c、进入安装包目录
cd pcre-8.35
d、编译安装
./configure
make && make install


e、查看pcre版本
pcre-config --version

3,安装 Nginx
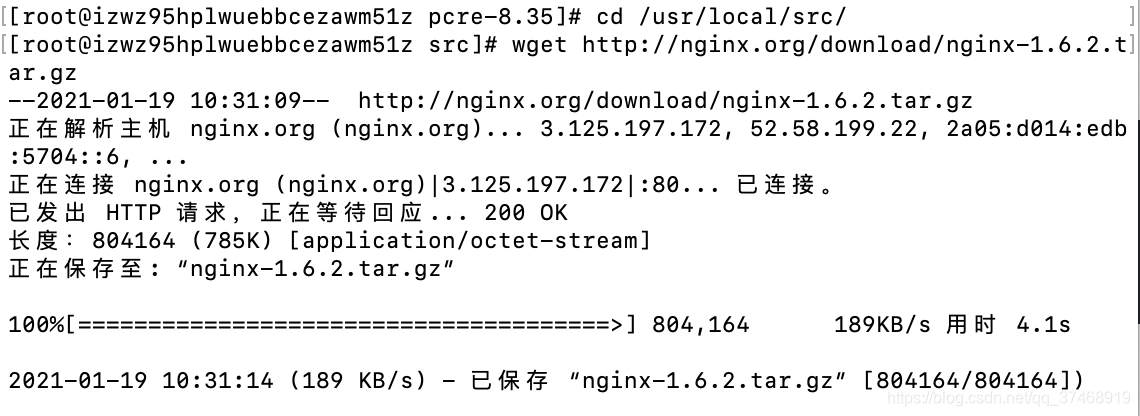
a、下载 Nginx,下载地址:https://nginx.org/en/download.html
//切换目录
cd /usr/local/src/
//安装
wget http://nginx.org/download/nginx-1.6.2.tar.gz
b、解压安装包
tar zxvf nginx-1.6.2.tar.gz
c、进入安装包目录
cd nginx-1.6.2
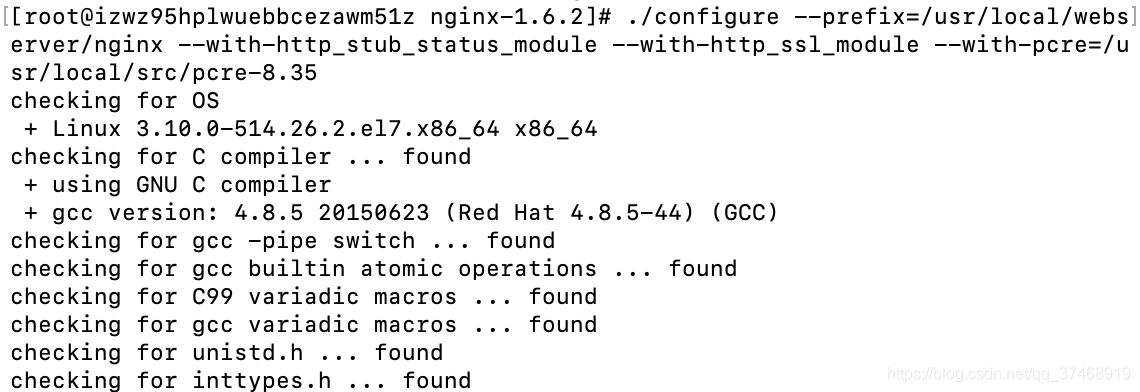
d、编译安装
./configure --prefix=/usr/local/webserver/nginx --with-http_stub_status_module --with-http_ssl_module --with-pcre=/usr/local/src/pcre-8.35
make
make install


e、查看nginx版本
/usr/local/webserver/nginx/sbin/nginx -v

到此,nginx安装完成。
4,Nginx 配置
a、创建 Nginx 运行使用的用户 www:
//进入目录
cd conf
//创建用户
/usr/sbin/groupadd www
/usr/sbin/useradd -g www www

b、配置nginx.conf ,将/usr/local/webserver/nginx/conf/nginx.conf替换为以下内容 【可以把文件下载下来本地改完在上传到服务器】
//去编辑 把内容清空 替换下面的内容
vim /usr/local/webserver/nginx/conf/nginx.conf
#//替换内容
user www www;
worker_processes 2; #设置值和CPU核心数一致
error_log /usr/local/webserver/nginx/logs/nginx_error.log crit; #日志位置和日志级别
pid /usr/local/webserver/nginx/nginx.pid;
#Specifies the value for maximum file descriptors that can be opened by this process.
worker_rlimit_nofile 65535;
events
{
use epoll;
worker_connections 65535;
}
http
{
include mime.types;
default_type application/octet-stream;
log_format main  '$remote_addr - $remote_user [$time_local] "$request" '
'$status $body_bytes_sent "$http_referer" '
'"$http_user_agent" $http_x_forwarded_for';

#charset gb2312;

server_names_hash_bucket_size 128;
client_header_buffer_size 32k;
large_client_header_buffers 4 32k;
client_max_body_size 8m;

sendfile on;
tcp_nopush on;
keepalive_timeout 60;
tcp_nodelay on;
fastcgi_connect_timeout 300;
fastcgi_send_timeout 300;
fastcgi_read_timeout 300;
fastcgi_buffer_size 64k;
fastcgi_buffers 4 64k;
fastcgi_busy_buffers_size 128k;
fastcgi_temp_file_write_size 128k;
gzip on;
gzip_min_length 1k;
gzip_buffers 4 16k;
gzip_http_version 1.0;
gzip_comp_level 2;
gzip_types text/plain application/x-javascript text/css application/xml;
gzip_vary on;

#limit_zone crawler $binary_remote_addr 10m;
#下面是server虚拟主机的配置
server
{
listen 80;#监听端口
server_name localhost;#域名
index index.html index.htm index.php;
root /usr/local/webserver/nginx/html;#站点目录
location ~ .*\.(php|php5)?$
{
#fastcgi_pass unix:/tmp/php-cgi.sock;
fastcgi_pass 127.0.0.1:9000;
fastcgi_index index.php;
include fastcgi.conf;
}
location ~ .*\.(gif|jpg|jpeg|png|bmp|swf|ico)$
{
expires 30d;
# access_log off;
}
location ~ .*\.(js|css)?$
{
expires 15d;
# access_log off;
}
access_log off;
}

}
c、检查配置文件nginx.conf的正确性命令【每次配置nginx都要检查】
/usr/local/webserver/nginx/sbin/nginx -t

5,启动 Nginx
a,Nginx 启动命令如下:
/usr/local/webserver/nginx/sbin/nginx

b,查看启动状态
ps -ef|grep nginx

6,访问站点【成功】
从浏览器访问我们配置的站点ip:

7,其他nginx命令
/usr/local/webserver/nginx/sbin/nginx -s reload # 重新载入配置文件
/usr/local/webserver/nginx/sbin/nginx -s reopen # 重启 Nginx
/usr/local/webserver/nginx/sbin/nginx -s stop # 停止 Nginx
二,安装php
以安装 php 7 版本为例
1,首先安装EPEL软件包:
yum install epel-release

2,安装源
rpm -Uvh http://rpms.remirepo.net/enterprise/remi-release-7.rpm

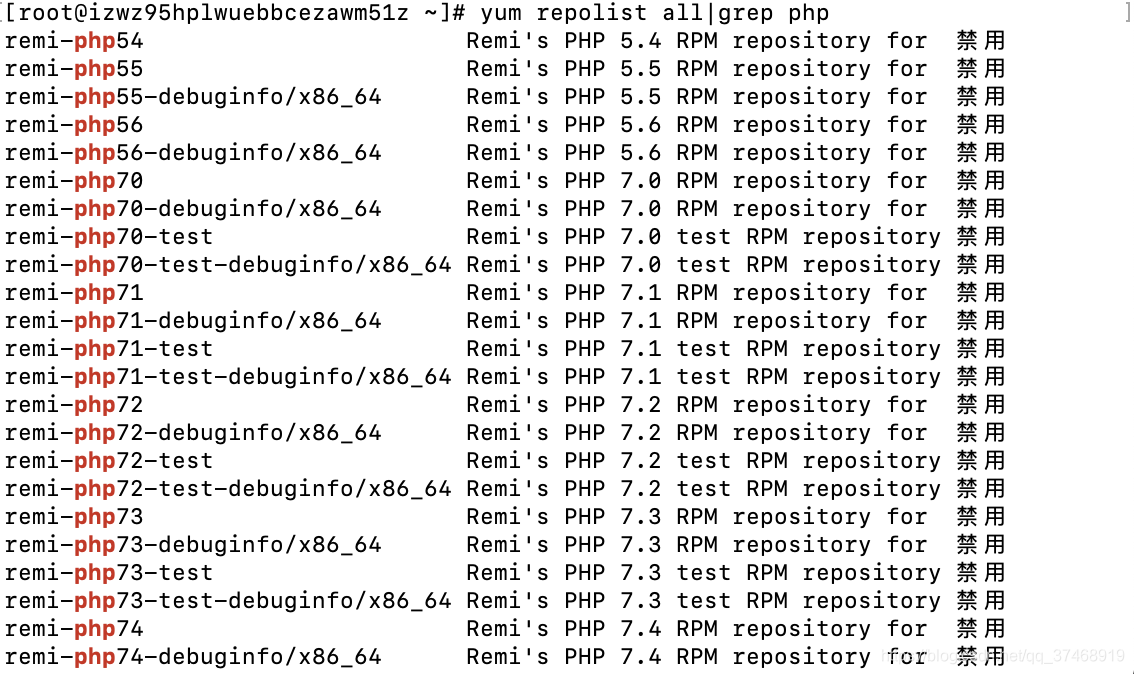
3,查看安装的php
yum repolist all|grep php
、、漫长的等待
4,启用需要的php版本
yum-config-manager --enable remi-php72
//如果报错去执行
yum -y install yum-utils//再去执行
yum-config-manager --enable remi-php72
5,禁用不需要的php版本
yum-config-manager --disable remi-php72
6,安装插件
yum install php72 php72-php-fpm php72-php-gd php72-php-json php72-php-mbstring php72-php-mysqlnd php72-php-xml php72-php-xmlrpc php72-php-opcache
7,启动PHP
service php72-php-fpm start
或//service php71-php-fpm start
设置php开机启动
修改系统配置目录下的 php-fpm 文件可执行权限
chmod +x /etc/init.d/php-fpm
> 将系统配置目录下的 `php-fpm` 添加到 `系统服务`
chkconfig --add php-fpm
> 设置 `php-fpm` `系统服务` 为开机启动
chkconfig php-fpm on
三,安装MySql
mysql安装也可查看菜鸟教程
https://www.runoob.com/linux/mysql-install-setup.html
1,添加 MySQL 的 yum 源
执行下面代码
rpm -Uvh https://repo.mysql.com//mysql80-community-release-el7-2.noarch.rpm
执行成功则安装 yum 源成功

2,切换版本
查看源中默认指向的版本
yum repolist all | grep mysql

看得出来倒数第二行启用的是8.0版本,最好安装我想要的 5.7版本,所以禁用8.0,启用5.7:
先禁用8.0
yum-config-manager --disable mysql80-community

如果报错yum-config-manager先执行
yum -y install yum-utils

然后再去执行禁用8.0的
yum-config-manager --disable mysql80-community
启用5.7
yum-config-manager --enable mysql57-community
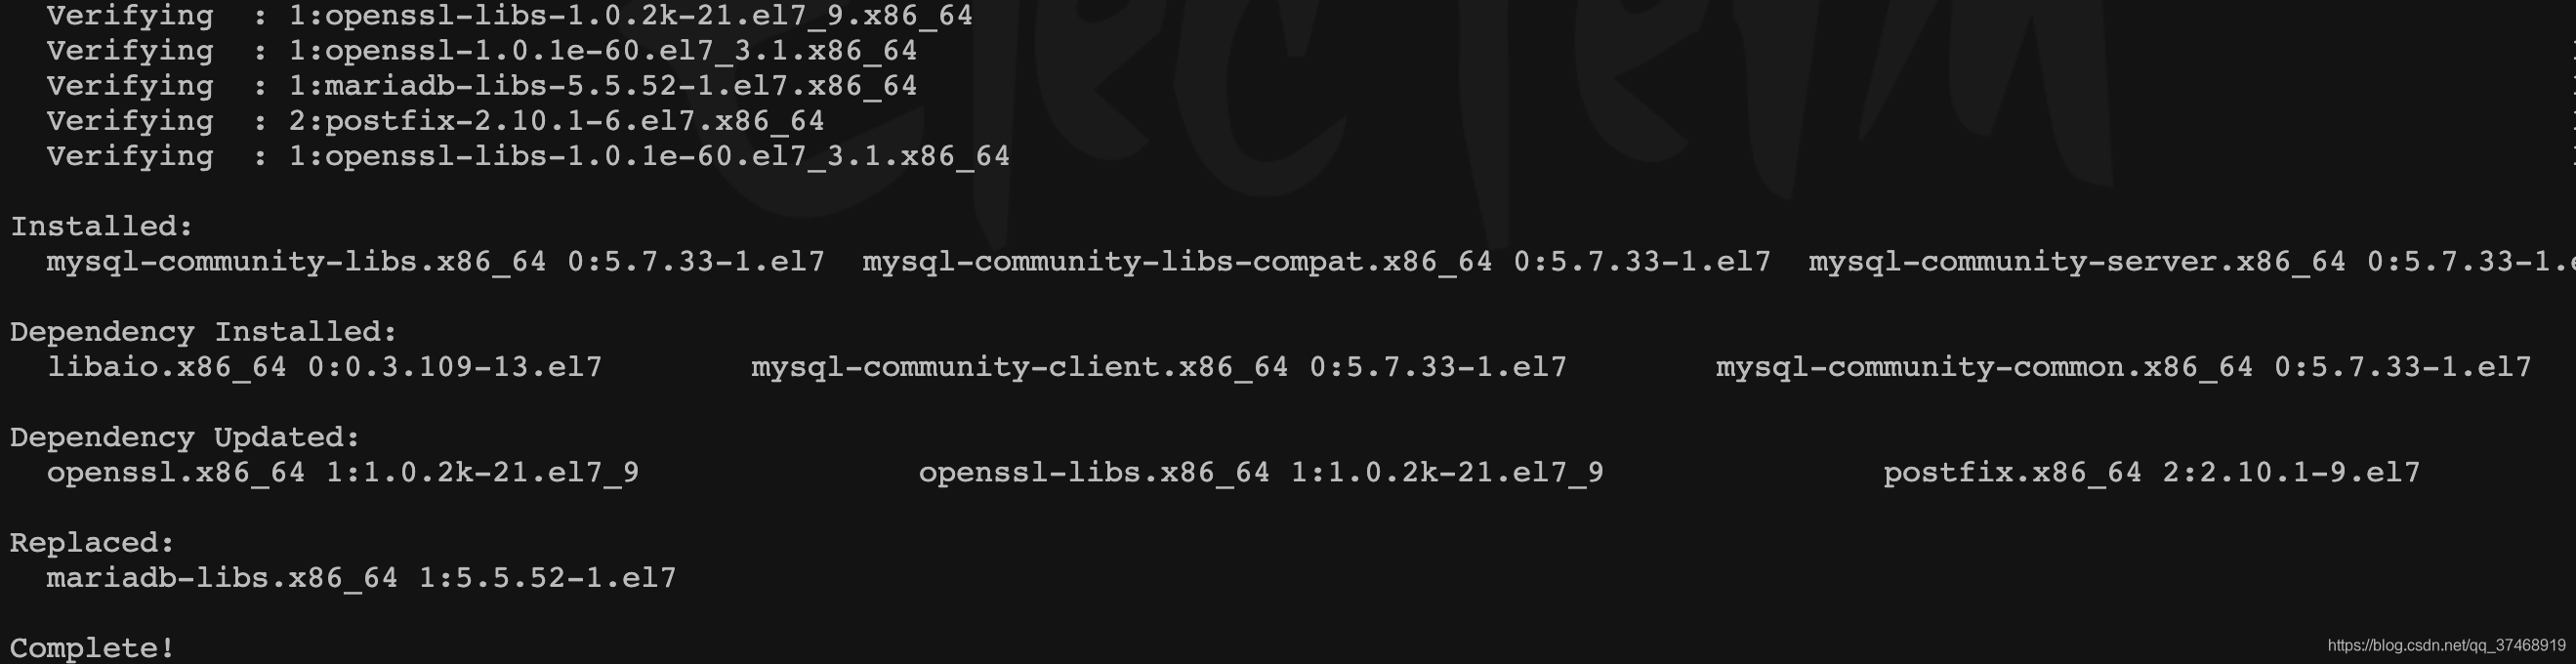
3,安装mysql-community-server
接下来开始安装
yum install mysql-community-server
然后等待下载安装就好了。
遇到选择要选择y


安装成功
4,启动 MySQL
service mysqld start

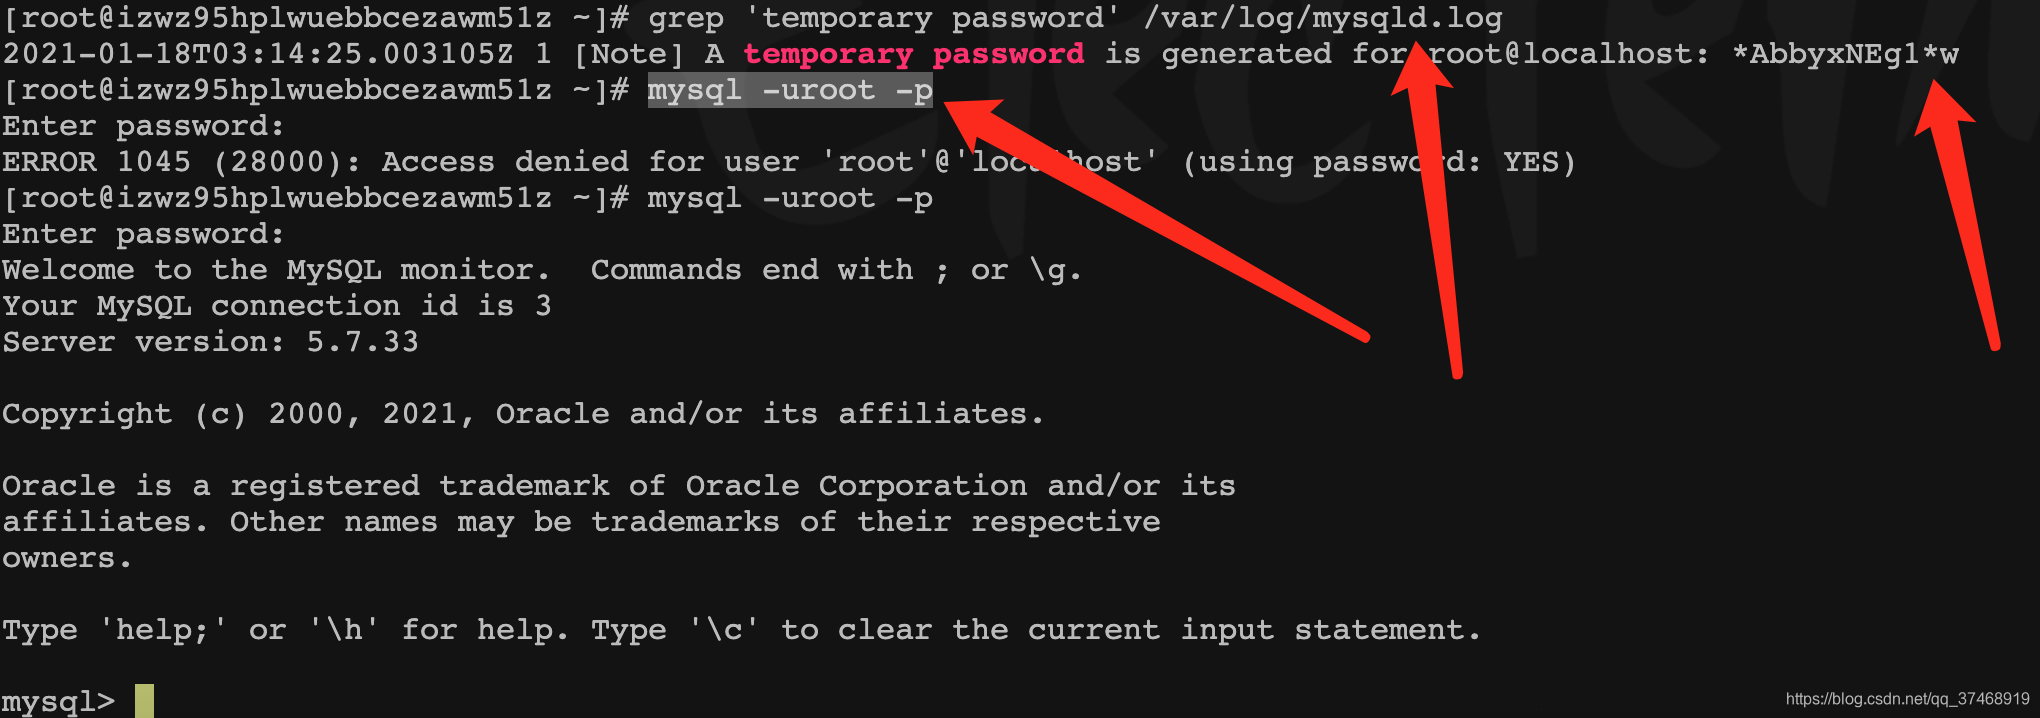
5,修改MySql默认密码
获取安装mysql时的临时密码
grep 'temporary password' /var/log/mysqld.log

进入数据库服务 再输入上步获取到的密码
mysql -uroot -p

成功结果
重置密码
set password for root@localhost = password('新密码');
重置密码成功

注意 注意
mysql 免费的是社区版本,其他版本是收费,如果使用社区版本 并制作了标准软件售卖,这种商业行为是受监控并会收取软件费用。
社区版本会有这种表示
show variables like "%version%"; //结尾的;要有的

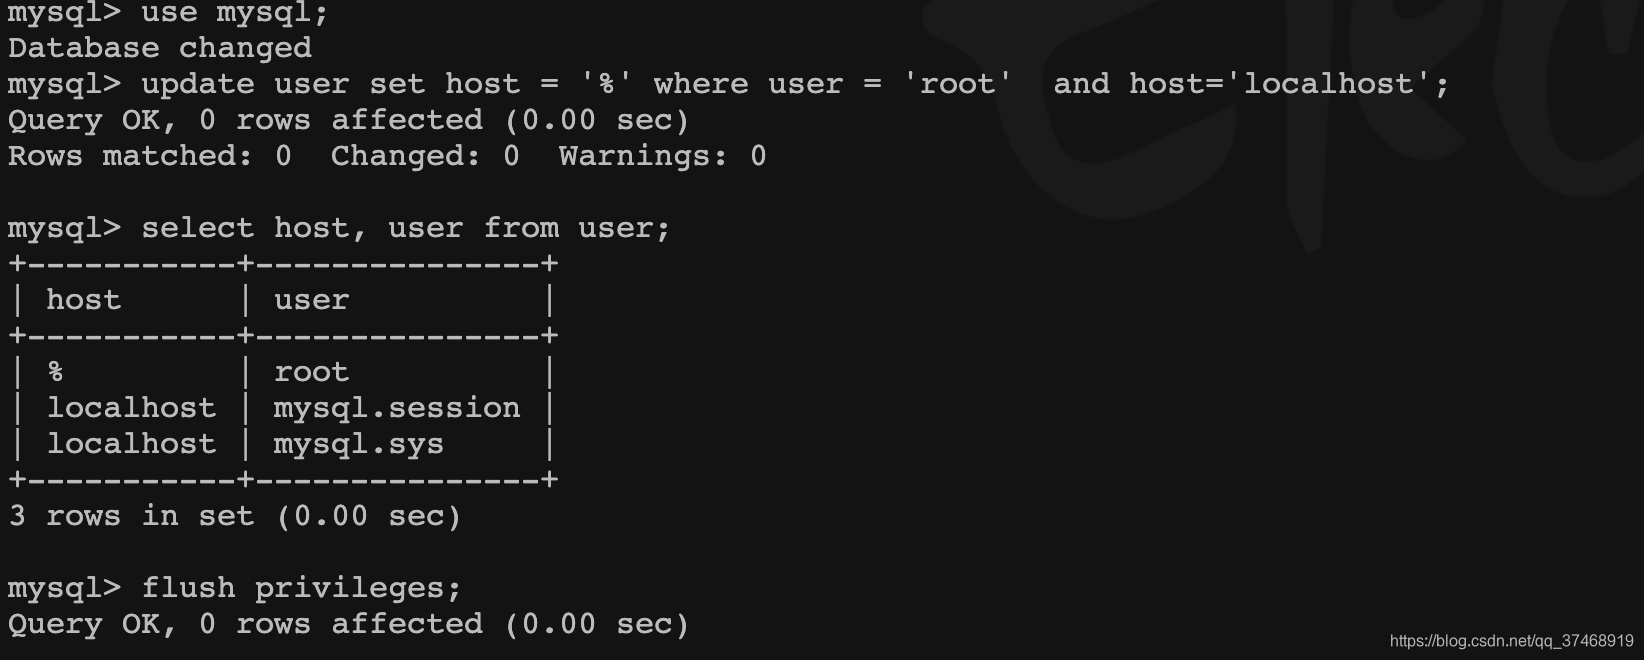
修改可以远程登录的权限
use mysql; //结尾的;要有的
update user set host = '%' where user = 'root'  and host='localhost'; //结尾的;要有的
select host, user from user; //结尾的;要有的
百分号代表任何ip,之后刷新列表
flush privileges; //结尾的;要有的
退出mysql服务 键盘快捷键 control+z 然后重启
service mysqld restart

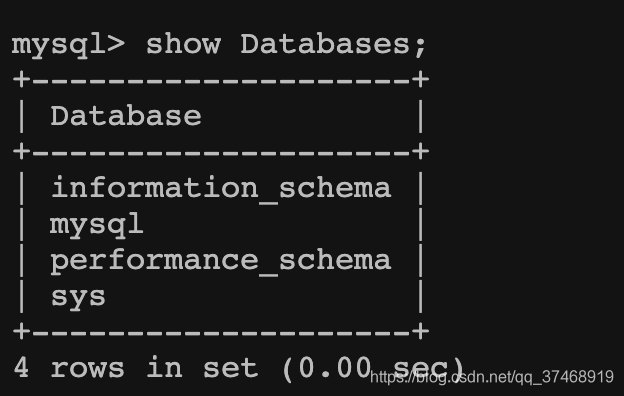
显示数据库
show Databases;
欢迎大家多多指点!

- linux下nginx+php+mysql环境搭建
- linux 下 docker NGINX+PHP+MYSQL+REDIS+Elasticsearch 开发环境搭建
- centos 下lnmp(linux+nginx+mysql+php)环境搭建
- Linux+nginx+mysql+php Lnmp的环境搭建+宝塔命令面板的操作
- linux下nginx+php+mysql 自助环境搭建
- web环境搭建之Linux--nginx-php-mysql
- linux .contos7 php+nginx+mysql 环境搭建
- linux下nginx+php+mysql环境搭建
- lnmp linux+php+mysql+nginx 环境搭建 (二)
- Win10下的WSL(Linux子系统)开发环境搭建(PHP+Nginx+Mysql+Composer+SSH)
- linux下php+nginx+mysql网站开发环境搭建
- linux下nginx+php+mysql环境搭建
- Linux下搭建nginx和php环境
- ubuntu14.04搭建LAMP环境(nginx,php,mysql,linux)详解
- Linux+Nginx+Php+Mysql环境搭建
- 在CentOS 7 64位操作系统环境下搭建LNMP(Linux+Nginx+MySQL+PHP)来运行Zabbix监控程序
- Linux + Nginx + php 环境搭建
- linux下搭建LNMP(linux+nginx+mysql+php)环境之php5.4安装
- Linux\CentOS系统下的服务器搭建,下载编译环境,安装vsFtpd、nginx、MySQL、JDK、Tomcat、PHP
- 搭建linux+nginx+mysql+php环境