自定义一个简单的 spring-boot-starter
2020-07-29 16:18
901 查看
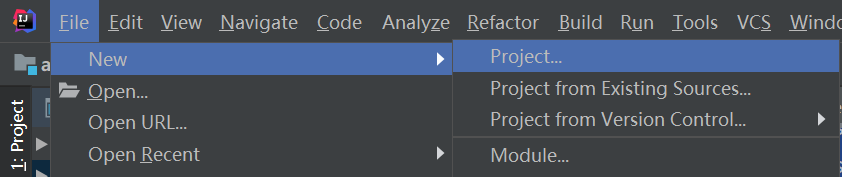
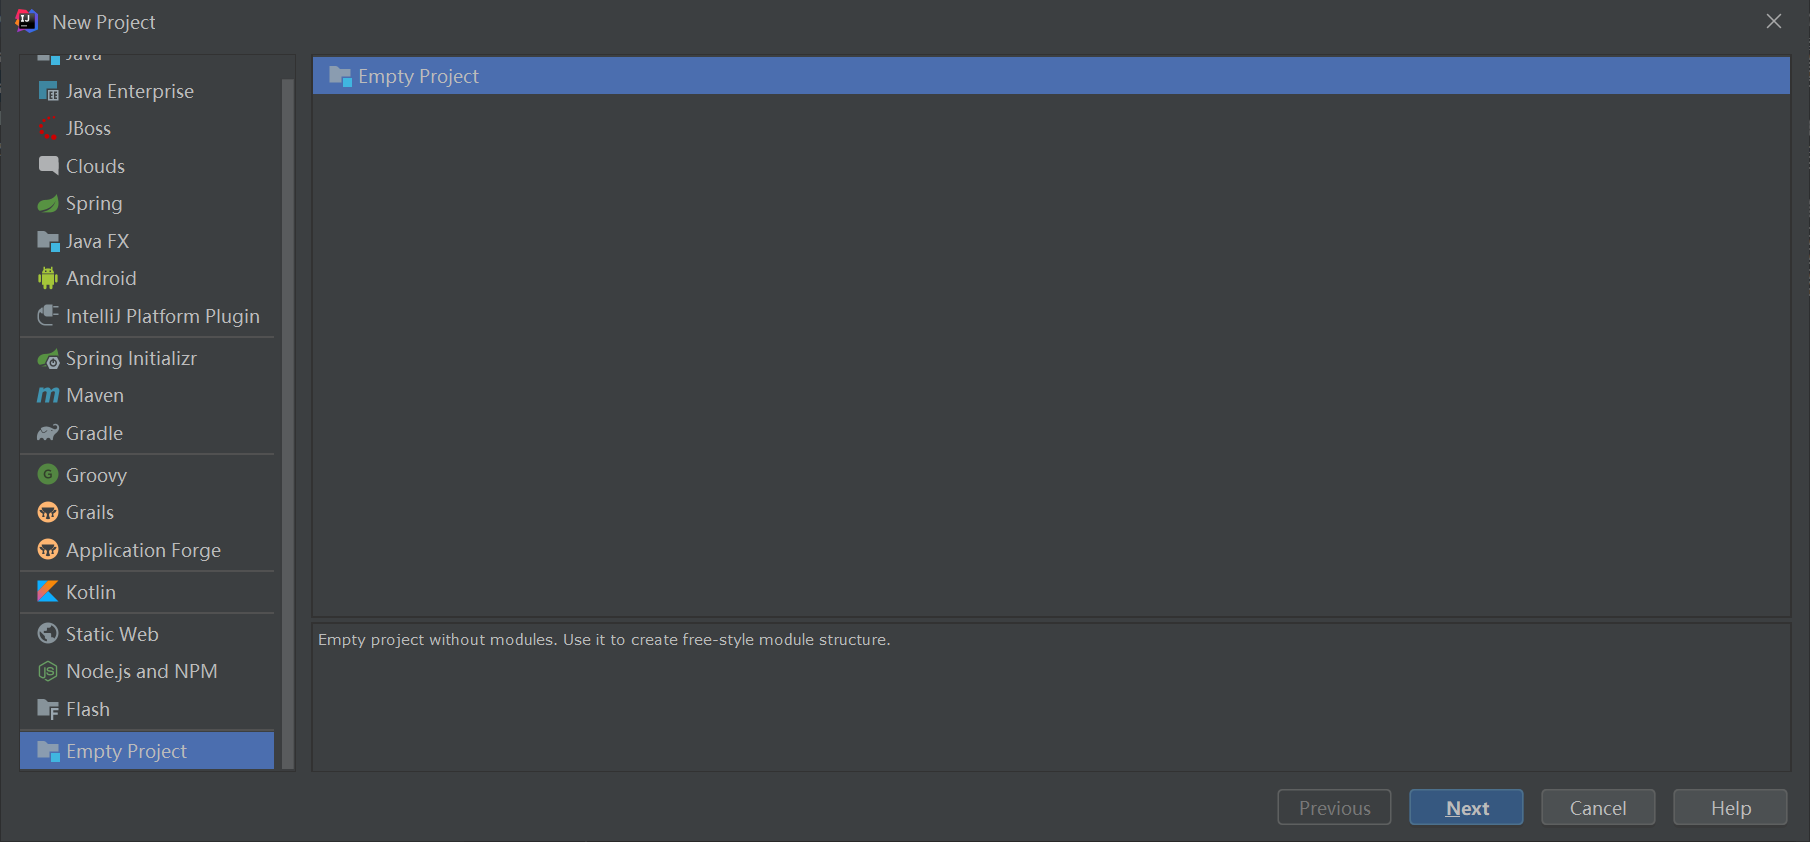
首先新建一个空项目
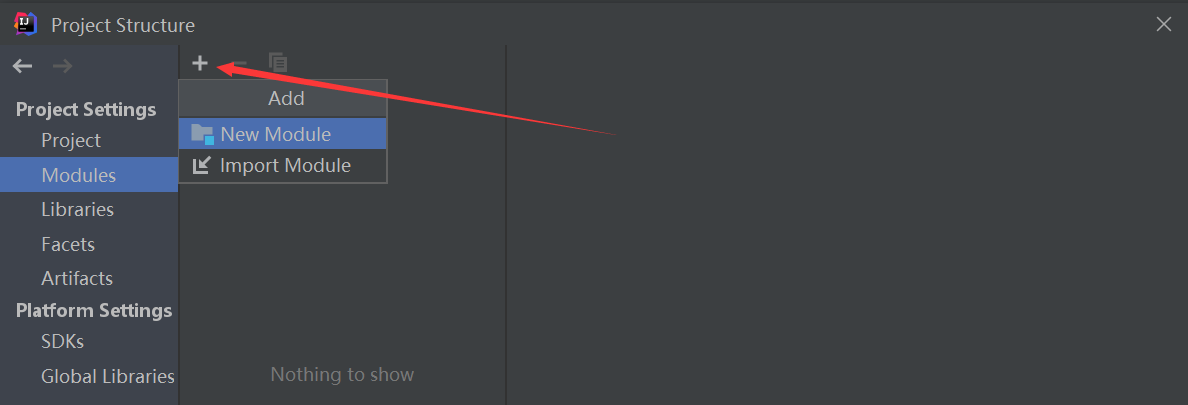
第一个使用简单的maven工程创建
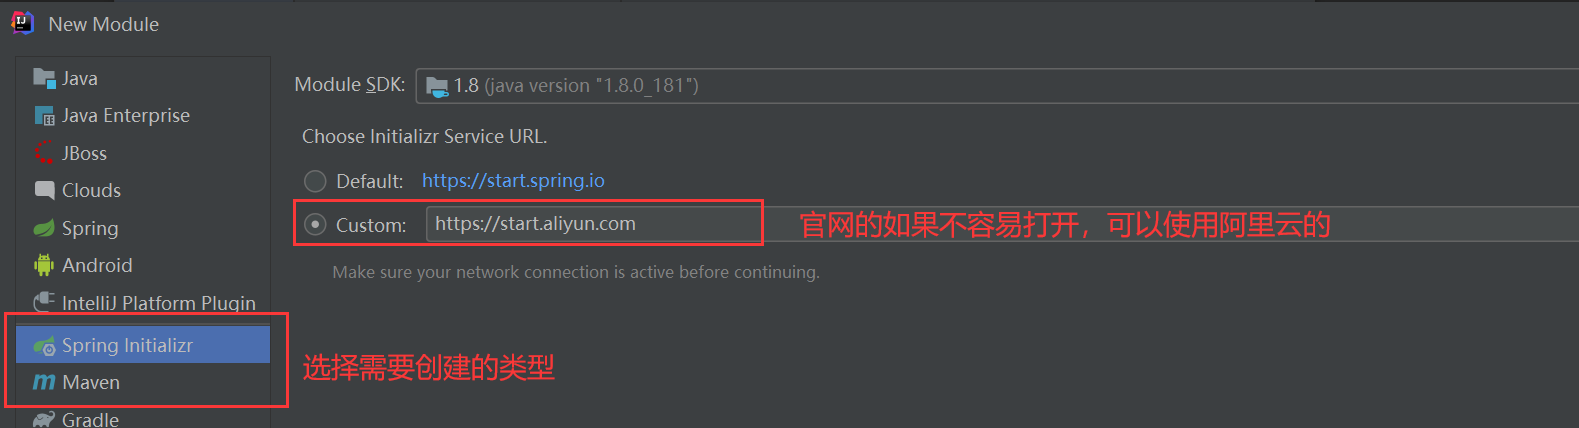
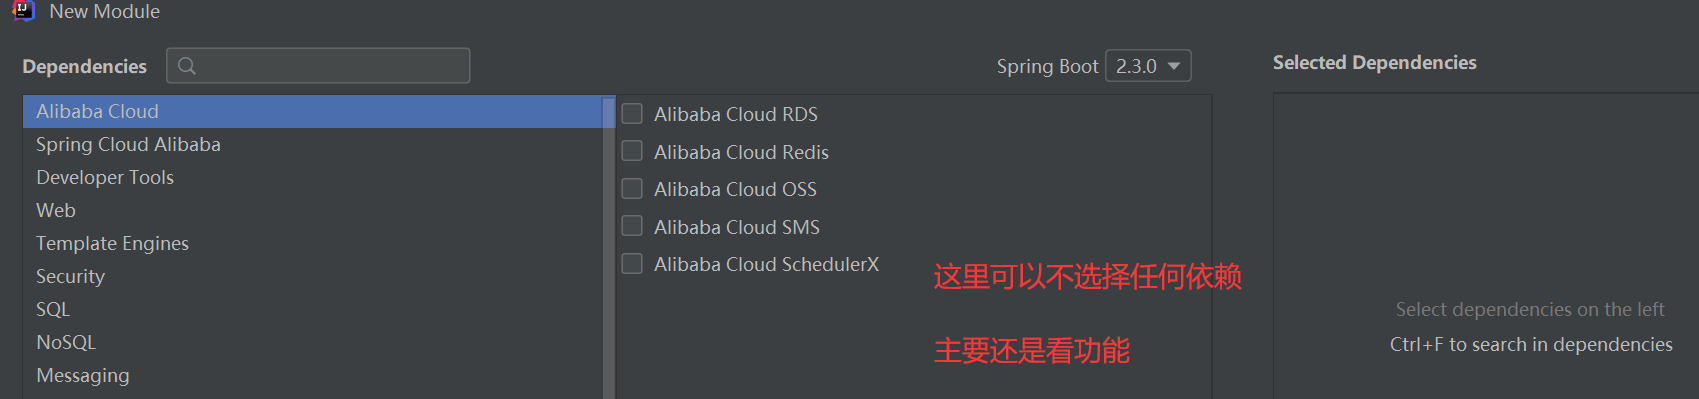
第二个使用Spring Initializr 初始化创建
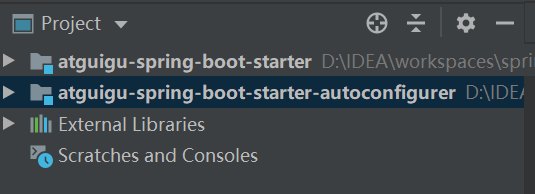
创建完两个Module后,结构如下:
编写:
-
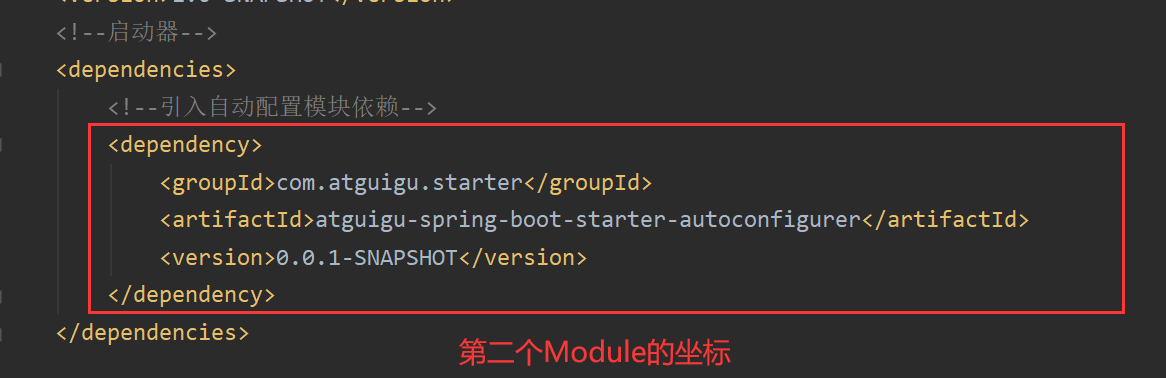
在第一个Module中添加第二个Module的坐标。(它就写完啦~_~)举例如下
-
在第二个Module中添加的依赖可以很简单,但必须要有 spring-boot-starter 这个依赖,它是所有启动类都要添加的。举例如下:
[code]<!--引入spring-boot-starter-->
<dependency>
<groupId>org.springframework.boot</groupId>
<artifactId>spring-boot-starter</artifactId
</dependency>
-
既然它是一个starter,就要有 xxxAutoConfiguration 类(命名要规范),可以模仿 WebMvcAutoConfiguration类的注解,需要有@Configuration 来指定为是配置类 、@EnableConfigurationProperties 开启和全局配置文件中的属性对应的类(形如xxxProperties)、@Bean 就是要把我们具有业务逻辑的那个类添加到容器中. 举例如下:
[code]@Configuration
@EnableConfigurationProperties(HelloProperties.class)
public class HelloServiceAutoConfiguration {
@Autowired
HelloProperties helloProperties;

@Bean
public  HelloService helloService(){
HelloService helloService = new HelloService();
helloService.setHelloProperties(helloProperties);
return helloService;
}
}
-
为了使这个xxxAutoConfiguration 生效 ,还需要在类路径下的/META-INF/spring.factories中添加配置,举例如下:


-
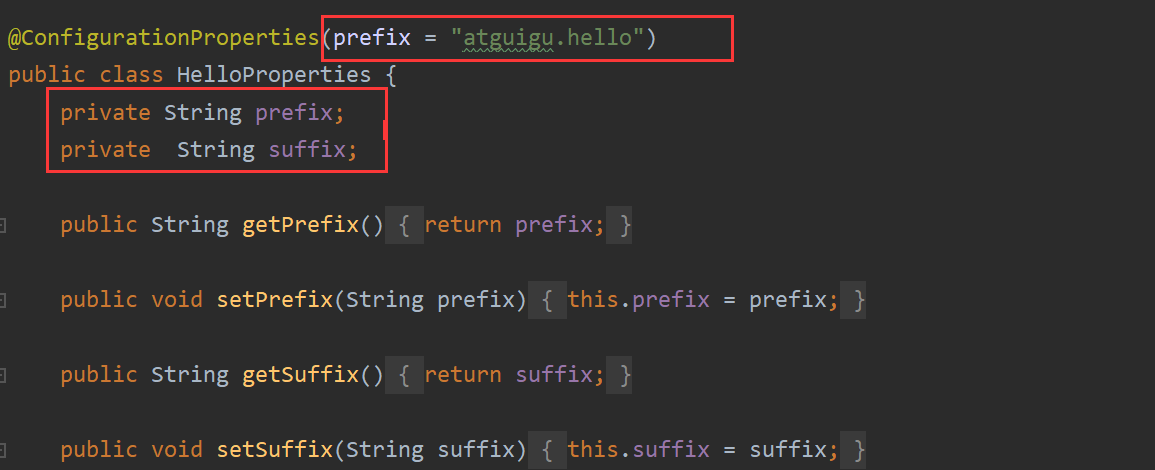
完成上面的配置后,就来写一个xxxProperties类。@ConfigurationProperties 这个注解是指定全局配置文件中的属性和该类中的字段映射,举例如下:
-
最后要写一个包含业务逻辑的类,举例如下:
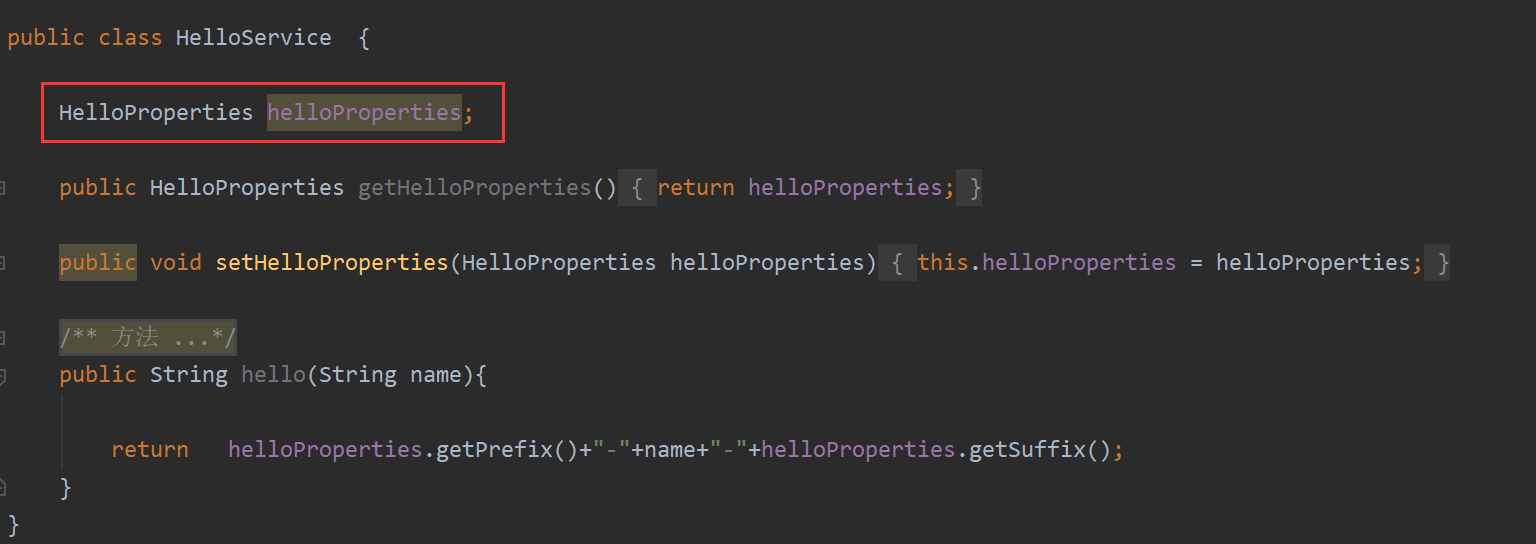
这样,一个非常简单的starter 就完成了。
------------------------------------------------------------------------------------------------
------------------------------------------------------------------------------------------------
但是要怎么使用呢?
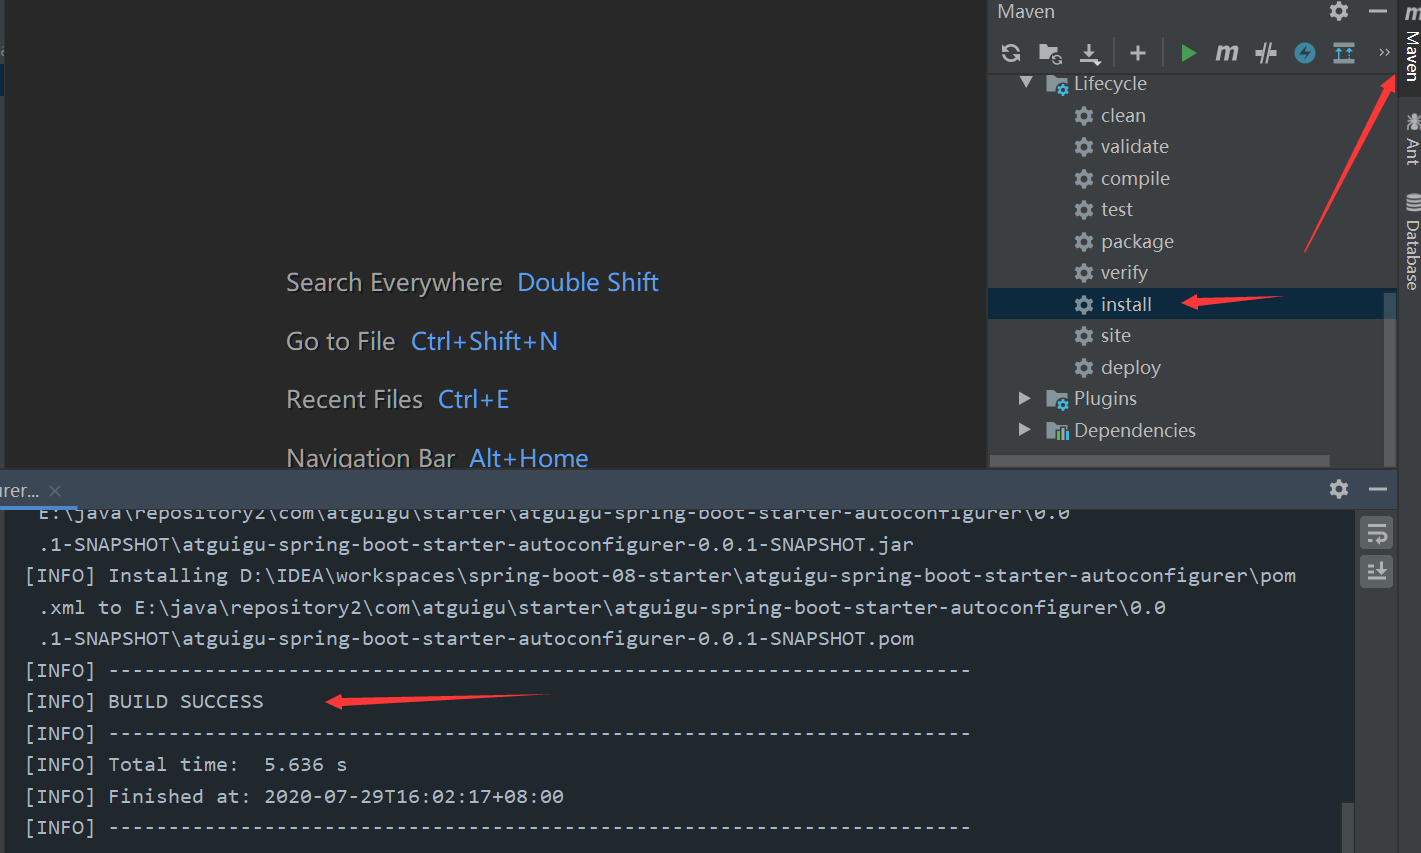
第一步:
要把这个两个Module安装到本地仓库中,要先安装第二个Module,再安装第一个Module,因为第一个Module 依赖的第二个。
第二步:
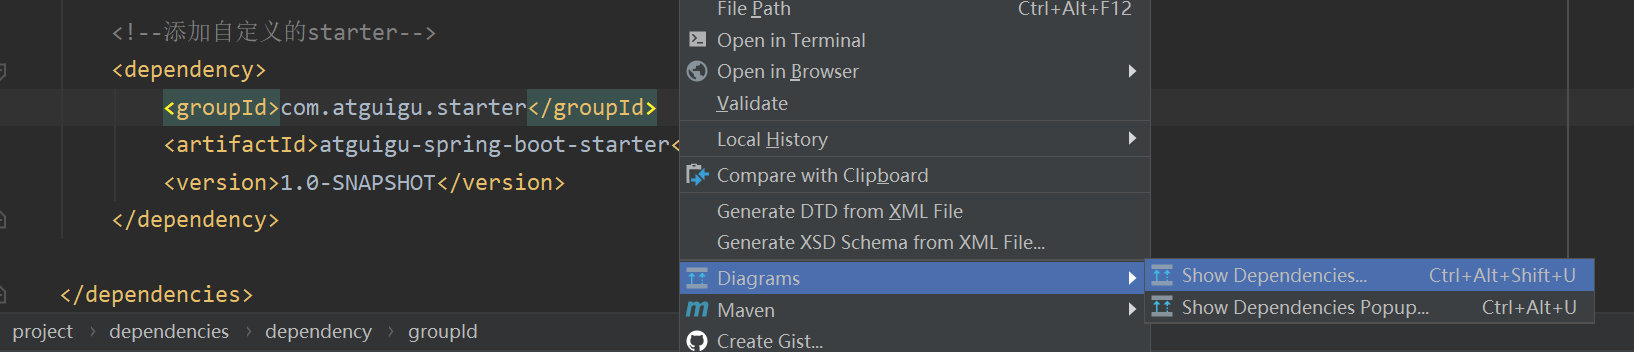
只需在另一个新项目中,引入我们的第一个Module的坐标(就是什么都没有写的那个)举例如下:

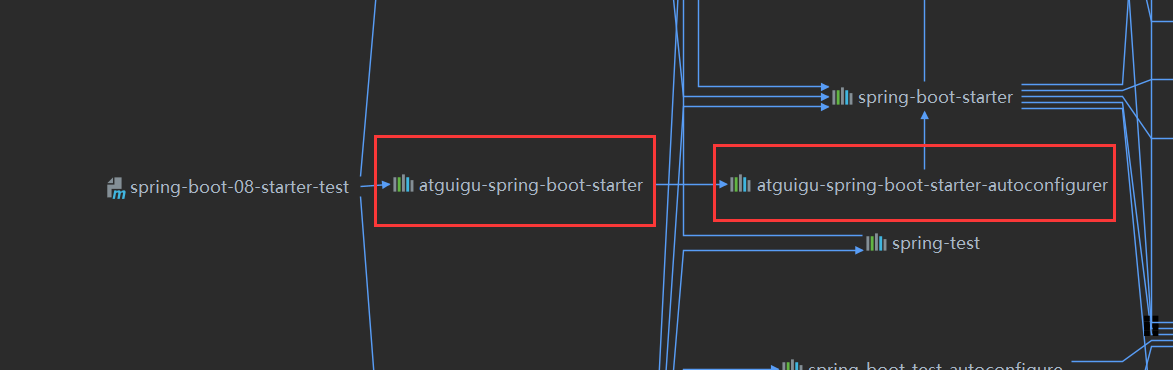
查看一下依赖树,检查是否引入我们自定义的依赖。
第三步:
全局配置文件中写:
[code]#和我们的xxxProperties类属性是对应
atguigu.hello.prefix=自定义
atguigu.hello.suffix=自定义
第四步:
写一个controller,测试一下,举例如下:
[code]@Controller
public class HelloController {

/**
* 测试自定义starter
*/
@Autowired
private HelloService helloService;
@ResponseBody
@GetMapping(value = "/hello2/{user2}")
public String hello(@PathVariable("user2") String user2){
System.out.println("user2");
return this.helloService.hello(user2);
}

@ResponseBody
@GetMapping(value = "/hello1")
public String hello2(){
System.out.println("user1");
return this.helloService.hello("user1");
}
}
浏览器访问:
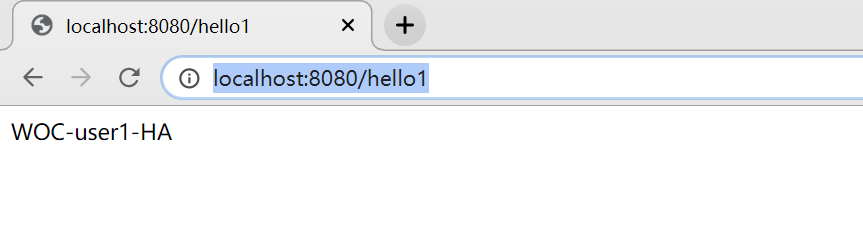
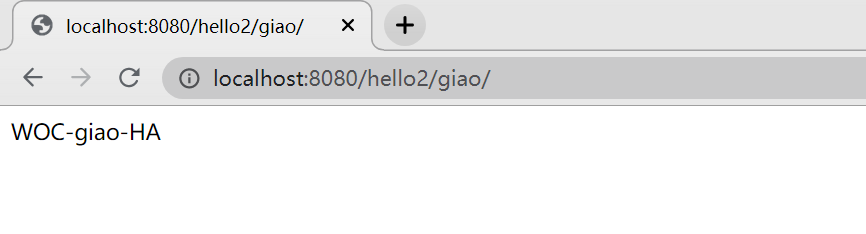
成功使用!
如果有错误之处,欢迎及时指出,以及时纠正

相关文章推荐
- SpringBoot__自定义一个简单的Starter
- Spring boot 自定义一个starter pom
- 关于springboot自动化配置,创建一个spring-boot-starter的简单实现
- 创建一个自定义的Spring Boot Starter
- springcloud+springboot+feign一个简单的案例
- spring boot 自定义starter
- Spring boot自定义starter
- Spring boot实现一个简单的ioc(1)
- SpringBoot+Mybatis+mysql+idea简单创建一个工程
- springboot整合mybatis一个简单的demo
- 最详细的自定义Spring Boot Starter开发教程!
- 创建一个简单的SpringBoot可能出现的坑
- 最详细的自定义Spring Boot Starter开发教程
- Spring-boot原理(附带实现一个spring-boot-starter实例和代码下载)
- Java Spring Boot VS .NetCore (一)来一个简单的 Hello World
- springboot自定义Starter过程解析
- 一个简单springboot项目中及配置日志方法
- 仿照spring-boot实现一个简单的ioc容器(一)
- tio-websocket-spring-boot-starter 的简单使用
- 创建一个简单的springboot项目,实现restful接口