Apache Shiro
Shiro简介
Apache Shiro是一个Java 安全权限框架。Shiro可以完成:认证、授权、加密、会话管理、与Web集成、缓存等。
功能简介
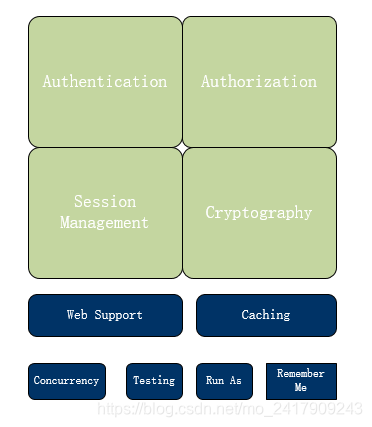
Authentication:身份认证/登录,验证用户是不是拥有相应的身份。
Authorization:授权、即权限验证,验证某个已认证的用户是否拥有某个权限。
Session Management:会话管理,即用户登录后就是一次会话,在没退出之前,所有信息保存在会话中。
Cryptography:加密,保护数据的安全性,如密码加密存储到数据库中。
Web Support:Wen支持,可以非常容易集成到wen环境中。
Caching:缓存,比如用户登录后,用户信息、拥有角色/权限不必每次都去查。
Concurrency:Shiro支持多线程应用的并发验证。
Testing:提供测试支持。
Run As:允许一个用户假装为另一个用户的身份进行访问。
Remember Me:记住我,一次登录后,下次再来不用登录。
Shiro架构
从外部环境来看Shiro,即从应用程序的角度来观察如何使用Shiro来完成工作。

Subject:应用程序直接交互的对象是Subject。Shiro对外API的核心便是Subject。
SecurityManager:安全管理器,所有与安全有关的操作都会与SecurityManager交互。
Realm:从Realm获取安全数据(如用户、角色、权限)。
Shiro集成Spring
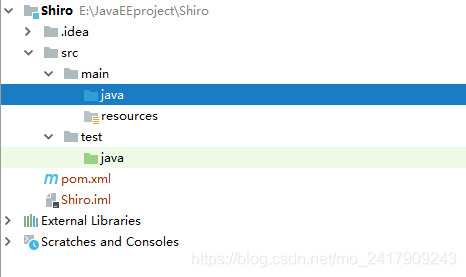
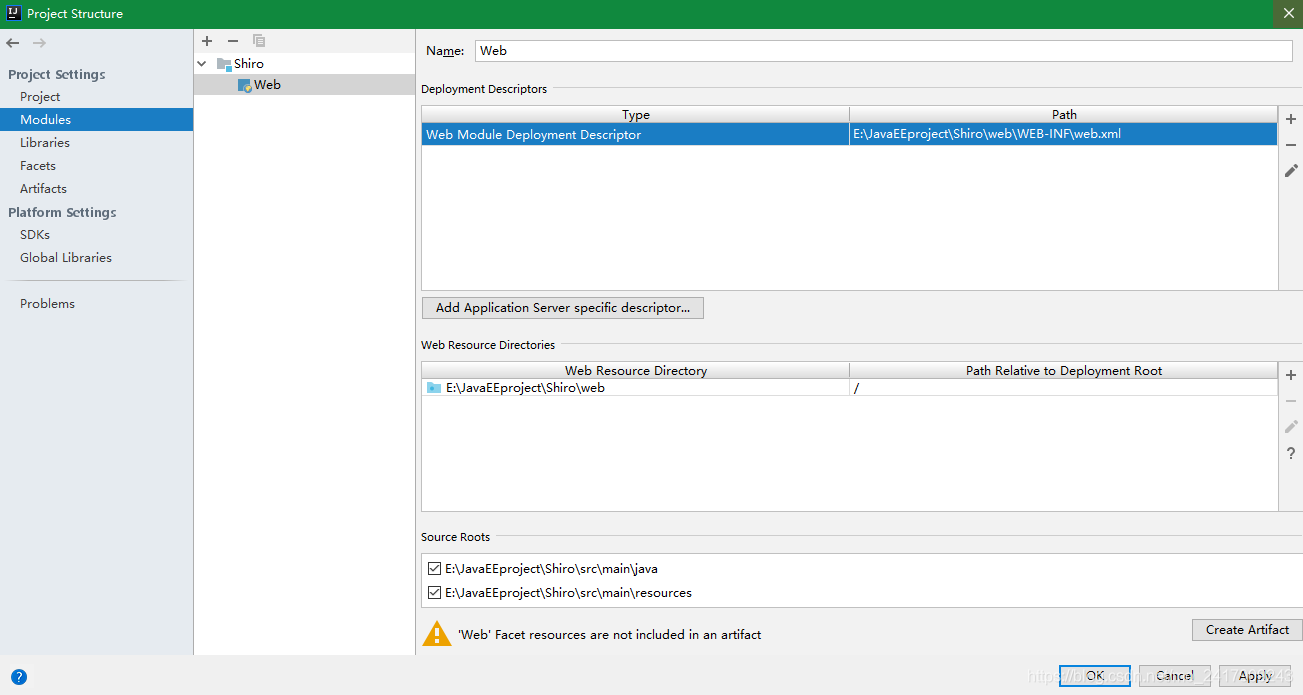
1.创建Maven工程
在工程中引入Web模块。
2.导入Spring jar包和Shiro jar包。
在pom.xml中添加以下坐标
<dependencies>

<!-- spring -->

<dependency>
<groupId>org.springframework</groupId>
<artifactId>spring-orm</artifactId>
<version>5.1.5.RELEASE</version>
</dependency>

<dependency>
<groupId>org.springframework</groupId>
<artifactId>spring-context</artifactId>
<version>5.1.5.RELEASE</version>
</dependency>

<dependency>
<groupId>org.springframework</groupId>
<artifactId>spring-core</artifactId>
<version>5.1.5.RELEASE</version>
</dependency>

<dependency>
<groupId>org.springframework</groupId>
<artifactId>spring-beans</artifactId>
<version>5.1.5.RELEASE</version>
</dependency>

<dependency>
<groupId>org.springframework</groupId>
<artifactId>spring-expression</artifactId>
<version>5.1.5.RELEASE</version>
</dependency>

<dependency>
<groupId>org.springframework</groupId>
<artifactId>spring-web</artifactId>
<version>5.1.5.RELEASE</version>
</dependency>

<dependency>
<groupId>org.springframework</groupId>
<artifactId>spring-webmvc</artifactId>
<version>5.1.5.RELEASE</version>
</dependency>

<dependency>
<groupId>org.springframework</groupId>
<artifactId>spring-context-support</artifactId>
<version>5.1.5.RELEASE</version>
</dependency>

<dependency>
<groupId>commons-logging</groupId>
<artifactId>commons-logging</artifactId>
<version>1.2</version>
</dependency>

<!-- ehcahe相关包 -->
<dependency>
<groupId>net.sf.ehcache</groupId>
<artifactId>ehcache-core</artifactId>
<version>2.6.11</version>
</dependency>

<dependency>
<groupId>net.sf.ehcache</groupId>
<artifactId>ehcache</artifactId>
<version>2.10.6</version>
</dependency>

<!-- shiro -->
<dependency>
<groupId>org.apache.shiro</groupId>
<artifactId>shiro-core</artifactId>
<version>1.4.0</version>
</dependency>
<dependency>
<groupId>org.apache.shiro</groupId>
<artifactId>shiro-web</artifactId>
<version>1.4.0</version>
</dependency>
<dependency>
<groupId>org.apache.shiro</groupId>
<artifactId>shiro-spring</artifactId>
<version>1.4.0</version>
</dependency>
<dependency>
<groupId>org.apache.shiro</groupId>
<artifactId>shiro-ehcache</artifactId>
<version>1.4.0</version>
</dependency>

</dependencies>
3.添加相关配置
在web.xml添加Spring的配置。
<context-param>
<param-name>contextConfigLocation</param-name>
<param-value>classpath:applicationContext.xml</param-value>
</context-param>

<listener>
<listener-class>org.springframework.web.context.ContextLoaderListener</listener-class>
</listener>
在src/main/resources下创建Spring配置文件applicationContext.xml。

<?xml version="1.0" encoding="UTF-8"?>
<beans xmlns="http://www.springframework.org/schema/beans"
xmlns:xsi="http://www.w3.org/2001/XMLSchema-instance"
xmlns:context="http://www.springframework.org/schema/context"
xmlns:mvc="http://www.springframework.org/schema/mvc"
xsi:schemaLocation="http://www.springframework.org/schema/beans
http://www.springframework.org/schema/beans/spring-beans-4.3.xsd
http://www.springframework.org/schema/context
http://www.springframework.org/schema/context/spring-context-4.3.xsd
http://www.springframework.org/schema/mvc
http://www.springframework.org/schema/mvc/spring-mvc-4.3.xsd">

</beans>
在web.xml添加servlet,即Spring MVC中的前端控制器。
<servlet>
<servlet-name>dispatcherServlet</servlet-name>
<servlet-class>org.springframework.web.servlet.DispatcherServlet</servlet-class>
<init-param>
<param-name>contextConfigLocation</param-name>
<!-- 此处指向的的是SpringMVC的配置文件 -->
<param-value>classpath:spring-mvc.xml</param-value>
</init-param>
<load-on-startup>1</load-on-startup>
</servlet>

<servlet-mapping>
<servlet-name>dispatcherServlet</servlet-name>
<url-pattern>/</url-pattern>
</servlet-mapping>
创建spring-mvc的配置文件

<?xml version="1.0" encoding="UTF-8"?>
<beans xmlns="http://www.springframework.org/schema/beans"
xmlns:xsi="http://www.w3.org/2001/XMLSchema-instance"
xmlns:mvc="http://www.springframework.org/schema/mvc"
xmlns:context="http://www.springframework.org/schema/context"
xmlns:aop="http://www.springframework.org/schema/aop"
xmlns:tx="http://www.springframework.org/schema/tx"
xsi:schemaLocation="http://www.springframework.org/schema/beans
http://www.springframework.org/schema/beans/spring-beans-4.3.xsd
http://www.springframework.org/schema/mvc
http://www.springframework.org/schema/mvc/spring-mvc-4.3.xsd
http://www.springframework.org/schema/context
http://www.springframework.org/schema/context/spring-context-4.3.xsd
http://www.springframework.org/schema/aop
http://www.springframework.org/schema/aop/spring-aop-4.3.xsd
http://www.springframework.org/schema/tx
http://www.springframework.org/schema/tx/spring-tx-4.3.xsd">

<!--扫描相关包-->
<context:component-scan base-package="com.fengxunxinxi.shiro">

</context:component-scan>

<!-- 添加视图的前缀和后缀 -->
<bean class="org.springframework.web.servlet.view.InternalResourceViewResolver">
<property name="prefix" value="/" />
<property name="suffix" value=".jsp" />
</bean>

<!--添加注解驱动-->
<mvc:annotation-driven/>
<!--添加默认的处理器-->
<mvc:default-servlet-handler />

</beans>
在web.xml中配置shiroFilter拦截器。
<filter>
<filter-name>shiroFilter</filter-name>
<filter-class>org.springframework.web.filter.DelegatingFilterProxy</filter-class>
<init-param>
<param-name>tartgetFilterLifecycle</param-name>
<param-value>true</param-value>
</init-param>
</filter>

<filter-mapping>
<filter-name>shiroFilter</filter-name>
<url-pattern>/*</url-pattern>
</filter-mapping>
在Spring的配置文件applicationContext中配置shiro。
<?xml version="1.0" encoding="UTF-8"?>
<beans xmlns="http://www.springframework.org/schema/beans"
xmlns:xsi="http://www.w3.org/2001/XMLSchema-instance"
xmlns:context="http://www.springframework.org/schema/context"
xmlns:mvc="http://www.springframework.org/schema/mvc"
xsi:schemaLocation="http://www.springframework.org/schema/beans
http://www.springframework.org/schema/beans/spring-beans-4.3.xsd
http://www.springframework.org/schema/context
http://www.springframework.org/schema/context/spring-context-4.3.xsd
http://www.springframework.org/schema/mvc
http://www.springframework.org/schema/mvc/spring-mvc-4.3.xsd">

<!-- 配置SecurityManager -->
<bean id="securityManager" class="org.apache.shiro.web.mgt.DefaultWebSecurityManager">
<!-- 缓存管理器 -->
<property name="cacheManager" ref="cacheManager"/>
<!-- 我们自定义的realm -->
<property name="realm" ref="jdbcRealm"/>
</bean>

<!--配置CacheManager-->
<bean id="cacheManager" class="org.apache.shiro.cache.ehcache.EhCacheManager">
<!--指定CacheManager的配置文件-->
<property name="cacheManagerConfigFile" value="classpath:ehcache.xml"></property>
</bean>

<!--配置Realm-->
<bean id="jdbcRealm" class="com.fengxunxinxi.shiro.ShiroRealm"></bean>

<!-- 保证实现了Shiro内部lifecycle函数的bean执行 -->
<bean id="lifecycleBeanPostProcessor" class="org.apache.shiro.spring.LifecycleBeanPostProcessor"/>

<!--启用Shiro相关的注解-->
<bean class="org.springframework.aop.framework.autoproxy.DefaultAdvisorAutoProxyCreator"
depends-on="lifecycleBeanPostProcessor"/>

<bean class="org.apache.shiro.spring.security.interceptor.AuthorizationAttributeSourceAdvisor">
<property name="securityManager" ref="securityManager"/>
</bean>

<!--配置shiroFilter id必须和web.xml中的配置的 DelegatingFilterProxy的<filter-name>一致-->
<bean id="shiroFilter" class="org.apache.shiro.spring.web.ShiroFilterFactoryBean">
<property name="securityManager" ref="securityManager"></property>
<!-- 登录地址 -->
<property name="loginUrl" value="/login.jsp"/>
<!-- 登录后跳转到业务页面 -->
<property name="successUrl" value="/list.jsp"/>
<!-- 没有权限跳转的页面 -->
<property name="unauthorizedUrl" value="/unauthorized.jsp"/>
<!--配置那些需要保护,以及这些访问需要的权限 anon可以匿名访问,authc必须先认证才能访问-->
<property name="filterChainDefinitions">
<value>
/login.jsp=anon
/** =authc
</value>
</property>
</bean>

</beans>
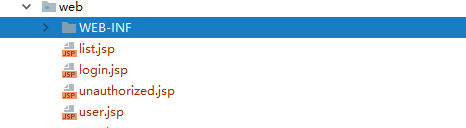
在工程加入页面用于测试
在src/main/java下创建com.fengxunxinxi.shiro包,在改包下创建ShiroRealm类,实现Realm接口。
package com.fengxunxinxi.shiro;

import org.apache.shiro.authc.AuthenticationException;
import org.apache.shiro.authc.AuthenticationInfo;
import org.apache.shiro.authc.AuthenticationToken;
import org.apache.shiro.realm.Realm;

/**
* ShiroRealm class
* @author mofengyu
*
* @date 2019/10/9
*/

public class ShiroRealm implements Realm {

@Override
public String getName() {
return null;
}

@Override
public boolean supports(AuthenticationToken authenticationToken) {
return false;
}

@Override
public AuthenticationInfo getAuthenticationInfo(AuthenticationToken authenticationToken) throws AuthenticationException {
return null;
}

}
3.测试项目
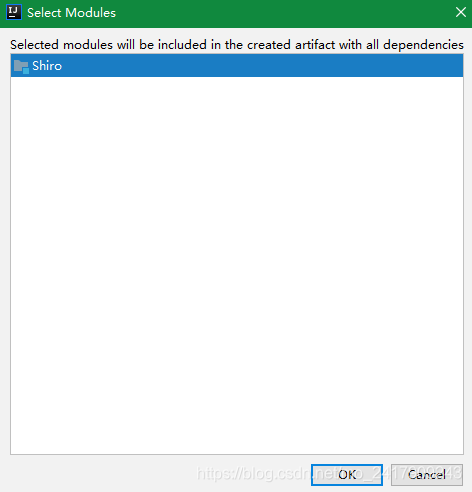
将项目build导入tomcat容器运行。


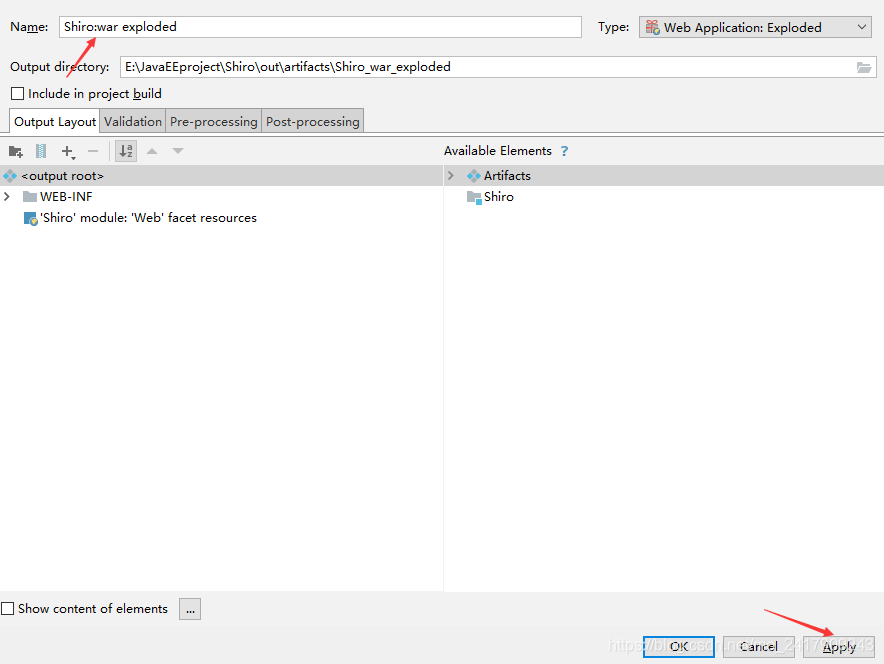
可以修改导出包的名字,点击Apply。

添加到tomcat容器,运行项目。

访问list.jsp页面。
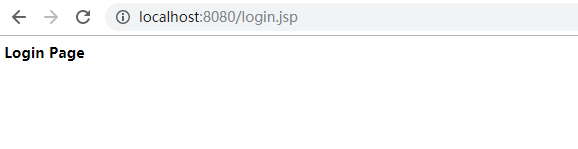
没有进行认证会跳转到login.jsp页面。

- Apache Shiro 使用手册(四)Realm 实现
- 【Shiro】Apache Shiro架构之自定义realm
- Apache Shiro 快速入门教程,shiro 基础教程
- Shiro关于JSESSIONID失效报错问题,org.apache.shiro.session.UnknownSessionException: There is no session with i
- Apache Shiro的运行流程和权限控制方式分析
- shrio报错"org.apache.shiro.session.UnknownSessionException: There is no session with id [e239e76d-012d
- Apache Shiro 使用手册(四)Realm 实现
- Java开源安全框架之Apache Shiro
- ssm+shiro 在点击退出登录执行logout后报错:org.apache.shiro.session.UnknownSessionException: There is no session w
- Apache Shiro 简介
- Apache Shiro 使用手册(一)Shiro架构介绍
- Apache Shiro 简介
- Apache Shiro
- Apache Shiro 使用手册(四)Realm 实现
- Apache Shiro 使用手册(二)Shiro 认证
- apache shiro集成redis缓存
- org.apache.shiro.web.servlet.ShiroHttpServletRequest cannot be cast to org.springframwork.web.mult..
- Apache Shiro 使用手册(二)Shiro 认证
- 运行jeesite报错:org.apache.shiro.cache.CacheException: net.sf.ehcache.CacheException:
- Caused by: java.lang.ClassNotFoundException: org.apache.shiro.spring.LifecycleBeanPostProcessor