SpringBoot学习(1),搭建一个简单的SpringBoot环境
1、SpringBoot的特点
为基于Spring的开发提供更快的入门体验
开箱即用,没有代码生成,也无需XML配置。同时也可以修改默认值来满足特定的需求
提供了一些大型项目中常见的非功能性特性,如嵌入式服务器、安全、指标,健康检测、外部配置等
SpringBoot不是对Spring功能上的增强,而是提供了一种快速使用Spring的方式
2、SpringBoot的核心功能
起步依赖
起步依赖本质上是一个Maven项目对象模型(Project Object Model,POM),定义了对其他库的传递依
赖,这些东西加在一起即支持某项功能。
简单的说,起步依赖就是将具备某种功能的坐标打包到一起,并提供一些默认的功能。
自动配置
Spring Boot的自动配置是一个运行时(更准确地说,是应用程序启动时)的过程,考虑了众多因素,才决定
Spring配置应该用哪个,不该用哪个。该过程是Spring自动完成的。
环境搭建:
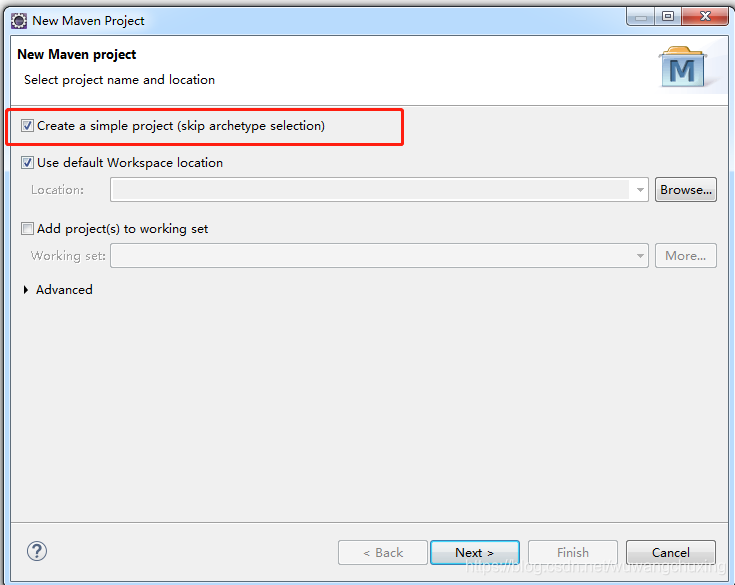
1、idea也用了,但还是感觉eclipse用着习惯,首先创建一个Maven工程
File->new->Maven Project
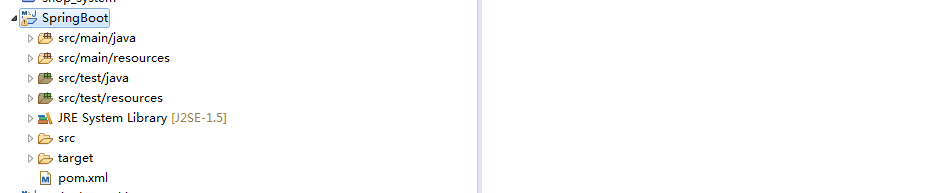
完整的项目结构已经创建完成了。
2、添加依赖
SpringBoot要求项目要继承SpringBoot的起步依赖,所以这块要添加spring-boot-starter-parent
<parent>
<groupId>org.springframework.boot</groupId>
<artifactId>spring-boot-starter-parent</artifactId>
<version>2.0.1.RELEASE</version>
</parent>
如果要集成SpringMVC进行Controller开发,就需要导入WEB依赖
<dependencies>
<dependency>
<groupId>org.springframework.boot</groupId>
<artifactId>spring-boot-starter-web</artifactId>
</dependency>
</dependencies>
嗯,目前就先使用这两个。
附上pom.xml
<project xmlns="http://maven.apache.org/POM/4.0.0" xmlns:xsi="http://www.w3.org/2001/XMLSchema-instance" xsi:schemaLocation="http://maven.apache.org/POM/4.0.0 http://maven.apache.org/xsd/maven-4.0.0.xsd">
<modelVersion>4.0.0</modelVersion>
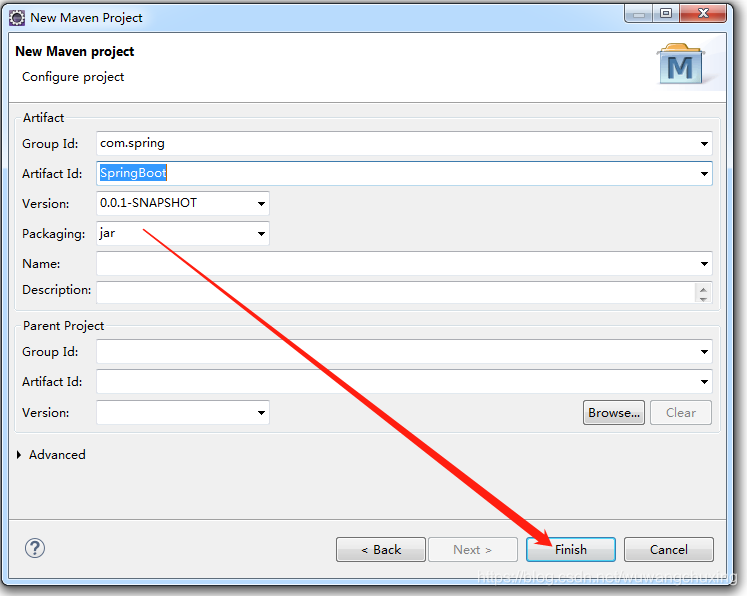
<groupId>com.spring</groupId>
<artifactId>SpringBoot</artifactId>
<version>0.0.1-SNAPSHOT</version>
<!-- 添加SpringBoot起步依赖 -->
<parent>
<groupId>org.springframework.boot</groupId>
<artifactId>spring-boot-starter-parent</artifactId>
<version>2.0.1.RELEASE</version>
</parent>
<!--导入WEB启动依赖-->
<dependencies>
<dependency>
<groupId>org.springframework.boot</groupId>
<artifactId>spring-boot-starter-web</artifactId>
</dependency>
</dependencies>
</project>
3、编写SpringBoot引导类
SpringBoot有一个内置的Tomcat一样的东西,所以一般情况不需要配置外部tomcat就可以启动,这种就需要配置启动类了。
在com.springboot包下面新建类MySpringBootApplication
package com.springboot;
import org.springframework.boot.SpringApplication;
import org.springframework.boot.autoconfigure.SpringBootApplication;
@SpringBootApplication
public class MySpringBootApplication {
public static void main(String[] args) {
SpringApplication.run(MySpringBootApplication.class);
}
}
4、编写Controller类
包路径:com.springboot.controller
类:UserController
package com.springboot.controller;
import org.springframework.stereotype.Controller;
import org.springframework.web.bind.annotation.RequestMapping;
import org.springframework.web.bind.annotation.ResponseBody;@Controller
public class UserController {
@ RequestMapping("/enter")
@ResponseBody
public String enter() {
return "欢迎进入!。。。。";
}
}
5、启动程序测试
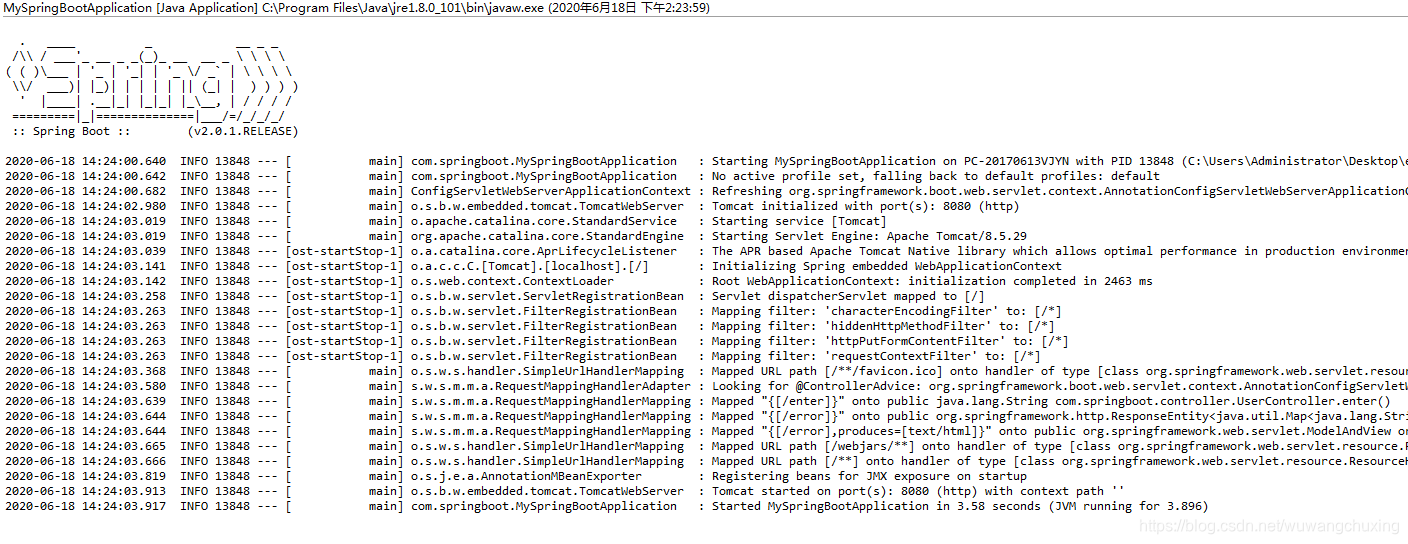
这里显示已经启动成功了,然后浏览器看一下效果。
直接输入http://localhost:8080/会报错,而不是像之前一样会进入一个tomcat的界面,需要加上那个刚才的路径 /enter
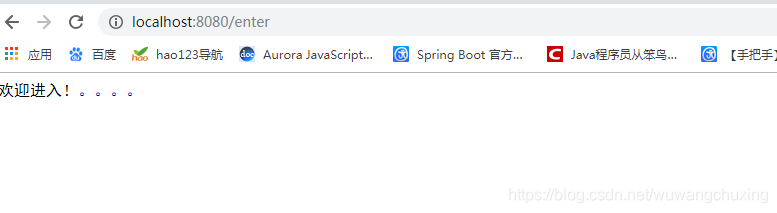
好了,一个简单的SpringBoot就搭建好了。

- 如何搭建一个简单的spring boot项目环境
- springboot+springcloud+eureka+feign 搭建一个简单的服务注册与调用的平台
- 自己动手搭建一个简易的SpringBoot环境
- 使用eclipse工具搭建一个简单的Spring boot。
- 快速搭建一个简单的springboot项目
- 搭建简单的SpringBoot开发环境
- 用spring boot搭建一个最简单的用户登录界面,其艰难历程!
- 从头开始搭建一个Spring boot+ActiveMQ高可用分布式环境
- spring boot学习二:搭建一个简单的web项目
- 使用IDEA搭建一个简单的SpringBoot项目——详细过程
- 使用IDEA搭建一个简单的SpringBoot项目——详细过程
- 通过spring boot+maven搭建的一个简单项目
- 基于SpringBoot+WebSocket搭建一个简单的多人聊天系统
- 自己动手搭建一个简易的SpringBoot环境
- SpringBoot 基于 IDEA 搭建一个简单的项目
- 初探SpringBoot,简单搭建一个SpringBoot框架
- 使用Eclipse + Maven 搭建一个简单的SpringBoot程序
- spring-boot简单搭建dubbo环境
- 新手如何用IDEA搭建一个spring boot的简单项目
- 使用eclipse工具搭建一个简单的Spring boot。