idea springboot配置外置tomcat
1.<packaging>war</packaging>
2.<dependency>
<groupId>org.springframework.boot</groupId>
<artifactId>spring-boot-starter-tomcat</artifactId>
<scope>provided</scope>
</dependency>
3.@SpringBootApplication
public class ShApplication extends SpringBootServletInitializer {
public static void main(String[] args) {
SpringApplication.run(ShApplication.class, args);
}
@Override
protected SpringApplicationBuilder configure(SpringApplicationBuilder application) {
return application.sources(ShApplication.class);
}
}
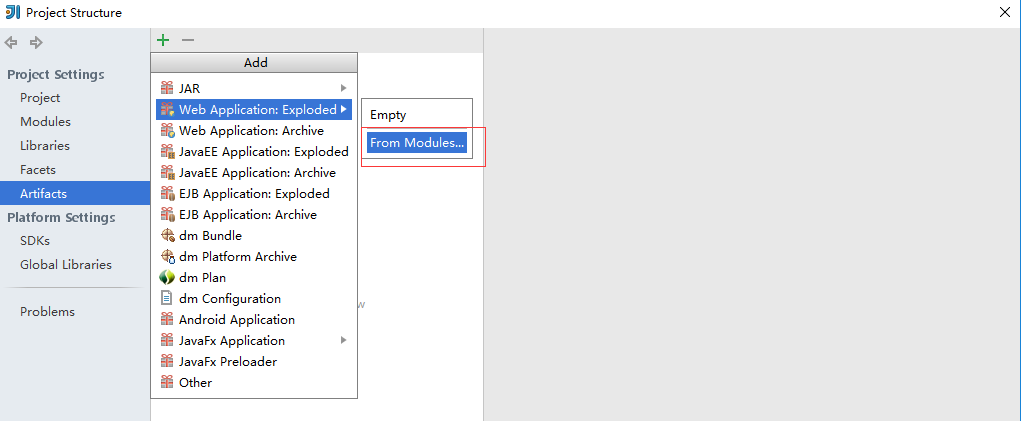
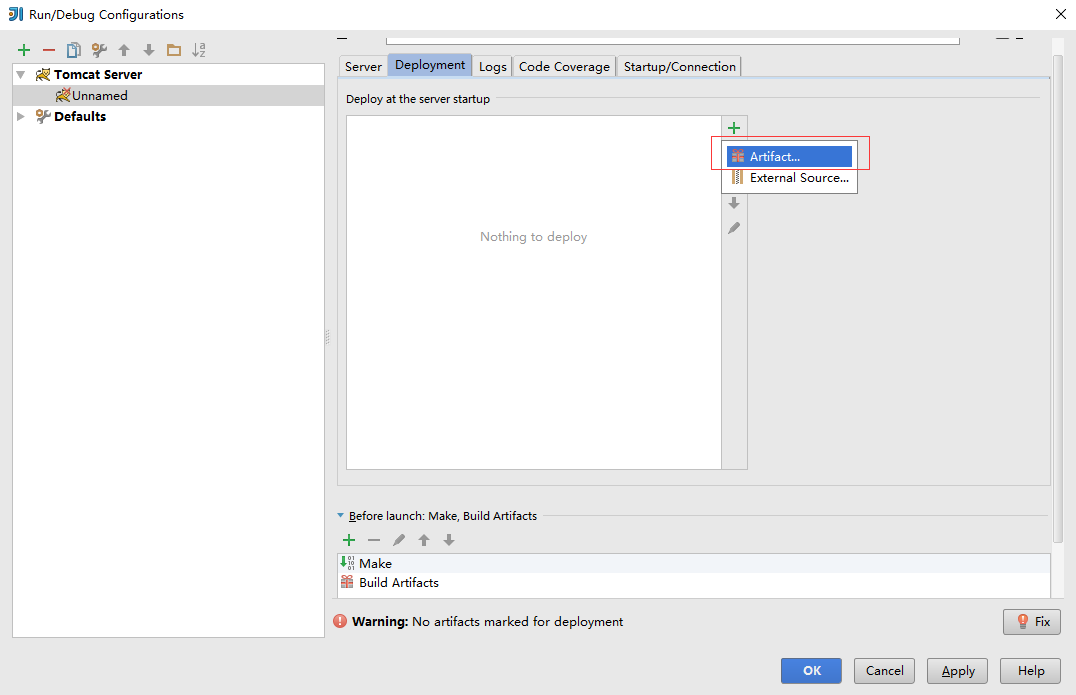
4.配置tomcat

5.配置项目打包路径
6.配置tomcat的依赖,注意这个路径与上一步保持一致
7.步骤已完成,可以启动项目了
8.项目启动成功后,测试通过就可以打war包了
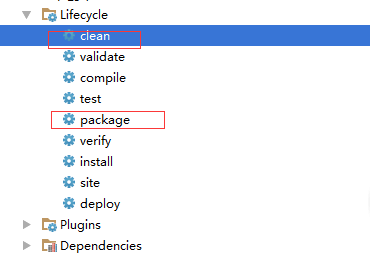
9.将生成的war放置到tomcat : webapps 目录下,启动即可

注意:这种单个tomcat启动方式与idea+tomcat启动的方式有所不同,访问的路径需要加上项目名:http://127.0.0.1:8080/sh/hello sh为项目名
10.注意:springboot默认是以jar包,内置tomcat运行的!!!
转载于:https://www.cnblogs.com/zongguitao/p/11150860.html
- 点赞
- 收藏
- 分享
- 文章举报
 bameixun8531
发布了0 篇原创文章 · 获赞 0 · 访问量 559
私信
关注
bameixun8531
发布了0 篇原创文章 · 获赞 0 · 访问量 559
私信
关注

- Spring Boot配置外置Tomcat和JSP视图教程(IntelliJ IDEA + Maven)
- 关于SpringBoot项目在IDEA中可访问,部署到外置tomcat的时候访问项目报404错误
- spring boot内嵌tomcat配置端口更改
- spring boot tomcat配置
- Springboot框架配置远程Tomcat服务器以及本地Tomcat服务器进行远程debug调试
- Spring Boot 配置 IDEA&DevTools 热部署
- 为springboot项目,外置tomcat设置不需要项目名访问
- springboot项目使用外置tomcat发布项目(注意事项)
- spring-boot 创建项目并配置远程部署到tomcat
- 知识点①:springboot 使用外部 tomcat 运行配置
- idea spring boot (tomcat)设置时区
- springBoot idea 热部署配置
- springboot项目 打成war包 使用自定义tomcat配置
- spring boot内嵌tomcat配置端口更改
- spring boot内嵌tomcat配置端口更改
- IntelliJ IDEA SpringBoot 使用第三方Tomcat以及部署
- 学习在IDEA中使用SpringBoot(七)Spring Boot 与启动配置原理
- idea新建springBoot项目,tomcat启动报错
- SpringBoot外置tomcat
- springboot+tomcat针对不同环境自动加载配置