eclipse撸一发Keras卷积神经网络对手写数字识别
一、导读
1、window10 python环境Anaconda 安装
2、keras安装
3、tensorflow安装
4、eclipse python开发插件PyDev安装,配置
5、keras卷积神经网络对手写数字识别
二、环境安装
1、Anaconda
Anaconda指的是一个开源的Python发行版本,其包含了conda、Python等180多个科学包及其依赖项。功能非常齐全。
下载地址:https://www.anaconda.com/distribution/#download-section
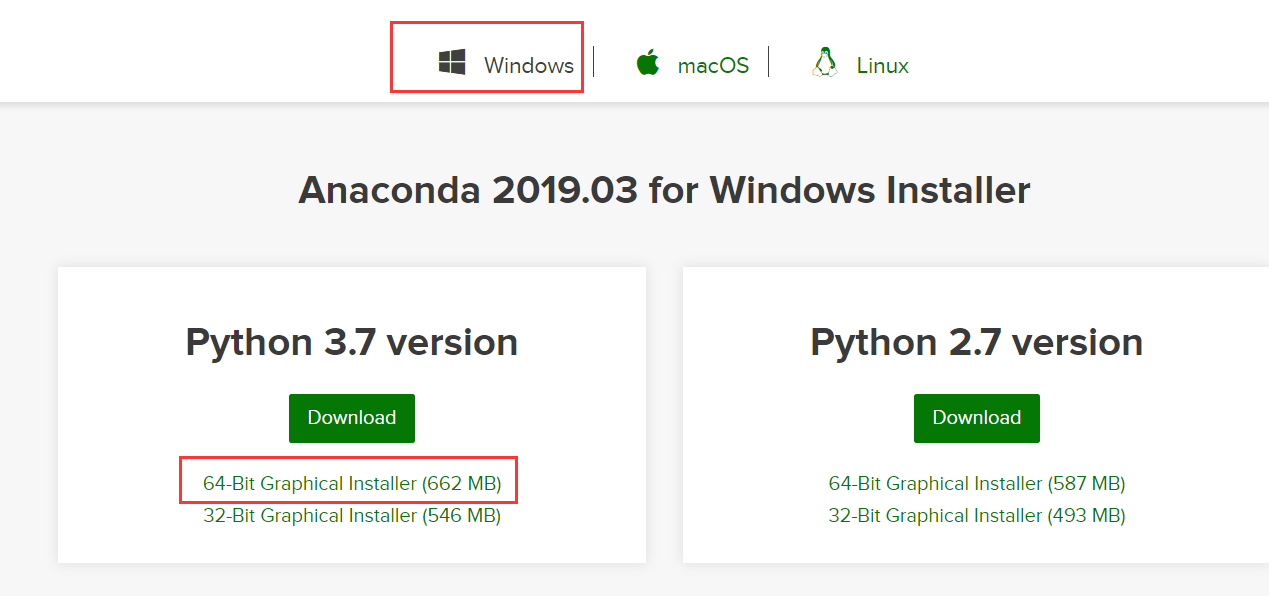
下载安装
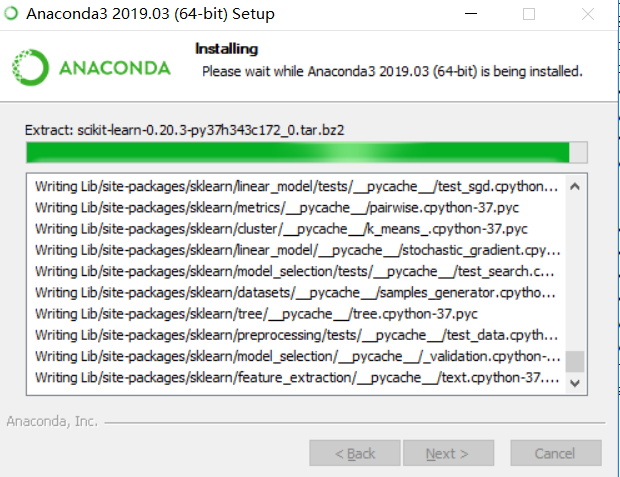
安装成功后,配置环境变量,打开cmd,用命令python --version查看版本号

其中,环境变量非常重要,ssl的环境变量必须配置,否则使用pip时会出现异常(pip is configured with locations that require TLS/SSL, however the ssl module in Python is not available. )

特别说明:安装之后,可能有些包是有问题的,例如:matplotlib和Pillow没法正常使用,会出现如下异常
File "E:\Program Files\Anaconda3\lib\site-packages\matplotlib\pyplot.py", line 32, in <module>
import matplotlib.colorbar
File "E:\Program Files\Anaconda3\lib\site-packages\matplotlib\colorbar.py", line 32, in <module>
import matplotlib.contour as contour
File "E:\Program Files\Anaconda3\lib\site-packages\matplotlib\contour.py", line 18, in <module>
import matplotlib.font_manager as font_manager
File "E:\Program Files\Anaconda3\lib\site-packages\matplotlib\font_manager.py", line 48, in <module>
from matplotlib import afm, cbook, ft2font, rcParams, get_cachedir
ImportError: DLL load failed: 找不到指定的模块。
这时候,跟到异常的代码行,看哪些库是没有正常依赖进来的,重新安装即可。可以类推如下的操作,来进行
pip uninstall matplotlib
pip install matplotlib
pip uninstall Pillow
pip install Pillow
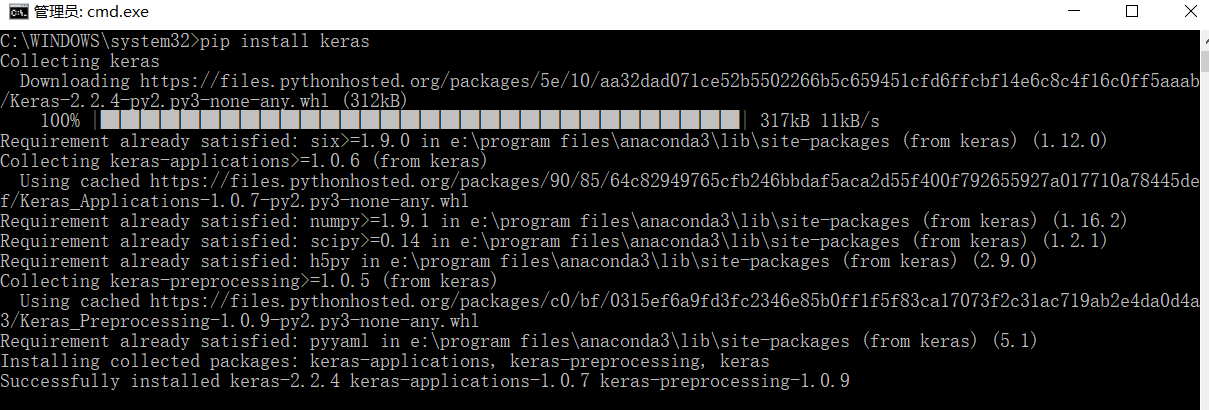
2、keras安装
使用如下命令安装:
pip install keras
3、安装tensorflow
由于keras本身不提供运行,它依赖于其他的运算引擎,例如TensorFlow、Theano、CNTK等,这里,我们安装TensorFlow作为keras的backend。
用如下命令安装:
Tensorflow有cpu版和gpu版
cpu版:pip install --user --ignore-installed --upgrade tensorflow
gpu版:pip install --user --ignore-installed --upgrade tensorflow-gpu
这里,安装的是cpu版,--user参数是因为有权限问题,所以加上
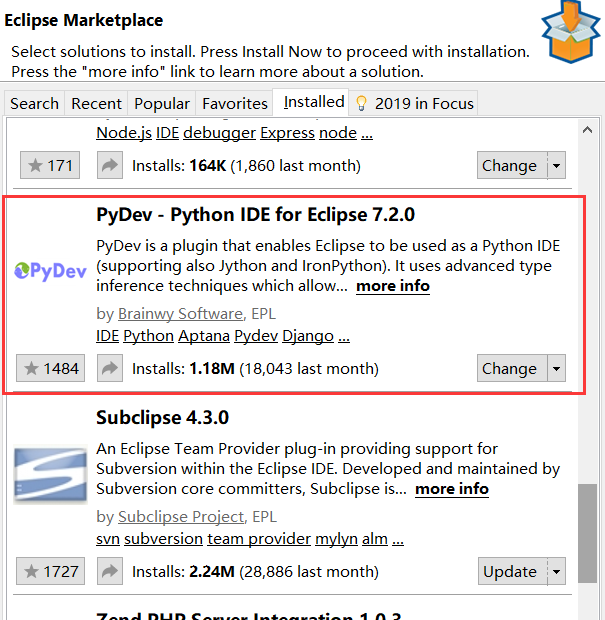
4、eclipse PyDev插件安装
(1)、打开eclipse,Help->Eclipse Marketplace,搜索选择PyDev,安装
(2)、配置eclipse开发环境
window->preferences->PyDev->interpreters->Python Interpreter
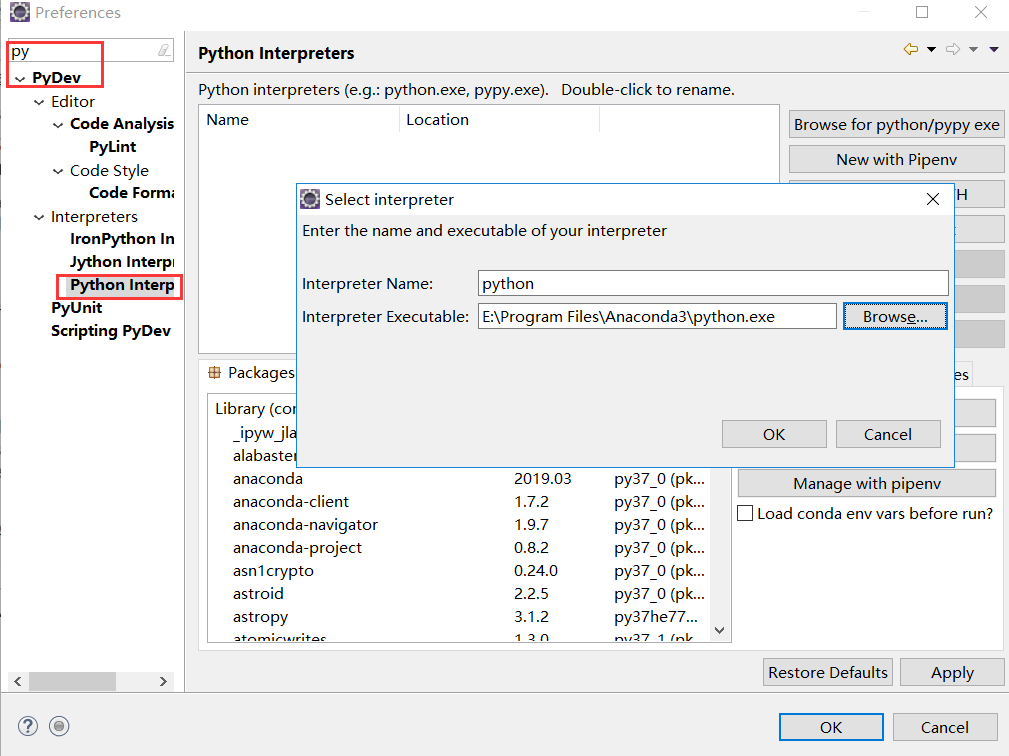
配置完成点确定即可,便可以在eclipse上开发python程序了,和开发java一样,非常方便。
三、Keras卷积神经网络进行mnist手写数字识别
1、先加载数据集
(x_train, y_train), (x_test, y_test) = mnist.load_data()
说明: mnist.load_data()如果本地没有,在会去下载数据集
打印一下x_train的shape,看看数据集有哪些东西
print(x_train.shape)
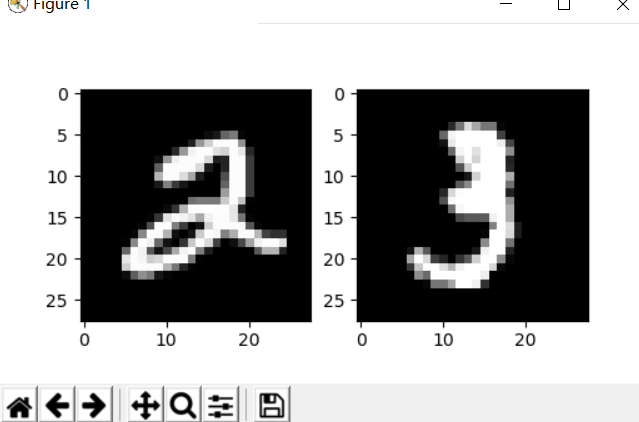
2、展示样本的图片
#将画板分为1行2列,本幅图位于第一个位置
plt.subplot(1,2,1)
# 打印两个个样本
plt.imshow(x_train[5], cmap='gray')
plt.subplot(1,2,2)
plt.imshow(x_train[10], cmap='gray')
plt.show()
3、叠一个CNN网络
model = Sequential()
model.add(Conv2D(32, kernel_size=(5, 5), activation='relu', input_shape=(img_x, img_y, 1)))
model.add(MaxPool2D(pool_size=(2, 2), strides=(2, 2)))
model.add(Conv2D(64, kernel_size=(5, 5), activation='relu'))
model.add(MaxPool2D(pool_size=(2, 2), strides=(2, 2)))
model.add(Flatten())
model.add(Dense(100, activation='relu'))
model.add(Dense(10, activation='softmax'))

model.compile(optimizer='adam',
loss='categorical_crossentropy',
metrics=['accuracy'])
和之前用dl4j叠CNN一样,《有趣的卷积神经网络》
4、完整的代码
from keras.datasets import mnist
from keras.layers import Conv2D, MaxPool2D
from keras.layers import Dense, Flatten
from keras.models import Sequential
from keras.utils import to_categorical

import matplotlib.pyplot as plt

(x_train, y_train), (x_test, y_test) = mnist.load_data()

print(x_train.shape)

#将画板分为1行2列,本幅图位于第一个位置
plt.subplot(1,2,1)
# 打印两个个样本
plt.imshow(x_train[5], cmap='gray')
plt.subplot(1,2,2)
plt.imshow(x_train[10], cmap='gray')
plt.show()

img_x, img_y = 28, 28
x_train = x_train.reshape(x_train.shape[0], img_x, img_y, 1)
x_test = x_test.reshape(x_test.shape[0], img_x, img_y, 1)

x_train = x_train.astype('float32')/255
x_test = x_test.astype('float32')/255

y_train = to_categorical(y_train, 10)
y_test = to_categorical(y_test, 10)

model = Sequential()
model.add(Conv2D(32, kernel_size=(5, 5), activation='relu', input_shape=(img_x, img_y, 1)))
model.add(MaxPool2D(pool_size=(2, 2), strides=(2, 2)))
model.add(Conv2D(64, kernel_size=(5, 5), activation='relu'))
model.add(MaxPool2D(pool_size=(2, 2), strides=(2, 2)))
model.add(Flatten())
model.add(Dense(100, activation='relu'))
model.add(Dense(10, activation='softmax'))

model.compile(optimizer='adam',
loss='categorical_crossentropy',
metrics=['accuracy'])

model.fit(x_train, y_train, batch_size=128, epochs=1)

score = model.evaluate(x_test, y_test)
print('accuracy', score[1])
5、运行结果
eclipse run as Python Run,迭代1个批次的结果如下。(当然,在eclipse中也可以debug调试python程序)

快乐源于分享。
此博客乃作者原创, 转载请注明出处

- Tensorflow - Tutorial (7) : 利用 RNN/LSTM 进行手写数字识别
- caffe中如何训练自己的手写数字识别系统?
- kNN-手写数字识别
- TensorFlow 卷积神经网络之MNIST 手写数字识别
- Tensorflow , MNIST 识别你自己手写的数字
- CNN实现手写数字识别(完整代码+minist数据集)
- TensorFlow学习笔记(二):手写数字识别之多层感知机
- Python 手写数字识别-knn算法应用
- tensorflow 第一个程序MNIST手写数字识别(Softmax Regression实现)
- opencv 基于KNN的手写数字字符识别
- 基于Keras搭建用于MNIST手写数字识别的CNN
- TensorFlow学习(2):非线性回归和简单的MNIST手写数字识别
- opencv实战之手写数字识别
- TensorFlow学习笔记之源码分析(2)----手写数字识别mnist example
- Keras_深度学习_MNIST数据集手写数字识别之各种调参
- Kaggle Digit Recognizer使用keras实现手写数字识别 A1
- 手写数字识别的全栈尝试
- TensorFlow实现Softmax Regression识别手写数字中"TimeoutError: [WinError 10060] 由于连接方在一段时间后没有正确答复或连接的主机没有反应,连接尝试失败”问题
- 手写数字识别——数据降维(PCA)技术在图像识别中的应用
- 简单BP神经网络分类手写数字识别0-9