理解koa-router 路由一般使用
阅读目录
回到顶部一:理解koa-router一般的路由
koa-router是koa的路由库,什么是路由库呢?比如当我们访问 http://localhost:3001/ 的时候,浏览器就会显示index页面的内容(一般默认是index)。如果当用户访问 http://localhost:3001/home 的时候,浏览器就会显示home页面的内容。
假如要实现上述功能,如果我们不使用 koa-router 或者其他路由中间件的话,我们一般需要在app.js如下代码编写:
const Koa = require('koa');
const app = new Koa();

const route = (ctx, next) => {
console.log(ctx.path);
switch (ctx.path) {
case '/':
ctx.body = '<h1>欢迎光临index page 页面</h1>';
break;
case '/home':
ctx.body = '<h1>欢迎光临home页面</h1>';
break;
default:
// 404页面
return;
}
}

app.use(route);

app.listen(3001, () => {
console.log('3001 server start....');
});
然后我们在node命令行中 执行 node app.js 的时候就启动服务器。
当我们访问 http://localhost:3001/ 的时候,页面显示index page 信息,如下图所示:

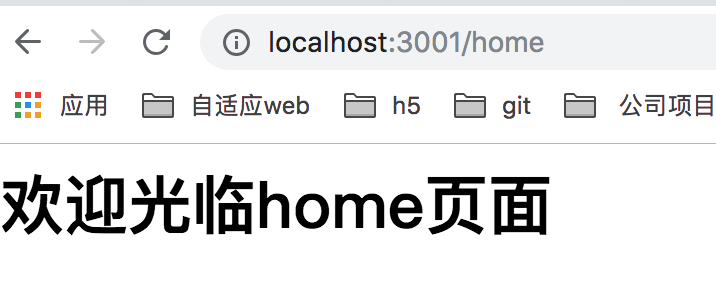
当我们访问 http://localhost:3001/home 的时候,就显示 欢迎光临home页面的信息。如下图所示:
这种方式不是很好,当我们项目变得很大的时候,我们需要编写很多 switch-case 这样的语句,代码变得更加耦合,并且当我需要对某个路由要加一个中间件过滤下的时候,这种方式并不好处理。并且当项目非常大的时候,我们不想把所有的路由编写的一个app.js 页面的时候,我们需要写到routes文件夹下多个js里面去,也就是说对路由进行分层级的时候,这样做的目的就是想让以后项目路由管理更加方便。那么目前的app.js中的switch-case 这种方式不支持了,因此我们这个时候就需要koa-router这样的中间件来做这件事情了哦。
因此我们现在需要安装 koa-router 模块了。命令如下:
npm install --save koa-router
通过 npm install supervisor --save-dev 安装supervisor模块, 用于node热启动.
package.json 代码如下:
{
"name": "routers",
"version": "1.0.0",
"description": "",
"main": "index.js",
"scripts": {
"start": "supervisor app.js"
},
"author": "",
"license": "ISC",
"devDependencies": {
"koa": "^2.7.0",
"koa-router": "^7.4.0",
"supervisor": "^0.12.0"
}
}
然后我们把app.js 代码改成如下了:
const Koa = require('koa');
const app = new Koa();

const router = require('koa-router')();

// 添加路由
router.get('/', ctx => {
ctx.body = '<h1>欢迎光临index page 页面</h1>';
});

router.get('/home', ctx => {
ctx.body = '<h1>欢迎光临home页面</h1>';
});

router.get('/404', ctx => {
ctx.body = '<h1>404...</h1>'
});

// 加载路由中间件
app.use(router.routes());

app.listen(3001, () => {
console.log('server is running at http://localhost:3001');
});
同样在node命令行中 运行命令 node app.js, 然后在浏览器下访问 http://localhost:3001/ 或 http://localhost:3001/home 或 http://localhost:3001/404 的时候就会加载到对应路由的页面了。
如上是koa-router 中get方法请求,koa-router也支持处理其他的请求方法,如下:
router.post('/users', ctx => {
// ....
})
.put('/user/:id', ctx => {
// ....
})
.del('/user/:id', ctx => {
// ....
})
.all('/user/:id', ctx => {
// ....
});
如上demo实列中,我们可以看到有一个all方法,该方法通常用于匹配一组路由或者全部路由可以做一些统一的设置操作。
const Koa = require('koa');
const app = new Koa();

const router = require('koa-router')();

// 添加路由
router.get('/', (ctx, next) => {
ctx.body = '<h1>欢迎光临index page 页面</h1>';
next();
});

router.get('/home', ctx => {
ctx.body = '<h1>欢迎光临home页面</h1>';
});

router.get('/404', ctx => {
ctx.body = '<h1>404...</h1>'
});

// all 方法
router.all('/', (ctx, next) => {
console.log('match "all" method');
next();
});
// 加载路由中间件
app.use(router.routes());

app.listen(3001, () => {
console.log('server is running at http://localhost:3001');
});
如上代码,当我们运行 http://localhost:3001/ 刷新的时候,可以看到 在node命令行中也会打印 all方法的信息,但是要打印该信息的时候,有一个前提就是上一个中间件必须 next() 执行下,才会执行到下一个中间件上来,否则的话,all方法内部的代码也不会执行的。
回到顶部二:理解koa-router命名路由
如下代码来简单的理解koa-router命名路由了。当我们在浏览器访问 http://localhost:3001/users/2 的时候,会打印 ctx.params = {'id': 2};并且会显示 'hello world';
const Koa = require('koa');
const app = new Koa();

const router = require('koa-router')();

// 添加命名路由
router.get('user', '/users/:id', (ctx, next) => {
// 当我们在浏览器访问 http://localhost:3001/users/2 的时候,会打印 ctx.params = {'id': 2}
console.log(ctx.params); // { id: '2' }
ctx.body = 'hello world';
});

// 加载路由中间件
app.use(router.routes());

app.listen(3001, () => {
console.log('server is running at http://localhost:3001');
});
回到顶部
三:理解koa-router多个中间件使用
koa-router支持路由多个中间件的处理,通过这个特性,我们能够为一个路由添加中间件进行做一些操作的事情。比如如下代码:
const Koa = require('koa');
const app = new Koa();

const router = require('koa-router')();

// 添加命名路由
router.get('user', '/users/:id', (ctx, next) => {
ctx.body = 'hello world';
// 比如一个异步的操作,执行一些处理
setTimeout(() => {
ctx.user = {'id': 11};
next(); // 把执行权转交给下一个中间件
}, 100);
}, (ctx, next) => {
// 在该中间件可以对数据进行一些操作等事情,
console.log(ctx.user); // 会打印 {'id': 11}
});

// 加载路由中间件
app.use(router.routes());

app.listen(3001, () => {
console.log('server is running at http://localhost:3001');
});
当我们在浏览器运行 http://localhost:3001/users/1 的时候,会显示 'hello world'文案,并且在node命令行中会打印 {'id': 11}。
回到顶部四:理解koa-router嵌套路由
我们可以在我们项目中定义很多路由,然后把这些路由组装起来。最后我们访问这些路由的时候,都可以支持。什么意思呢?
我们来简单的做个demo。如下代码:
const Koa = require('koa');
const app = new Koa();

// 初始化 router1
const router1 = require('koa-router')();

// 初始化 router2
const router2 = require('koa-router')();

// 使用router1做一些事情
router1.get('/', (ctx, next) => {
ctx.body = 'router1';
next();
});
router1.get('/:id', (ctx, next) => {
console.log(22222222);
console.log(ctx.params);
next();
});

// 使用router2嵌套router1
router2.use('/user/:id/xxx', router1.routes(), router1.allowedMethods());

// 加载路由中间件
app.use(router2.routes());

app.listen(3001, () => {
console.log('server is running at http://localhost:3001');
});
当我们访问 http://localhost:3001/user/1/xxx 这个的时候,就可以匹配到 第一个 router1.get('/', (ctx, next) => {}) 这个路由到,当我们访问 http://localhost:3001/user/1/xxx/x 的时候,就可以匹配到 router1.get('/:id', (ctx, next) => {}) 这个路由到了,其中/:id 就是命名路由了。不管是 /x 还是 /(任意的路径都是支持的)。也就是说 router1路由嵌套到router2路由里面了,只要访问 router2中的路由路径'http://localhost:3001/' + '/user/:id/xxx' 这样的路径的时候,就可以自动把router1的路径匹配到。也就是可以理解 router2是路由路径的前缀。
回到顶部五:分割路由文件
比如现在项目的目录结构如下:
|----- 项目
| |-- node_modules     # 依赖的包文件
| |-- routes           # 所有的路由文件
| | |-- index.js       # 路由入口文件
| | |-- router1.js     # router1.js 路由文件
| | |-- router2.js     # router2.js 路由文件
| |-- app.js           # 项目启动的文件
| |-- package.json
如上目录结构,app.js 文件是启动代码文件,代码如下:
const Koa = require('koa');
const app = new Koa();

const router = require('./routes/index');

// 加载路由中间件
app.use(router.routes(), router.allowedMethods());

app.listen(3001, () => {
console.log('server is running at http://localhost:3001');
});
routes 文件夹包含所有的路由文件,routes/index.js 是路由的入口路由文件,在app.js 会引入该文件,代码如上,该文件的作用是读取所有的路由的文件,并且对每个路由进行注册。
routes/index.js 代码如下:
const router = require('koa-router')();
const fs = require('fs');
const path = require('path');
const files = fs.readdirSync(__dirname);
/*
/^[^\.].*\.js/ 该正则匹配以.js末尾的文件,包括比如: a.js,
/xx/yy/x.js 类似的多个目录文件,只要以 .js 末尾的即可。
/^[^\.].*\.js$/.test('a.js'); // true
/^[^\.].*\.js$/.test('/xx/yy/a.js'); // true
*/
files.filter(file => ~file.search(/^[^\.].*\.js$/)).forEach(file => {
// 获取文件名 比如 xx.js 这样的,截取 file.substr(0, file.length - 3); 因为 .js 长度为3
const fileName = file.substr(0, file.length - 3);
/*
获取每个路由的全局路径,比如文件夹 routes下的 router1.js.
router1.js 代码如下:
const router = require('koa-router')();
router.get('/', (ctx, next) => {
ctx.body = 'hello world';
});
router.get('/home', (ctx, next) => {
ctx.body = '欢迎光临home页面';
});
module.exports = router;
然后对每个路由进行注册
*/
const fileEntity = require(path.join(__dirname, file));

if (fileName !== 'index') {
router.use(`/${fileName}`, fileEntity.routes(), fileEntity.allowedMethods());
}
});

module.exports = router;
routes/router1.js 是其中一个路由文件,代码如下:
const router = require('koa-router')();

router.get('/', (ctx, next) => {
ctx.body = 'hello world';
});

router.get('/home', (ctx, next) => {
ctx.body = '欢迎光临home页面';
});

module.exports = router;
routes/router2.js 是另外一个路由文件,代码如下:
const router = require('koa-router')();

router.get('/', (ctx, next) => {
ctx.body = '已经进入router2页面了';
});

router.get('/detail', (ctx, next) => {
ctx.body = '已经进入详情页面了';
});

module.exports = router;
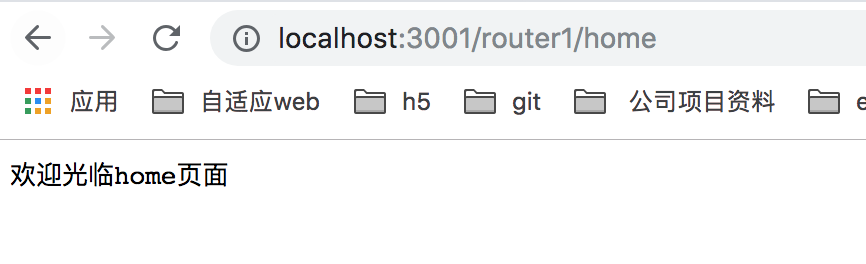
当我们访问 http://localhost:3001/router1 的时候,会打印 "hello world", 如下图所示:

当我们访问 http://localhost:3001/router1/home 的时候,会打印 "欢迎光临home页面", 如下图所示:
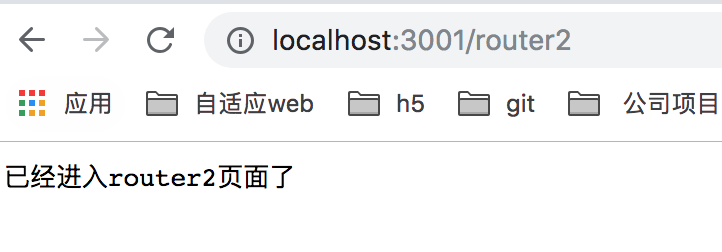
当我们访问 http://localhost:3001/router2 的时候,会打印出 "已经进入router2页面了", 如下图所示:
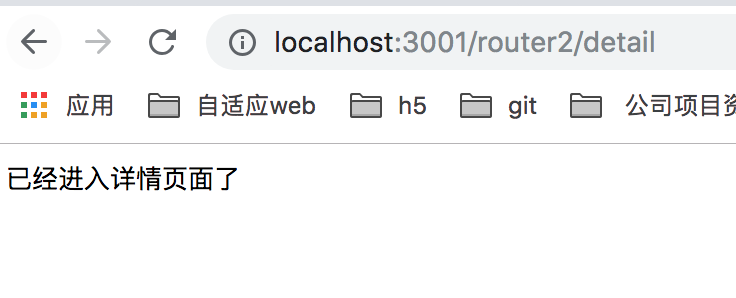
当我们访问 http://localhost:3001/router2/detail 的时候,会打印出 "已经进入详情页面了", 如下图所示:

- 深入理解与使用keep-alive(配合router-view缓存整个路由页面)
- keep-alive的深入理解与使用(配合router-view缓存整个路由页面)
- 深入理解ANGULARUI路由_UI-ROUTER
- Vue.js路由vue-router使用方法详解
- React第三方组件1(路由管理之Router的使用④按需加载-上)
- vue-router使用history模式时,koa2后端的配置
- Vue-Router的三要素,快速帮助理解消化路由!
- windows下vue-cli及webpack 构建网站(四) 路由vue-router的使用
- 路由(二) router-link的使用
- vue-router路由的基础使用
- Vue的路由功能(1)简单路由与vue-router的基础使用(同步/异步组件)
- vue-router重定向和路由别名的使用讲解
- VueJs路由跳转——vue-router的使用详解
- iKcamp团队制作|基于Koa2搭建Node.js实战(含视频)☞ 路由koa-router
- iKcamp团队制作|基于Koa2搭建Node.js实战(含视频)☞ 路由koa-router
- Vue.js路由组件vue-router使用方法详解
- koa-router 路由优先级问题
- React第三方组件1(路由管理之Router的使用①简单使用)
- 使用react-router-dom优雅的实现页面(路由)跳转, 而且保持当前页面状态
- 使用Vue-Router 2实现路由功能实例详解