Spring Boot 2.X 学习日记——整合模板引擎(Thymeleaf)
2019-04-02 23:57
337 查看
版权声明:本文为博主原创文章,未经博主允许不得转载。 https://blog.csdn.net/u014252106/article/details/88984515
在使用嵌入式容器的Spring Boot项目中,JSP模板引擎会存在一定限制,所以尽可能不去使用。要在Spring Boot项目中使用模板引擎的话,首推Thymeleaf,下面笔者将简单的带着大家一起学习该模板引擎。
#Thymeleaf是什么?
Thymeleaf是一种模板引擎,它的作用同FreeMarker,Velocity一样,都是用于渲染数据。那么,功能一样,又为什么推荐使用Thymeleaf,而不是其它的呢?推荐它的原因基于以下几点:
- 它是springBoot官方推荐模板引擎。
- 它是在HTML标签的基础上,通过拓展标签属性实现的——这个模板引擎所用的模板文件,即使后端没有数据,它也能正常显示。
- 它对spring的支持更加友好。
#Thymeleaf怎么用?
Spring Boot官方已经为Thymeleaf提供了Starter,我们可以通过集成该Starter,实现数据绑定,属性编辑以及国际化等功能。
首先,我们得在项目中添加对应的starter依赖
compile 'org.springframework.boot:spring-boot-starter-thymeleaf'
其次,我们需要新增UserController.java
UserController.java
package com.boot.demo.controller;

import org.springframework.stereotype.Controller;
import org.springframework.web.bind.annotation.RequestMapping;
import org.springframework.web.servlet.ModelAndView;

import java.util.HashMap;
import java.util.Map;

@Controller
public class UserController {

@RequestMapping("/home")
public ModelAndView index(){
ModelAndView mv = new ModelAndView();
mv.setViewName("home");
Map<String,Object> info = new HashMap<>();
info.put("username","Ivan");
info.put("message","this is a message");
mv.addObject("info",info);
return mv;
}

}
最后,我们需要在src/main/resources目录下新增templates文件夹,并在该文件夹下新增home.html
home.html
<!doctype html>
<html>
<head>
<title>thymeleaf测试</title>
</head>
<body>
<h1 th:text="'Hello,' + ${info.username}">Hello,User!</h1>
Here is your message:<span th:text="${info.message}">xxx</span>
</body>
</html>
好了,到这里,关于Thymeleaf的用法,已经介绍完了,接下来,赶紧测试下吧
测试
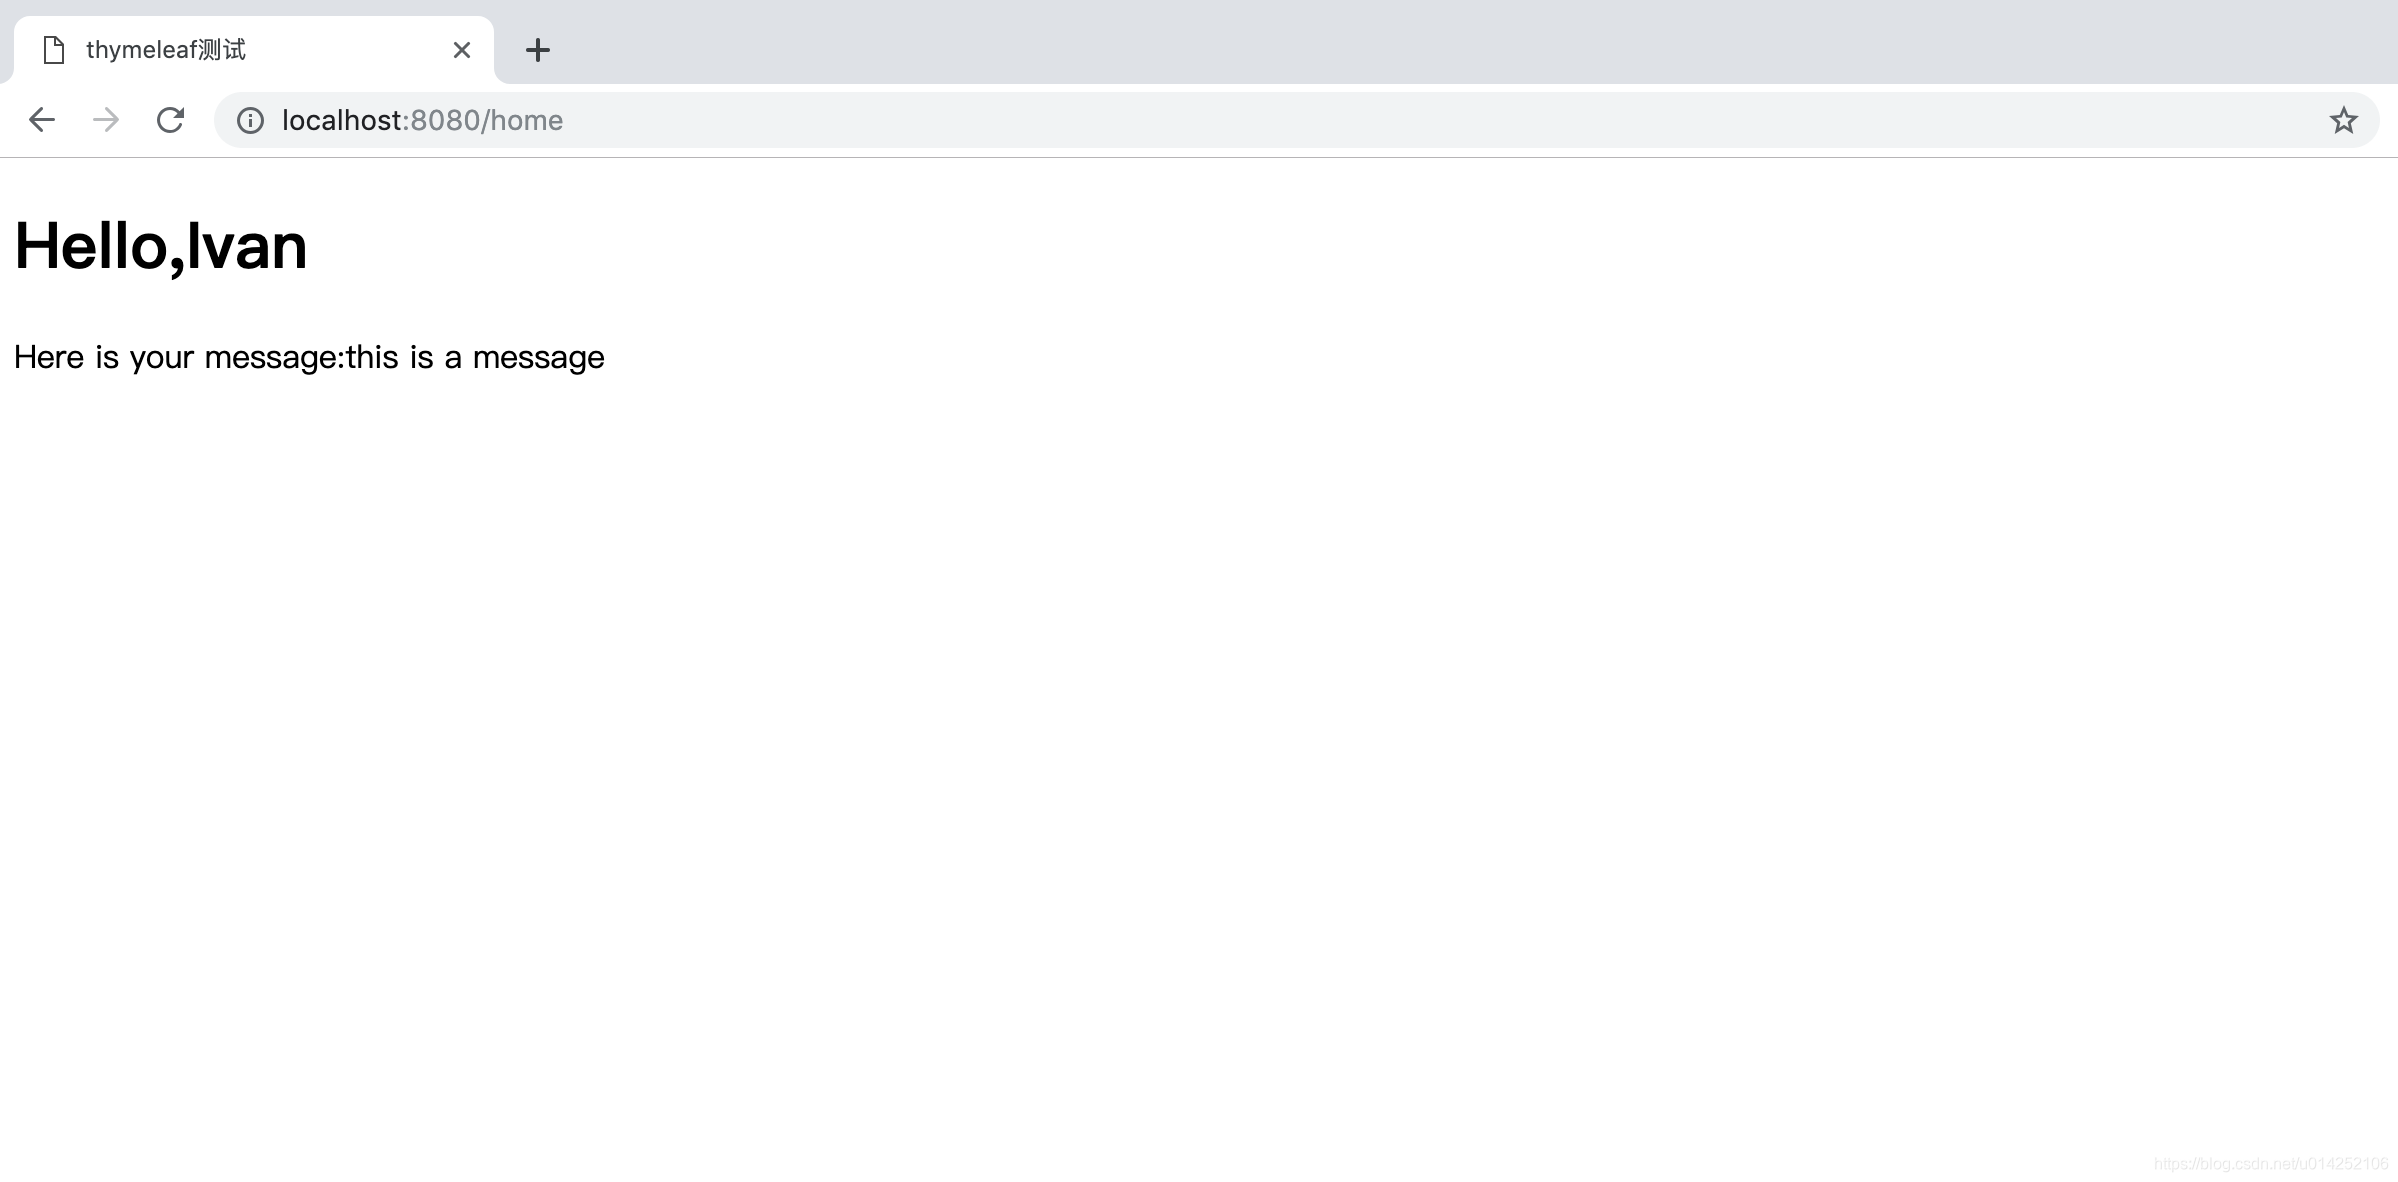
启动项目,用浏览器访问http://localhost:8080/home,结果如下
总结
以上的例子,只为说明Thymeleaf如何集成到Spring Boot的项目中来,过于简单。很多Thymeleaf的细节用法,由于时间有限,本文并没有详细介绍,如果读者们想详细了解,可自行查阅官方文档。

相关文章推荐
- JavaEE开发之SpringBoot整合MyBatis以及Thymeleaf模板引擎
- Spring Boot整合Thymeleaf模板引擎
- Springboot系列:Springboot与Thymeleaf模板引擎整合基础教程(附源码)
- Springboot系列:Springboot与Thymeleaf模板引擎整合基础教程(附源码)
- Springboot系列:Springboot与Thymeleaf模板引擎整合基础教程(附源码)
- Springboot系列:Springboot与Thymeleaf模板引擎整合基础教程(附源码)
- Springboot系列:Springboot与Thymeleaf模板引擎整合基础教程(附源码)
- Springboot系列:Springboot与Thymeleaf模板引擎整合基础教程(附源码)
- Springboot系列:Springboot与Thymeleaf模板引擎整合基础教程(附源码)
- JavaEE开发之SpringBoot整合MyBatis以及Thymeleaf模板引擎
- Springboot系列:Springboot与Thymeleaf模板引擎整合基础教程(附源码)
- Springboot系列:Springboot与Thymeleaf模板引擎整合基础教程(附源码)
- Springboot系列:Springboot与Thymeleaf模板引擎整合基础教程(附源码)
- Springboot系列:Springboot与Thymeleaf模板引擎整合基础教程(附源码)
- Springboot系列:Springboot与Thymeleaf模板引擎整合基础教程(附源码)
- Springboot系列:Springboot与Thymeleaf模板引擎整合基础教程(附源码)
- Springboot系列:Springboot与Thymeleaf模板引擎整合基础教程(附源码)
- Springboot系列:Springboot与Thymeleaf模板引擎整合基础教程(附源码)
- Springboot系列:Springboot与Thymeleaf模板引擎整合基础教程(附源码)
- SpringBoot整合模板引擎Thymeleaf