代理服务器squid,varnish
2019-03-20 23:15
246 查看
版权声明:转载请附上链接 https://blog.csdn.net/qq_37684859/article/details/88703096


-
实现此案例需要按照如下步骤进行。
-
步骤一:构建web服务器
-
1)使用yum安装web软件包
[root@web ~]# yum  -y  install  httpd
.. ..
[root@web ~]# rpm  -q  httpd
httpd-2.4.6-40.el7.x86_64
- 2)启用httpd服务,并设为开机自动运行
[root@web ~]# systemctl start httpd ; systemctl enable httpd
- httpd服务默认通过TCP 80端口监听客户端请求:
[root@web ~]# netstat  -anptu  |  grep httpd
tcp        0        0        :::80        :::*        LISTEN        2813/httpd
- 3)为Web访问建立测试文件
在网站根目录/var/www/html下创建一个名为index.html的首页文件:
[root@web ~]# cat /var/www/html/index.html
<html>
<title>Welcome</title>
<body>
<h1>www.tarena.com</h1>
</body>
</html>
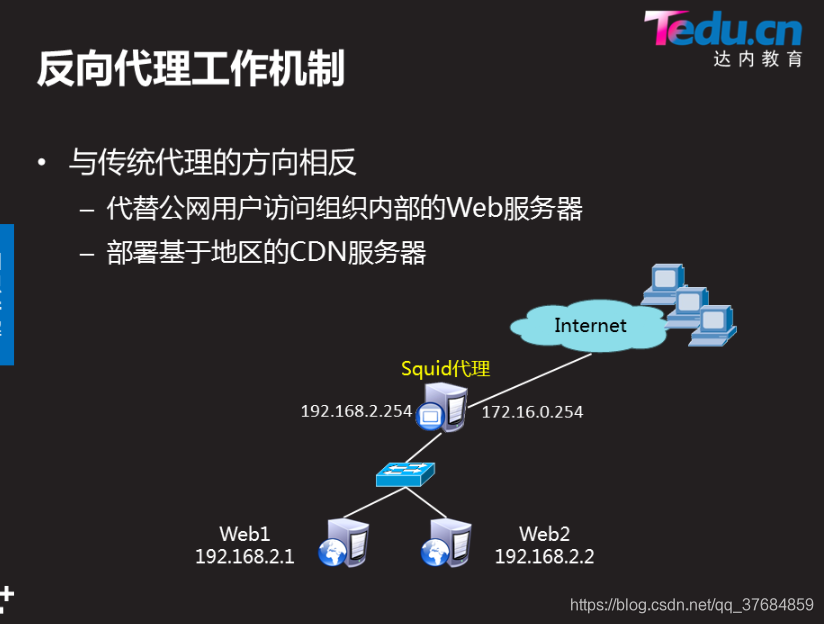
步骤二:部署Squid代理服务器
1)使用yum安装squid软件包:
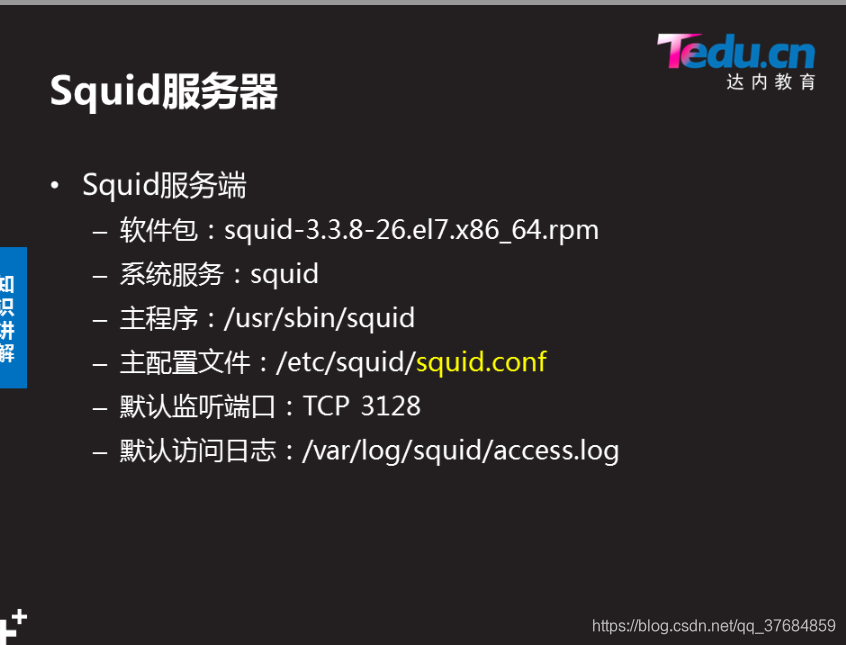
[root@svr5 ~]# yum  -y  install  squid
.. ..
[root@svr5 ~]# rpm  -q  squid
squid-3.3.8-26.el7.x86_64
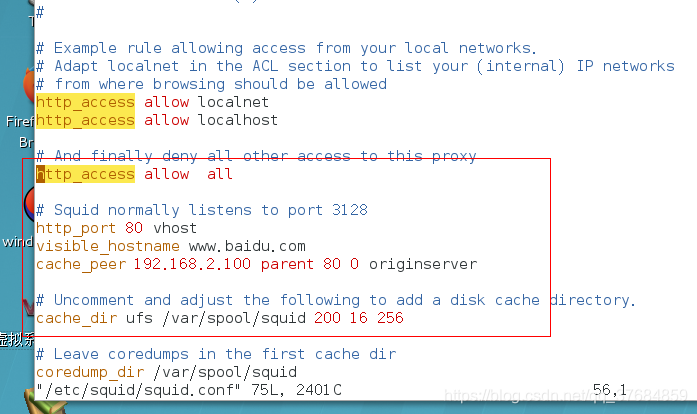
2)修改/etc/squid/squid.conf配置文件:
[root@svr5 ~]# vim /etc/squid/squid.conf
.. ..
http_port 80 vhost                            #置反向代理
visible_hostname svr5.tarena.com                #置主机名
cache_peer  192.168.2.100  parent 80   0  originserver   #/定义后端真实服务器信息
cache_dir ufs /var/spool/squid 200 16 128       #/硬盘缓存,缓存容量为200M
http_access allow all                            #/允许本机所有主机使用代理服务器
3)启动squid服务,并设置为开机启动:
[root@svr5 ~]# systemctl start squid; systemctl enable squid
4)squid服务通过TCP 80端口监听客户端请求:
[root@svr5 ~]# netstat  -anptu  |  grep 80
tcp        0        0        :::80        :::*        LISTEN        3213/(squid)
步骤三:客户端测试
通过/etc/hosts文件,配置域名解析,将域名解析为Squid服务器IP地址
[root@client ~]# cat /etc/hosts
.. ..
192.168.4.5    www.tarena.com
2)客户端开启浏览器,分别访问两个不同的域名站点
[root@client ~]# firefox http://www.tare


相关文章推荐
- Squid与Varnish代理服务器
- 五大开源 Web 代理服务器横评:Squid、Privoxy、Varnish、Polipo、Tinyproxy
- squid和varnish缓存代理服务器
- Squid 代理服务器、Varnish服务器
- Squid 和 Varnish 代理服务器的简单搭建
- squid配置-Linux下架设代理服务器
- Ubuntu12.04下安装squid3代理服务器实现内外网互通
- ubuntu11.10上安装Squid配置代理服务器
- 使用Varnish代替Squid做网站缓存加速器的详细解决方案
- Linux平台下代理服务器的实现(squid)
- 代理服务器Squid,Nginx
- 使用Squid做代理服务器的方法
- squid 代理服务器配置文档
- Squid缓存代理服务器安装过程
- varnish、squid、apache、nginx缓存的对比
- 架设 Squid 代理服务器(访问控制)
- varnish/squid/nginx cache比较
- (squid+nginx+varnish)资料整理
- ubuntu squid 代理服务器安装配置