docker 安装ElasticSearch(6.x版本)
2018-12-05 15:32
736 查看
安装ElasticSearch
拉取镜像,选择版本为6.5.0
$ docker pull elasticsearch:6.5.0
查看镜像
$ docker images

启动一个容器
$ docker run --name elasticsearch -d -e ES_JAVA_OPTS="-Xms512m -Xmx512m" -p 9200:9200 -p 9300:9300 elasticsearch:6.5.0
42d639a089348b393b0cc912141ef357b6565996c5c4863e363f8729da229d7d
然后访问 GET localhost:9200 ,发现未启动成功,查看日志
$ docker logs -f 42d6
[2018-12-05T06:07:06,546][INFO ][o.e.b.BootstrapChecks    ] [IHubvTB] bound or publishing to a non-loopback address, enforcing bootstrap checks
ERROR: [1] bootstrap checks failed
[1]: max virtual memory areas vm.max_map_count [65530] is too low, increase to at least [262144]
[2018-12-05T06:07:06,630][INFO ][o.e.n.Node               ] [IHubvTB] stopping ...
[2018-12-05T06:07:06,939][INFO ][o.e.n.Node               ] [IHubvTB] stopped
[2018-12-05T06:07:06,939][INFO ][o.e.n.Node               ] [IHubvTB] closing ...
[2018-12-05T06:07:06,973][INFO ][o.e.n.Node               ] [IHubvTB] closed
这里提示:vm.max_map_count [65530] is too low, increase to at least [262144],说max_map_count的值太小了,需要设大到262144
查看max_map_count的值
$ cat /proc/sys/vm/max_map_count
65530
重新设置max_map_count的值
$ sysctl -w vm.max_map_count=262144
vm.max_map_count = 262144
再次启动容器
$ docker start 42d6
再次访问 GET localhost:9200
{
"name": "IHubvTB",
"cluster_name": "docker-cluster",
"cluster_uuid": "edN3o1PkTAKF5C4N-Uw7tQ",
"version": {
"number": "6.5.0",
"build_flavor": "default",
"build_type": "tar",
"build_hash": "816e6f6",
"build_date": "2018-11-09T18:58:36.352602Z",
"build_snapshot": false,
"lucene_version": "7.5.0",
"minimum_wire_compatibility_version": "5.6.0",
"minimum_index_compatibility_version": "5.0.0"
},
"tagline": "You Know, for Search"
}
安装成功。
head插件安装
5.x版本head插件安装说明
1.x版本和2.x版本,可以直接使用plugin命令来安装head插件
5.x以上版本,无法通过plugin命令来安装。
https://github.com/mobz/elasticsearch-head 文档说明:
插件不支持,需要借助node来跑一个服务
Running as a plugin of Elasticsearch (deprecated)
for Elasticsearch 5.x: site plugins are not supported. Run as a standalone server
for Elasticsearch 2.x: sudo elasticsearch/bin/plugin install mobz/elasticsearch-head
for Elasticsearch 1.x: sudo elasticsearch/bin/plugin -install mobz/elasticsearch-head/1.x
for Elasticsearch 0.x: sudo elasticsearch/bin/plugin -install mobz/elasticsearch-head/0.9
open http://localhost:9200/_plugin/head/
Running with built in server
git clone git://github.com/mobz/elasticsearch-head.git
cd elasticsearch-head
npm install
npm run start
open http://localhost:9100/
This will start a local webserver running on port 9100 serving elasticsearch-head
或者安装google插件
Running as a Chrome extension
Install ElasticSearch Head from the Chrome Web Store.
Click the extension icon in the toolbar of your web browser.
但是还有一种安装方式,就是通过docker安装,访问地址是http://localhost:9100/
Running with docker
for Elasticsearch 5.x: docker run -p 9100:9100 mobz/elasticsearch-head:5
for Elasticsearch 2.x: docker run -p 9100:9100 mobz/elasticsearch-head:2
for Elasticsearch 1.x: docker run -p 9100:9100 mobz/elasticsearch-head:1
for fans of alpine there is mobz/elasticsearch-head:5-alpine
open http://localhost:9100/
使用docker安装head插件
拉取镜像(这里选择国内镜像源)
$ docker pull mobz/elasticsearch-head
启动容器
$ docker run -d -p 9100:9100 --name elasticsearch-head elasticsearch-head
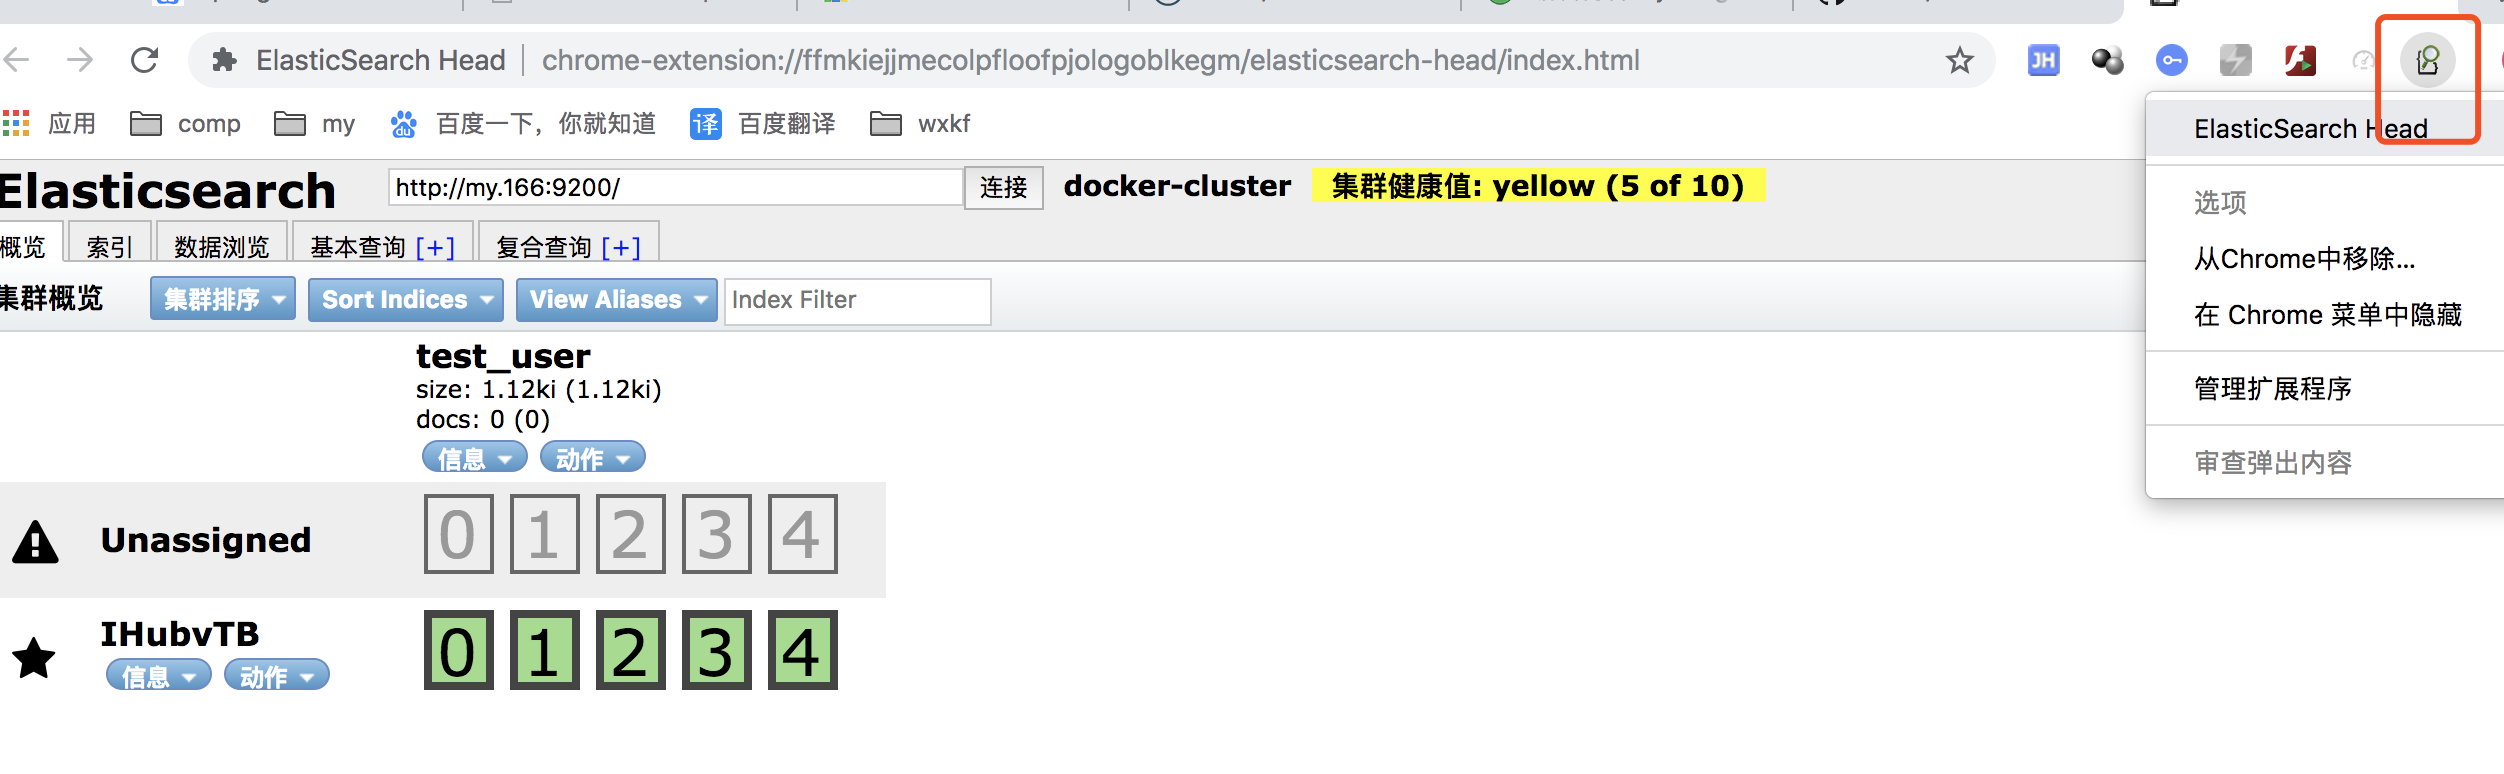
然后浏览器访问 localhost:9200

出现这个界面,说明head插件安装成功。
但是发现健康值为:未连接?
打开浏览器调试,发现报错信息:
Access to XMLHttpRequest at 'http://localhost:9200/' from origin 'http://localhost:9100' has been blocked by CORS policy: No 'Access-Control-Allow-Origin' header is present on the requested resource.
这里也就是跨域错误
https://github.com/mobz/elasticsearch-head 文档中也有说明:
Enable CORS in elasticsearch
When not running as a plugin of elasticsearch (which is not even possible from version 5) you must enable CORS in elasticsearch otherwise your browser will rejects requests which appear insecure.

In elasticsearch configuration;

add http.cors.enabled: true
you must also set http.cors.allow-origin because no origin allowed by default. http.cors.allow-origin: "*" is valid value, however it’s considered as a security risk as your cluster is open to cross origin from anywhere.
ElasticSearch跨域设置
进入elasticsearch容器
$ docker exec -it 42d639a08934 /bin/bash
找到配置文件的目录
$ /usr/share/elasticsearch/config
$ ls
elasticsearch.keystore  ingest-geoip  log4j2.properties  roles.yml  users_roles
elasticsearch.yml       jvm.options   role_mapping.yml   users
修改elasticsearch.yml,需要安装vim(参考 https://my.oschina.net/yimingkeji/blog/2978974)
如果提示apt-get不存在,使用yum安装vim
$ yum install -y vim
安装后编辑elasticsearch.yml
$ vim elasticsearch.yml
# ----添加内容----
# head插件设置
http.cors.enabled: true
http.cors.allow-origin: "*"
重启容器
$ docker restart 42d639a08934
再次访问插件
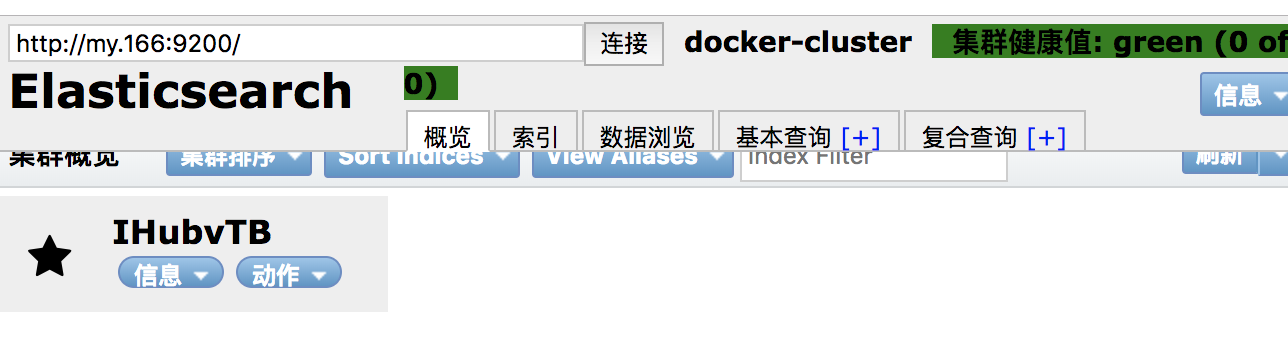
安装完成。
(adsbygoogle = window.adsbygoogle || []).push({});
相关文章推荐
- Elasticsearch 5.0版本 学习一、安装
- ubuntu docker社区版本安装
- Liunx安装指定版本Docker(ubuntu)
- Docker安装Elasticsearch 5.6.3集群及head 5插件
- windows环境下ElasticSearch5以上版本安装head插件
- 【转】在特定环境中安装指定版本的Docker
- Windows(7/8/10)搭建kibana 6.x版本(elasticsearch的可视化服务)
- 【脚本】一键安装指定版本 Docker 的脚本
- kolla pike 版本安装时 Checking docker SDK version 问题解决
- Docker 17.12版本安装
- ELK 架构之 Elasticsearch、Kibana、Logstash 和 Filebeat 安装配置汇总(6.2.4 版本)
- 1.7.0版本docker安装与使用
- elasticsearch 5.1.1版本升级笔记之安装Head插件
- centos7安装指定版本docker且使用本地docker 仓库
- windows环境下ElasticSearch5以上版本安装head插件
- Docker实战(十二):Docker安装ElasticSearch集群环境
- ElasticSearch2.x版本各插件安装方法
- Docker实战(十二):Docker安装ElasticSearch集群环境
- CentOS 6.X安装LAMP最高版本环境
- 关于IBM X3650 M4安装redhat 6.X版本后不能重启问题