centos7搭建lnmp (php7 + mysql5.7 +nginx1.8)最新版
1.php7编译安装
1.1首先下载并解压php安装包 php下载地址
下载
- wget http://cn2.php.net/get/php-7.2.4.tar.xz/from/this/mirror
解压(tar解压命令-x解压-v显示所有过程-f使用档案名字)
[html] 查看纯文本- tar -xvf镜像
1.2安装
这个时候你已经得到了解压后的PHP的安装包

- cd php-7.2.4 /
安装依赖
[html] 查看纯文本- yum -y install libjpeg libjpeg-devel libpng libpng-devel freetype freetype-devel libxml2 libxml2-devel zlib zlib-devel curl curl-devel openssl openssl-devel
配置php(现在只是安装一下必要的扩展,等你需要额外的扩展完全可以以后再安装)
[html] 查看纯文本- ./configure --prefix = / usr / local / php --enable -fpm --with-fpm-user = nginx --with-fpm-group = nginx --with-mysqli --with-zlib --with- curl --with-gd --with-jpeg-dir --with-png-dir --with-freetype-dir --with-openssl --enable-mbstring --enable-xml --enable-session --enable -ftp --enable-pdo -enable-tokenizer --enable-zip
注意这个地方会很容易出现下面的错误

执行yum install -y gcc 就可以了 再次执行以上代码就ok
- --with-mysqli这个是mysqli扩展
- --with-fpm-user = nginx fpm用户
- --with-fpm-group-nginx fpm用户组
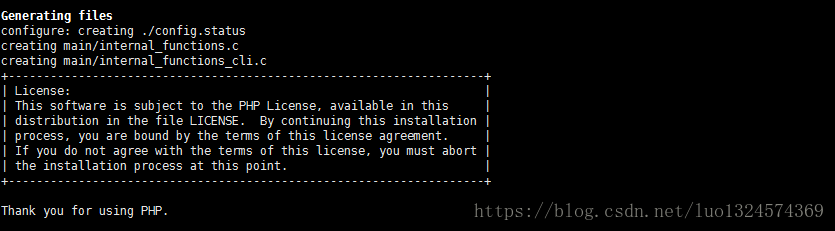
当你看到如下页面就代表PHP可以安装了
- make && make install
添加PHP命令到环境变量 复制配置文件
[html] 查看纯文本- cp /root/php-7.2.4/php.ini-development /usr/local/php/lib/php.ini
- vim /etc/profile
- 在结尾添加
- PATH=$PATH:/usr/local/php/bin
- export PATH
- 保存后运行
- source /etc/profile
- 执行命令
- php -v
- 如果出现以下画面就代表php安装成功

- cp /root/php-7.2.4/sapi/fpm/php-fpm.service /usr/lib/systemd/system
2.配置
[html] view plain copy- 1.生成 php-fpm.conf
- cd /usr/local/php/etc/
- 复制默认文件
- cp php-fpm.conf.default php-fpm.conf
- 2.生成 www.conf
- cd /usr/local/php/etc/php-fpm.d
- 复制默认文件
- cp www.conf.default www.conf
- 编辑文件
- vim www.conf
- 将其中
- user = nginx
- group = nginx
- 改为
- user = nobody
- group = nobody
3.启动
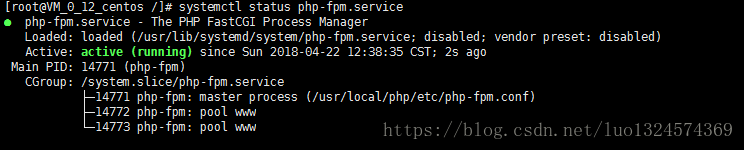
[html] view plain copy- systemctl start php-fpm.service
- 查看状态,如显示如下就代表启动成功
2.nginx1.8安装
安装
[html] view plain copy- rpm -Uvh http://nginx.org/packages/centos/7/noarch/RPMS/nginx-release-centos-7-0.el7.ngx.noarch.rpm
- yum install nginx
启动
[html] view plain copy- systemctl start nginx.service
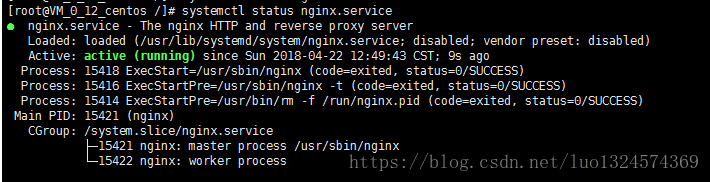
- 查看状态 如果出现以下画面就带代表安装成功
- systemctl status nginx.service
 配置站点[html] view plain copy
- 创建文件夹
- mkdir /www
- 创建phpinfo文件
- vim /www/phpinfo.php
- 编辑添加
- <?php
- echo phpinfo();
- 编辑nginx配置
- vim /etc/nginx/nginx.conf
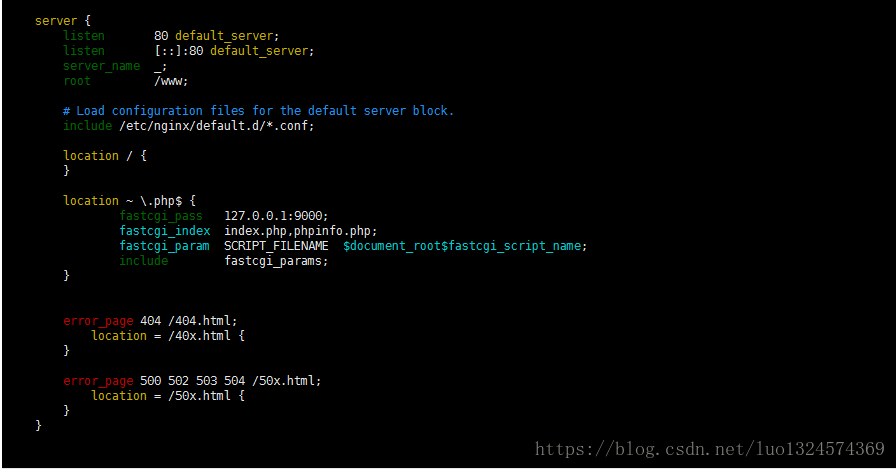
1.修改网站根目录 把root改为/www
2.添加php解析
- location ~ \.php$ {
- fastcgi_pass 127.0.0.1:9000;
- fastcgi_index index.php;
- fastcgi_param SCRIPT_FILENAME $document_root$fastcgi_script_name;
- include fastcgi_params;
- }
重启
[html] view plain copy- systemctl restart nginx.service
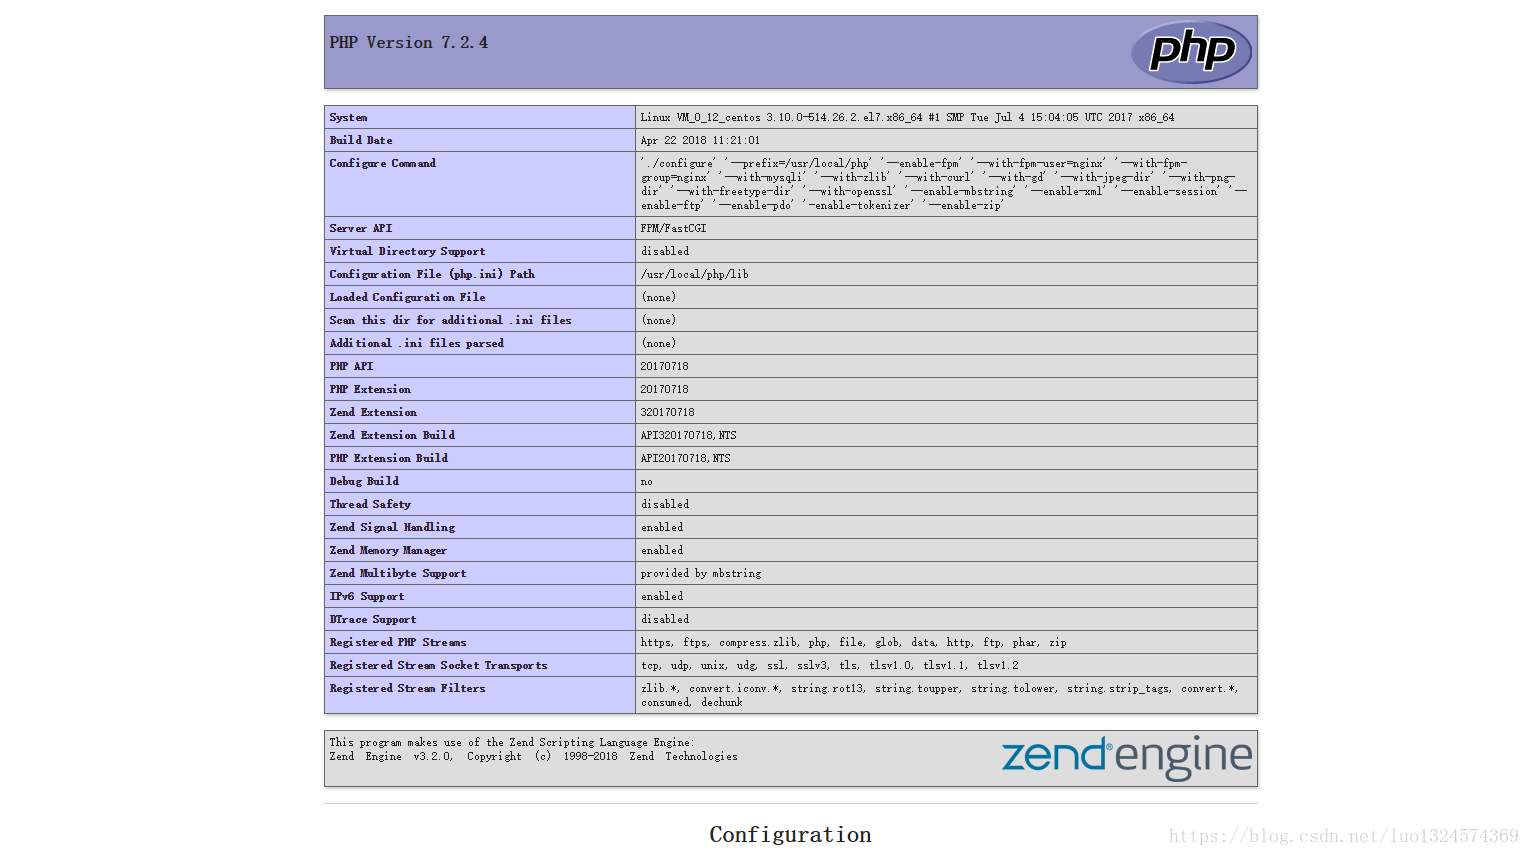
访问,出现以下页面就代表nginx已经可以解析php文件了
[html] view plain copy- 你的域名/phpinfo.php
3.mysql5.7安装 安装
- rpm -Uvh http://dev.mysql.com/get/mysql57-community-release-el7-7.noarch.rpm
- yum install mysql-community-server mysql-community-devel
启动
[html] view plain copy- 启动
- systemctl start mysqld
- 查看状态,显示下图就代表启动成功
- systemctl status mysqld

- grep 'temporary password' /var/log/mysqld.log

- mysql -u root -p
修改密码
[html] view plain copy- ALTER USER 'root'@'localhost' IDENTIFIED BY '你的密码';
远程连接数据库:1. 在服务器内部登录数据库,然后执行grant all privileges on *.* to 'root'@'%' identified by '123456' with grant option; 此语句意思是给root用户在任何IP都可以登录数据库然后执行 flush privileges;//刷新数据库权限
其中: *.* 第一个*是指数据库*代表所有数据库第二个*指数据库对象*代表数据库中所有对象 'root'@'%' root是制定要授权的数据库用户%代表允许登录的IP123456是你的数据库密码假如要限制只能在1.1.1.1登录,把%改成1.1.1.1 ,执行完毕后执行 flush privileges; 刷新权限
 然后在本地电脑mysql客户端就可以连接了。
配置,修改php.ini 这个值可以从 /etc/my.cnf 找到
- vim php.ini
- 修改
- mysqli.default_socket = /var/lib/mysql/mysql.sock
重启nginx和php-fpm
[html] view plain copy- systemctl restart nginx.service
- systemctl restart php-fpm.service
- vim /www/testMysql.php
- <?php
- $ mysqli = @new mysqli('localhost','root','你的密码');
- if($ mysqli- > connect_errno){
- die(“无法连接到数据库:\ n”。$ mysqli- > connect_error);
- }其他{
- 回声'连接成功!';
- }

- centos7利用yum安装lnmp的教程(linux+nginx+php7.1+mysql5.7)
- CentOS7搭建LNMP(Linux+Nginx+MySQL+PHP) 环境
- 基于CentOS 6.8平台最新源代码包编译安装LNMP环境搭建(Nginx+MySQL+PHP)
- debian系统安装最新lnmp编译最新php7.1.2及nginx1.10.3及mysql5.7及5.6
- Debian+Nginx+PHP(FastCGI)+MySQL搭建LNMP服务器(最新版)
- Ubuntu 搭建LNMP环境图文教程 配置nginx支持PHP
- 【最新版lnmp编译安装】编译安装nginx1.10.2最新版、php7.0.12最新版、mysql5.7.16最新版
- Ubuntu 14.04 LNMP源码编译环境搭建 Nginx-1.9.1 PHP-5.6.9 Mariadb-10.0.19 完整教程
- Lnmp 搭建(nginx,mysql,php,memcache,tomcat)
- linux下搭建LNMP(linux+nginx+mysql+php)环境之php5.4安装
- centos6 LNMP的搭建(linux+nginx+mysql+php)
- 全新安装Mac OSX 开发者环境 同时使用homebrew搭建 PHP,Nginx ,MySQL,Redis,Memcache ... ... (LNMP开发环境)
- CentOS5.5安装Nginx、PHP(FastCGI)、MySQL --搭建LNMP环境安装wordpress
- centos LNMP第一部分环境搭建 LAMP LNMP安装先后顺序 php安装 安装nginx 编写nginx启动脚本 懒汉模式 mv /usr/php/{p.conf.default,p.conf} php运行方式SAPI介绍 第二十三节课
- LNMP架构的搭建(linux+nginx+mysql+php源码安装 )+Discuz论坛的搭建
- 使用putty连接linux服务器/VPS,并搭建lnmp集成环境(nginx+mysql+php)
- ubuntu13.04 搭建 Nginx + PHP + PHP-FPM + Mysql (lnmp) 环境
- CentOS 5.5安装Nginx、PHP(FastCGI)、MySQL --搭建LNMP环境安装Wordpress、Discuz
- 全新安装Mac OSX 开发者环境 同时使用homebrew搭建 PHP,Nginx ,MySQL,Redis,Memcache ... ... (LNMP开发环境)
- 从零搭建LNMP环境(二) - 集成Nginx与PHP