Spring Boot+Gradle项目打包发布
2018-02-26 12:42
453 查看
在Eclipse中创建Spring Boot项目有两种方法,
1. 创建一个单纯的Gradle项目,然后转换为Dynamic Web Module项目,添加SpringBoot的引用,如:
http://blog.csdn.net/haojinming/article/details/79295255 中所示。
此时build.gradle文件如下:/*
* This build file was generated by the Gradle 'init' task.
*
* This generated file contains a sample Java Library project to get you started.
* For more details take a look at the Java Libraries chapter in the Gradle
* user guide available at https://docs.gradle.org/3.5/userguide/java_library_plugin.html */
// Apply the java-library plugin to add support for Java Library
apply plugin: 'java-library'
// In this section you declare where to find the dependencies of your project
repositories {
// Use jcenter for resolving your dependencies.
// You can declare any Maven/Ivy/file repository here.
maven {url 'http://maven.aliyun.com/nexus/content/groups/public/'}
jcenter()
}
dependencies {
// https://mvnrepository.com/artifact/org.springframework.boot/spring-boot-starter-web compile group: 'org.springframework.boot', name: 'spring-boot-starter-web', version: '1.5.6.RELEASE'
// Use JUnit test framework
testImplementation 'junit:junit:4.12'
}2. 在Eclipse Marketplace中安装Spring插件,可以直接创建一个Spring Boot项目,此时生成的buil.gradle文件如下:buildscript {
ext {
springBootVersion = '1.5.10.RELEASE'
}
repositories {
mavenCentral()
}
dependencies {
classpath("org.springframework.boot:spring-boot-gradle-plugin:${springBootVersion}")
}
}
apply plugin: 'java'
apply plugin: 'eclipse'
apply plugin: 'org.springframework.boot'
group = 'com.utrc'
version = '0.0.1-SNAPSHOT'
sourceCompatibility = 1.8
repositories {
mavenCentral()
}
dependencies {
compile('org.springframework.boot:spring-boot-starter-web')
testCompile('org.springframework.boot:spring-boot-starter-test')
compile('com.microsoft.azure.sdk.iot:iot-service-client:1.11.0')
compile('com.microsoft.azure.sdk.iot:iot-device-client:1.7.0')
}第一种方法创建的项目不能直接打包成可运行的jar文件,可以替换成第二种方法下的build.gradle,就可以了,推荐直接用Spring插件创建项目。
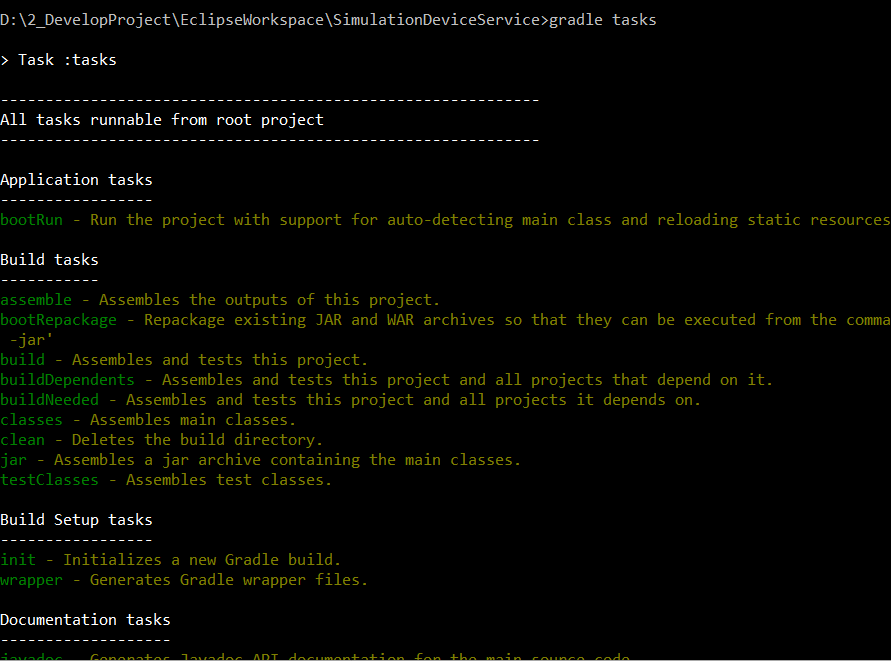
打包方法: 在项目目录下运行gradle tasks看看Task列表中是否有bootRepackage,如果有,运行gradle bootRepackage在项目目录的build\libs中生成jar文件,通过java -jar XXX.jar就可以运行了。
1. 创建一个单纯的Gradle项目,然后转换为Dynamic Web Module项目,添加SpringBoot的引用,如:
http://blog.csdn.net/haojinming/article/details/79295255 中所示。
此时build.gradle文件如下:/*
* This build file was generated by the Gradle 'init' task.
*
* This generated file contains a sample Java Library project to get you started.
* For more details take a look at the Java Libraries chapter in the Gradle
* user guide available at https://docs.gradle.org/3.5/userguide/java_library_plugin.html */
// Apply the java-library plugin to add support for Java Library
apply plugin: 'java-library'
// In this section you declare where to find the dependencies of your project
repositories {
// Use jcenter for resolving your dependencies.
// You can declare any Maven/Ivy/file repository here.
maven {url 'http://maven.aliyun.com/nexus/content/groups/public/'}
jcenter()
}
dependencies {
// https://mvnrepository.com/artifact/org.springframework.boot/spring-boot-starter-web compile group: 'org.springframework.boot', name: 'spring-boot-starter-web', version: '1.5.6.RELEASE'
// Use JUnit test framework
testImplementation 'junit:junit:4.12'
}2. 在Eclipse Marketplace中安装Spring插件,可以直接创建一个Spring Boot项目,此时生成的buil.gradle文件如下:buildscript {
ext {
springBootVersion = '1.5.10.RELEASE'
}
repositories {
mavenCentral()
}
dependencies {
classpath("org.springframework.boot:spring-boot-gradle-plugin:${springBootVersion}")
}
}
apply plugin: 'java'
apply plugin: 'eclipse'
apply plugin: 'org.springframework.boot'
group = 'com.utrc'
version = '0.0.1-SNAPSHOT'
sourceCompatibility = 1.8
repositories {
mavenCentral()
}
dependencies {
compile('org.springframework.boot:spring-boot-starter-web')
testCompile('org.springframework.boot:spring-boot-starter-test')
compile('com.microsoft.azure.sdk.iot:iot-service-client:1.11.0')
compile('com.microsoft.azure.sdk.iot:iot-device-client:1.7.0')
}第一种方法创建的项目不能直接打包成可运行的jar文件,可以替换成第二种方法下的build.gradle,就可以了,推荐直接用Spring插件创建项目。
打包方法: 在项目目录下运行gradle tasks看看Task列表中是否有bootRepackage,如果有,运行gradle bootRepackage在项目目录的build\libs中生成jar文件,通过java -jar XXX.jar就可以运行了。

相关文章推荐
- 用gradle把springboot项目打包成jar
- 使用gradle的application插件进行Spring-boot项目打包
- SpringBoot项目打包发布到外部tomcat时,出现各种异常的解决fang
- 使用springboot框架写项目打包jar发布后读取项目下静态文件异常
- spring boot项目搭建 发布 打包弯路全纪录
- 在IDEA中如何将Spring boot项目打包成可执行的jar包并发布到linux服务器
- SpringBoot系列三:SpringBoot基本概念(统一父 pom 管理、SpringBoot 代码测试、启动注解分析、配置访问路径、使用内置对象、项目打包发布)
- springboot 项目打包发布总结
- springboot项目打包部署时把静态资源打包到jar中、或修改静态资源根目录
- IDEA下创建Springboot,freemarker,mockserver,Gradle项目
- IntelliJ IDEA 配置Gradle运行SpringBoot Web项目(tomcat容器)
- 使用Spring Boot和Gradle创建AngularJS项目
- 把spring boot项目发布tomcat容器(包含发布到tomcat6的方法)
- springboot项目配置多环境打包部署遇到的问题总结
- springboot 打包发布
- SpringBoot 项目打包方式 jar 和 war
- Gradle脚本对Java项目工程编译,打包,运行和发布具体过程详例
- 使用IDEA+GRADLE创建springboot项目
- springboot项目打包后运行出现问题解决办法
- 用gradle搭建spring boot项目