Spring Cloud架构教程 (一)Hystrix监控面板
2018-01-29 16:05
423 查看
下面我们基于之前的示例来结合Hystrix Dashboard实现Hystrix指标数据的可视化面板,这里我们将用到下之前实现的几个应用,包括:
- eureka-server:服务注册中心
- eureka-client:服务提供者
- eureka-consumer-ribbon-hystrix:使用ribbon和hystrix实现的服务消费者
由于eureka-consumer-ribbon-hystrix项目中的
/consumer接口实现使用了
@HystrixCommand修饰,所以这个接口的调用情况会被Hystrix记录下来,以用来给断路器和Hystrix Dashboard使用。断路器我们在上一篇中已经介绍过了,下面我们来具体说说Hystrix Dashboard的构建。
动手试一试
在Spring Cloud中构建一个Hystrix Dashboard非常简单,只需要下面四步:
- 创建一个标准的Spring Boot工程,命名为:hystrix-dashboard。
- 编辑pom.xml,具体依赖内容如下:
<parent> |
- 为应用主类加上
@EnableHystrixDashboard
,启用Hystrix Dashboard功能。
@EnableHystrixDashboard |
- 根据实际情况修改
application.properties
配置文件,比如:选择一个未被占用的端口等,此步非必须。
spring.application.name=hystrix-dashboard |
到这里我们已经完成了基本配置,接下来我们可以启动该应用,并访问:
http://localhost:1301/hystrix,我们可以看到如下页面:
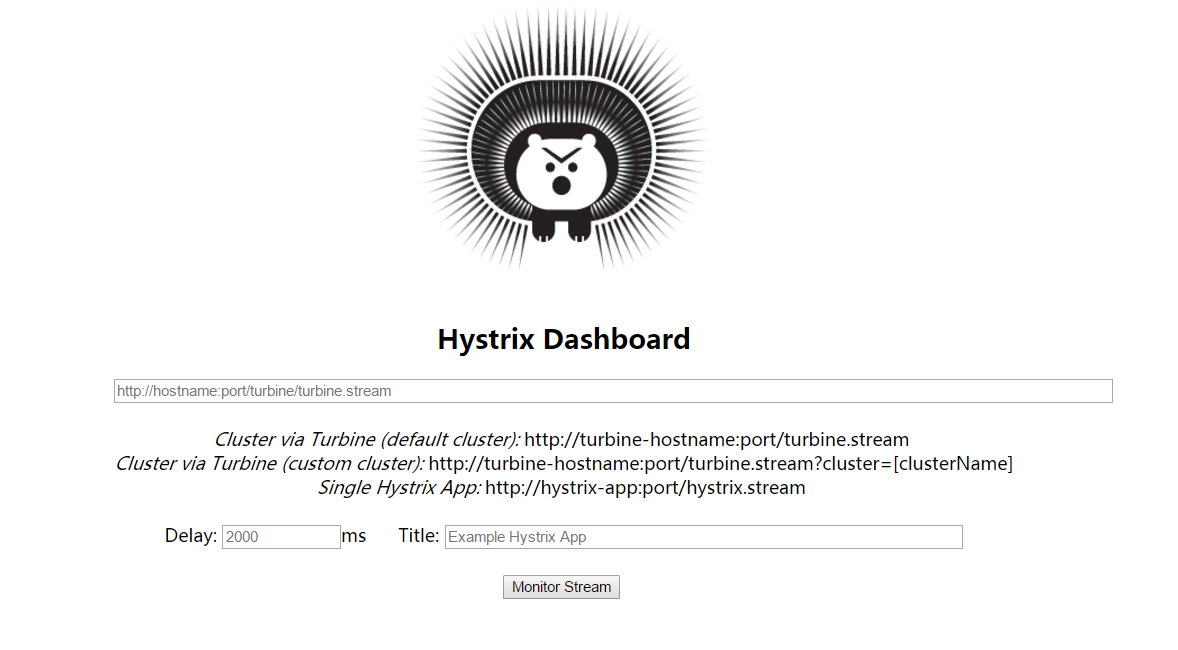
这是Hystrix Dashboard的监控首页,该页面中并没有具体的监控信息。从页面的文字内容中我们可以知道,Hystrix Dashboard共支持三种不同的监控方式,依次为:
- 默认的集群监控:通过URL
http://turbine-hostname:port/turbine.stream
开启,实现对默认集群的监控。 - 指定的集群监控:通过URL
http://turbine-hostname:port/turbine.stream?cluster=[clusterName]
开启,实现对clusterName集群的监控。 - 单体应用的监控:通过URL
http://hystrix-app:port/hystrix.stream
开启,实现对具体某个服务实例的监控。
前两者都对集群的监控,需要整合Turbine才能实现,这部分内容我们将在下一篇中做详细介绍。在本节中,我们主要实现对单个服务实例的监控,所以这里我们先来实现单个服务实例的监控。
既然Hystrix Dashboard监控单实例节点需要通过访问实例的
/hystrix.stream接口来实现,自然我们需要为服务实例添加这个端点,而添加该功能的步骤也同样简单,只需要下面两步:
- 在服务实例
pom.xml
中的dependencies
节点中新增spring-boot-starter-actuator
监控模块以开启监控相关的端点,并确保已经引入断路器的依赖spring-cloud-starter-hystrix
:
<dependency> |
- 确保在服务实例的主类中已经使用
@EnableCircuitBreaker
或@EnableHystrix
注解,开启了断路器功能。

到这里已经完成了所有的配置,我们可以在Hystrix Dashboard的首页输入
http://localhost:2101/hystrix.stream,已启动对“eureka-consumer-ribbon-hystrix”的监控,点击“Monitor Stream”按钮,此时我们可以看到如下页面:
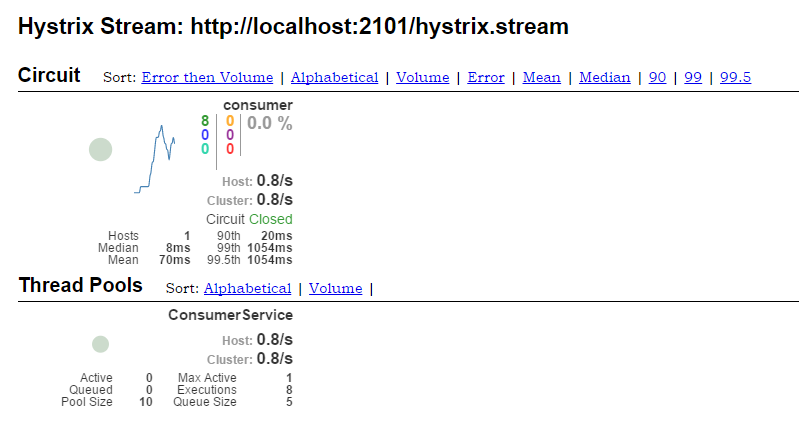
在对该页面介绍前,我们先看看在首页中我们还没有介绍的两外两个参数:
Delay
:该参数用来控制服务器上轮询监控信息的延迟时间,默认为2000毫秒,我们可以通过配置该属性来降低客户端的网络和CPU消耗。Title
:该参数对应了上图头部标题Hystrix Stream之后的内容,默认会使用具体监控实例的URL,我们可以通过配置该信息来展示更合适的标题。源码来源

相关文章推荐
- Spring Cloud架构教程 (一)Hystrix监控面板
- Spring Cloud构建微服务架构Hystrix监控面板
- Spring Cloud构建微服务架构:Hystrix监控面板【Dalston版】
- Spring Cloud构建微服务架构Hystrix监控面板
- Spring Cloud架构教程 (一)Hystrix监控面板
- Spring Cloud构建微服务架构:Hystrix监控面板【Dalston版】
- Spring Cloud构建微服务架构Hystrix监控面板
- Spring Cloud架构教程 (十四)服务容错保护(Hystrix服务降级)【Dalston版】
- Spring Cloud架构教程 (二)Hystrix监控数据聚合
- Spring Cloud架构教程 (二)Hystrix监控数据聚合
- Spring Cloud构建微服务架构:Hystrix监控面板
- Spring Cloud架构教程 (二)Hystrix监控数据聚合
- [java]微服务架构连载No4 Hystrix+Dashboard+Turbine实现断路器(限流,超时,异常...)和服务监控
- Spring Cloud构建微服务架构:服务容错保护(Hystrix服务降级)【Dalston版】
- Spring Cloud构建微服务架构(四)断路器(Hystrix)
- Spring Cloud架构教程 (十五)服务容错保护(Hystrix依赖隔离)【Dalston版】
- Spring Cloud构建微服务架构-Hystrix依赖隔离
- 史上最简单的SpringCloud教程 | 第十二篇: 断路器监控(Hystrix Dashboard)
- Spring Cloud架构教程 (十六)服务容错保护(Hystrix断路器)【Dalston版】
- 史上最简单的SpringCloud教程 | 第十二篇: 断路器监控(Hystrix Dashboard)