Spring Boot快速入门(六):thymeleaf
2018-01-22 13:11
726 查看
原文地址:https://lierabbit.cn/articles/8
Spring Boot的默认位置是resources/static
Spring Boot的默认位置是resources/templates
对于已存在的项目可以在bulid.gradle加入
至此Thymeleaf已经引入
更多的Thymeleaf的语法请前往官网查看文档(http://www.thymeleaf.org/doc/tutorials/3.0/usingthymeleaf.html)
源码地址:https://github.com/LieRabbit/SpringBoot-thymeleaf
原文地址:https://lierabbit.cn/articles/8
静态资源
在我们开发Web应用的时候,需要引用大量的js、css、图片等静态资源。Spring Boot的默认位置是resources/static
模版页面
各种模版的页面,这次我们选用ThymeleafSpring Boot的默认位置是resources/templates
渲染页面
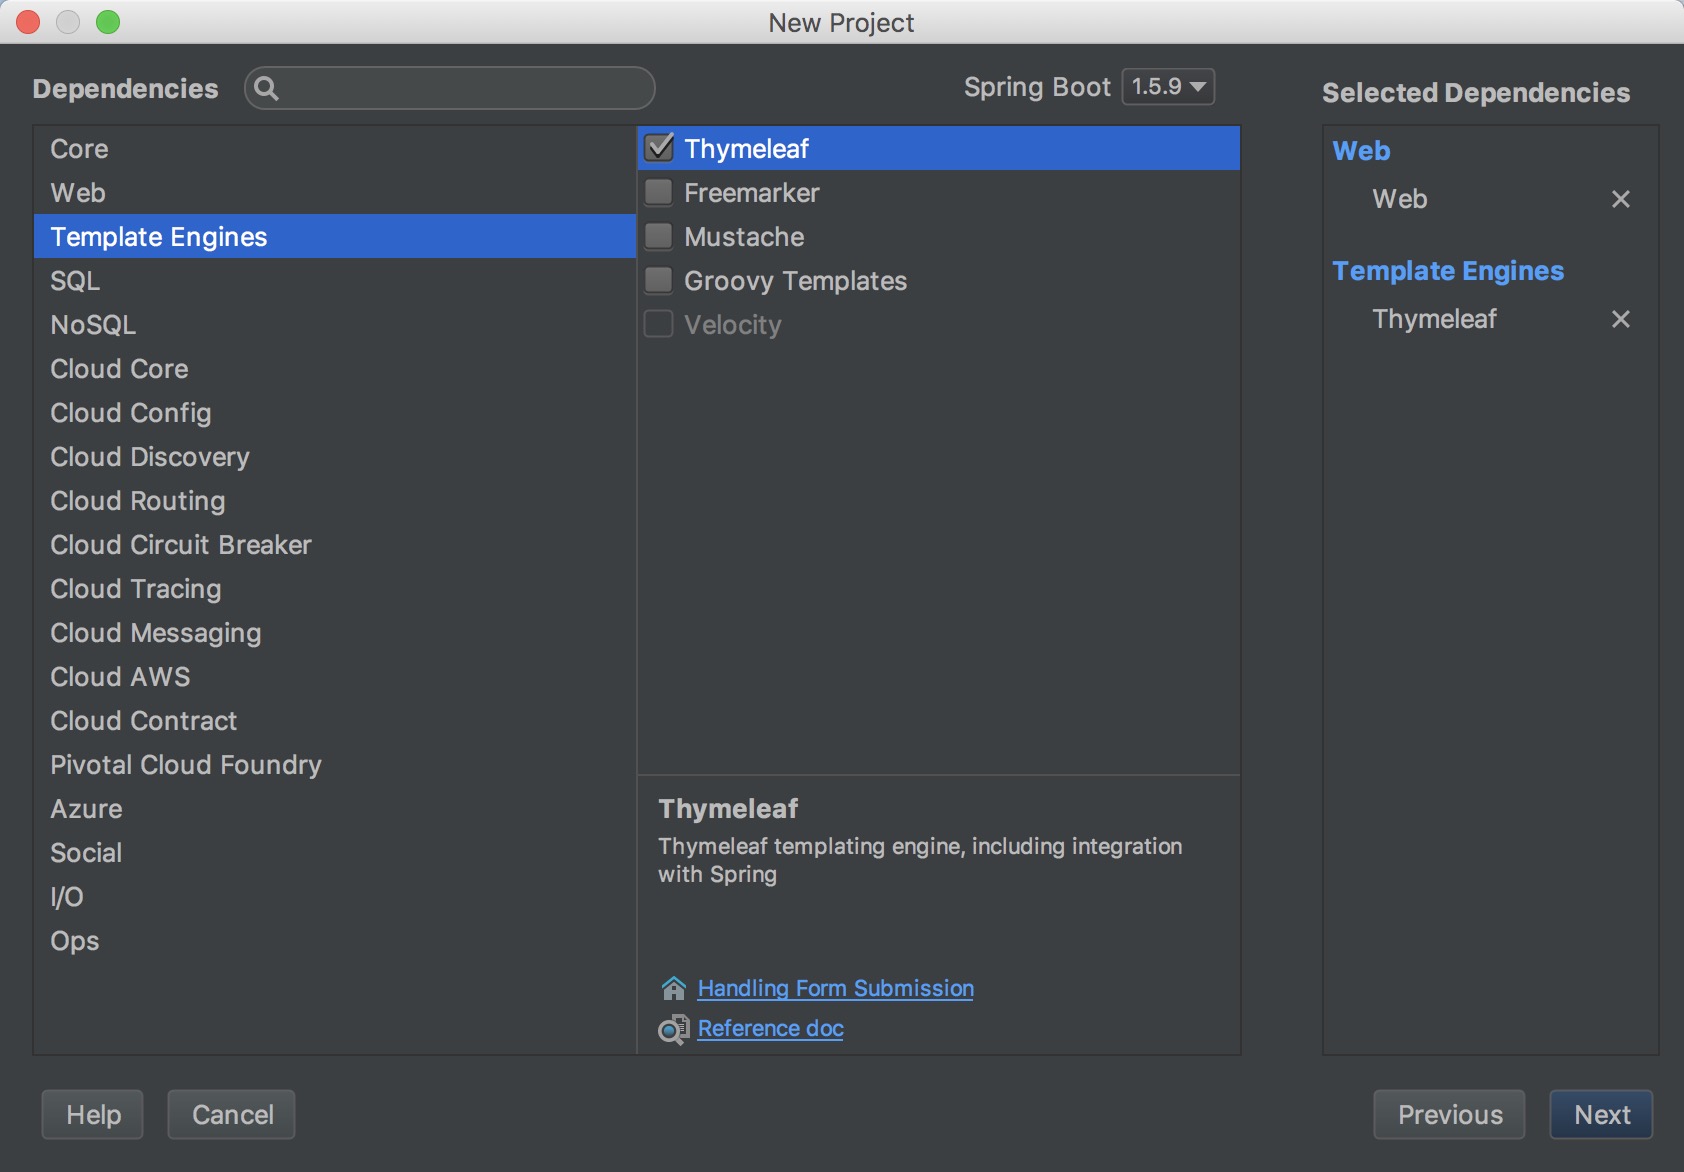
在之前的示例中,我们都是通过@RestController来处理请求,所以返回的内容为json对象。当我们需要页面的时候使用@Controller,使其寻找模版页面添加依赖
对于已存在的项目可以在bulid.gradle加入
compile('org.springframework.boot:spring-boot-starter-thymeleaf')
compile('org.springframework.boot:spring-boot-starter-web')
至此Thymeleaf已经引入
创建控制器
新建一个ThymeleafCtrl类import org.springframework.stereotype.Controller;
import org.springframework.ui.Model;
import org.springframework.web.bind.annotation.RequestMapping;
@Controller//这是一个控制器
public class ThymeleafCtrl
{
@RequestMapping("/")
public String hello(Model model)
{
model.addAttribute("hello","hello thymeleaf");//添加一个值为"hello thymeleaf"的hello变量到视图
return "hello";//在templates下寻找hello.html
}
}创建模版页面
在resources/templates创建一个hello.html页面<!DOCTYPE html>
<html xmlns:th="http://www.thymeleaf.org"><!-- xmlns:th="http://www.thymeleaf.org" 减少ide报错,可以没有 -->
<head>
<meta charset="UTF-8"/>
<title>Hello</title>
</head>
<body>
<h1 th:text="${hello}">LieRabbit</h1><!-- 使用hello变量 -->
<img src="lierabbit.jpg"/>
</body>
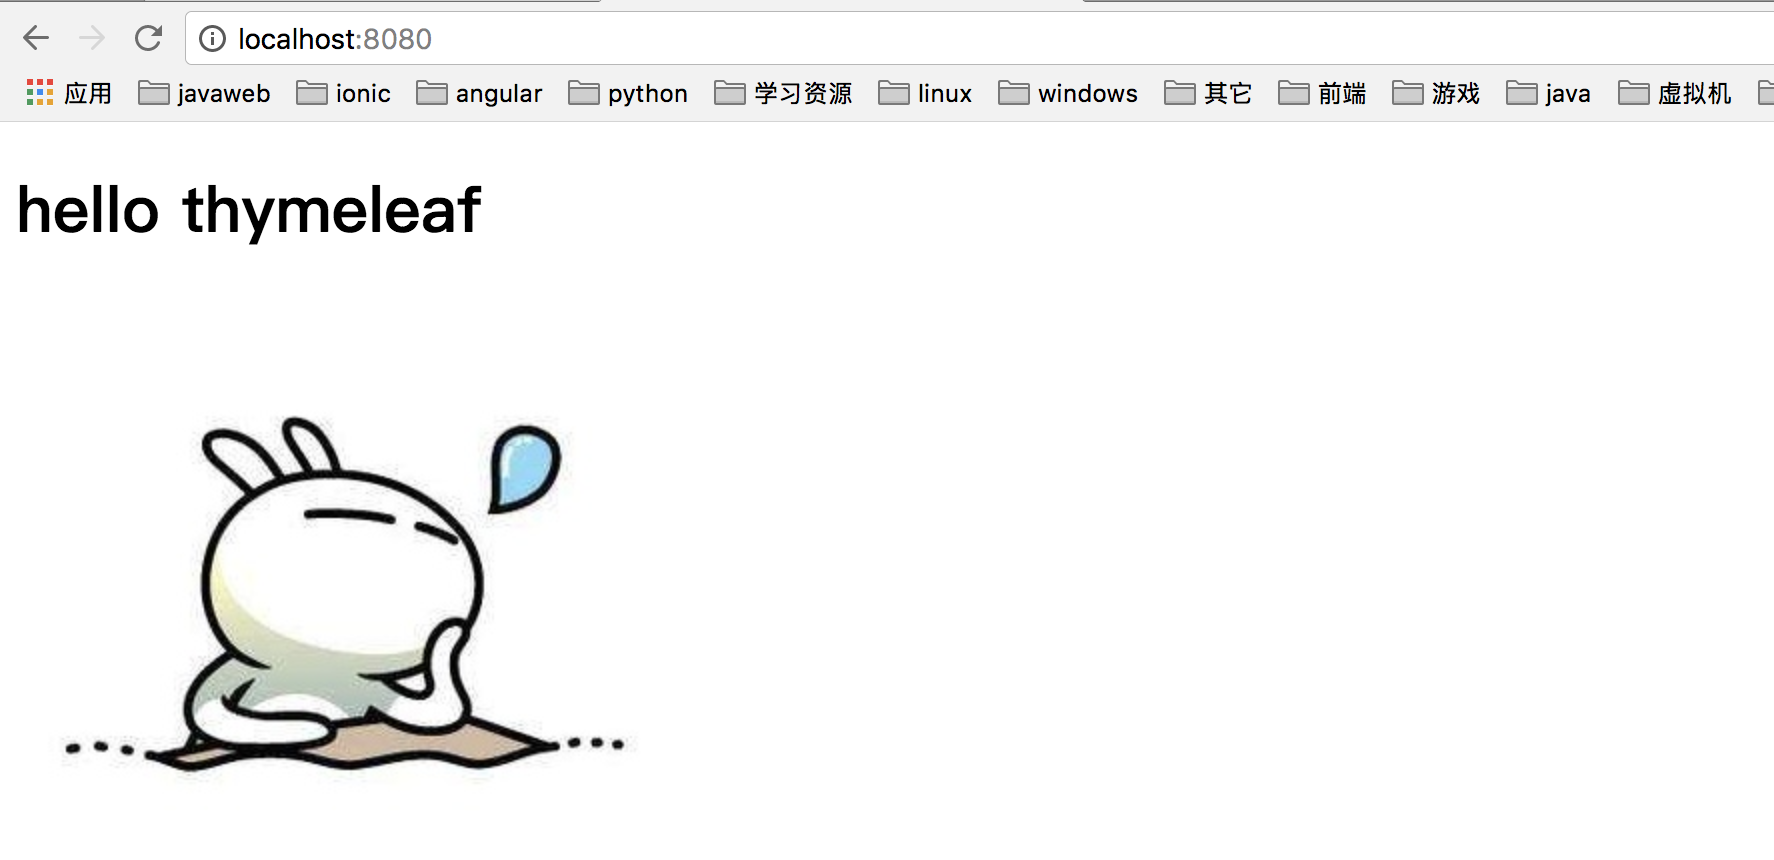
</html>添加图片资源
在resources/static添加lierabbit.jpg运行结果
更多的Thymeleaf的语法请前往官网查看文档(http://www.thymeleaf.org/doc/tutorials/3.0/usingthymeleaf.html)
源码地址:https://github.com/LieRabbit/SpringBoot-thymeleaf
原文地址:https://lierabbit.cn/articles/8

相关文章推荐
- SpringCloud SpringBoot mybatis 分布式微服务(一)Spring Boot快速入门
- Spring Cloud Spring Boot mybatis分布式微服务云架构(一)快速入门
- spring-boot快速入门
- Spring Boot 快速入门
- Spring Boot 快速入门
- 企业分布式微服务云SpringCloud SpringBoot mybatis (一)Spring Boot快速入门
- springboot web入门之Thymeleaf
- Spring Boot+JPA+Mysql+ThymeLeaf快速构建CURD系统(一)Spring Boot介绍
- Spring Boot+JPA+Mysql+ThymeLeaf快速构建CURD系统(一)Spring Boot介绍
- Spring Boot+JPA+Mysql+ThymeLeaf快速构建CURD系统(二)搭建SpringBoot工程
- Spring Boot快速入门
- SpringBoot(1) Spring Boot快速入门
- Spring Boot (一)快速入门
- Spring Boot RabbitMQ快速入门 (1)
- Spring Boot的快速入门
- Spring Boot 快速入门
- Spring Boot快速入门
- Spring Boot 快速入门
- Spring Boot+JPA+Mysql+ThymeLeaf快速构建CURD系统(一)Spring Boot介绍
- Spring Boot+JPA+Mysql+ThymeLeaf快速构建CURD系统(一)Spring Boot介绍