Springboot快速构建restful接口
2017-11-13 15:25
561 查看
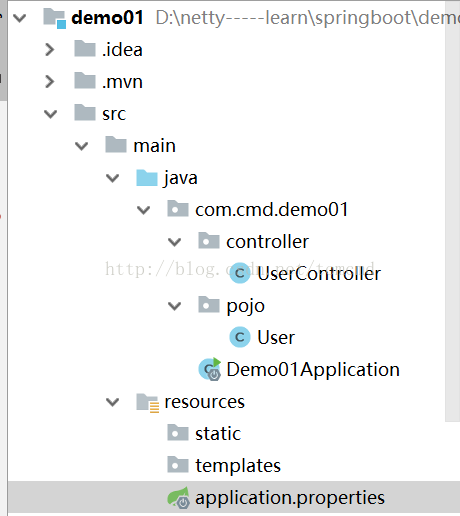
demo目录结构如下:
这里用到了lombok,在pom文件中引入依赖
在Intellij idea中快速构建Springboot web工程,
创建User类:
启动类代码,这里不需要更改
这里用到了lombok,在pom文件中引入依赖
<dependency>
<groupId>org.projectlombok</groupId>
<artifactId>lombok</artifactId>
<version>1.16.10</version>
</dependency>
在Intellij idea中快速构建Springboot web工程,
创建User类:
@Data
@NoArgsConstructor
public class User {
private String username;
private String password;
public User(String username, String password) {
this.username = username;
this.password = password;
}
}创建UserController类:@RestController
public class UserController {
@RequestMapping("/user")
public User helloUser(@RequestParam(value="username",defaultValue = "tomcmd") String username,
@RequestParam(value = "password",defaultValue = "123456") String password){
return new User(username,password);
}
}启动类代码,这里不需要更改
@SpringBootApplication
public class Demo01Application {

public static void main(String[] args) {
SpringApplication.run(Demo01Application.class, args);
}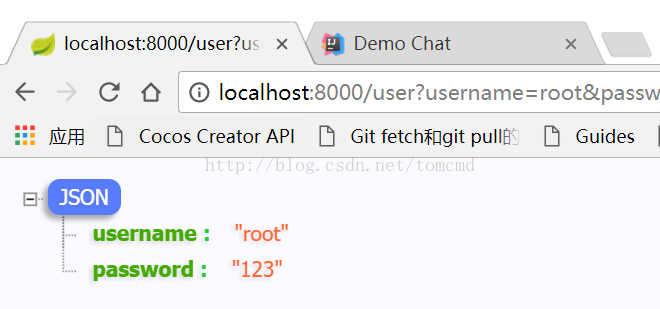
}配置文件:application.properties中可以配置启动端口server.port=8000最后,启动工程,浏览器中访问localhost:8000/user?username=root&password=123,结果如下:

相关文章推荐
- 使用spring boot快速构建一个RESTful Web Service
- springboot中使用swagger2构建restful接口文档
- 【Spring Boot && Spring Cloud系列】构建Springboot项目 实现restful风格接口
- Spring Boot - 快速构建一个基本的Restful程序
- Spring Boot构建RESTful API与单元测试
- SpringBoot快速入门-基本项目构建
- 快速构建可运行的Spring-boot项目(Hello World)
- Spring Boot 构建一个较为复杂的RESTful API以及单元测试
- 使用Spring Boot快速构建基于SQLite数据源的应用
- Spring Boot+JPA+Mysql+ThymeLeaf快速构建CURD系统(一)Spring Boot介绍
- 【springBoot】之快速构建一个web项目
- Spring Boot+JPA+Mysql+ThymeLeaf快速构建CURD系统(二)搭建SpringBoot工程
- 用springBoot构建一个RESTful web service
- 使用 Spring Boot 快速构建 Spring 框架应用
- Springboot中使用Swagger2构建RESTful API文档
- spring boot 快速搭建 基于 Restful 风格的微服务
- 快速构建Spring boot项目(功能是检测访问页面的设备)
- 快速构建可运行的Spring-boot项目(Hello World)
- SpringBoot(2) Intellij中的Spring Initializr来快速构建Spring Boot/Cloud工程
- 使用Spring Boot快速构建基于SQLite数据源的应用