SpringBoot GET POST 简单搭建
2017-09-06 09:52
387 查看
概述
本文简单记录了使用Spring Boot搭建服务器的过程
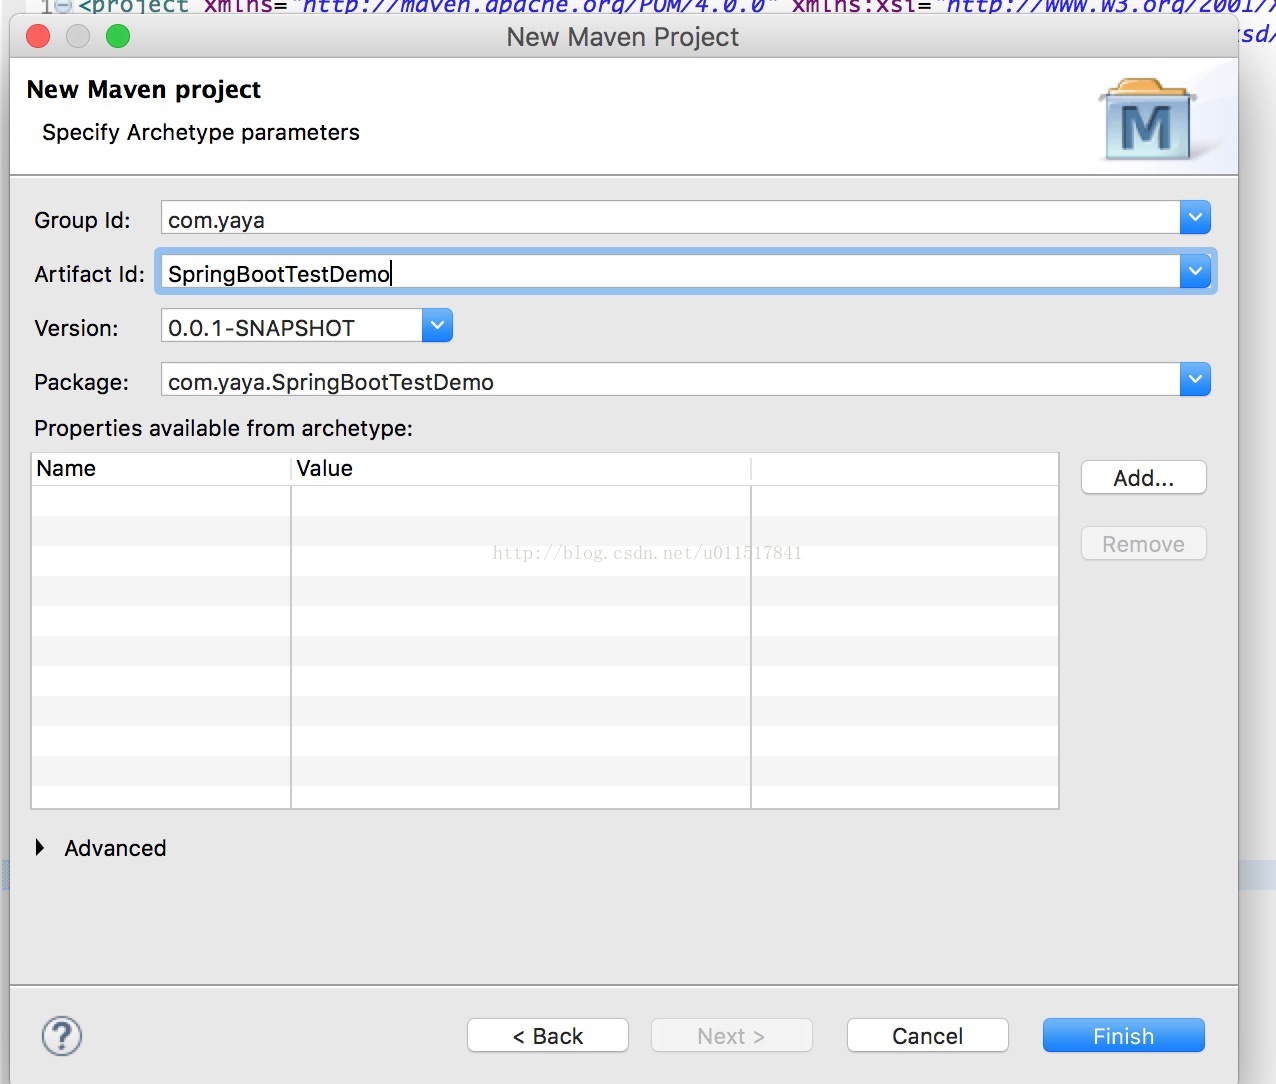
1. 在eclipse搭建Maven 项目
2. maven 配置文件pom.xml增加依赖包
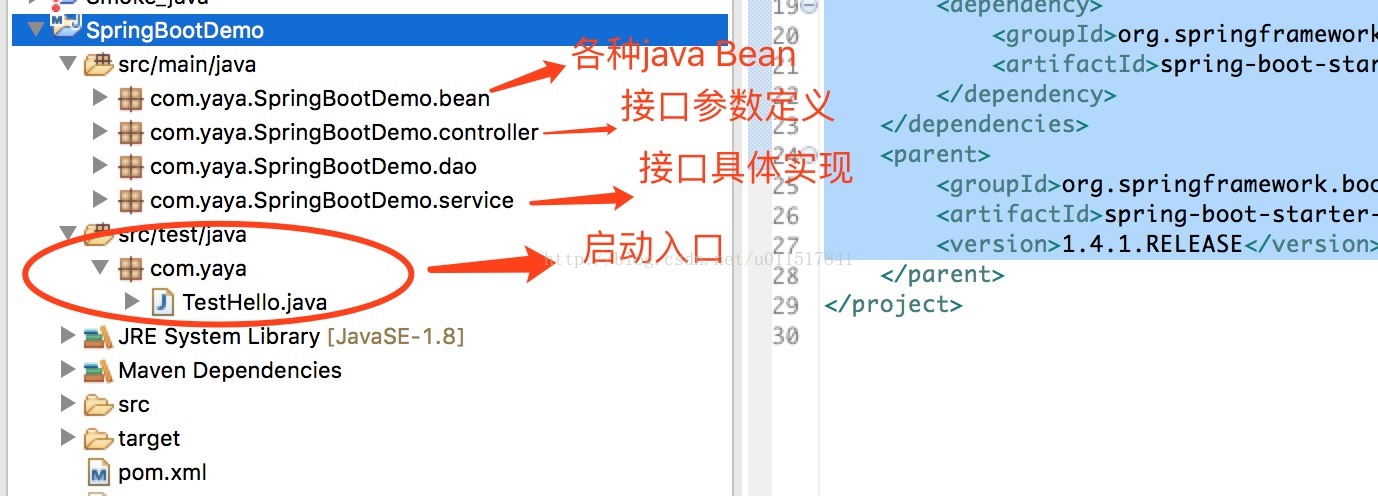
3. 编写代码, 我的代码结构如下
4. 编写最简单的Hello接口, 接口定位都放在controller包中
@RequestMapping("/firstSpringBoot")
public class ResponseController {
@RequestMapping("/hello")
public String hello() {
return "Hello";
}
Controller 是 Spring 中最基本的组件,主要是处理跟用户交互的,一般每个业务逻辑都会有一个 Controller,提供给用户 http 请求接口,用户请求接口进行数据访问。
Controller有以下有些常用的注解
@Controller:标注 Controller 类,处理 http 请求
@ResponseBody ,= @Controller + @ResponseBody主要是为了使 http 请求返回数据格式为 json 格式,一帮情况下使用这个注解
@RequestMapping:配置 url 映射,可以作用于类上,也可以在方法上
以下接口 在访问http://localhost:8080/firstSpringBoot/hello 会返回"Hello"字段
@RequestMapping 可以指定GET,POST,DELETE,PUT四种标准的 Restfulapi请求方法 method没有指定默认为get请求
@GetMapping = @RequestMapping + method = RequestMethod.GET
@PostMapping = @RequestMapping + method = RequestMethod.POST

@PathVariable @RequestParam都可以用于GET请求加参数,以下是两者的区别
使用@RequestParam接收参数,如下图
url=.../getMessagePath?message=${message}

@PathVariable

POST 请求可以使用如下几种方式:
也可以使用如下形式发送请求

POST使用 @RequestBody
使用以下方式请求
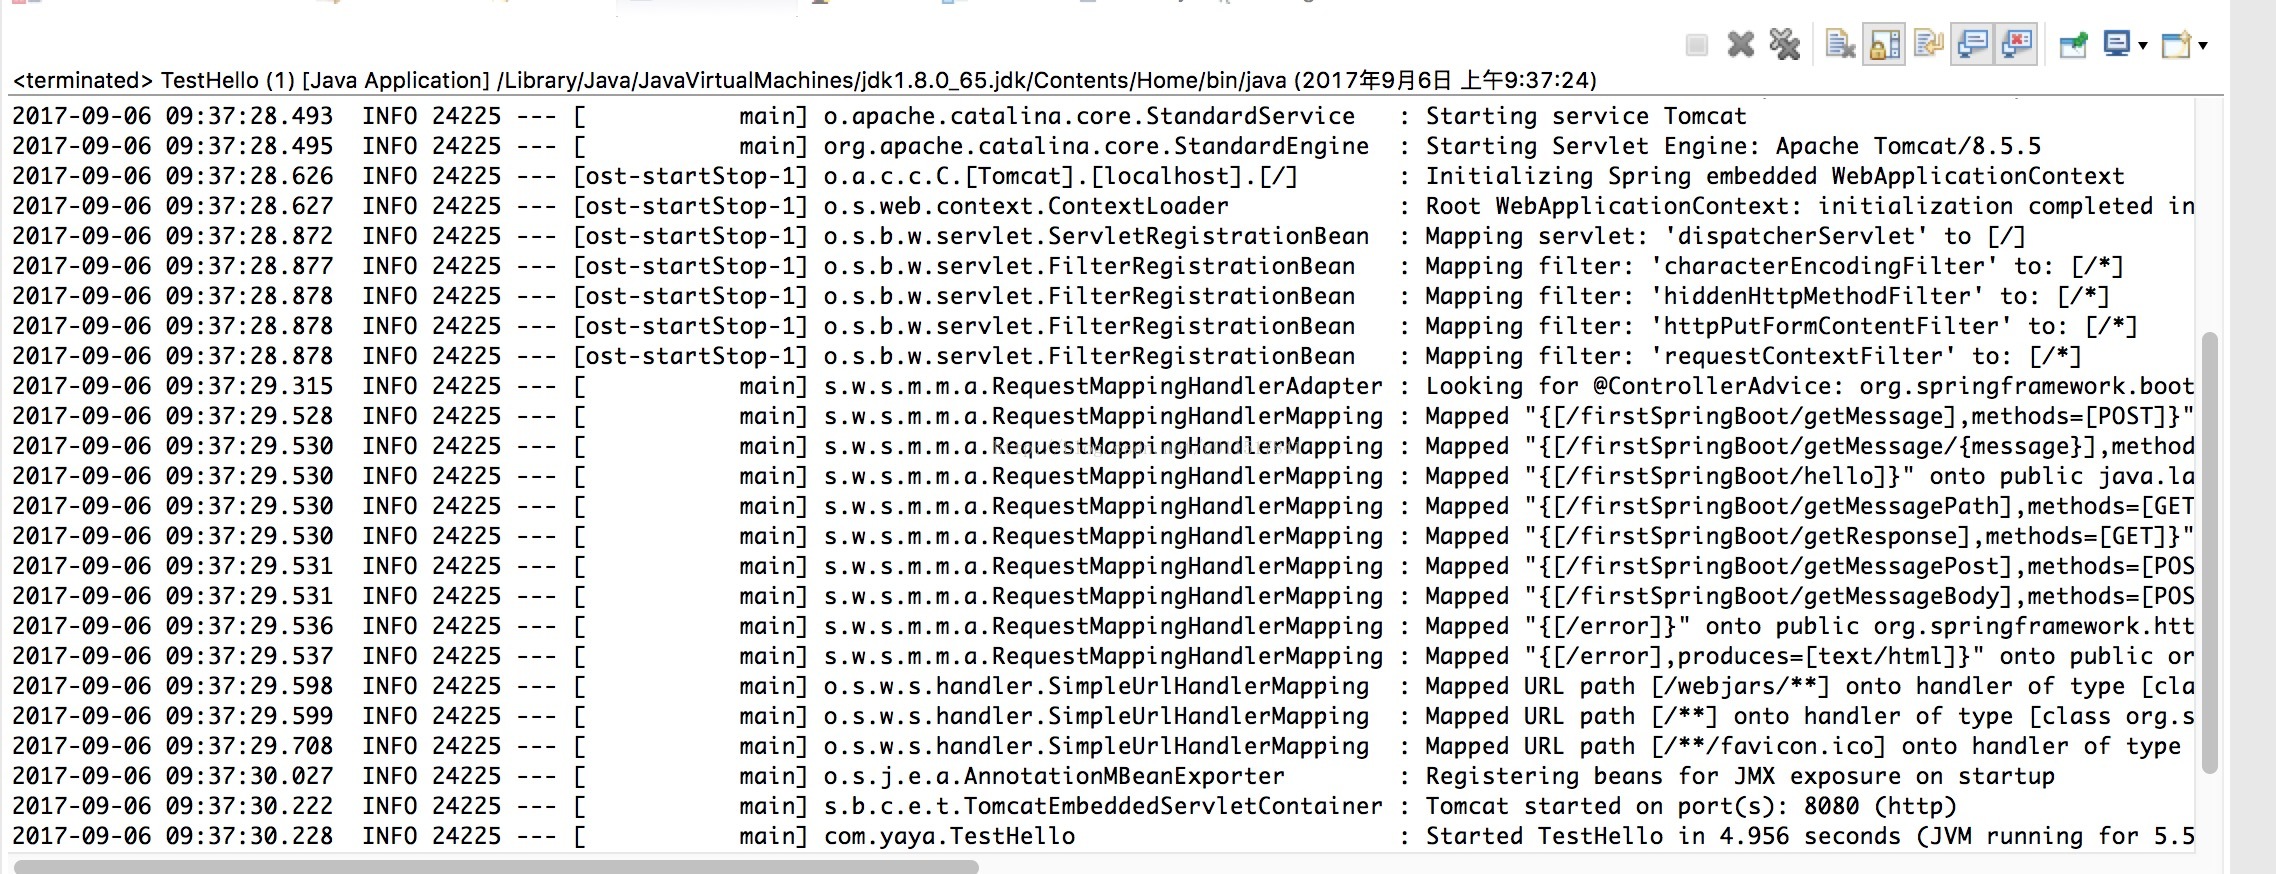
3. 运行方式
Spring boot自带Tomcat作为服务器
书写以下类作为启动入口(@SpringBootApplication作为注解)
@c用于标注业务层组件
@controller 中注入@Service
如果需要使用注解方式注入, 那注入的类必须使用注解
运行启动类
启动以后使用localhost:8080来发送请求。
本文简单记录了使用Spring Boot搭建服务器的过程
1. 在eclipse搭建Maven 项目
2. maven 配置文件pom.xml增加依赖包
<dependencies>
<dependency>
<groupId>org.springframework.boot</groupId>
<artifactId>spring-boot-starter-web</artifactId>
</dependency>
</dependencies>
<parent>
<groupId>org.springframework.boot</groupId>
<artifactId>spring-boot-starter-parent</artifactId>
<version>1.4.1.RELEASE</version>
3. 编写代码, 我的代码结构如下
4. 编写最简单的Hello接口, 接口定位都放在controller包中
@RequestMapping("/firstSpringBoot")
public class ResponseController {
@RequestMapping("/hello")
public String hello() {
return "Hello";
}
Controller 是 Spring 中最基本的组件,主要是处理跟用户交互的,一般每个业务逻辑都会有一个 Controller,提供给用户 http 请求接口,用户请求接口进行数据访问。
Controller有以下有些常用的注解
@Controller:标注 Controller 类,处理 http 请求
@ResponseBody ,= @Controller + @ResponseBody主要是为了使 http 请求返回数据格式为 json 格式,一帮情况下使用这个注解
@RequestMapping:配置 url 映射,可以作用于类上,也可以在方法上
以下接口 在访问http://localhost:8080/firstSpringBoot/hello 会返回"Hello"字段
@RequestMapping 可以指定GET,POST,DELETE,PUT四种标准的 Restfulapi请求方法 method没有指定默认为get请求
@GetMapping = @RequestMapping + method = RequestMethod.GET
@PostMapping = @RequestMapping + method = RequestMethod.POST
@RequestMapping(value= "/getResponse" , method = RequestMethod.GET)
public Response getResponse()  {
return responseServiceImpl.getResponse("test");
}
如果返回的是对象, 那会默认将对象转换为Json格式返回public class Response {
private int code;
private String message;
private List<String> messages;
。。。。。。
}返回结果:@PathVariable @RequestParam都可以用于GET请求加参数,以下是两者的区别
使用@RequestParam接收参数,如下图
@GetMapping(value= "/getMessagePath")
public Response getResponse(@RequestParam(value="message") String message)  {
return responseServiceImpl.getResponse(message);
}url结构:url=.../getMessagePath?message=${message}
@PathVariable
@RequestMapping(value= "/getMessage/{message}", method = RequestMethod.GET)
public Response getMessage(@PathVariable(value="message") String message) {
return responseServiceImpl.getResponse(message);
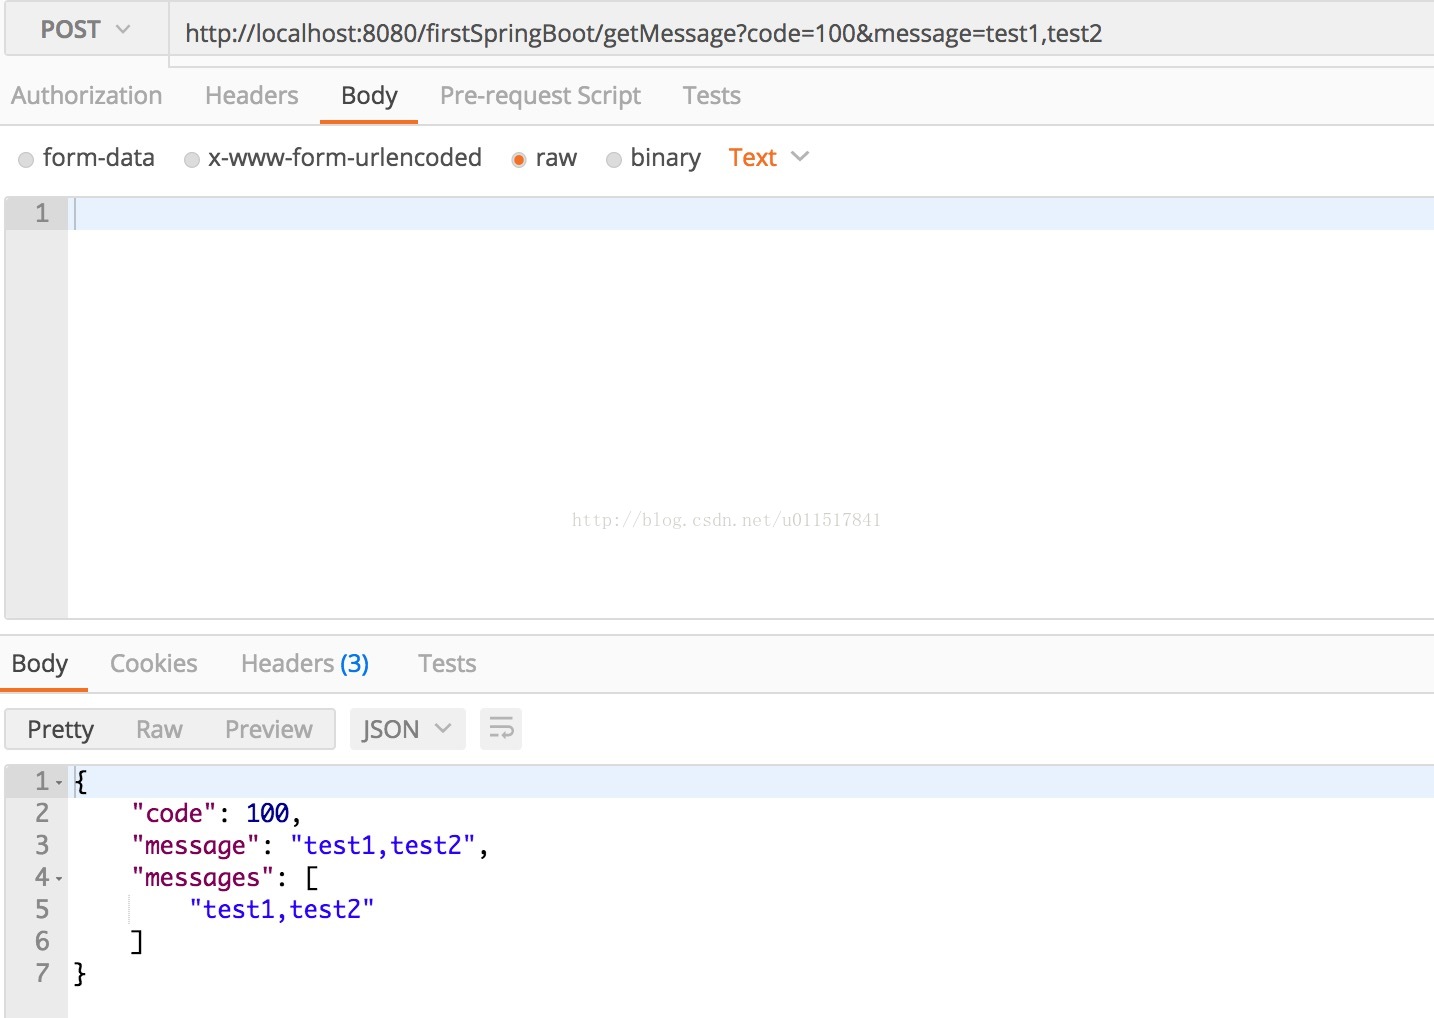
}url结构:url=.../getMessage/${message} 占位符的方式POST 请求可以使用如下几种方式:
@RequestMapping(value= "/getMessage", method = RequestMethod.POST)
public Response getMessage(int code, String message)  {
return responseServiceImpl.getResponse(code, message);
}发送该请求如下:也可以使用如下形式发送请求
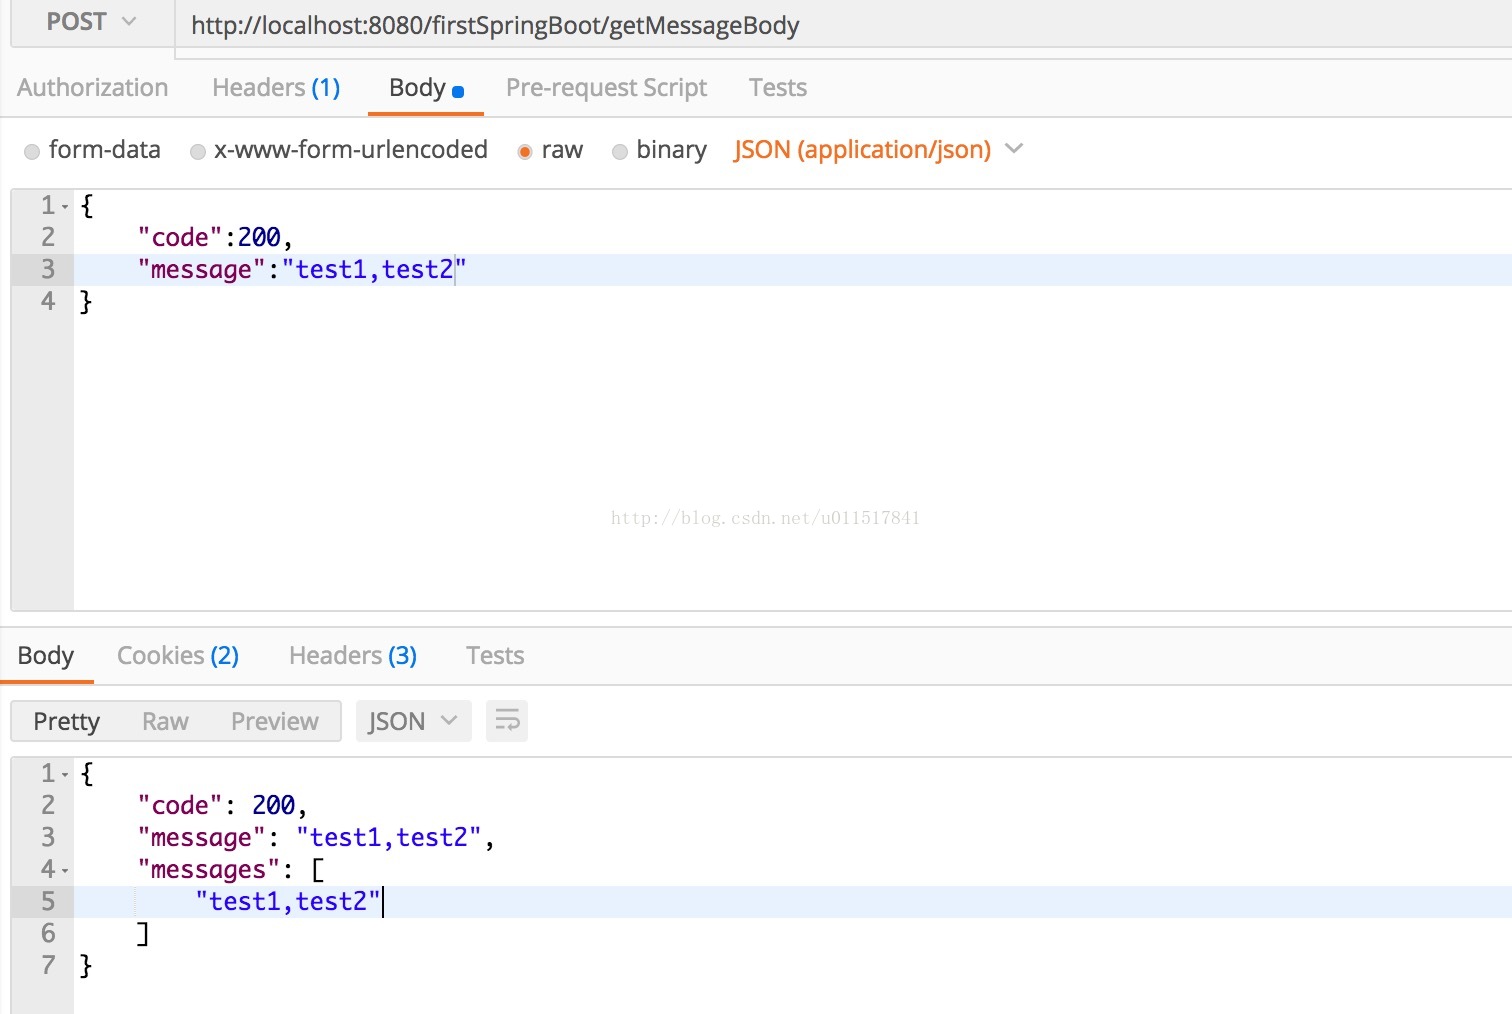
POST使用 @RequestBody
@PostMapping(value= "/getMessageBody")
public Response getMessagePost(@RequestBody PostBean bean)  {
return responseServiceImpl.getResponse(bean.getCode(), bean.getMessage());
}
public class PostBean {
private int code;
private String message;
private List<String> messages;
。。。。
}使用以下方式请求
3. 运行方式
Spring boot自带Tomcat作为服务器
书写以下类作为启动入口(@SpringBootApplication作为注解)
@SpringBootApplication
public class TestHello {

public static void main(String[] args) {
// TODO Auto-generated method stub
SpringApplication.run(TestHello.class, args);
}

}
@c用于标注业务层组件
@Service
public class ResponseServiceImpl implements IResponseService{

@Autowired
private ResponseDaoImpl responseDaoImpl;

@Override
public Response getResponse(String message) {
return responseDaoImpl.getResponse(message);
}

@Override
public Response getResponse(int code, String message) {
// TODO Auto-generated method stub
return responseDaoImpl.getResponse(code, message);
}
}
@controller 中注入@Service
@RestController
@RequestMapping("/firstSpringBoot")
public class ResponseController {

@Autowired
IResponseService responseServiceImpl;
。。。
}
如果需要使用注解方式注入, 那注入的类必须使用注解
@Service
public class ResponseServiceImpl implements IResponseService{

@Autowired
private ResponseDaoImpl responseDaoImpl;
。。。
}
@Repository
public class ResponseDaoImpl implements IResponseDao{运行启动类
启动以后使用localhost:8080来发送请求。

相关文章推荐
- Springboot+mybatis搭建(以尽可能简单的,外加注释的方式)
- 1.2 使用IntelliJ IDEA搭建Spring-Boot与MongoDB数据的简单登录项目
- Node.js学习--搭建一个简单的带有get/post接口的服务
- 微服务之Spring Boot 简单搭建
- Spring Boot-RESTfull API简单项目的快速搭建
- 一起学习springboot[一,简单的springboot工程搭建]
- 搭建简单的SpringBoot开发环境
- SpringBoot构建Restful service完成Get和Post请求
- springboot 简单web简单搭建和jsp界面
- eclipse搭建简单springboot-mybatis项目实现页面简单跳转
- SpringBoot简单搭建SSM
- Springboot 框架简单搭建
- springboot (1) 快速搭建简单项目
- spring boot 简单搭建
- 使用eclipse工具搭建一个简单的Spring boot。
- SpringBoot简单搭建
- 【SpringBoot】Spring Boot热部署(第5章 Spring Boot简单介绍 第6章 Spring Boot项目的搭建)
- springboot 的简单搭建讲解及目录结构注意点
- maven+spring boot搭建简单微服务
- SpringBoot整合SpringSecurity简单实现登入登出从零搭建