Mac下nginx配置http2
2017-08-25 00:00
274 查看
参考:
https://www.widlabs.com/article/mac-os-x-nginx-compile-symbol-not-found-for-architecture-x86_64
http://homeway.me/2015/07/10/rebuild-osx-environment/
http://www.jianshu.com/p/9523d888cf77
http://blog.sina.com.cn/s/blog_beebb7590102wwvv.html
openssl下载地址:https://www.openssl.org/source/

执行上面的命令,在输出的信息中,你可能会看到以下信息:
如果出现以上信息,那么在命令之后完成之后,需要进入到objs目录,然后修改Makefile文件。
在nginx目录下:
找到:
这句,将config替换为:
如果没有按照上一步中的提示修改Makefile文件,则会出现以下错误:

正常编译完成的输出:
安装完成:
访问:http:localhost
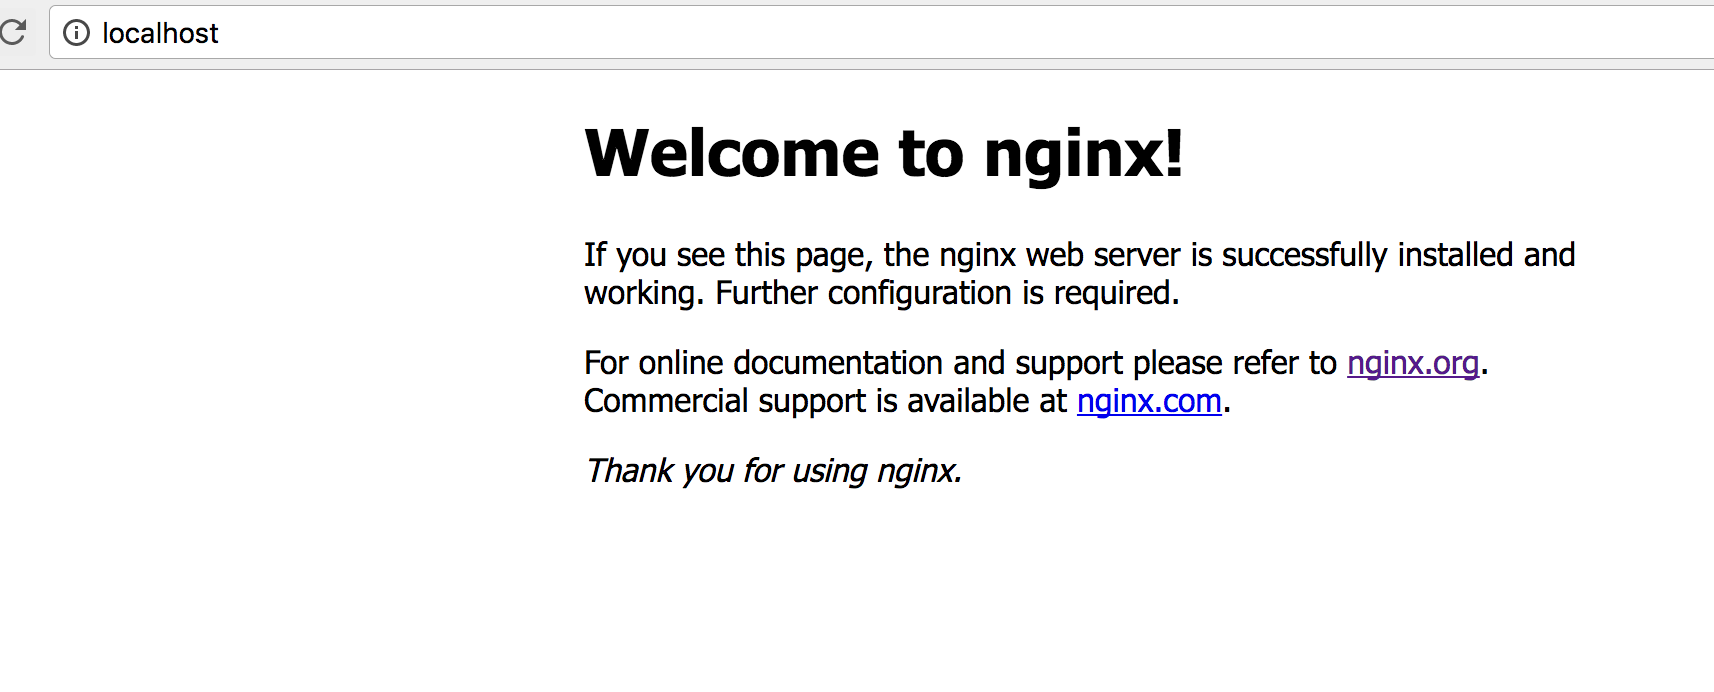
出现以上页面说明nginx安装成功了。
如何生成这些文件参考:
http://www.jianshu.com/p/9523d888cf77
以下是生成文件之后的目录结构,这里我将文件生成在/usr/local/nginx目录下:

然后将/user/local/nginx/conf/nginx.conf中,下面这段配置,去掉注释并修改成以下内容:
重新加载nginx,在/usr/local/nginx/sbin目录下执行以下命令:

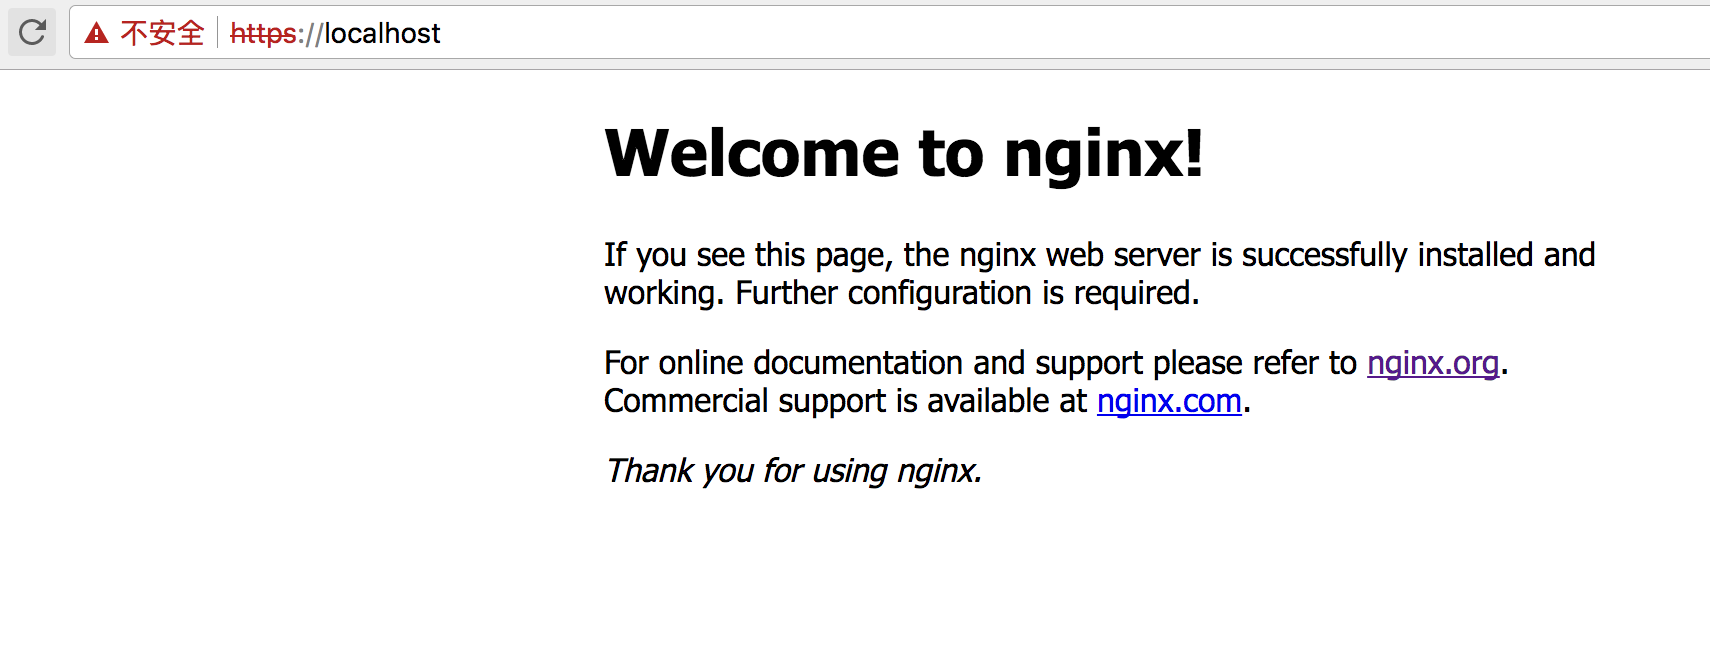
访问https://localhost出现以下页面说明配置成功。
修改为:
然后重新启动下nginx,再次访问https://localhost
效果图:
https://www.widlabs.com/article/mac-os-x-nginx-compile-symbol-not-found-for-architecture-x86_64
http://homeway.me/2015/07/10/rebuild-osx-environment/
http://www.jianshu.com/p/9523d888cf77
http://blog.sina.com.cn/s/blog_beebb7590102wwvv.html
下载nginx源码,openssl源码压缩包
nginx下载地址:http://nginx.org/en/download.htmlopenssl下载地址:https://www.openssl.org/source/
解压nginx和openssl压缩包,解压之后的目录如下:
进入到nginx目录,使用configure命令,添加https和http2两个模块,
./configure --with-http_ssl_module --with-http_v2_module --with-openssl=/usr/local/Cellar/openssl-1.0.2l
执行上面的命令,在输出的信息中,你可能会看到以下信息:
如果出现以上信息,那么在命令之后完成之后,需要进入到objs目录,然后修改Makefile文件。
在nginx目录下:
cd objs
vim Makefile
找到:
&& ./config --prefix=/usr/local/Cellar/openssl-1.0.2l/.openssl no-shared \
这句,将config替换为:
Configure darwin64-x86_64-cc
在nginx目录下执行make命令
make
如果没有按照上一步中的提示修改Makefile文件,则会出现以下错误:
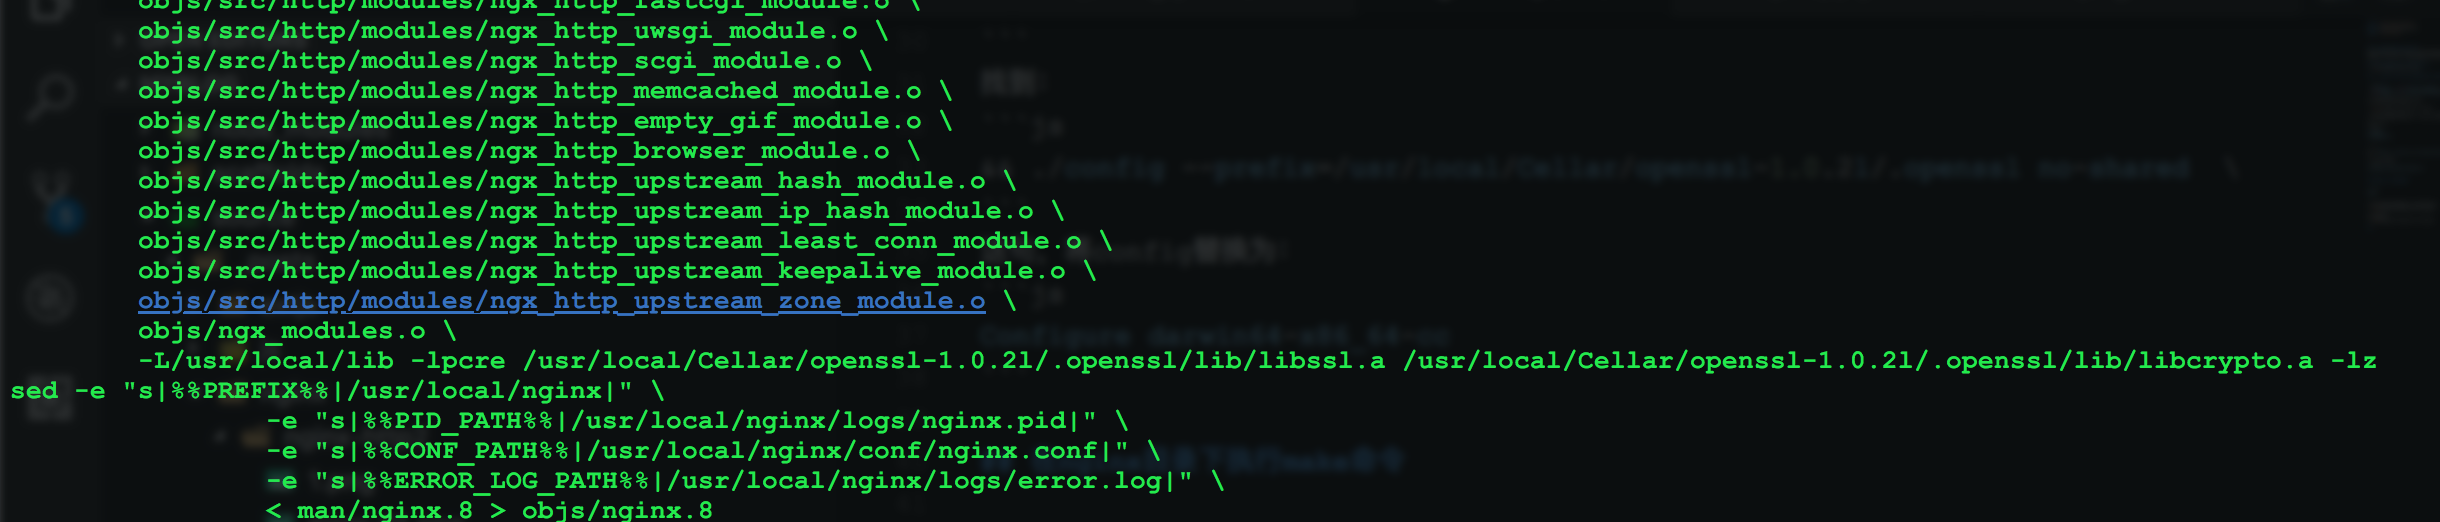
正常编译完成的输出:
安装
sudo make install
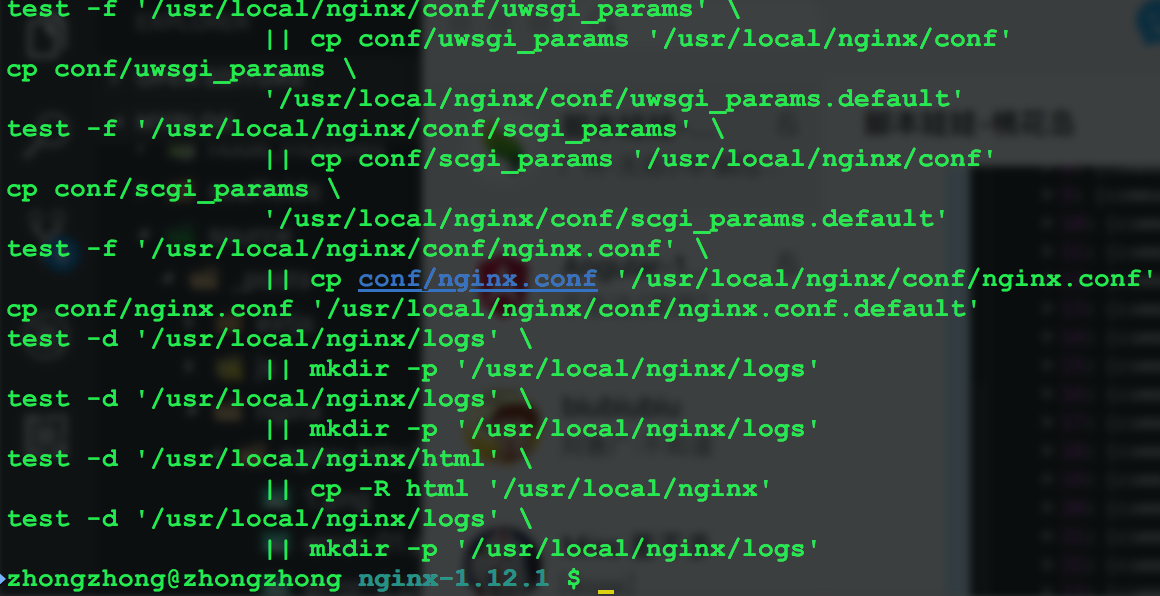
安装完成:
测试nginx安装是否成功
启动nginxsudo /usr/local/nginx/sbin/nginx
访问:http:localhost
出现以上页面说明nginx安装成功了。
开启https
要开启nginx的https,需要生成SSL Key和CSR文件。如何生成这些文件参考:
http://www.jianshu.com/p/9523d888cf77
以下是生成文件之后的目录结构,这里我将文件生成在/usr/local/nginx目录下:
然后将/user/local/nginx/conf/nginx.conf中,下面这段配置,去掉注释并修改成以下内容:
server {
listen       443 ssl;
server_name  localhost;

ssl_certificate      /usr/local/nginx/server.crt;
ssl_certificate_key  /usr/local/nginx/server.key;

ssl_session_cache    shared:SSL:1m;
ssl_session_timeout  5m;

ssl_ciphers  HIGH:!aNULL:!MD5;
ssl_prefer_server_ciphers  on;

location / {
root   html;
index  index.html index.htm;
}
}
重新加载nginx,在/usr/local/nginx/sbin目录下执行以下命令:
sudo ./nginx -s reload
访问https://localhost出现以下页面说明配置成功。
开启http2
到这一步之后,开启nginx的http2非常简单,只需要将上一步中https的配置中listen 443 ssl;
修改为:
listen 443 ssl http2;
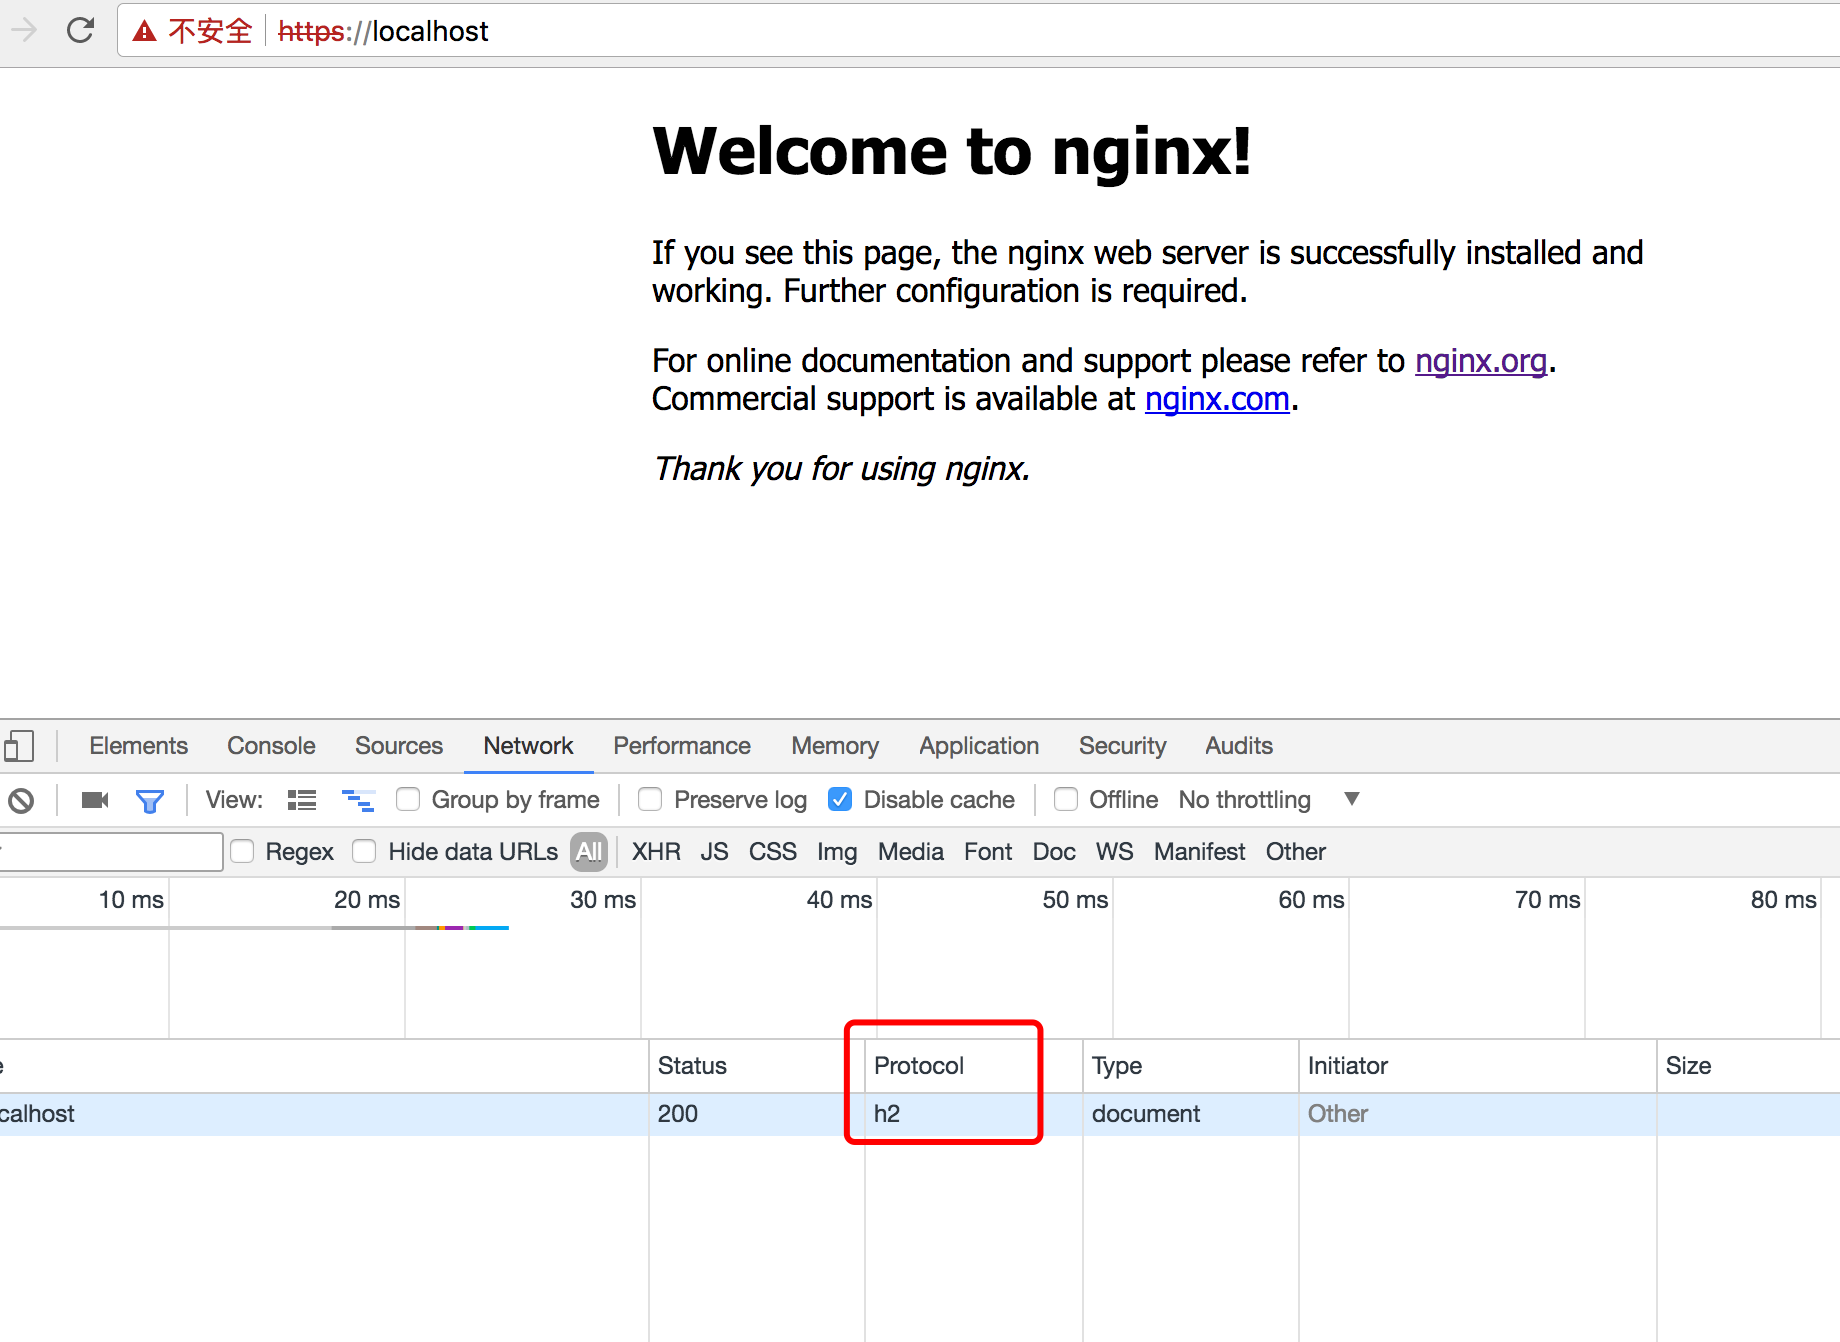
然后重新启动下nginx,再次访问https://localhost
效果图:

相关文章推荐
- 【高可用HA】Nginx (1) —— Mac下配置Nginx Http负载均衡(Load Balancer)之101实例
- nginx配置http2,chrome还是显示h1.1解决办法
- nginx配置http2
- nginx,配置http和https共存
- mac下配置nginx+php+mysql方法说明
- nginx http2配置
- mac下配置nginx
- 详细解释:nginx中ChsHttpUpstreamModule模块配置及各个参数含义
- 详细解释:nginx中ChsHttpLogModule模块配置及各个参数含义
- nginx图片过滤处理模块http_image_filter_module安装配置笔记
- 全面了解Nginx中的HTTP协议相关模块配置
- Nginx服务器安装,高性能的HTTP、TCP、反向代理、负载均衡等服务和配置
- nginx配置本地静态服务器Mac
- nginx配置支持http2
- Mac下Nginx环境配置
- 解决Nginx配置http2不生效,谷歌浏览器仍然采用http1.1协议问题
- Nginx的https配置记录以及http强制跳转到https的方法梳理
- mac 上 django+uwsgi+nginx 静态文件配置
- 配置nginx为FastDFS的storage server提供http访问接口
- nginx配置入门 详细出处参考:http://www.nginx.cn/591.html