springboot配置logback写日志到ActiveMQ
2017-07-20 00:00
423 查看
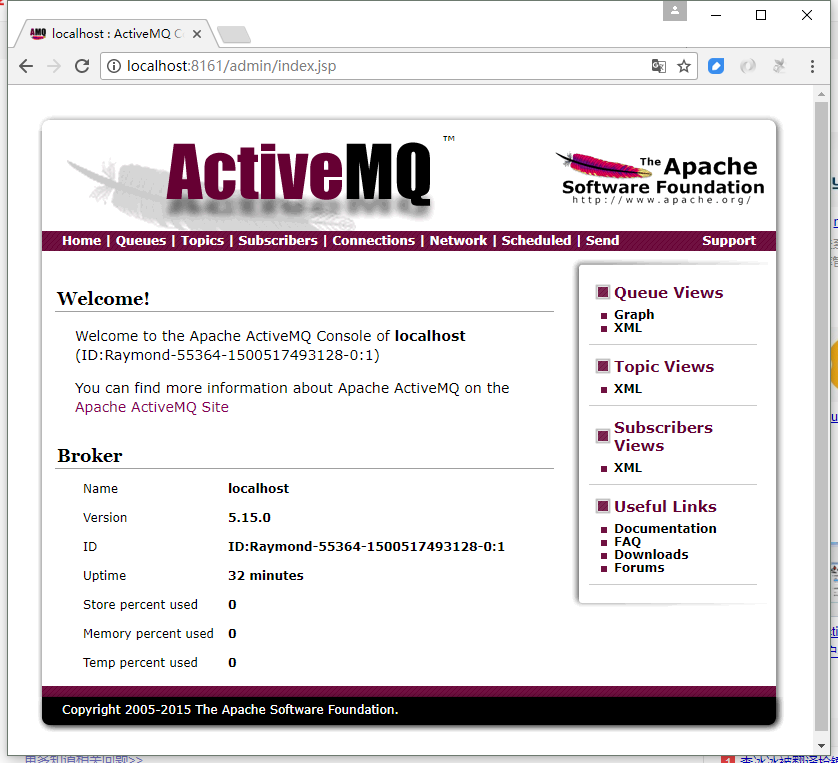
假设已经安装好ActiveMQ服务,并且以61616端口将服务启动,打开浏览器,访问管理端地址,看到如下画面,说明ActiveMQ启动成功:
在管理端创建myqueue队列。
然后,创建logback.xml配置文件:
注意,QueueBindingName节点的myqueue是一个jndi名字,需要另外映射,因此,创建jndi.properties文件:
最后,在程序中使用logger:
在管理端创建myqueue队列。
然后,创建logback.xml配置文件:
<?xml version="1.0" encoding="UTF-8"?>
<configuration debug="true" scan="false" scanPeriod="60 seconds">

<appender name="jms" class="ch.qos.logback.classic.net.JMSQueueAppender">
<InitialContextFactoryName>
org.apache.activemq.jndi.ActiveMQInitialContextFactory
</InitialContextFactoryName>
<ProviderURL>tcp://127.0.0.1:61616</ProviderURL>
<QueueConnectionFactoryBindingName>ConnectionFactory</QueueConnectionFactoryBindingName>
<QueueBindingName>myqueue</QueueBindingName>
</appender>

<root level="info">
<appender-ref ref="jms" />
</root>

</configuration>
注意,QueueBindingName节点的myqueue是一个jndi名字,需要另外映射,因此,创建jndi.properties文件:
java.naming.factory.initial = org.apache.activemq.jndi.ActiveMQInitialContextFactory

# Use the following property to configure the default connector
java.naming.provider.url = vm://localhost

# Use the following property to specify the JNDI name the connection factory
# should appear as.
#connectionFactoryNames = connectionFactory, queueConnectionFactory, topicConnectionFactry

# Register some queues in JNDI using the form:
#   queue.[jndiName] = [physicalName]
queue.myqueue = myqueue

# Register some topics in JNDI using the form:
#   topic.[jndiName] = [physicalName]
topic.MyTopic = example.MyTopic
最后,在程序中使用logger:
private Logger logger = LoggerFactory.getLogger(this.getClass());
......
logger.info("第一个参数为【{}】,第二个参数为【{}】",a,b);

相关文章推荐
- SpringBoot系列(六)Logback日志配置
- SpringBoot从入门到进阶——学会Logback日志的配置和搭建
- 通过配置logback.xml将日志写入数据库
- logback动态修改配置文件实现打印不同级别日志
- 七滴水:校园O2O商铺平台之Logback日志配置
- Logback日志系统配置攻略
- (六)Spring Boot之日志配置-logback和log4j2
- Java日志框架-logback配置文件多环境日志配置(开发、测试、生产)(原始解决方法)
- 为什么Spring Boot推荐使用logback-spring.xml来替代logback.xml来配置logback日志的问题分析
- 日志组件logback的介绍及配置使用方法
- SpringBoot使用logback输出日志并打印sql信息
- springBoot(10)---logback日志
- log4j通过ActiveMQ远程记录日志设计配置
- 日志处理(二) 日志组件logback的介绍及配置使用方法(转)
- 使用logback.xml配置来实现日志文件输出
- Logback日志系统配置攻略
- activemq使用logback作为日志问题解决
- 日志组件logback的介绍及配置使用方法
- logback日志的配置详解(转载)
- SpringBoot学习(三)--Spring profile多环境方式实现logback日志配置