pyqt 使用cv2 显示摄像头
2017-04-24 00:00
387 查看
原来写过一个qtc++使用opencv2显示调用摄像头抓拍的功能,出产品后问题多多,维护成本高,干脆打掉重做,这个时候开始接触python, 发现python非常容易上手,开发效率非常高,从接触到python一个星期内就把软件的核心功能开发完成。不过在开发到python调用摄像头时,发现python读取到摄像头的一帧数据是 numpy.ndarray 类型,转换成QImage类型有问题,要么是出来的摄像头带蓝光,要么干脆显示不出来。后来临时用最笨的办法:每40毫秒读一次摄像头,然后保存一张图片到磁盘,然后用QImage直接读磁盘文件,不过这种方式对磁盘损害非常大。最后还是专门花时间去解决这个问题,在这里记下。
线程类:
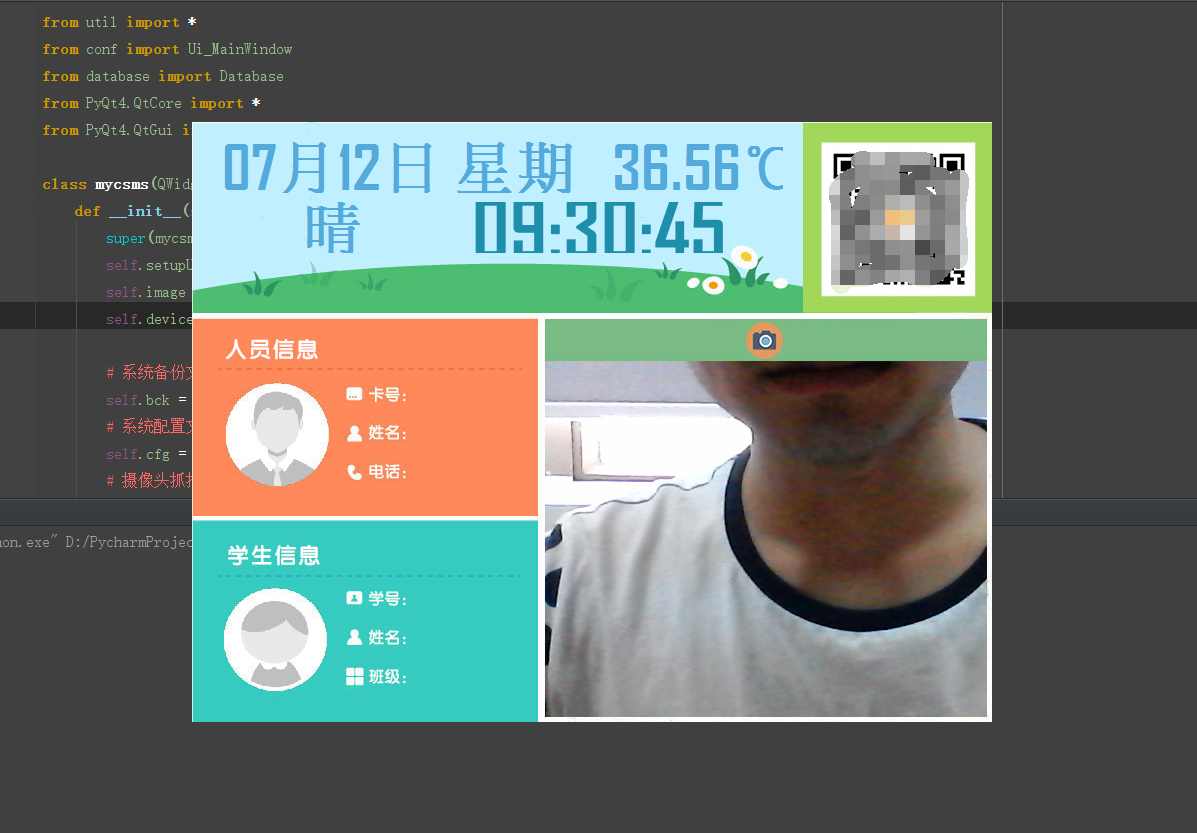
效果图:
参考:
http://stackoverflow.com/questions/18676888/how-to-configure-color-when-convert-numpy-array-to-qimage
http://blog.sina.com.cn/s/blog_77dc9e080101go55.html
class mycsms(QWidget, Ui_csms, Ui_MainWindow):
def __init__(self):
super(mycsms, self).__init__()
self.setupUi(self)
self.image = QImage()
self.device = cv2.VideoCapture(0)
self.playTimer = Timer("updatePlay()")
self.connect(self.playTimer, SIGNAL("updatePlay()"), self.showCamer)

# 读摄像头
def showCamer(self):
if self.device.isOpened():
ret, frame = self.device.read()
else:
ret = False
# 读写磁盘方式
# cv2.imwrite("2.png", frame)
# self.image.load("2.png")

height, width, bytesPerComponent = frame.shape
bytesPerLine = bytesPerComponent * width
# 变换彩色空间顺序
cv2.cvtColor(frame, cv2.COLOR_BGR2RGB,frame)
# 转为QImage对象
self.image = QImage(frame.data, width, height, bytesPerLine, QImage.Format_RGB888)
self.view.setPixmap(QPixmap.fromImage(self.image))

if __name__ == "__main__":
app = QApplication(sys.argv)
myshow = mycsms()
myshow.playTimer.start()
myshow.show()
sys.exit(app.exec_())
线程类:
class Timer(QtCore.QThread):

def __init__(self, signal="updateTime()", parent=None):
super(Timer, self).__init__(parent)
self.stoped = False
self.signal = signal
self.mutex = QtCore.QMutex()

def run(self):
with QtCore.QMutexLocker(self.mutex):
self.stoped = False
while True:
if self.stoped:
return
self.emit(QtCore.SIGNAL(self.signal))
#40毫秒发送一次信号
time.sleep(0.04)

def stop(self):
with QtCore.QMutexLocker(self.mutex):
self.stoped = True

def isStoped(self):
with QtCore.QMutexLocker(self.mutex):
return self.stoped
效果图:
参考:
http://stackoverflow.com/questions/18676888/how-to-configure-color-when-convert-numpy-array-to-qimage
http://blog.sina.com.cn/s/blog_77dc9e080101go55.html

相关文章推荐
- pyqt5 使用cv2 显示图片,摄像头
- 任务二:使用GraphEdit显示摄像头
- 摄像头在liunx上的QT显示和OK6410 ARM开发板上的使用
- python opencv 使用摄像头捕获视频并显示
- PyQt使用中遇到的若干问题(1)(版本选择,安装,显示图片,滑动条,窗口一闪而过)
- 使用VideoCapture类调用摄像头读入视频并显示
- 使用Gtreamer获得摄像头数据并显示(Webcam streaming using Python--pyGTK, wxPython and Gstreamer)
- MFC中使用OpenCV显示摄像头图像并二值化
- Android 使用系统摄像头拍相片与拍视频,并显示
- 使用cvCaptureFromCAM()函数打开摄像头并显示视频
- Linux环境下使用V4L2+opencv以MJPEG格式读取USB摄像头并实时显示
- 使用Gtreamer获得摄像头数据并显示(Webcam streaming using Python--pyGTK, wxPython and Gstreamer)
- 摄像头在liunx上的QT显示和OK6410 ARM开发板上的使用
- [Unity3D][Vuforia][ios]使用vuforia的unity3d库在ios中摄像头只显示黑色,不显示摄像头,NO CAMERA的解决方案
- 在页面中嵌入Applet使用opencv调用摄像头,并显示实时摄像头内容
- MFC中使用OpenCV显示摄像头图像
- 使用Qt+OpenCV+VideoInput 显示摄像头图像
- VS2013下使用OpenCV2.4.9打开摄像头并且显示
- linux_ok6410配置usb摄像头ZC3XX并在网页使用流媒体显示
- 使用GraphEdit显示摄像头