微信小程序实战之顶部导航栏(选项卡)(1)
2017-04-17 16:05
921 查看
本文实例为大家分享了微信小程序顶部导航栏的具体代码,供大家参考,具体内容如下
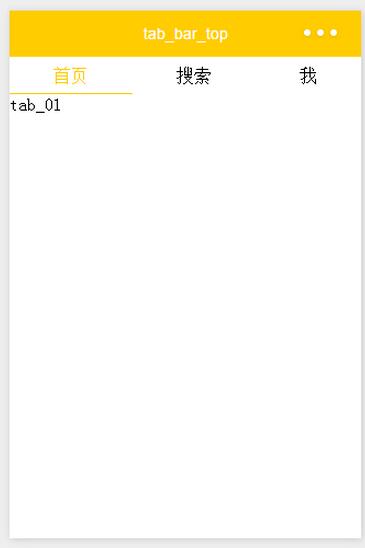
需求:顶部导航栏
效果图:
wxml:
<!--导航条-->
<view class="navbar">
<text wx:for="{{navbar}}" data-idx="{{index}}" class="item {{currentTab==index ? 'active' : ''}}" wx:key="unique" bindtap="navbarTap">{{item}}</text>
</view>
<!--首页-->
<view hidden="{{currentTab!==0}}">
tab_01
</view>
<!--搜索-->
<view hidden="{{currentTab!==1}}">
tab_02
</view>
<!--我-->
<view hidden="{{currentTab!==2}}">
tab_03
</view>
wxss:
page{
display: flex;
flex-direction: column;
height: 100%;
}
.navbar{
flex: none;
display: flex;
background: #fff;
}
.navbar .item{
position: relative;
flex: auto;
text-align: center;
line-height: 80rpx;
}
.navbar .item.active{
color: #FFCC00;
}
.navbar .item.active:after{
content: "";
display: block;
position: absolute;
bottom: 0;
left: 0;
right: 0;
height: 4rpx;
background: #FFCC00;
}
js:
var app = getApp()
Page({
data: {
navbar: ['首页', '搜索', '我'],
currentTab: 0
},
navbarTap: function(e){
this.setData({
currentTab: e.currentTarget.dataset.idx
})
}
})
运行:
以上就是本文的全部内容,希望对大家的学习有所帮助,也希望大家多多支持脚本之家。
您可能感兴趣的文章:

相关文章推荐
- 微信小程序之顶部导航栏(选项卡)实例 —— 微信小程序实战系列(1)
- 微信小程序----导航栏选项卡(MUI顶部选项卡)
- 014 - 微信小程序开发之选项卡(窗口顶部TabBar)页面切换
- 微信小程序实战之仿android fragment可滑动底部导航栏(4)
- 微信小程序开发之选项卡(窗口顶部TabBar)页面切换
- 微信小程序顶部选项卡
- 微信小程序底部导航加顶部table选项卡
- 微信小程序 顶部导航栏 仿京东UI样式
- 微信小程序之设置不同的顶部导航栏名称
- 微信小程序底部选项卡/导航栏实现方法
- 微信小程序之仿android fragment之可滑动的底部导航栏实例 —— 微信小程序实战系列(4)
- 微信小程序实现顶部选项卡(swiper)
- 微信小程序开发之选项卡(窗口顶部TabBar)页面切换
- 微信小程序实现导航栏选项卡效果
- 微信小程序开发之实现选项卡(窗口顶部TabBar)页面切换
- 微信小程序中顶部导航栏的实现代码
- 微信小程序之顶部选项卡(swiper)
- 微信小程序之顶部普通选项卡(非swiper)
- 微信小程序顶部选项卡之二
- 微信小程序顶部用 scroll-view 组件横向滚动,类似tab选项卡的效果,