Spring4-AOP切面-注解方式
2017-03-25 16:12
387 查看
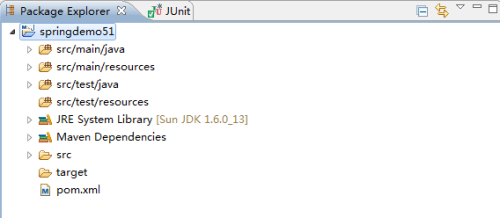
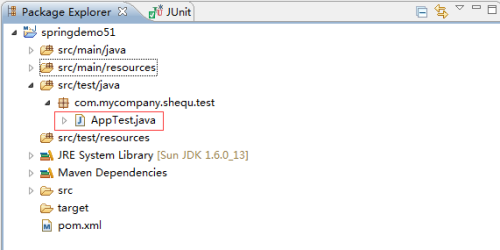
1.创建Maven项目,项目名称springdemo51,如图所示
2.配置Maven,修改项目中的pom.xml文件,修改内容如下
<project xmlns="http://maven.apache.org/POM/4.0.0"
xmlns:xsi="http://www.w3.org/2001/XMLSchema-instance"
xsi:schemaLocation="http://maven.apache.org/POM/4.0.0 http://maven.apache.org/xsd/maven-4.0.0.xsd"> <modelVersion>1.0.0</modelVersion>
<groupId>shequ</groupId>
<artifactId>springdemo13</artifactId>
<version>0.0.1-SNAPSHOT</version>

<properties>
<java.version>1.7</java.version>
<project.build.sourceEncoding>UTF-8</project.build.sourceEncoding>
<project.reporting.outputEncoding>UTF-8</project.reporting.outputEncoding>
</properties>

<repositories>
<repository>
<id>codelds</id>
<url>https://code.lds.org/nexus/content/groups/main-repo</url>
</repository>
</repositories>

<dependencies>
<dependency>
<groupId>org.aspectj</groupId>
<artifactId>aspectjweaver</artifactId>
<version>1.8.3</version>
</dependency>

<dependency>
<groupId>org.aspectj</groupId>
<artifactId>aspectjrt</artifactId>
<version>1.8.3</version>
</dependency>

<dependency>
<groupId>javax.annotation</groupId>
<artifactId>jsr250-api</artifactId>
<version>1.0</version>
</dependency>

<dependency>
<groupId>org.springframework</groupId>
<artifactId>spring-test</artifactId>
<version>4.1.4.RELEASE</version>
</dependency>

<dependency>
<groupId>junit</groupId>
<artifactId>junit</artifactId>
<version>4.10</version>
</dependency>

<dependency>
<groupId>org.springframework</groupId>
<artifactId>spring-core</artifactId>
<version>4.1.4.RELEASE</version>
</dependency>

<dependency>
<groupId>org.springframework</groupId>
<artifactId>spring-context</artifactId>
<version>4.1.4.RELEASE</version>
</dependency>

<dependency>
<groupId>org.springframework</groupId>
<artifactId>spring-jdbc</artifactId>
<version>4.1.4.RELEASE</version>
</dependency>

<dependency>
<groupId>mysql</groupId>
<artifactId>mysql-connector-java</artifactId>
<version>5.1.34</version>
</dependency>

</dependencies>
<build/>
</project>
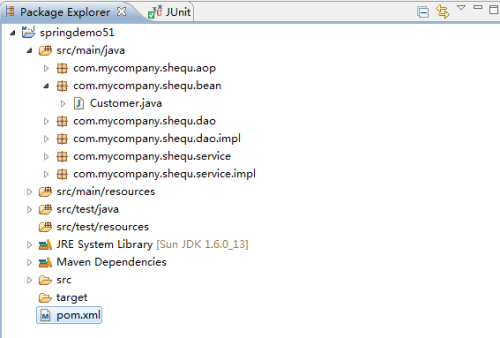
3.在src/main/java下创建实体Bean Customer,包名(com.mycompany.shequ.bean)如图所示
4.实体Bean Customer的内容如下
package com.mycompany.shequ.bean;
public class Customer {
private String name;
private String email;
public String getName() {
return name;
}
public void setName(String name) {
this.name = name;
}
public String getEmail() {
return email;
}
public void setEmail(String email) {
this.email = email;
}
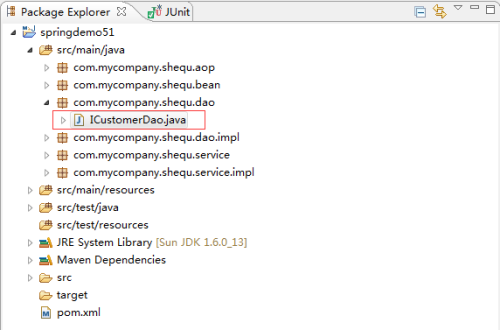
}5.在src/main/java下创建接口ICustomerDao,包名(com.mycompany.shequ.dao)如图所示
6.ICustomerDao的内容如下
package com.mycompany.shequ.dao;
import com.mycompany.shequ.bean.Customer;
public interface ICustomerDao {
public void save(Customer customer);
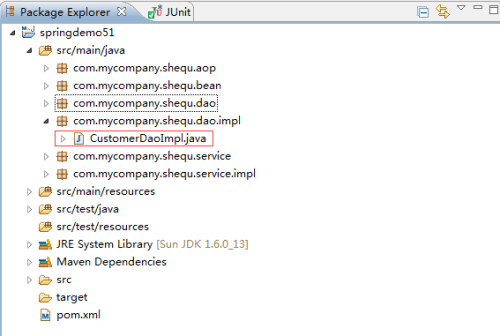
}7.在src/main/java下创建ICustomerDao的实现类CustomerDaoImpl,包名
8.ICustomerDao的实现类CustomerDaoImpl的内容如下
package com.mycompany.shequ.dao.impl;
import org.springframework.stereotype.Component;
import com.mycompany.shequ.bean.Customer;
import com.mycompany.shequ.dao.ICustomerDao;
@Component("customerDao")
public class CustomerDaoImpl implements ICustomerDao {
public void save(Customer customer) {
System.out.println("customer saved success");
}
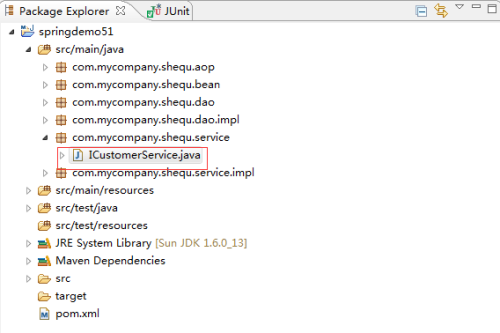
}9.在src/main/java下创建业务Bean ICustomerService接口,包名(com.mycompany.shequ.service)如图所示
10.ICustomerService接口的内容如下
package com.mycompany.shequ.service;
import com.mycompany.shequ.bean.Customer;
public interface ICustomerService {
public void save(Customer customer);
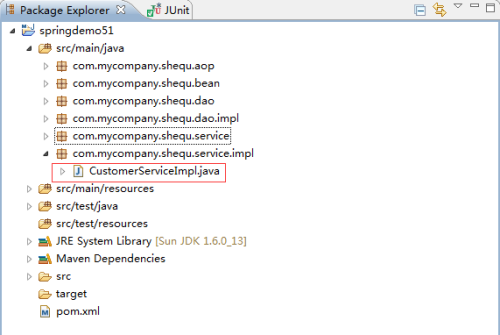
}11.在src/main/java下创建业务Bean ICustomerService接口的实现类CustomerServiceImpl,包名(com.mycompany.shequ.service.impl)如图所示
12.业务Bean ICustomerService接口的实现类CustomerServiceImpl的内容如下
package com.mycompany.shequ.service.impl;
import javax.annotation.Resource;
import org.springframework.stereotype.Component;
import com.mycompany.shequ.bean.Customer;
import com.mycompany.shequ.dao.ICustomerDao;
import com.mycompany.shequ.service.ICustomerService;
@Component("customerServiceImpl")
public class CustomerServiceImpl implements ICustomerService {
private ICustomerDao customerDao;
public ICustomerDao getCustomerDao() {
return customerDao;
}
@Resource(name="customerDao")
public void setCustomerDao(ICustomerDao customerDao) {
this.customerDao = customerDao;
}
public void init(){
System.out.println("init");
}
public void destroy(){
System.out.println("destroy");
}
public void save(Customer customer) {
customerDao.save(customer);
}
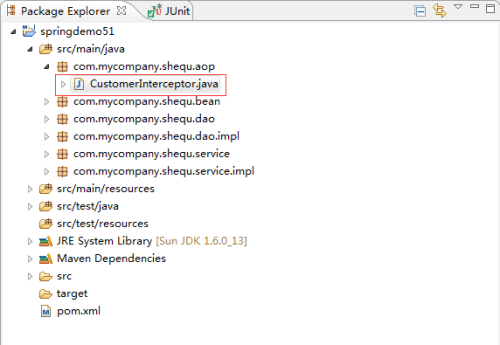
}13.在src/main/java下创建aop切面类CustomerInterceptor,包名(com.mycompany.shequ.aop)如图所示
14.aop切面类CustomerInterceptor的内容如下
package com.mycompany.shequ.aop;
import org.aspectj.lang.annotation.After;
import org.aspectj.lang.annotation.AfterReturning;
import org.aspectj.lang.annotation.AfterThrowing;
import org.aspectj.lang.annotation.Aspect;
import org.aspectj.lang.annotation.Before;
import org.aspectj.lang.annotation.Pointcut;
import org.springframework.stereotype.Component;
//切面类
@Aspect
@Component
public class CustomerInterceptor {
//从com.mycompany.shequ.service.impl.CustomerServiceImpl.save方法切入
@Pointcut("execution(public * com.mycompany.shequ.service..*.save(..))")
public void myMethod(){
}
@Before("myMethod()")
public void before(){
System.out.println("method before");
}
@After("myMethod()")
public void after(){
System.out.println("method after");
}
@AfterReturning("execution(public * com.mycompany.shequ.dao..*.*(..))")
public void AfterReturning(){
System.out.println("method afterreturning");
}
@AfterThrowing("execution(public * com.mycompany.shequ.dao..*.*(..))")
public void AfterThrowing(){
System.out.println("method afterThrowing");
}
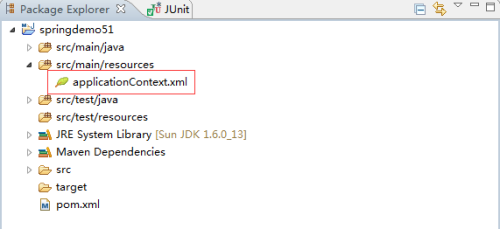
}15.在src/main/resource下创建核心的配置文件applicationContext.xml,如图所示
16.配置文件applicationContext.xml,如图所示
<beans xmlns="http://www.springframework.org/schema/beans"
xmlns:xsi="http://www.w3.org/2001/XMLSchema-instance"
xmlns:p="http://www.springframework.org/schema/p"
xmlns:context="http://www.springframework.org/schema/context"
xmlns:util="http://www.springframework.org/schema/util"
xmlns:aop="http://www.springframework.org/schema/aop"
xsi:schemaLocation="http://www.springframework.org/schema/beans http://www.springframework.org/schema/beans/spring-beans-4.0.xsd http://www.springframework.org/schema/util http://www.springframework.org/schema/util/spring-util-4.0.xsd http://www.springframework.org/schema/context http://www.springframework.org/schema/context/spring-context-4.0.xsd http://www.springframework.org/schema/aop http://www.springframework.org/schema/aop/spring-aop-4.0.xsd">
<context:annotation-config />
<context:component-scan base-package="com.mycompany.shequ"/>  <!-- 自动扫描 -->
<aop:aspectj-autoproxy/>

</beans>
17.在src/test/java下创建测试文件AppTest,包名(com.mycompany.shequ.test)如图所示
18.测试文件AppTest的内容如下
package com.mycompany.shequ.test;
import org.junit.Test;
import org.springframework.context.support.ClassPathXmlApplicationContext;
import com.mycompany.shequ.bean.Customer;
import com.mycompany.shequ.service.ICustomerService;
public class AppTest {
@Test
public void beanTest(){
ClassPathXmlApplicationContext context = new
ClassPathXmlApplicationContext("applicationContext.xml");
ICustomerService customerService = (ICustomerService)
context.getBean("customerServiceImpl");
customerService.save(new Customer());
context.destroy();
}
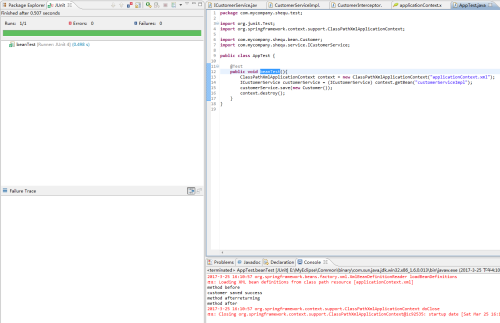
}19.在测试类AppTest的beanTest方法上右键运行,输出结果如图所示


相关文章推荐
- Spring面向切面编程——Spring实现AOP方式——通过注解实现
- 面向切面(AOP)之Spring接口方式 schema配置方式 aspectj注解方式
- Spring——使用Spring的注解方式实现面向切面技术AOP
- Spring 通过注解方式实现AOP切面编程
- Spring学习4-面向切面(AOP)之aspectj注解方式
- Spring(十一)使用Spring的注解方式实现面向切面技术AOP
- Spring整理11 -- 面对切面(AOP)1 -- 注解配置的方式实现AOP
- Spring整理11 -- 面对切面(AOP)1 -- 注解配置的方式实现AOP
- Spring学习4-面向切面(AOP)之aspectj注解方式
- Spring学习4-面向切面(AOP)之aspectj注解方式
- spring学习笔记7--使用spring进行面向切面的(AOP)编程(1)注解方式实现
- Spring学习一:IOC(控制反转)和AOP(面向切面)的xml配置和注解方式
- AOP实现_AOP中的概念_注解方式_XML配置方式声明切面
- spring aop的使用(注解方式以及基于xml配置方式)
- spring aop, aspectj 注解声明切面
- Spring整理12 -- 面对切面(AOP)2 -- 配置文件的方式实现AOP
- 使用Spring的注解方式实现AOP
- 用Spring配置文件或者注解方式实现AOP
- 注释方式切面编程(Spring AOP技术)
- Spring的注解方式实现AOP的细节