springboot 学习笔记【5】spring boot web应用
2017-03-09 00:00
393 查看
Spring Boot充分利用了 JavaConfig 配置模式以及“约定优于配置”的理念,能够极大的简化基于 Spring 的应用开发。为了简化依赖图,Boot 的功能是模块化的,通过导入 Boot 所谓的“starter” 模块,可以将许多的依赖添加到工程之中。
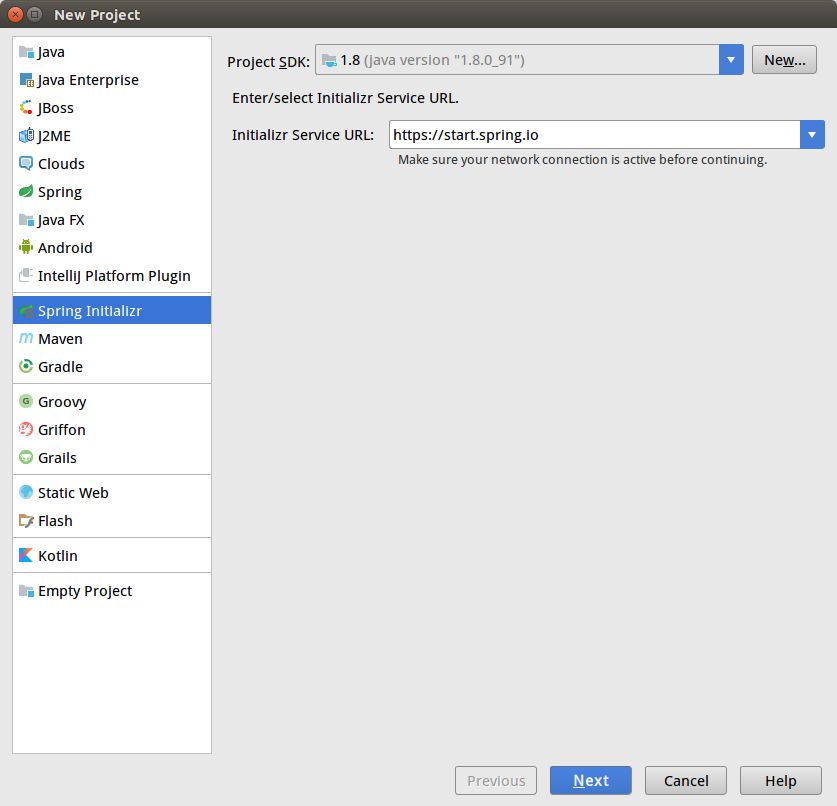
填好 Group,Artifact,之后选择next,然后选择web模块。如图

新建一个class HelloController
启动spring boot应用。
访问 http://localhost:8080/hello,即可看到 结果。
/static
/public
/resources
/META-INF/resources
举例:我们可以在src/main/resources/目录下创建static,在该位置放置一个图片文件。启动程序后,尝试访问http://localhost:8080/D.jpg。如能显示图片,配置成功。
Spring Boot提供了默认配置的模板引擎主要有以下几种:
Thymeleaf
FreeMarker
Velocity
Groovy
Mustache
Spring Boot建议使用这些模板引擎,避免使用JSP,若一定要使用JSP将无法实现Spring Boot的多种特性,具体可见后文:支持JSP的配置
当你使用上述模板引擎中的任何一个,它们默认的模板配置路径为:src/main/resources/templates。当然也可以修改这个路径,具体如何修改,可在后续各模板引擎的配置属性中查询并修改。
Thymeleaf提供了一个用于整合Spring MVC的可选模块,在应用开发中,你可以使用Thymeleaf来完全代替JSP或其他模板引擎,如Velocity、FreeMarker等。Thymeleaf的主要目标在于提供一种可被浏览器正确显示的、格式良好的模板创建方式,因此也可以用作静态建模。你可以使用它创建经过验证的XML与HTML模板。相对于编写逻辑或代码,开发者只需将标签属性添加到模板中即可。接下来,这些标签属性就会在DOM(文档对象模型)上执行预先制定好的逻辑。
可以看到Thymeleaf主要以属性的方式加入到html标签中,浏览器在解析html时,当检查到没有的属性时候会忽略,所以Thymeleaf的模板可以通过浏览器直接打开展现,这样非常有利于前后端的分离。
在Spring Boot中使用Thymeleaf,只需要引入下面依赖,并在默认的模板路径src/main/resources/templates下编写模板文件即可完成。
在完成配置之后,举一个简单的例子,在快速入门工程的基础上,举一个简单的示例来通过Thymeleaf渲染一个页面。
对应的Thymeleaf 模板是
如上页面,直接打开html页面展现Hello World,但是启动程序后,访问
更多Thymeleaf的页面语法,还请访问Thymeleaf的官方文档查询使用。
完整例子
新建spring web应用
填好 Group,Artifact,之后选择next,然后选择web模块。如图
新建一个class HelloController
@Controller
public class HelloController {
@RequestMapping("/hello")
@ResponseBody
public String hello(){
return "Hello Spring Boot!";
}
}
启动spring boot应用。
访问 http://localhost:8080/hello,即可看到 结果。
静态资源访问
在我们开发Web应用的时候,需要引用大量的js、css、图片等静态资源。默认配置
Spring Boot默认提供静态资源目录位置需置于classpath下,目录名需符合如下规则:/static
/public
/resources
/META-INF/resources
举例:我们可以在src/main/resources/目录下创建static,在该位置放置一个图片文件。启动程序后,尝试访问http://localhost:8080/D.jpg。如能显示图片,配置成功。
渲染Web页面
在之前的示例中,我们都是通过@RestController来处理请求,所以返回的内容为json对象。那么如果需要渲染html页面的时候,要如何实现呢?模板引擎
在动态HTML实现上Spring Boot依然可以完美胜任,并且提供了多种模板引擎的默认配置支持,所以在推荐的模板引擎下,我们可以很快的上手开发动态网站。Spring Boot提供了默认配置的模板引擎主要有以下几种:
Thymeleaf
FreeMarker
Velocity
Groovy
Mustache
Spring Boot建议使用这些模板引擎,避免使用JSP,若一定要使用JSP将无法实现Spring Boot的多种特性,具体可见后文:支持JSP的配置
当你使用上述模板引擎中的任何一个,它们默认的模板配置路径为:src/main/resources/templates。当然也可以修改这个路径,具体如何修改,可在后续各模板引擎的配置属性中查询并修改。
Thymeleaf
Thymeleaf是一个XML/XHTML/HTML5模板引擎,可用于Web与非Web环境中的应用开发。它是一个开源的Java库,基于Apache License 2.0许可,由Daniel Fernández创建,该作者还是Java加密库Jasypt的作者。Thymeleaf提供了一个用于整合Spring MVC的可选模块,在应用开发中,你可以使用Thymeleaf来完全代替JSP或其他模板引擎,如Velocity、FreeMarker等。Thymeleaf的主要目标在于提供一种可被浏览器正确显示的、格式良好的模板创建方式,因此也可以用作静态建模。你可以使用它创建经过验证的XML与HTML模板。相对于编写逻辑或代码,开发者只需将标签属性添加到模板中即可。接下来,这些标签属性就会在DOM(文档对象模型)上执行预先制定好的逻辑。
示例模板:
<table>
<thead>
<tr>
<th th:text="#{msgs.headers.name}">Name</td>
<th th:text="#{msgs.headers.price}">Price</td>
</tr>
</thead>
<tbody>
<tr th:each="prod : ${allProducts}">
<td th:text="${prod.name}">Oranges</td>
<td th:text="${#numbers.formatDecimal(prod.price,1,2)}">0.99</td>
</tr>
</tbody>
</table>
可以看到Thymeleaf主要以属性的方式加入到html标签中,浏览器在解析html时,当检查到没有的属性时候会忽略,所以Thymeleaf的模板可以通过浏览器直接打开展现,这样非常有利于前后端的分离。
在Spring Boot中使用Thymeleaf,只需要引入下面依赖,并在默认的模板路径src/main/resources/templates下编写模板文件即可完成。
<dependency>
<groupId>org.springframework.boot</groupId>
<artifactId>spring-boot-starter-thymeleaf</artifactId>
</dependency>
在完成配置之后,举一个简单的例子,在快速入门工程的基础上,举一个简单的示例来通过Thymeleaf渲染一个页面。
@Controller
public class HelloThymeleaf {
@RequestMapping("/")
public String index(ModelMap map) {
// 加入一个属性,用来在模板中读取
map.addAttribute("host", "localhost:8080");
// return模板文件的名称,对应src/main/resources/templates/index.html
return "index";
}
}
对应的Thymeleaf 模板是
<!DOCTYPE html>
<html>
<head lang="en">
<meta charset="UTF-8" />
<title></title>
</head>
<body>
<h1 th:text="${host}">Hello World</h1>
</body>
</html>
如上页面,直接打开html页面展现Hello World,但是启动程序后,访问
http://localhost:8080/,则是展示Controller中host的值:localhost:8080,做到了不破坏HTML自身内容的数据逻辑分离。
更多Thymeleaf的页面语法,还请访问Thymeleaf的官方文档查询使用。
Thymeleaf的默认参数配置
如有需要修改默认配置的时候,只需复制下面要修改的属性到application.properties中,并修改成需要的值,如修改模板文件的扩展名,修改默认的模板路径等。# Enable template caching. spring.thymeleaf.cache=true # Check that the templates location exists. spring.thymeleaf.check-template-location=true # Content-Type value. spring.thymeleaf.content-type=text/html # Enable MVC Thymeleaf view resolution. spring.thymeleaf.enabled=true # Template encoding. spring.thymeleaf.encoding=UTF-8 # Comma-separated list of view names that should be excluded from resolution. spring.thymeleaf.excluded-view-names= # Template mode to be applied to templates. See also StandardTemplateModeHandlers. spring.thymeleaf.mode=HTML5 # Prefix that gets prepended to view names when building a URL. spring.thymeleaf.prefix=classpath:/templates/ # Suffix that gets appended to view names when building a URL. spring.thymeleaf.suffix=.html spring.thymeleaf.template-resolver-order= # Order of the template resolver in the chain. spring.thymeleaf.view-names= # Comma-separated list of view names that can be resolved.
完整例子

相关文章推荐
- Spring Boot学习笔记-SQL数据库使用
- Spring Boot 学习笔记 - 认识Spring Boot框架
- spring boot 学习笔记(003) 静态资源(html/js等文件)
- spring boot 学习笔记(008)Apache camel
- Spring Boot学习笔记
- spring boot 学习笔记(008)mysql
- SpringBoot 学习笔记
- spring boot 学习笔记(009)application.yml
- spring boot 学习笔记(006)log
- SpringBoot学习笔记(5) Spring Boot集成Redis实现自动配置
- spring boot 学习笔记(007)pom.xml修改
- Spring Boot学习笔记-实践建言
- Spring Boot学习笔记
- SpringBoot学习笔记(4) Spring Boot 集成 Mybatis
- [Spring入门学习笔记][Spring Boot]
- [Spring入门学习笔记][Spring Boot]
- Spring boot 学习笔记 ---分分钟构建一个web程序(一)
- spring boot 学习笔记(1)
- spring boot 学习笔记(005)提交json对象
- spring boot学习笔记