SpringMVC学习笔记(一)使用IntelliJ IDEA开发Spring MVC HelloWorld
2017-02-01 16:34
681 查看
开发环境
jdk1.8.0_92tomcat8
创建工程
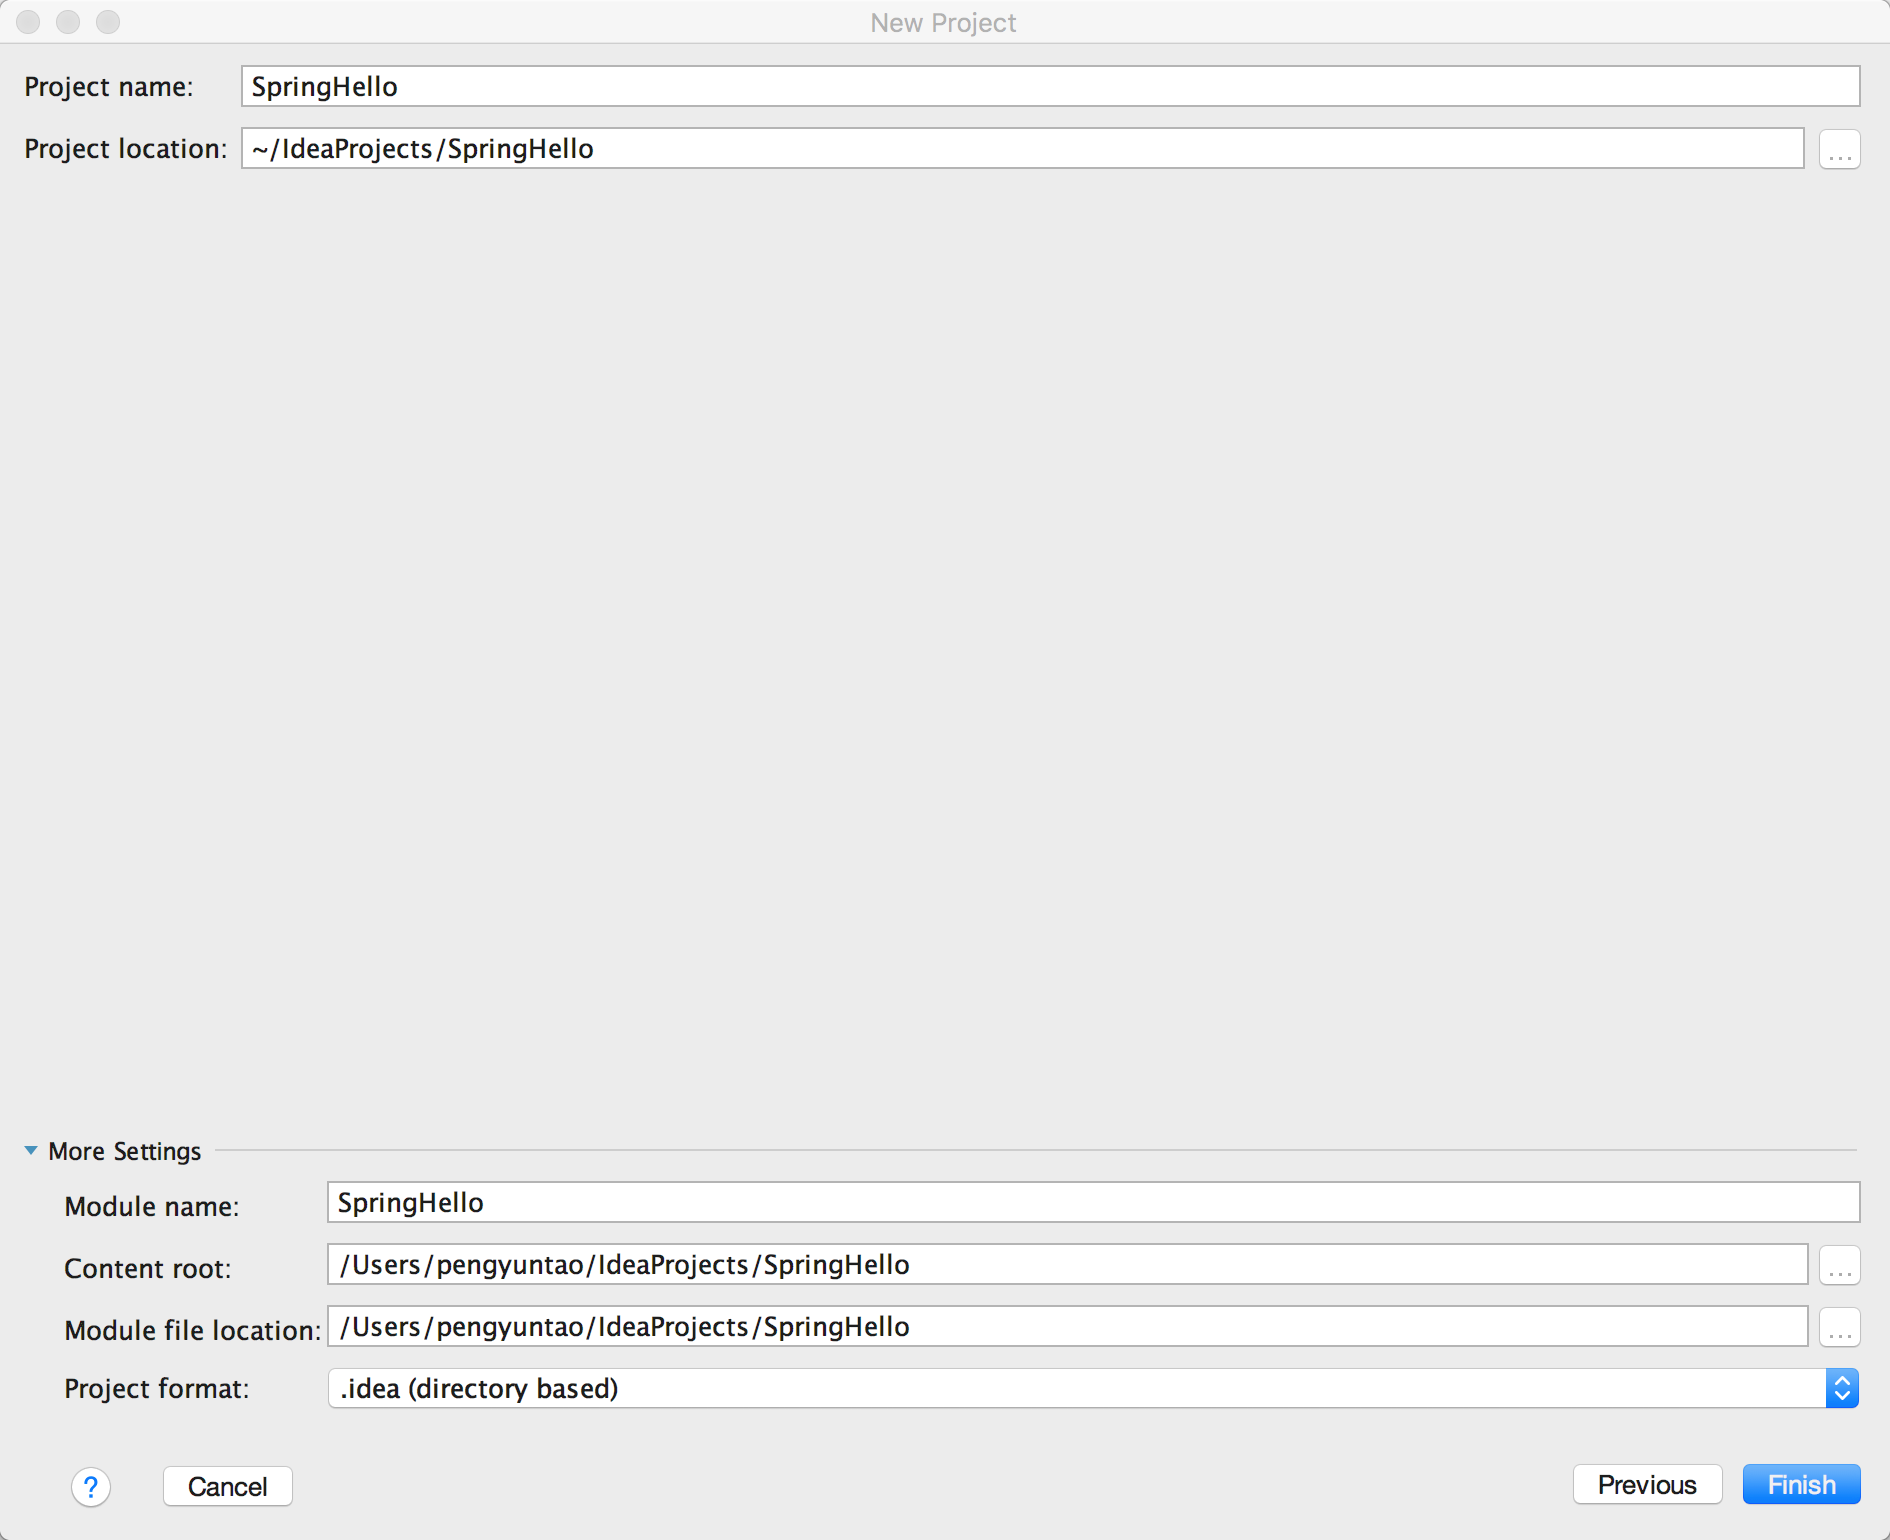
打开IntelliJ IDEA 新建一个project,选择spring MVC,然后点击next
给project随便起一个名字,点击finish
创建完成的project目录如下
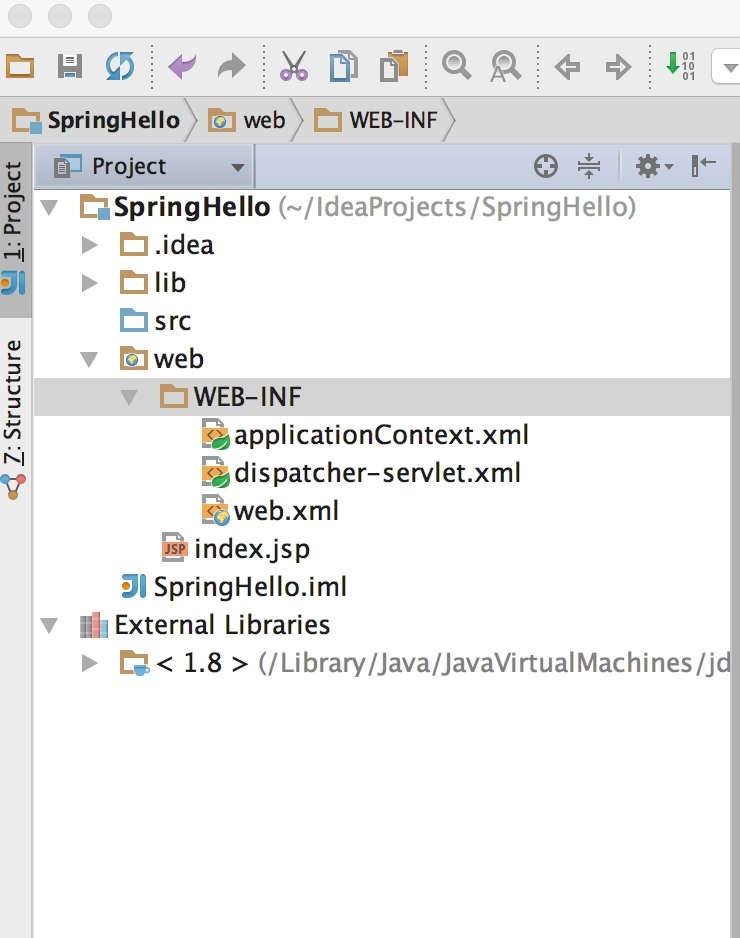
首先打开web/WEB-INF目录下的web.xml文件,如下,把url-pattern的值改为/,用于拦截请求(url-pattern为 / ,说明拦截所有请求,网上有说配置为/*的,我这样配置会出错),并交由Spring MVC的后台控制器来处理。这一项配置是必须的。
<?xml version="1.0" encoding="UTF-8"?>
<web-app xmlns="http://xmlns.jcp.org/xml/ns/javaee"
xmlns:xsi="http://www.w3.org/2001/XMLSchema-instance"
xsi:schemaLocation="http://xmlns.jcp.org/xml/ns/javaee http://xmlns.jcp.org/xml/ns/javaee/web-app_3_1.xsd" version="3.1">
<context-param>
<param-name>contextConfigLocation</param-name>
<param-value>/WEB-INF/applicationContext.xml</param-value>
</context-param>
<listener>
<listener-class>org.springframework.web.context.ContextLoaderListener</listener-class>
</listener>
<servlet>
<servlet-name>dispatcher</servlet-name>
<servlet-class>org.springframework.web.servlet.DispatcherServlet</servlet-class>
<load-on-startup>1</load-on-startup>
</servlet>
<servlet-mapping>
<servlet-name>dispatcher</servlet-name>
<url-pattern>/</url-pattern>
</servlet-mapping>
</web-app>
1
2
3
4
5
6
7
8
9
10
11
12
13
14
15
16
17
18
19
20
21
22

1
2
3
4
5
6
7
8
9
10
11
12
13
14
15
16
17
18
19
20
21
22
[/code]
编写Controller与jsp页面
MVC框架有model、view、controller三部分组成。model一般为一些基本的Java Bean,view用于进行相应的页面显示,controller用于处理网站的请求。在项目的src目录创建一个包用于存放controller
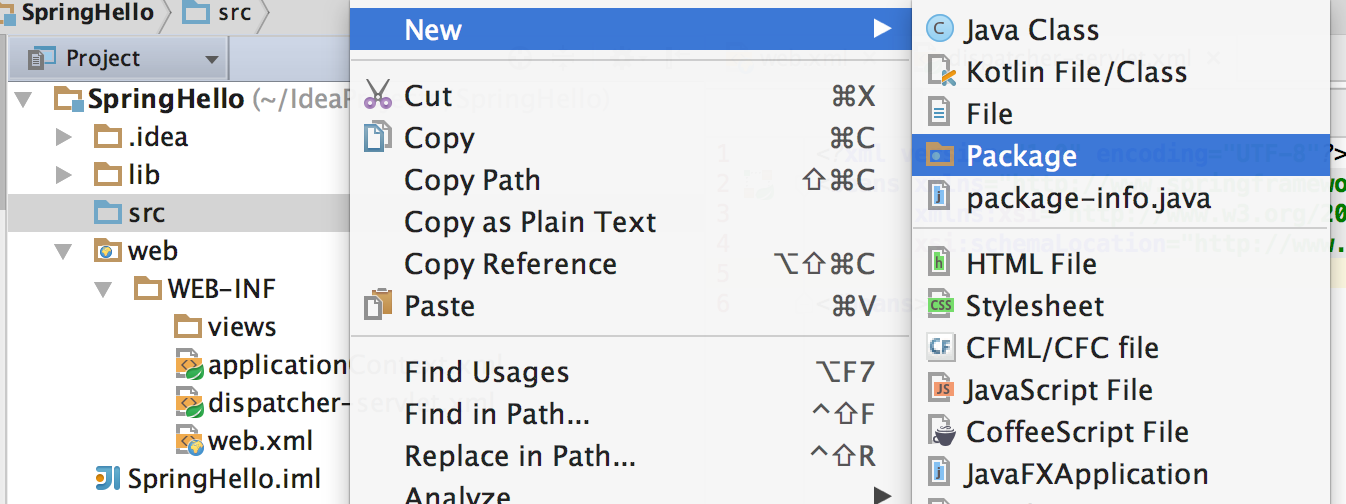
在新建的包中,创建一个HelloController类
添加以下代码
@Controller
@RequestMapping(value = "/hello", method = RequestMethod.GET)
public class HelloController {
@RequestMapping(value = "/hello", method = RequestMethod.GET)
public String printHello(ModelMap model) {
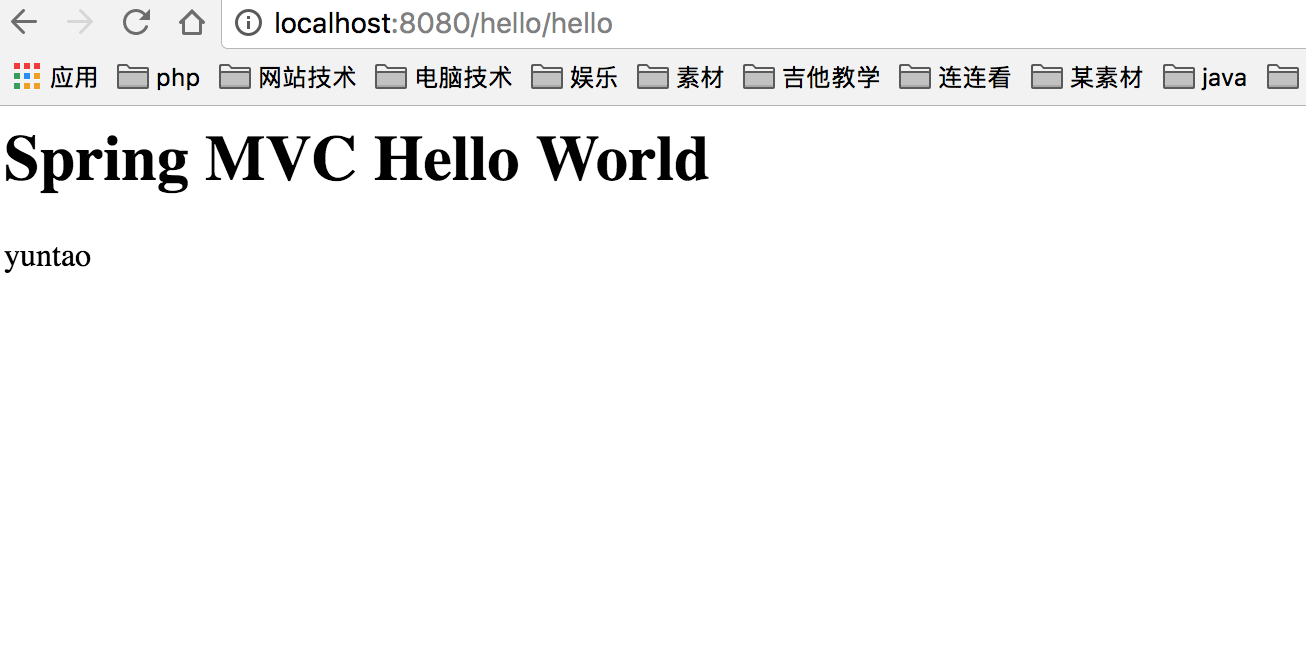
model.addAttribute("msg", "Spring MVC Hello World");
model.addAttribute("name", "yuntao");
return "hello";
}
}12
3
4
5
6
7
8
9
10
11
1
2
3
4
5
6
7
8
9
10
11
[/code]
解释下上边代码的意思
1.@Controller注解:采用注解的方式定义该类为处理请求的Controller类;
2.@RequestMapping解:用于定义一个请求映射,value为请求的url,method用以指定该请求类型,一般为get和post,代码中要调用printHello方法,即可访问 hello/hello
3.return “hello”:处理完该请求后返回的页面,此请求返回 hello.jsp页面。
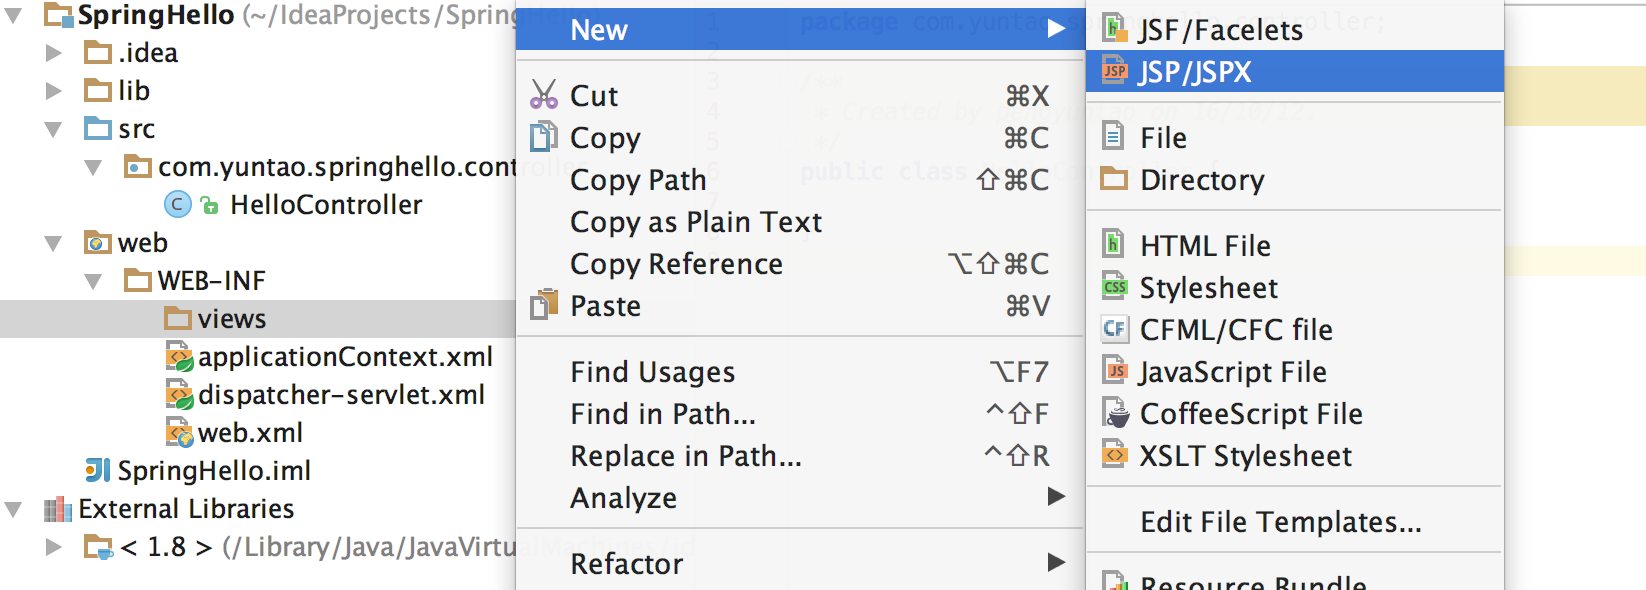
接下来删除web目录下的index.jsp,在web/WEB-INF中创建一个views目录,然后创建一个hello.jsp文件
把下边代码贴入hello.jsp
<%@ page contentType="text/html;charset=UTF-8" language="java" %>
<html>
<head>
<title>${msg}</title>
</head>
<body>
<h1>${msg}</h1>
<span>${name}</span>
</body>
</html>12
3
4
5
6
7
8
9
10
1
2
3
4
5
6
7
8
9
10
[/code]
配置xxx-servlet.xml
完成上边的步骤之后,在web.xml同级目录下有个dispatcher-servlet.xml的配置文件,他的前缀dispatcher对应上边web.xml中配置的servlet(名称可修改),节选web.xml如下<servlet> <servlet-name>dispatcher</servlet-name> <servlet-class>org.springframework.web.servlet.DispatcherServlet</servlet-class> <load-on-startup>1</load-on-startup> </servlet>1
2
3
4
5
1
2
3
4
5
[/code]
打开dispatcher-servlet.xml是空的,我们需要添加一些配置
首先要指定下controller所在的包,这样spring mvc会扫描其中的注解
<context:component-scan base-package="com.yuntao.hello"/>1
1
[/code]
<!--ViewResolver 视图解析器-->
<!--用于支持Servlet、JSP视图解析-->
<bean id="jspViewResolver" class="org.springframework.web.servlet.view.InternalResourceViewResolver">
<property name="viewClass" value="org.springframework.web.servlet.view.JstlView"/>
<property name="prefix" value="/WEB-INF/jsp/"/>
<property name="suffix" value=".jsp"/>
</bean>
1
2
3
4
5
6
7
1
2
3
4
5
6
7
[/code]
还需要配置下边两项,静态资源访问,开启注解。
<!-- 静态资源(js、image等)的访问 -->
<mvc:default-servlet-handler/>

<!-- 开启注解 -->
<mvc:annotation-driven/>
1
2
3
4
5
1
2
3
4
5
[/code]
最后配置完成如下
<?xml version="1.0" encoding="UTF-8"?>1
<beans xmlns="http://www.springframework.org/schema/beans"
xmlns:xsi="http://www.w3.org/2001/XMLSchema-instance"
xmlns:context="http://www.springframework.org/schema/context"
xmlns:mvc="http://www.springframework.org/schema/mvc"
xsi:schemaLocation="http://www.springframework.org/schema/beans http://www.springframework.org/schema/beans/spring-beans.xsd http://www.springframework.org/schema/context http://www.springframework.org/schema/context/spring-context.xsd http://www.springframework.org/schema/mvc http://www.springframework.org/schema/mvc/spring-mvc.xsd"> <context:component-scan base-package="com.yuntao.hello"/>
<!-- 静态资源(js、image等)的访问 --> <mvc:default-servlet-handler/> <!-- 开启注解 --> <mvc:annotation-driven/>
<!--ViewResolver 视图解析器--> <!--用于支持Servlet、JSP视图解析--> <bean id="jspViewResolver" class="org.springframework.web.servlet.view.InternalResourceViewResolver"> <property name="viewClass" value="org.springframework.web.servlet.view.JstlView"/> <property name="prefix" value="/WEB-INF/jsp/"/> <property name="suffix" value=".jsp"/> </bean>
</beans>
2
3
4
5
6
7
8
9
10
11
12
13
14
15
16
17
18
19
20
21
22
1
2
3
4
5
6
7
8
9
10
11
12
13
14
15
16
17
18
19
20
21
22
[/code]
配置Tomcat
上述代码写好了之后,还需要一个web服务,这里使用tomcat8.去http://tomcat.apache.org/下载一个适合自己系统的tomcat,解压。终端执行./startup.sh,windows执行startup.bat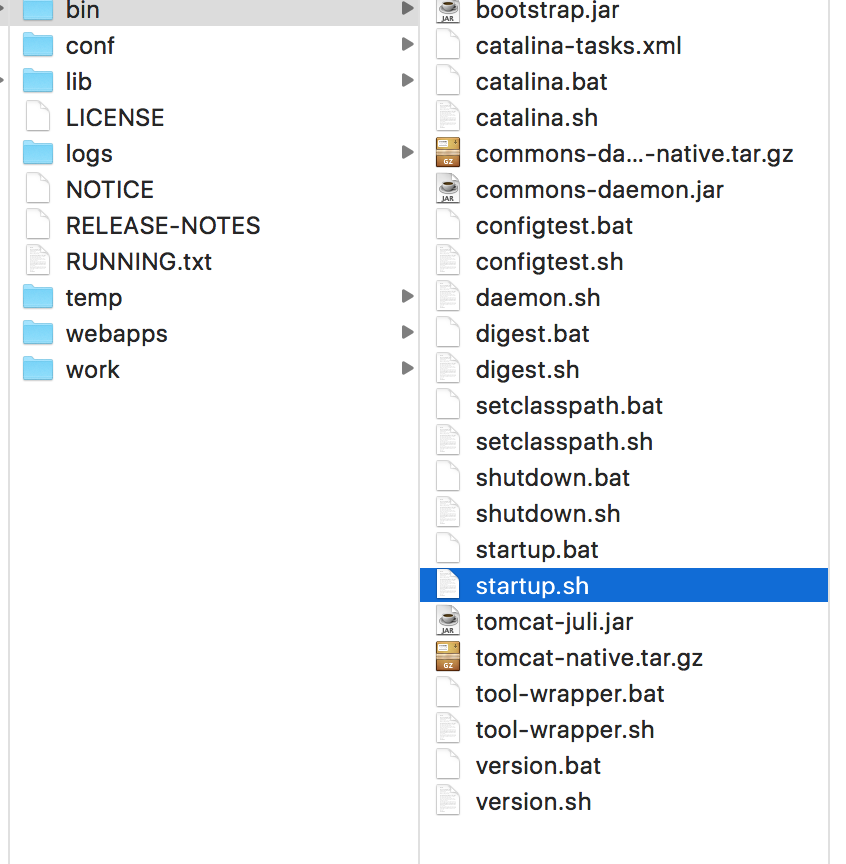
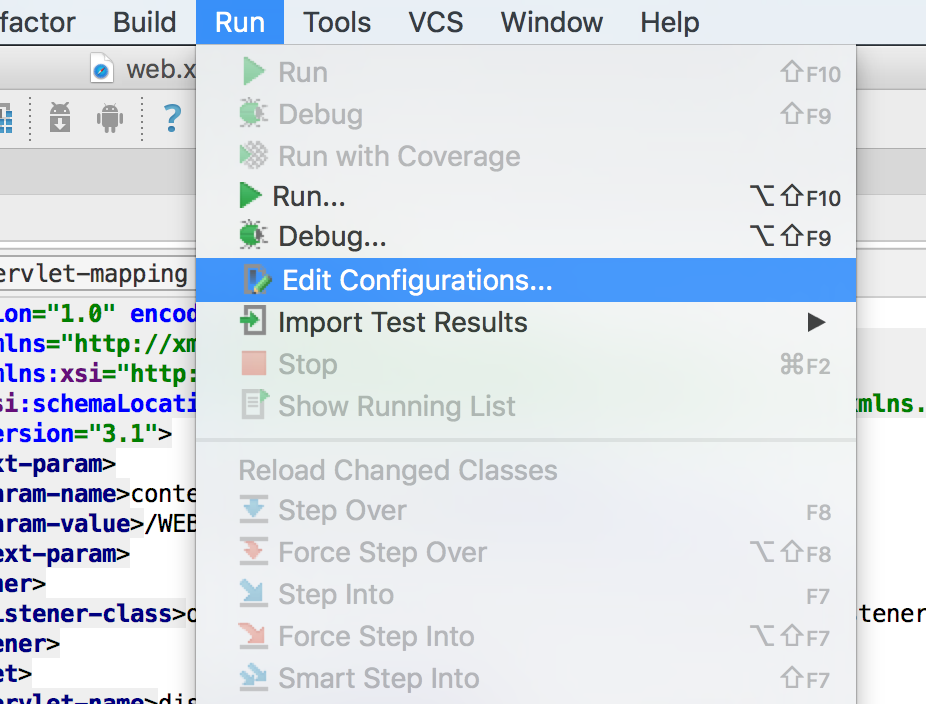
然后打开IDEA,选择run->edit configurations,如图
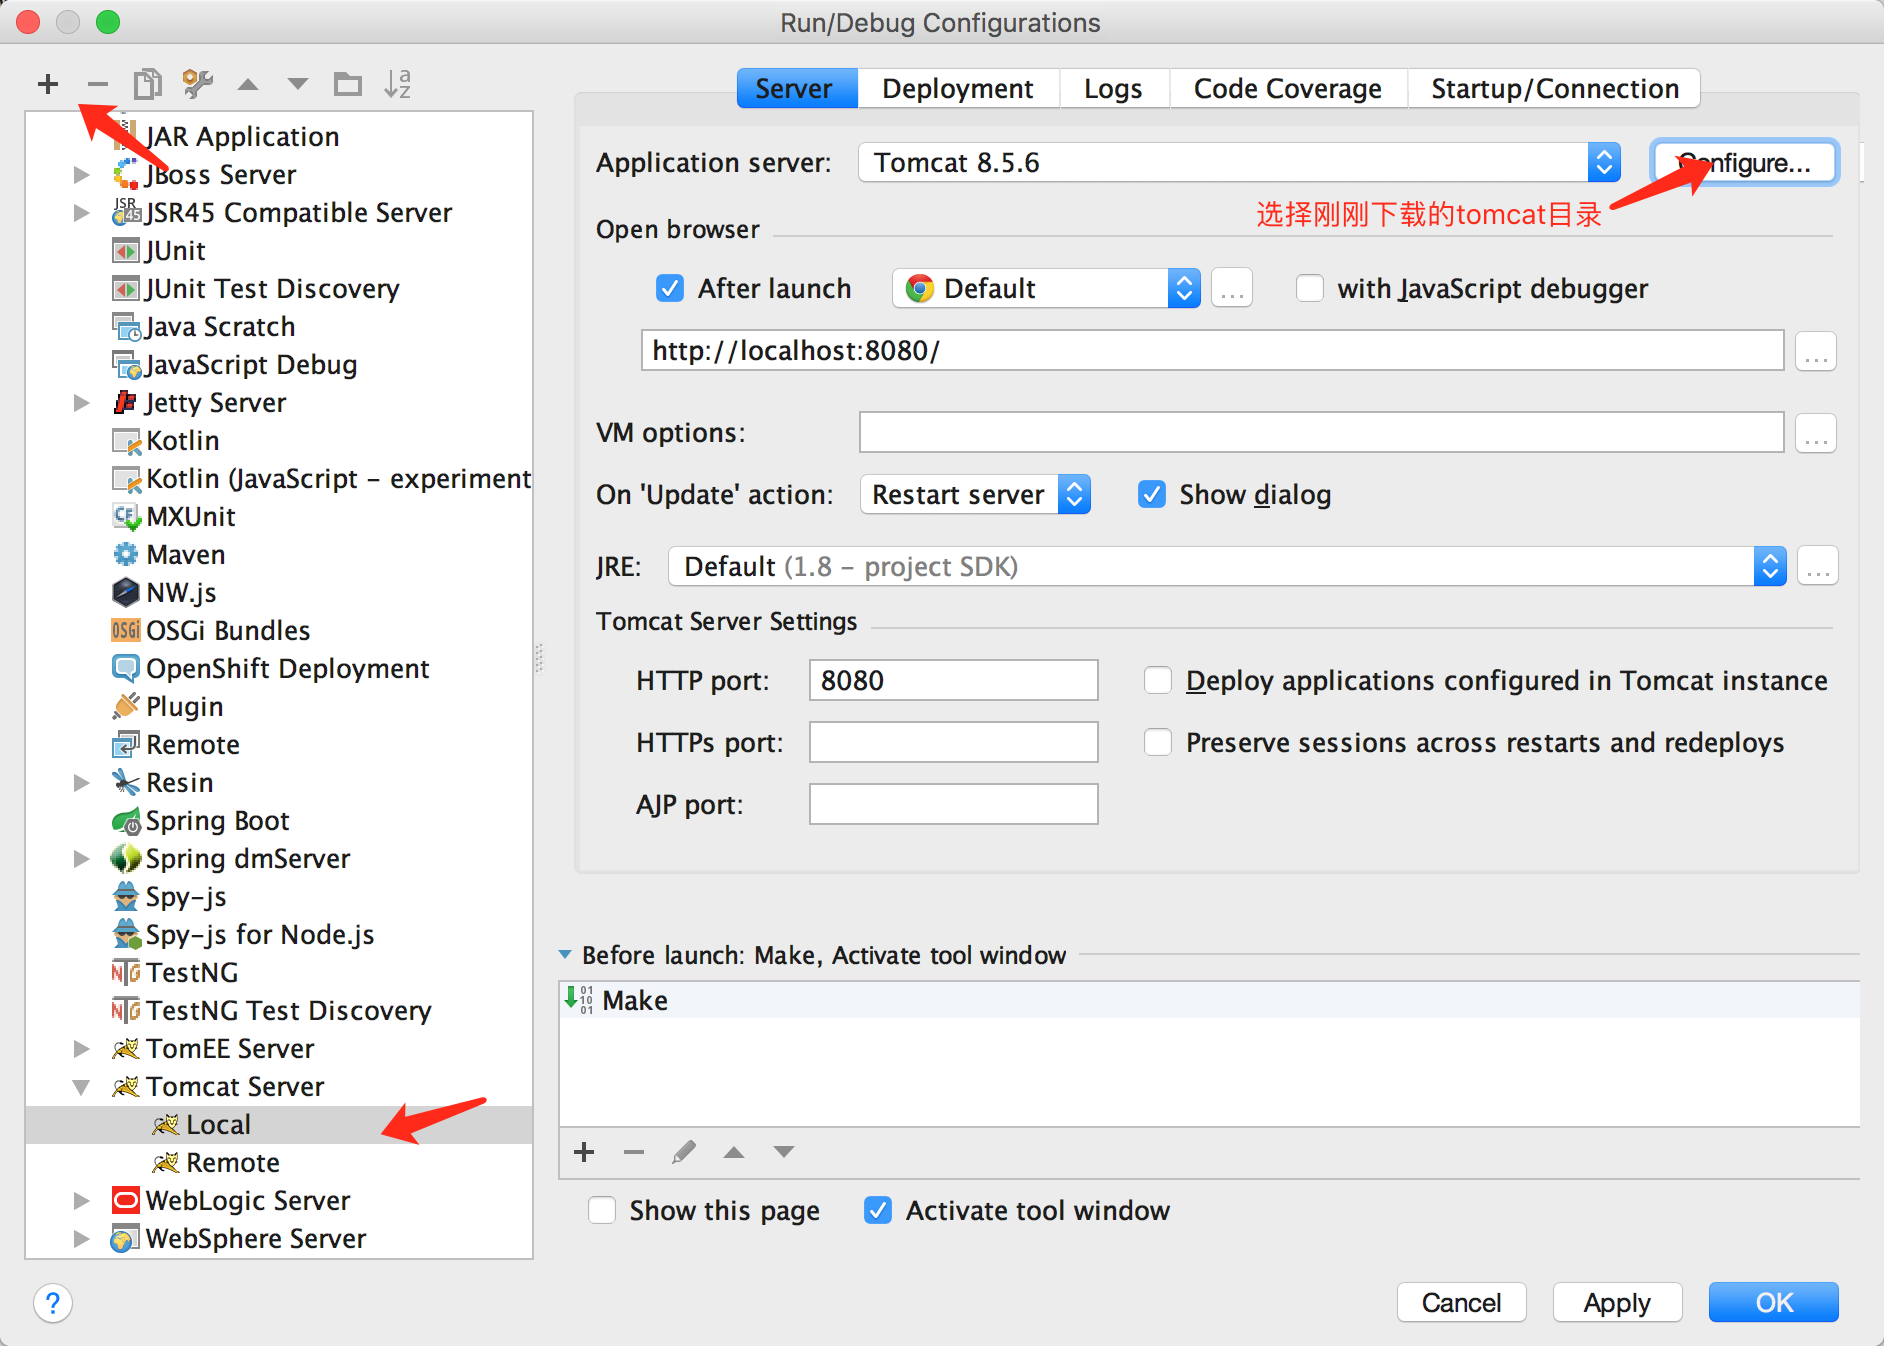
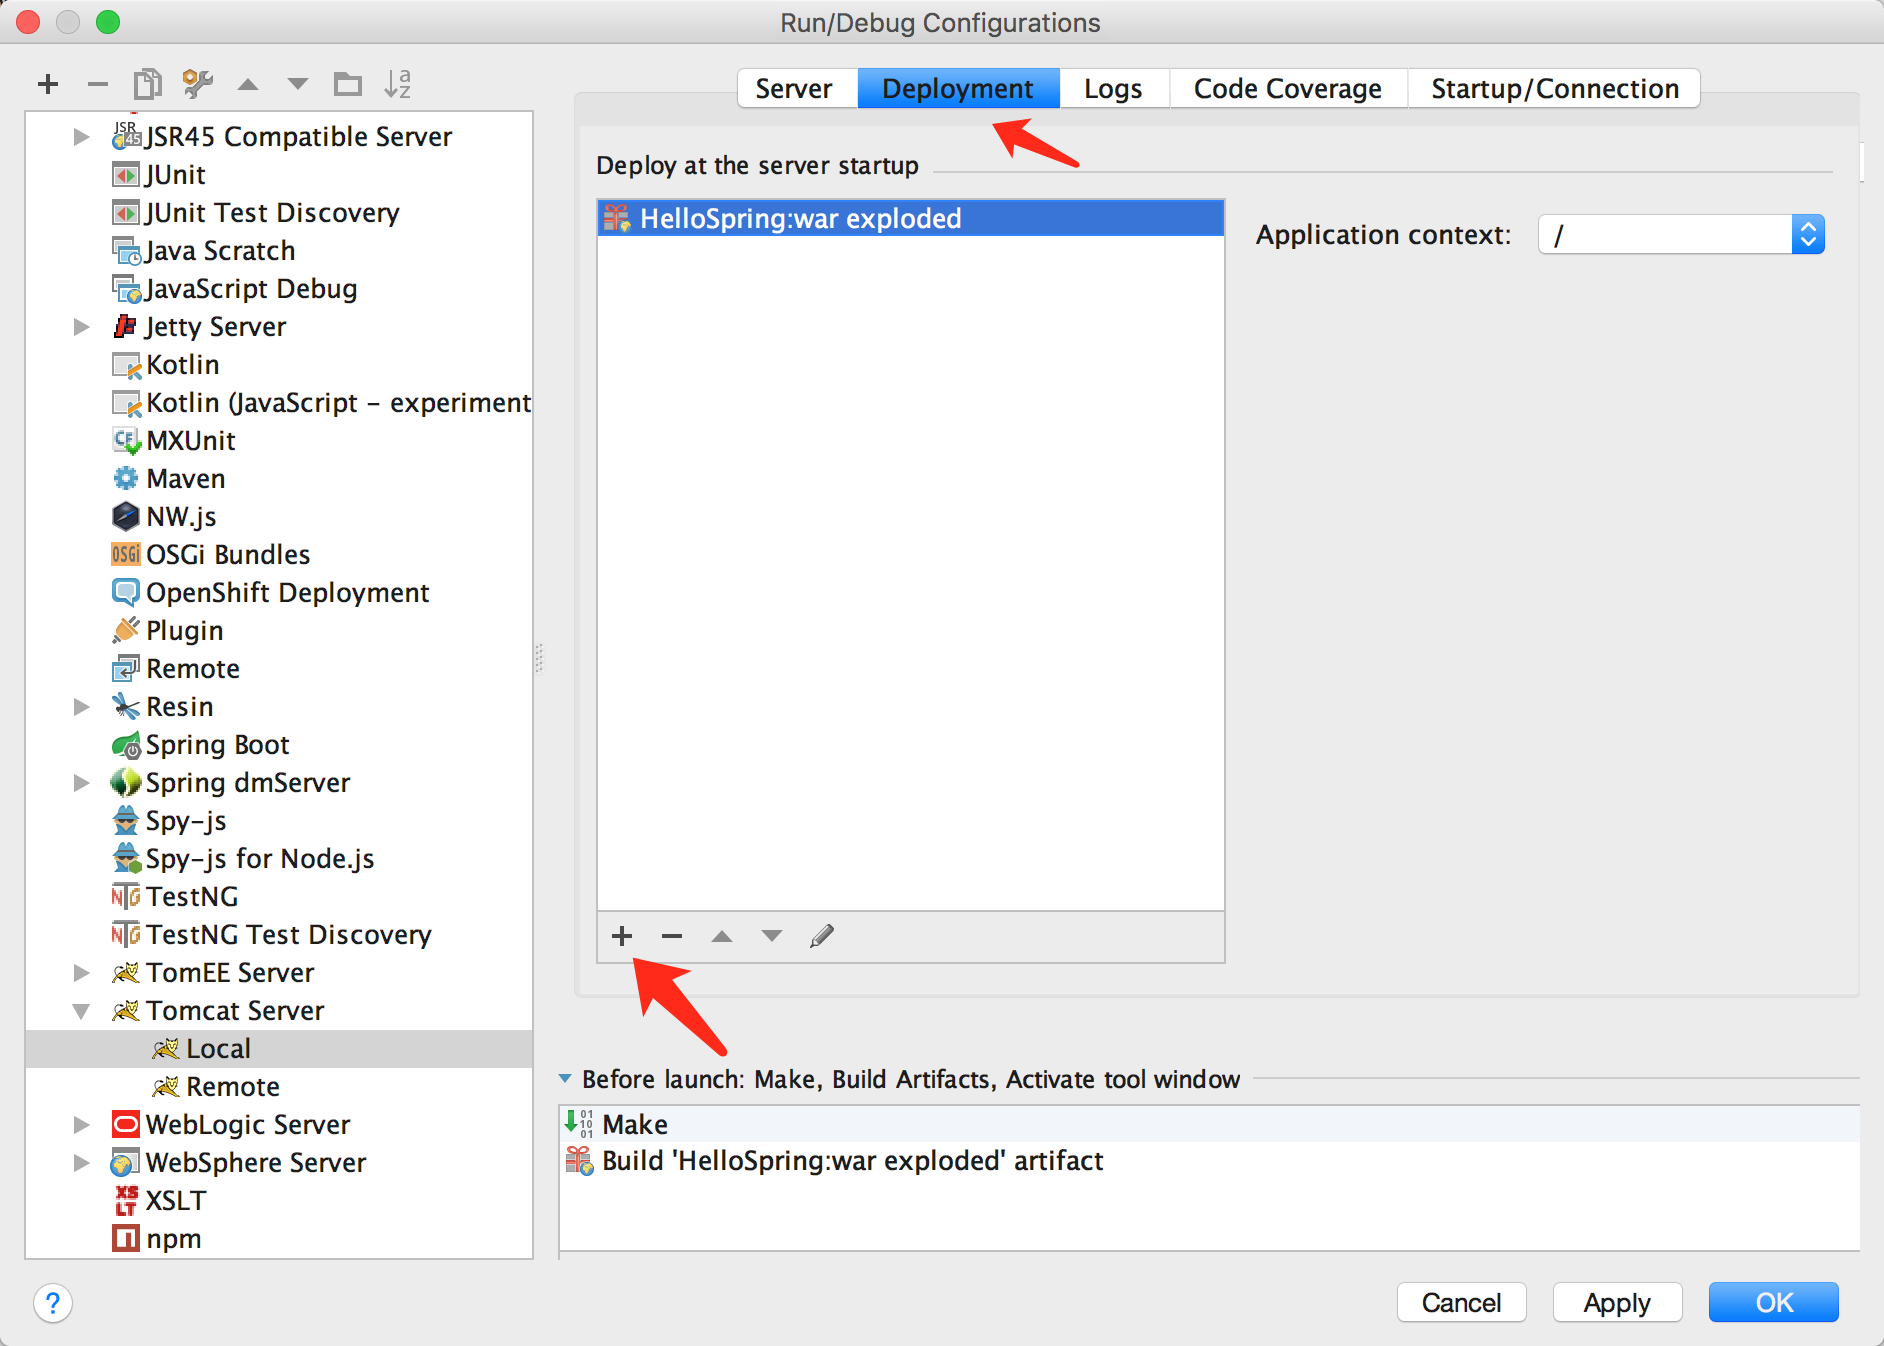
配置tomcat所在目录,如下
然后点击run,运行
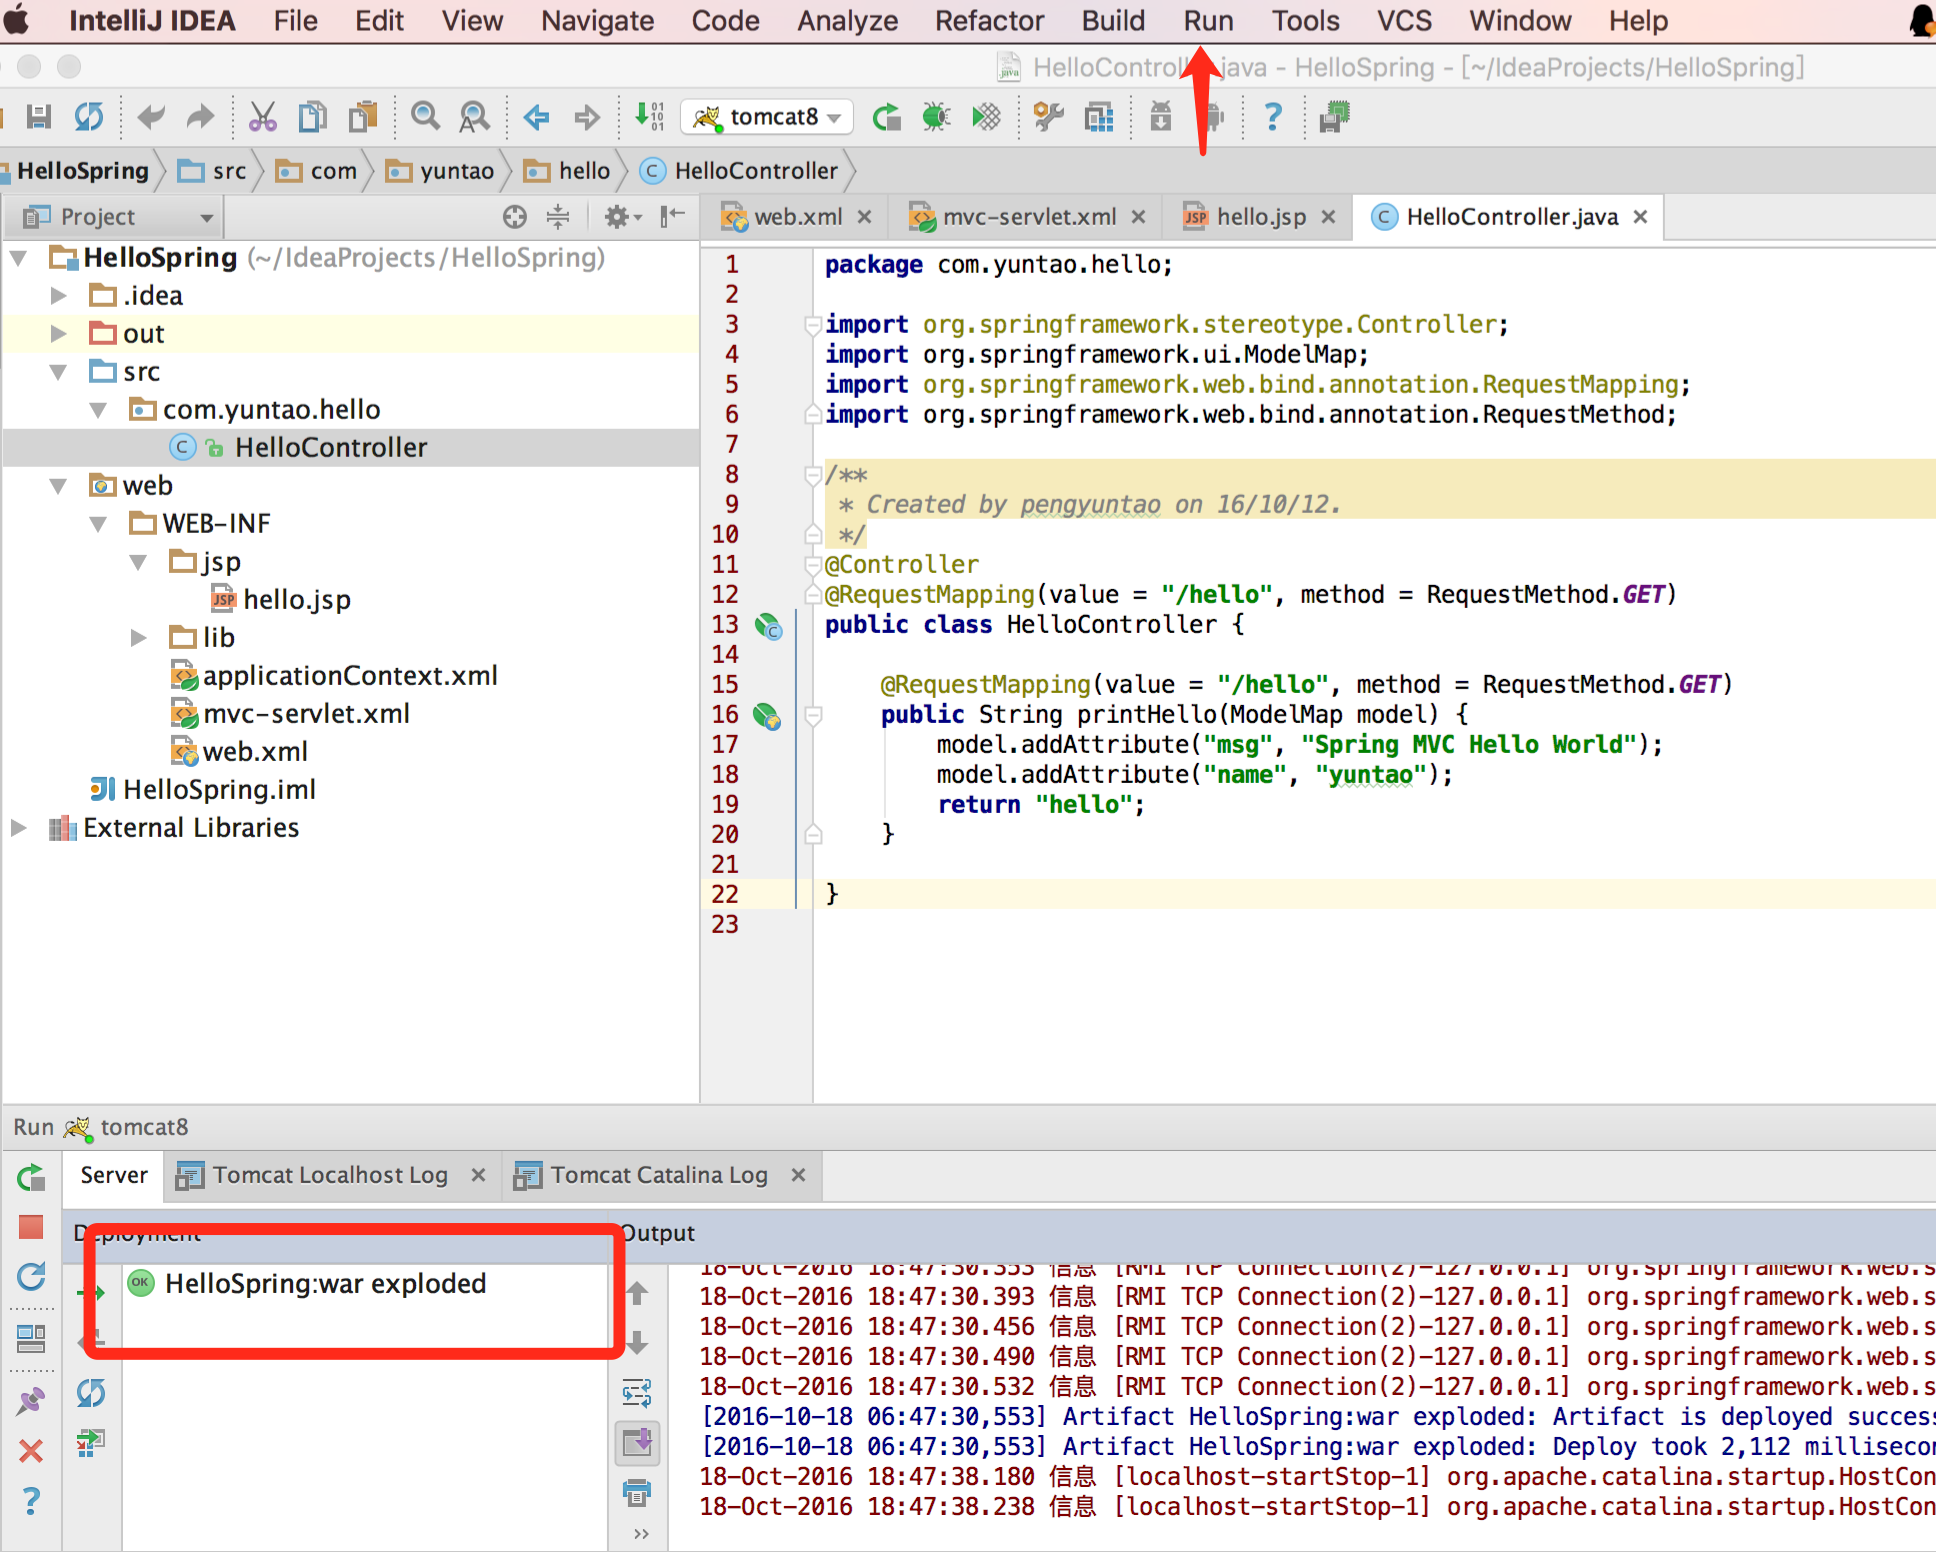
打开浏览器访问http://localhost:8080/hello/hello
问题
NoClassDefFoundError: javax/servlet/jsp/jstl/core/Config
使用spring mvc进行开发,使用tomcat容器,通过url映射寻找view的时候,会报错NoClassDefFoundError: javax/servlet/jsp/jstl/core/Config,如果随便去找个jstl包过来放入web-inf/lib会报错,正确的下载地址在这里,下载jakarta-taglibs-standard-1.1.2.zip这个包,解压缩后将standard和jstl两个包放入lib下即可No mapping found for HTTP request with URI [/] in DispatcherServlet with name
<servlet-mapping>
<servlet-name>dispatcher</servlet-name>
<url-pattern>/</url-pattern>
</servlet-mapping>
1
2
3
4
1
2
3
4
[/code]
网上有人说url-pattern写的是/*,一开始写成这样报这个错误
其次没有开启静态资源访问,也会报错,添加
<!-- 静态资源(js、image等)的访问 -->
2.<mvc:default-servlet-handler/>
1
2

1
2
[/code]
(function () {('pre.prettyprint code').each(function () {
var lines = (this).text().split(′\n′).length;varnumbering = $('').addClass('pre-numbering').hide();
(this).addClass(′has−numbering′).parent().append(numbering);
for (i = 1; i

相关文章推荐
- SpringMVC学习笔记(二)使用IntelliJ IDEA开发Spring MVC HelloWorld(基于Maven)
- SpringMVC学习笔记(三)使用IntelliJ IDEA开发Spring MVC HelloWorld(注解配置SpringMVC)
- 使用IntelliJ IDEA开发SpringMVC网站的学习
- 使用IntelliJ IDEA开发Spring MVC HelloWorld
- Spring MVC 3学习笔记+教程(一)开发环境搭建和HelloWorld程序
- Spring MVC学习笔记:helloworld的实现+@RequestMapping 的使用(上集)
- SpringMVC的学习应用:使用IntelliJ IDEA开发SpringMVC网站
- Spring MVC 3学习笔记+教程(一)开发环境搭建和HelloWorld程序
- 学习WP7应用开发的笔记--在App和Page中使用资源集合的注意点1
- 微软企业库4.1学习笔记(十四)缓存模块2 使用缓存模块进行开发
- IOS开发基础教程学习笔记3 使用Tab Bar切换视图
- 微软企业库4.1学习笔记(十四)缓存模块2 使用缓存模块进行开发
- SharePoint开发学习笔记4——使用aspx自定义表单的工作流(1)
- WPF下的地图开发控件(GMap.NET)使用心得—— GMap学习笔记(二)
- CAD二次开发学习笔记五(在ObjectARX中使用MFC)
- iPhone开发学习笔记[3/50]-使用工具栏创建简单的多视图应用程序
- iPhone开发学习笔记[4/50]-表视图的使用
- LifeRay Portal 6学习笔记6:使用Struts2开发Portlet
- Android开发学习笔记-8 SQLite使用
- Android开发学习笔记:我的第一个Android程序--HelloWorld