基于docker部署的微服务架构(一):服务注册中心
2016-12-21 17:10
741 查看
摘要: eureka服务注册中心
在 resources 目录中创建 application.yml 配置文件,在配置文件内容:
在 java 目录中创建一个包 demo ,在包中创建启动入口 ServiceRegistryApplication.java
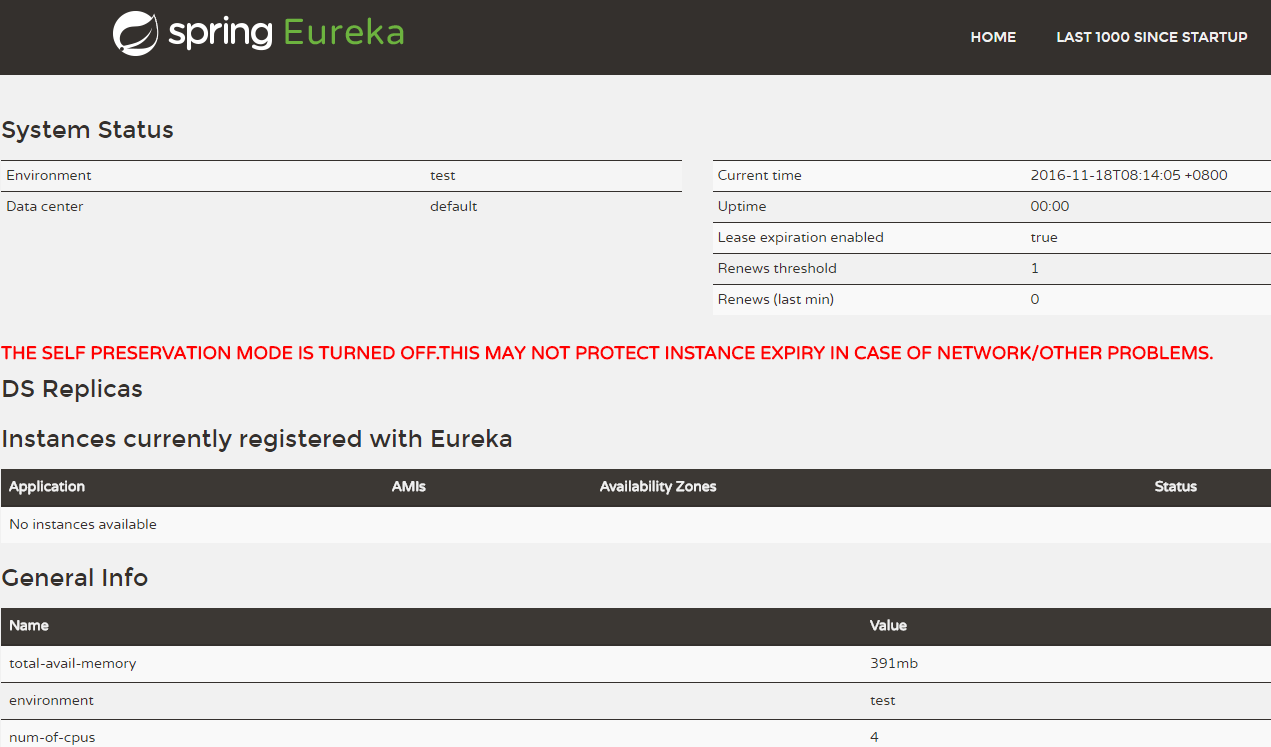
运行 main 方法,启动注册中心。启动完成后,访问http://localhost:8000, 可以打开eureka的管理页面。
修改 application.yml 中的 spring 节点为:
这里增加了 profiles 的配置,在maven打包时选择不同的profile,加载不同的配置文件
在pom.xml文件中增加:
选择
运行成功后,登录docker节点,运行
运行
demo源码 spring-cloud-1.0/service-registry-demo
前言
微服务架构解决方案使用 spring cloud ,由于spring cloud目前版本迭代非常快,bug也有不少,这里以目前最新的版本 Camden.SR2 为例。spring cloud netflix套件
spring cloud netflix 是在netflix开源的一套微服务构建工具之上进行了封装。依靠注解和自动配置即可完成常用的配置,从spring boot开始,spring对配置做了大量的简化,并实现了自动化配置,可以更快速的创建项目。服务注册和发现的必要性
在微服务架构中,会把一个大的单体服务拆分成若干个功能单一的微服务。微服务的数量根据业务而定,可能会很大,这些微服务的运行状态,以及服务之间的通信需要一个统一的注册中心进行管理。实现一个简单的服务注册中心
创建一个maven工程,在 pom.xml 文件中加入spring cloud 依赖:<parent> <groupId>org.springframework.boot</groupId> <artifactId>spring-boot-starter-parent</artifactId> <version>1.4.2.RELEASE</version> </parent> <dependencies> <dependency> <groupId>org.springframework.cloud</groupId> <artifactId>spring-cloud-starter-eureka-server</artifactId> </dependency> </dependencies> <dependencyManagement> <dependencies> <dependency> <groupId>org.springframework.cloud</groupId> <artifactId>spring-cloud-dependencies</artifactId> <version>Camden.SR2</version> <type>pom</type> <scope>import</scope> </dependency> </dependencies> </dependencyManagement>
在 resources 目录中创建 application.yml 配置文件,在配置文件内容:
spring:
application:
name: @project.artifactId@

server:
port: 8000

eureka:
instance:
hostname: localhost
client:
serviceUrl:
defaultZone: http://localhost:8000/eureka/ registerWithEureka: false
fetchRegistry: false
server:
enableSelfPreservation: false
在 java 目录中创建一个包 demo ,在包中创建启动入口 ServiceRegistryApplication.java
@EnableEurekaServer
@SpringBootApplication
public class ServiceRegistryApplication {
public static void main(String[] args) {
SpringApplication.run(ServiceRegistryApplication.class, args);
}
}
运行 main 方法,启动注册中心。启动完成后,访问http://localhost:8000, 可以打开eureka的管理页面。
使用docker-maven-plugin打包并生成docker镜像
复制 application.yml,重命名为 application-docker.yml,内容不需要做修改。修改 application.yml 中的 spring 节点为:
spring
7fe0
:
application:
name: @project.artifactId@
profiles:
active: @activatedProperties@
这里增加了 profiles 的配置,在maven打包时选择不同的profile,加载不同的配置文件
在pom.xml文件中增加:
<properties>
<java.version>1.8</java.version> <!-- 指定java版本 -->
<!-- 镜像前缀,推送镜像到远程库时需要,这里配置了一个阿里云的私有库 -->
<docker.image.prefix>
registry.cn-hangzhou.aliyuncs.com/ztecs
</docker.image.prefix>
<!-- docker镜像的tag -->
<docker.tag>demo</docker.tag>

<!-- 激活的profile -->
<activatedProperties></activatedProperties>
</properties>

<profiles>
<!-- docker环境 -->
<profile>
<id>docker</id>

<properties>
<activatedProperties>docker</activatedProperties>
<docker.tag>docker-demo-${project.version}</docker.tag>
</properties>
</profile>
</profiles>

<build>
<defaultGoal>install</defaultGoal>
<finalName>${project.artifactId}</finalName>

<resources>
<resource>
<directory>src/main/resources</directory>
<filtering>true</filtering>
</resource>
</resources>

<plugins>
<!-- 配置spring boot maven插件,把项目打包成可运行的jar包 -->
<plugin>
<groupId>org.springframework.boot</groupId>
<artifactId>spring-boot-maven-plugin</artifactId>
<configuration>
<executable>true</executable>
</configuration>
</plugin>

<!-- 打包时跳过单元测试 -->
<plugin>
<groupId>org.apache.maven.plugins</groupId>
<artifactId>maven-surefire-plugin</artifactId>
<configuration>
<skipTests>true</skipTests>
</configuration>
</plugin>

<!-- 配置docker maven插件,绑定install生命周期,在运行maven install时生成docker镜像 -->
<plugin>
<groupId>com.spotify</groupId>
<artifactId>docker-maven-plugin</artifactId>
<version>0.4.13</version>
<executions>
<execution>
<phase>install</phase>
<goals>
<goal>build</goal>
<goal>tag</goal>
</goals>
</execution>
</executions>
<configuration>
<!-- 修改这里的docker节点ip,需要打开docker节点的远程管理端口2375,
具体如何配置可以参照之前的docker安装和配置的文章 -->
<dockerHost>http://docker节点ip:2375</dockerHost>
<imageName>${docker.image.prefix}/${project.build.finalName}</imageName>
<baseImage>java</baseImage>
<!-- 这里的entryPoint定义了容器启动时的运行命令,容器启动时运行
java -jar 包名 , -Djava.security.egd这个配置解决tomcat8启动时,
因为需要收集环境噪声来生成安全随机数导致启动过慢的问题-->
<entryPoint>
["java", "-Djava.security.egd=file:/dev/./urandom", "-jar", "/${project.build.finalName}.jar"]
</entryPoint>
<resources>
<resource>
<targetPath>/</targetPath>
<directory>${project.build.directory}</directory>
<include>${project.build.finalName}.jar</include>
</resource>
</resources>
<image>${docker.image.prefix}/${project.build.finalName}</image>
<newName>${docker.image.prefix}/${project.build.finalName}:${docker.tag}</newName>
<forceTags>true</forceTags>
<!-- 如果需要在生成镜像时推送到远程库,pushImage设为true -->
<pushImage>false</pushImage>
</configuration>
</plugin>
</plugins>
</build>
选择
dockerprofile,运行
mvn install -P docker,打包项目并生成docker镜像,注意docker-maven-plugin中的
<entryPoint>标签里的内容不能换行,否则在生成docker镜像的时候会报错。
运行成功后,登录docker节点,运行
docker images应该可以看到刚才打包生成的镜像了。
运行
docker run -it IMAGE_ID就可以运行镜像了。
demo源码 spring-cloud-1.0/service-registry-demo

相关文章推荐
- 基于docker部署的微服务架构(一):服务注册中心
- 基于docker部署的微服务架构(四): 配置中心
- 基于docker部署的微服务架构(三): 服务网关
- 基于服务的企业集成模式轻松入门,第 3 部分:Web services 和注册中心
- 基于docker部署的微服务架构(八): 日志数据保存到MongoDB数据库
- 基于zookeeper的服务注册中心
- 基于ZooKeeper的Dubbo服务注册中心
- [置顶] 基于docker部署的微服务架构: docker环境下的zookeeper和kafka部署
- 基于ZooKeeper的服务注册中心
- 用ZooKeeper做为注册中心搭建基于Spring Cloud实现服务注册与发现
- 部署dubbo-admin监控dubbo服务(以zookeeper为注册中心)
- SpringCloud(第 053 篇)CentOS7 中用 Docker 部署一个简单的基于 Eureka 服务治理发现的项目
- 基于docker的应用服务部署
- 搭建基于Spring Cloud的微服务注册中心
- springboot填坑之 -- spring cloud基于ip的discovery服务注册中心配置
- 未来演进的方向--基于Docker部署微服务
- 基于服务的企业集成模式轻松入门,第 3 部分: Web services 和注册中心
- Spring Cloud 基于eureka 服务注册中心
- 基于etcd+confd通过nginx对docker服务混合注册发现详解 推荐
- SpringCloud(第 053 篇)CentOS7 中用 Docker 部署一个简单的基于 Eureka 服务治理发现的项目