elasticsearch5.0及head插件安装
2016-11-28 17:34
621 查看
这个瞎jb整了半天.准备把es2.4升级到5.0,结果老报错
环境:centos6.5+es2.4是ok的换成es5就出毛病.也不能说啥 ,我用的是最新的
源码解压启动时候报错,具体错误forget already.
折腾了下,没什么心情了.放弃了.
心想,难道es5高大上了?只能跑c7了?
可能性不大.能有时间再搞.
不过搞的过程中收获了点东西
1,修改ulimit 我们一般是65535,而我启动es5时候要求我改成65536
cat /etc/security/limits.conf
* soft nproc 65536
* hard nproc 65536
* soft nofile 65536
* hard nofile 65536
cat /etc/sysctl.conf
vm.max_map_count= 262144
sysctl -p
2,跨用户启动es. es本只能在普通用户下启动.
致使我一度要切到普通用户然后启动,这样给开机自启动造成了困扰.
su - elasticsearch -c "/usr/local/elasticsearch/bin/elasticsearch &"
3,
本文主要介绍elasticsearch5.0安装及head插件安装。
确保系统已经安装好jdk1.8.0_73以上,操作系统centos6以上。
原文:
http://hnr520.blog.51cto.com/4484939/1867033
一、elasticsearch安装配置
1.官网下载源码包
https://artifacts.elastic.co/downloads/elasticsearch/elasticsearch-5.0.0.tar.gz
2.解压安装
| 1 2 3 4 5 6 | useradd elasticsearch tar xf elasticsearch-5.0.0.tar.gz -C /usr/local cd /usr/local ln -sv elasticsearch-5.0.0 elasticsearch mkdir -pv /data/elasticsearch/{data,logs} chown -R elasticsearch.elasticsearch /data/elasticsearch |
| 1 2 3 4 5 6 | cat /usr/local/elasticsearch/config/elasticsearch.yml path.data:/data/elasticsearch/data path.logs:/data/elasticsearch/logs network.host:192.168.1.12 http.cors.enabled:true http.cors.allow-origin:"*" |
| 1 2 3 4 5 6 7 8 | cat /etc/security/limits.conf * soft nproc 65536 * hard nproc 65536 * soft nofile 65536 * hard nofile 65536 cat /etc/sysctl.conf vm.max_map_count= 262144 sysctl -p |
su - elasticsearch -c "/usr/local/elasticsearch/bin/elasticsearch &"
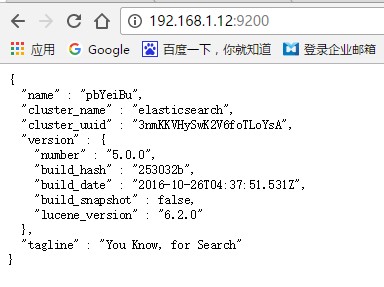
浏览器访问:http://192.168.1.12:9200/
二、head插件的安装
在5.0版本中不支持直接安装head插件,需要启动一个服务
1.下载插件安装
git clone git://github.com/mobz/elasticsearch-head.git
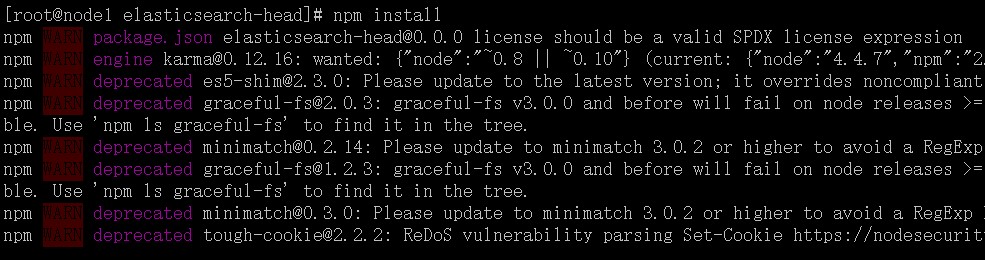
cd elasticsearch-head
npm install
在elasticsearch-head目录下node_modules/grunt下如果没有grunt二进制程序,需要执行
cd elasticsearch-head
npm install grunt --save
2.修改配置
修改elasticsearch-head下Gruntfile.js文件,默认监听在127.0.0.1下9200端口

3.启动服务
/usr/local/elasticsearch-head/node_modules/grunt/bin/gruntserver

浏览器访问 http://192.168.1.12:9100/


相关文章推荐
- 【参考】cents ElasticSearch 5.0及head插件安装 参考配置
- elasticsearch入门指南(二)elasticsearch-head插件的安装
- Elasticsearch之—— 5.X head插件安装实例
- Windows下安装elasticSearch5.6.3和head插件
- elasticsearch windows 安装head插件
- elasticsearch5.4.2安装以及插件head的安装过程
- elasticsearch5.4.2安装以及插件head的安装过程
- ElasticSearch-5.0安装head插件
- Elasticsearch5.0 安装问题集锦【转】
- elasticsearch5.x 集群管理工具head插件安装、nginx配置外网访问
- Mac安装Elasticsearch5.0 head插件
- elasticsearch相关插件安装
- [置顶] elaticsearch-head 插件安装及使用
- ElasticSearch学习26_【入门】安装Elasticsearch5.0 部署Head插件
- elasticsearch5.0集群+kibana5.0+head插件插件的安装
- (转) Elasticsearch 5.0 安装 Search Guard 5 插件
- elasticsearch 5.0 版本安装head插件
- ElasticSearch5.0 插件 Head 安装
- ELK5.0 (Elasticsearch Logstash Kibana) head插件安装
- 安装Elasticsearch5.0 部署Head插件