Android怎么使用字体图标 自定义FontTextView字体图标控件-- 使用方法
首先我想说明一下字体图标的好处,最大的好处就是自适应了,而且是使用TextView 不用去切图,是矢量图 灵活调用
第一步我要说明一下一般字体图标的来源,我这里使用的是 --阿里巴巴矢量图标库 -网址 :http://www.iconfont.cn (申明这不是广告哈~)
1.首先我们的自己创建一个自己的图标库,可以自己创建一些字体图标,也可以在公共的图标库中加载到自己的库中(这些操作不用我说了吧~)

这个时候我们创建了一个自定义的库(为了保护隐私我特意打了码 啊哈哈哈哈哈哈哈。。。。。),好了回归正题,这时我们点击上面的图片中的 下载到本地 按钮 然后会下载到一个这样的包

解压这个包会看到里面的一个文件夹
 打开,里面会看到这样的目录
 仔细看里面有个demo.html,还有个demo.css ,至于css我们先不管,这时打开demo.html
你会看到如下:

这时还有几个问题 :1.我怎么把这些放入我的工程? 2.我在工程中怎么找到这些图标? 3.这些图标怎么设置颜色和具体大小?
首先我们来看一个地方 在网页中 鼠标点击右键 选中查看源


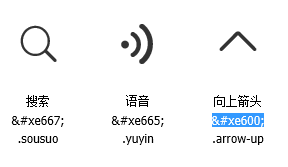
这时看到html中的红色方框和网页中的图标是一一对应的 所以这个“  ”其实就是图标,这样就知道了图标在什么地方 ,细心的同学可以发现,网页中每个图标下面都有三行文字,其中第二行就是,所以其实不用看html源码,但是得知道为什么,对吧。
好了知道了这些我们开始完成第一点 :1.我怎么把这些放入我的工程?
解答:
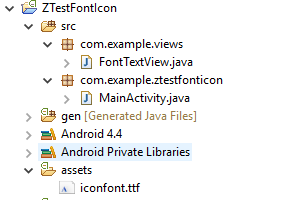
其实很简单 在刚才解压的目录中 选择后缀名为.ttf的文件放入你的Android工程下的assets文件夹下 这样
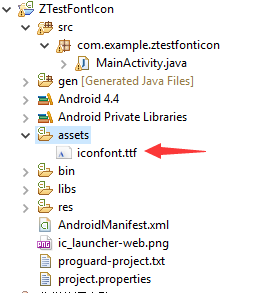 就可以了(其他的我们不用管)。
2.我在工程中怎么找到这些图标?
解答: 正如前面所说 我们其实已经知道怎么来代表一个图标了,但是还是需要知道怎么在工程中用,其实也很简单我们在res --> values --> string.xml中添加字符串
如下:
 对应的是网页的前三个
 这样我们做好了第一步。
第二步:
在activity_main.xml中给TextView加上上id
<RelativeLayout xmlns:android="http://schemas.android.com/apk/res/android"
xmlns:tools="http://schemas.android.com/tools"
android:layout_width="match_parent"
android:layout_height="match_parent"
android:paddingBottom="@dimen/activity_vertical_margin"
android:paddingLeft="@dimen/activity_horizontal_margin"
android:paddingRight="@dimen/activity_horizontal_margin"
android:paddingTop="@dimen/activity_vertical_margin"
tools:context=".MainActivity" >

<!-- activity_main.xml 中用来显示图标 -->
<TextView
android:id="@+id/tvShow"
android:layout_width="wrap_content"
android:layout_height="wrap_content"
android:text="@string/hello_world" />

</RelativeLayout>
在MainActivity.java中填写代码
package com.example.ztestfonticon;

import android.app.Activity;
import android.graphics.Typeface;
import android.os.Bundle;
import android.widget.TextView;

public class MainActivity extends Activity {

@Override
protected void onCreate(Bundle savedInstanceState) {
super.onCreate(savedInstanceState);
setContentView(R.layout.activity_main);

TextView tvShow = (TextView) findViewById(R.id.tvShow);
Typeface font = Typeface.createFromAsset(getAssets(), "iconfont.ttf");
tvShow.setTypeface(font);
tvShow.setText(getResources().getString(R.string.font1));
//        tvShow.setText(getResources().getString(R.string.font2));  //可以试试我们添加的其他两个图标
//        tvShow.setText(getResources().getString(R.string.font3));
}
}
这样就完成了使用,现在可以看看运行效果了
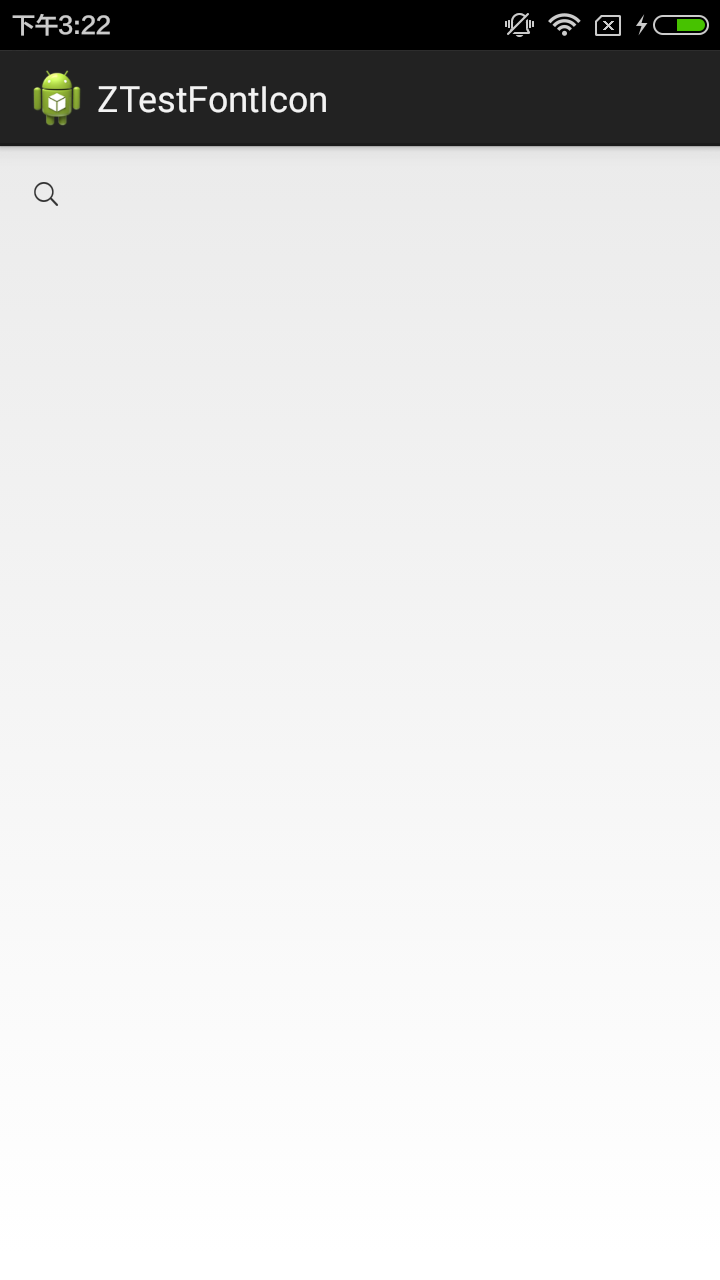 看到这个图标显示出来了,表示我们成功了。
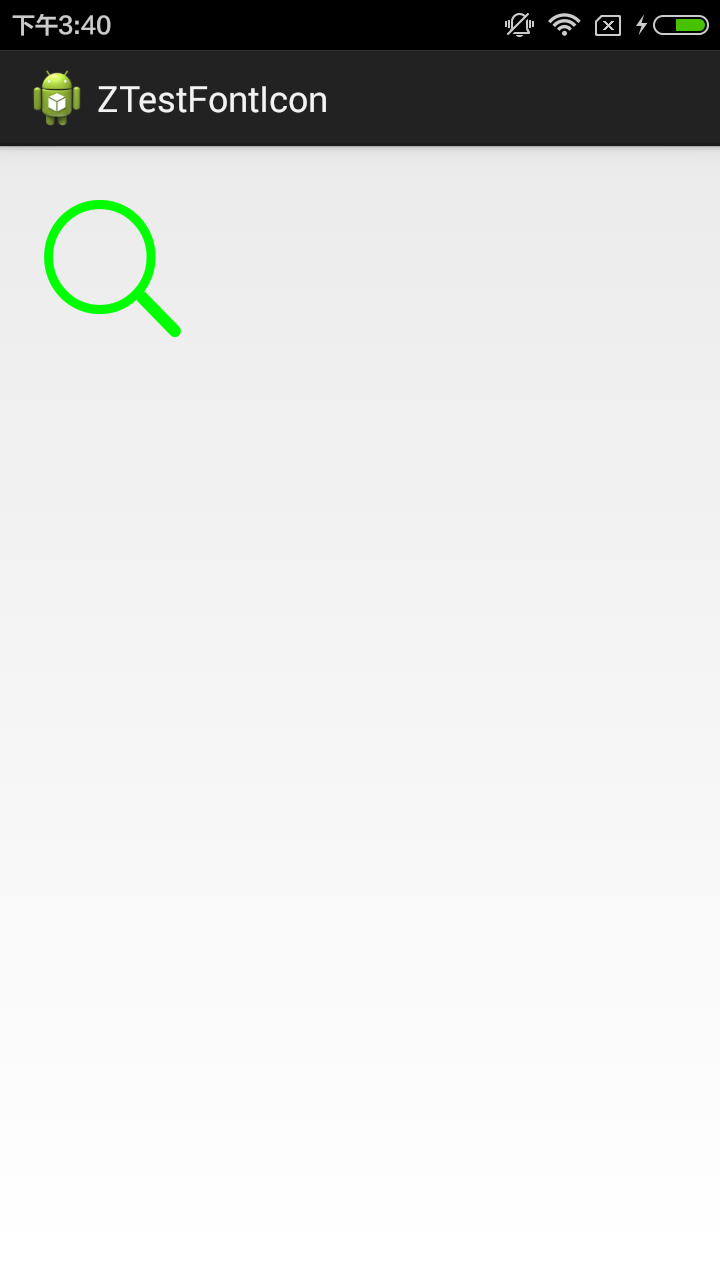
3.这些图标怎么设置颜色和具体大小?
解答: 其实很简单,你怎么操作TextView 的就可以怎么样操作这个字体图标的大小和颜色
xml中添加大小和颜色:
<TextView
android:id="@+id/tvShow"
android:layout_width="wrap_content"
android:layout_height="wrap_content"
android:text="@string/hello_world"
android:gravity="center"
android:textColor="#00ff00"
android:textSize="80sp"/>
java 代码设置:
tvShow.setTextSize(80); //设置大小
tvShow.setTextColor(Color.parseColor("#00ff00")); //设置颜色
效果:
理解的上面的我们就可以自定义一个字体图标的控件 FontTextView
在工程目录下新建一个继承TextView 的class 起名为FontTextView
FontTextVew.java 代码:
package com.example.views;

import android.content.Context;
import android.graphics.Typeface;
import android.util.AttributeSet;
import android.widget.TextView;

/**
*
* 自定义字体图标
* @author M.Z
*
*/
public class FontTextView extends TextView{

/*
* 控件在xml加载的时候是调用两个参数的构造函数 ,为了自定义的控件的完整性我们可以
* 都把构造函数写出来
*/
public FontTextView(Context context) {
super(context);
init(context);
}

public FontTextView(Context context, AttributeSet attrs) {
super(context, attrs);
init(context);
}

public FontTextView(Context context, AttributeSet attrs, int defStyle) {
super(context, attrs, defStyle);
init(context);
}

/**
* 初始化
* @param context
*/
private void init(Context context) {
//设置字体图标
Typeface font = Typeface.createFromAsset(context.getAssets(), "iconfont.ttf");
this.setTypeface(font);
}
}
在xml中使用:
<LinearLayout xmlns:android="http://schemas.android.com/apk/res/android"
xmlns:tools="http://schemas.android.com/tools"
android:layout_width="match_parent"
android:layout_height="match_parent"
android:orientation="vertical" >

<TextView
android:id="@+id/tvShow"
android:layout_width="wrap_content"
android:layout_height="wrap_content"
android:text="@string/hello_world"
/>

<com.example.views.FontTextView
android:id="@+id/fontView"
android:layout_width="wrap_content"
android:layout_height="wrap_content"
android:text="@string/hello_world"
/>

</LinearLayout>
MainActivity.java
package com.example.ztestfonticon;

import com.example.views.FontTextView;

import android.app.Activity;
import android.graphics.Color;
import android.graphics.Typeface;
import android.os.Bundle;
import android.widget.TextView;

public class MainActivity extends Activity {

private FontTextView fontView;
@Override
protected void onCreate(Bundle savedInstanceState) {
super.onCreate(savedInstanceState);
setContentView(R.layout.activity_main);

TextView tvShow = (TextView) findViewById(R.id.tvShow);
Typeface font = Typeface.createFromAsset(getAssets(), "iconfont.ttf");
tvShow.setTypeface(font);
tvShow.setText(getResources().getString(R.string.font1));
//        tvShow.setText(getResources().getString(R.string.font2));  //可以试试我们添加的其他两个图标
//        tvShow.setText(getResources().getString(R.string.font3));

tvShow.setTextSize(80);  //设置大小
tvShow.setTextColor(Color.parseColor("#00ff00"));  //设置颜色

fontView = (FontTextView) findViewById(R.id.fontView);
fontView.setText(getResources().getString(R.string.font3));
fontView.setTextSize(80);
fontView.setTextColor(Color.parseColor("#ff0000"));  //设置颜色
}
}
效果:

demo下载地址: http://pan.baidu.com/s/1i4Adyip

- 文章标题:Android常见控件TextView的使用方法
- Android自定义TextView根据控件高度和宽度,解决字体适配问题
- android:includeFontPadding的使用:清除TextView字体周边空白
- Android UI设计之<十二>自定义View,实现绚丽的字体大小控制控件FontSliderBar
- android Button,textView 等控件设置控件内嵌周围图片使用方法
- android:includeFontPadding的使用:清除TextView字体周边空白
- android:includeFontPadding的使用:清除TextView字体周边空白
- android Button,textView 等控件设置控件内嵌周围图片使用方法
- android Button,textView 等控件设置控件内嵌周围图片使用方法
- Android 第五课 常用控件的使用方法(TextView、Button、EditView、 ImageView、 ProgressBar、 ProgressDialog等)
- android:includeFontPadding的使用:清除TextView字体周边空白
- Android用户输入自动提示控件AutoCompleteTextView使用方法
- Android基础控件——TextView的跑马灯效果、变量赋值、字体属性、超链接、Activity跳转、字体加粗、自定义字体
- Android使用selector修改TextView中字体颜色和背景色的方法
- css 使用@font-face 嵌入自定义字体或字体图标方法笔记
- Android - 使用字体文件,自定义View代替图标
- Android 中使用自定义字体的方法
- Android的TextView使用Html来处理图片显示、字体样式、超链接等
- Android的TextView使用Html来处理图片显示、字体样式、超链接等
- Android的TextView/EditText使用CharacterStyle&SpannableString来处理图片显示、字体样式、超链接等