樹梅派 Raspberry Pi 安裝 NGINX 與 PHP 網頁伺服器(PHP-FPM)
2016-09-10 14:28
162 查看
這裡介紹如何在樹梅派(Raspberry Pi)上安裝 NGINX 與 PHP,打造輕量級的網頁伺服器。
NGINX 是目前很熱門的網頁伺服器,它靠著 Non-blocking 與 epoll(Linux 2.6 以後支援)等技術,讓服務連線數與處理效能大幅提升,比起傳統的 Apache 伺服器更節省系統資源,因此近年來一推出就馬上成為市場上的焦點。
以下是在 Raspberry Pi 上安裝 NGINX 伺服器與 PHP 的步驟。
STEP 1
使用 apt 安裝基本的 NGINX 網頁伺服器:
STEP 2
正常來說安裝好 NGINX 之後,會自動啟動,我們可以用 service 檢查一下這個服務的狀態:
輸出會像這樣
STEP 3
另外也可以直接打開瀏覽器,輸入 Raspberry Pi 的位址來看看網頁是否可以正常打開。
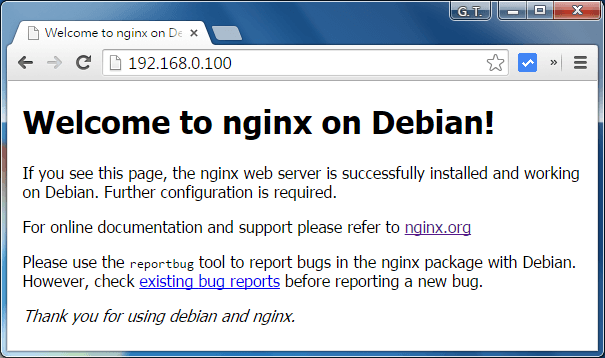
NGINX 伺服器初始網頁
如果只是要一般靜態的網頁伺服器,這樣就完成了,以下是 PHP 的安裝步驟,請繼續閱讀下一頁。
STEP 4
用 apt 安裝 PHP-FPM:
STEP 5
設定 NGINX 伺服器,開啟
加入
STEP 6
同樣在
把這一段的註解拿掉,而
STEP 7
讓 NGINX 重新設定檔:
STEP 8
NGINX 預設的網頁放置位置是
STEP 9
打開瀏覽器,輸入 Raspberry Pi 的位址,正常的話應該就可以看到 PHP 的相關資訊了。
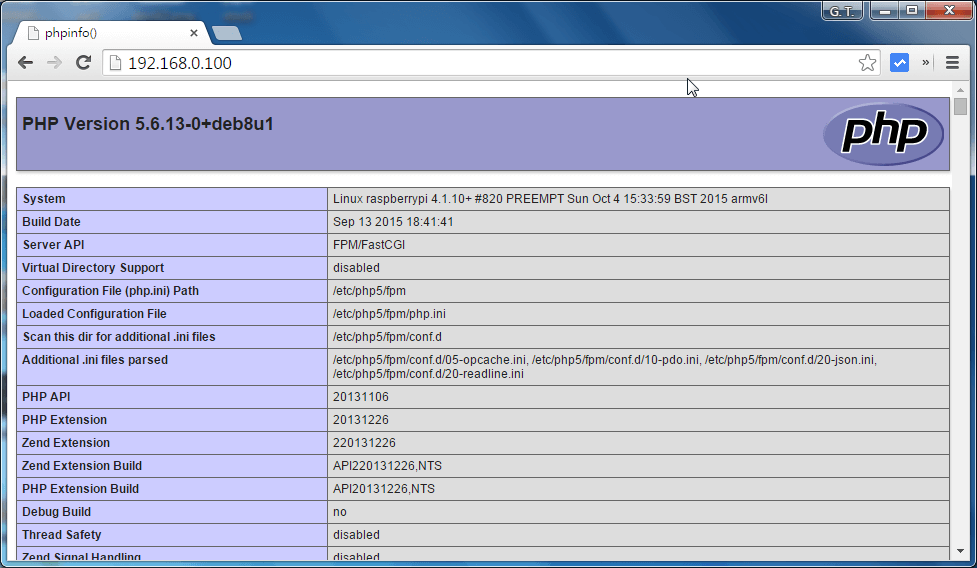
phpinfo 畫面
NGINX 是目前很熱門的網頁伺服器,它靠著 Non-blocking 與 epoll(Linux 2.6 以後支援)等技術,讓服務連線數與處理效能大幅提升,比起傳統的 Apache 伺服器更節省系統資源,因此近年來一推出就馬上成為市場上的焦點。
以下是在 Raspberry Pi 上安裝 NGINX 伺服器與 PHP 的步驟。
STEP 1
使用 apt 安裝基本的 NGINX 網頁伺服器:
sudo apt-get install nginx
STEP 2
正常來說安裝好 NGINX 之後,會自動啟動,我們可以用 service 檢查一下這個服務的狀態:
service nginx status
輸出會像這樣
● nginx.service - A high performance web server and a reverse proxy server
Loaded: loaded (/lib/systemd/system/nginx.service; enabled)
Active: active (running) since Fri 2015-10-09 16:53:34 CST; 23s ago
Main PID: 1731 (nginx)
CGroup: /system.slice/nginx.service
├─1731 nginx: master process /usr/sbin/nginx -g daemon on; master_...
├─1732 nginx: worker process
├─1733 nginx: worker process
├─1734 nginx: worker process
└─1735 nginx: worker process
STEP 3
另外也可以直接打開瀏覽器,輸入 Raspberry Pi 的位址來看看網頁是否可以正常打開。
NGINX 伺服器初始網頁
如果只是要一般靜態的網頁伺服器,這樣就完成了,以下是 PHP 的安裝步驟,請繼續閱讀下一頁。
STEP 4
用 apt 安裝 PHP-FPM:
sudo apt-get install php5-fpm
STEP 5
設定 NGINX 伺服器,開啟
/etc/nginx/sites-available/default這個設定檔,找到這一段:
# Add index.php to the list if you are using PHP
index index.html index.htm index.nginx-debian.html;
加入
index.php,修改成這樣:
# Add index.php to the list if you are using PHP
index index.php index.html index.htm index.nginx-debian.html;
STEP 6
同樣在
/etc/nginx/sites-available/default這個設定檔,找到這一段:
# pass the PHP scripts to FastCGI server listening on 127.0.0.1:9000
#
#location ~ \.php$ {
#       include snippets/fastcgi-php.conf;
#
#       # With php5-cgi alone:
#       fastcgi_pass 127.0.0.1:9000;
#       # With php5-fpm:
#       fastcgi_pass unix:/var/run/php5-fpm.sock;
#}
把這一段的註解拿掉,而
fastcgi_pass的部分則選擇
php5-fpm的設定,
php5-cgi的版本要註解起來,變成這樣:
# pass the PHP scripts to FastCGI server listening on 127.0.0.1:9000

location ~ \.php$ {
include snippets/fastcgi-php.conf;

# With php5-cgi alone:
# fastcgi_pass 127.0.0.1:9000;
# With php5-fpm:
fastcgi_pass unix:/var/run/php5-fpm.sock;
}
STEP 7
讓 NGINX 重新設定檔:
sudo service nginx reload
STEP 8
NGINX 預設的網頁放置位置是
/var/www/html,在這個位置新增一個測試的
index.php網頁,內容如下:
<?php echo phpinfo(); ?>
STEP 9
打開瀏覽器,輸入 Raspberry Pi 的位址,正常的話應該就可以看到 PHP 的相關資訊了。
phpinfo 畫面

相关文章推荐
- nginx下虚拟目录配置301域名重定向
- Nginx web服务器搭建
- Centos下 Nginx安装与配置
- laravel 5.2 nginx 服务器配置
- Nginx
- 霸气!Nginx 中缓存静态文件秘籍
- 企业部分之lnmp环境的搭建:Nginx
- Nginx之二:负载均衡及高可用
- Nginx 和 PHP 的两种部署方式比较
- Nginx与Serssion一致性问题
- 利用 ELK系统分析Nginx日志并对数据进行可视化展示
- Nginx配置性能优化
- nginx配置keepalived(服务器的心跳检测系统)
- 手把手教你开发Nginx模块
- Nginx配置文件详细说明
- Nginx源代码分析之accept细节(十九)
- LNMP 环境配置
- 使用Logstash分析纪录Nginx服务器访问及错误日志
- nginx fastcgi_buffers设置
- Keepalived + nginx实现高可用性和负载均衡