[Angular2] 添加Angular 2 router(路由)配置信息
2016-08-29 22:27
501 查看
更新至Angular 2.0正式版,router 3.0
既然Angular是单页应用的框架,那么路由(router)自然就是非常重要的一环,路由控制着整个单页应用的内容切换。
SO~~我们今天就来简单的看一下Angular2中的路由是怎么使用的~
AngularJS 2.0 RC 5发布的同时Angular Router RC 1也同时发布,在新的router模块中还引入了Lazy Loading等新的特性,今天我们主要简单的看一下router的用法,Lazy Loading将会在下一篇中跟NgModule一起介绍~
我们主要添加了router 文件夹(存放route配置信息),Navbar component(导航栏组件), 引入‘@angular/router’模块,再有就是Home跟About两个child component了,就只有这些~

systemjs.config.js我们需要为新引入的模块添加识别路径,要不然systemJS不知道去哪加载哦~
最~最~最~重要的当然就是创建routing的配置信息了,我们这里建了router文件夹存放配置信息,直接上代码,简单粗暴的配置导航信息~
记得要把配置好的routing信息export出去~
然后我们需要把上面export出来的配置信息注入到入口文件里,也就是app.module.ts
OK~就这样我们就给我们的第一个Angular 2 单页应用配置好了路由信息啦~~~
template:添加两个router link
导航栏工作完成,接下来我们只需要告诉我们的app.component该把我们的内容加载到哪里了~
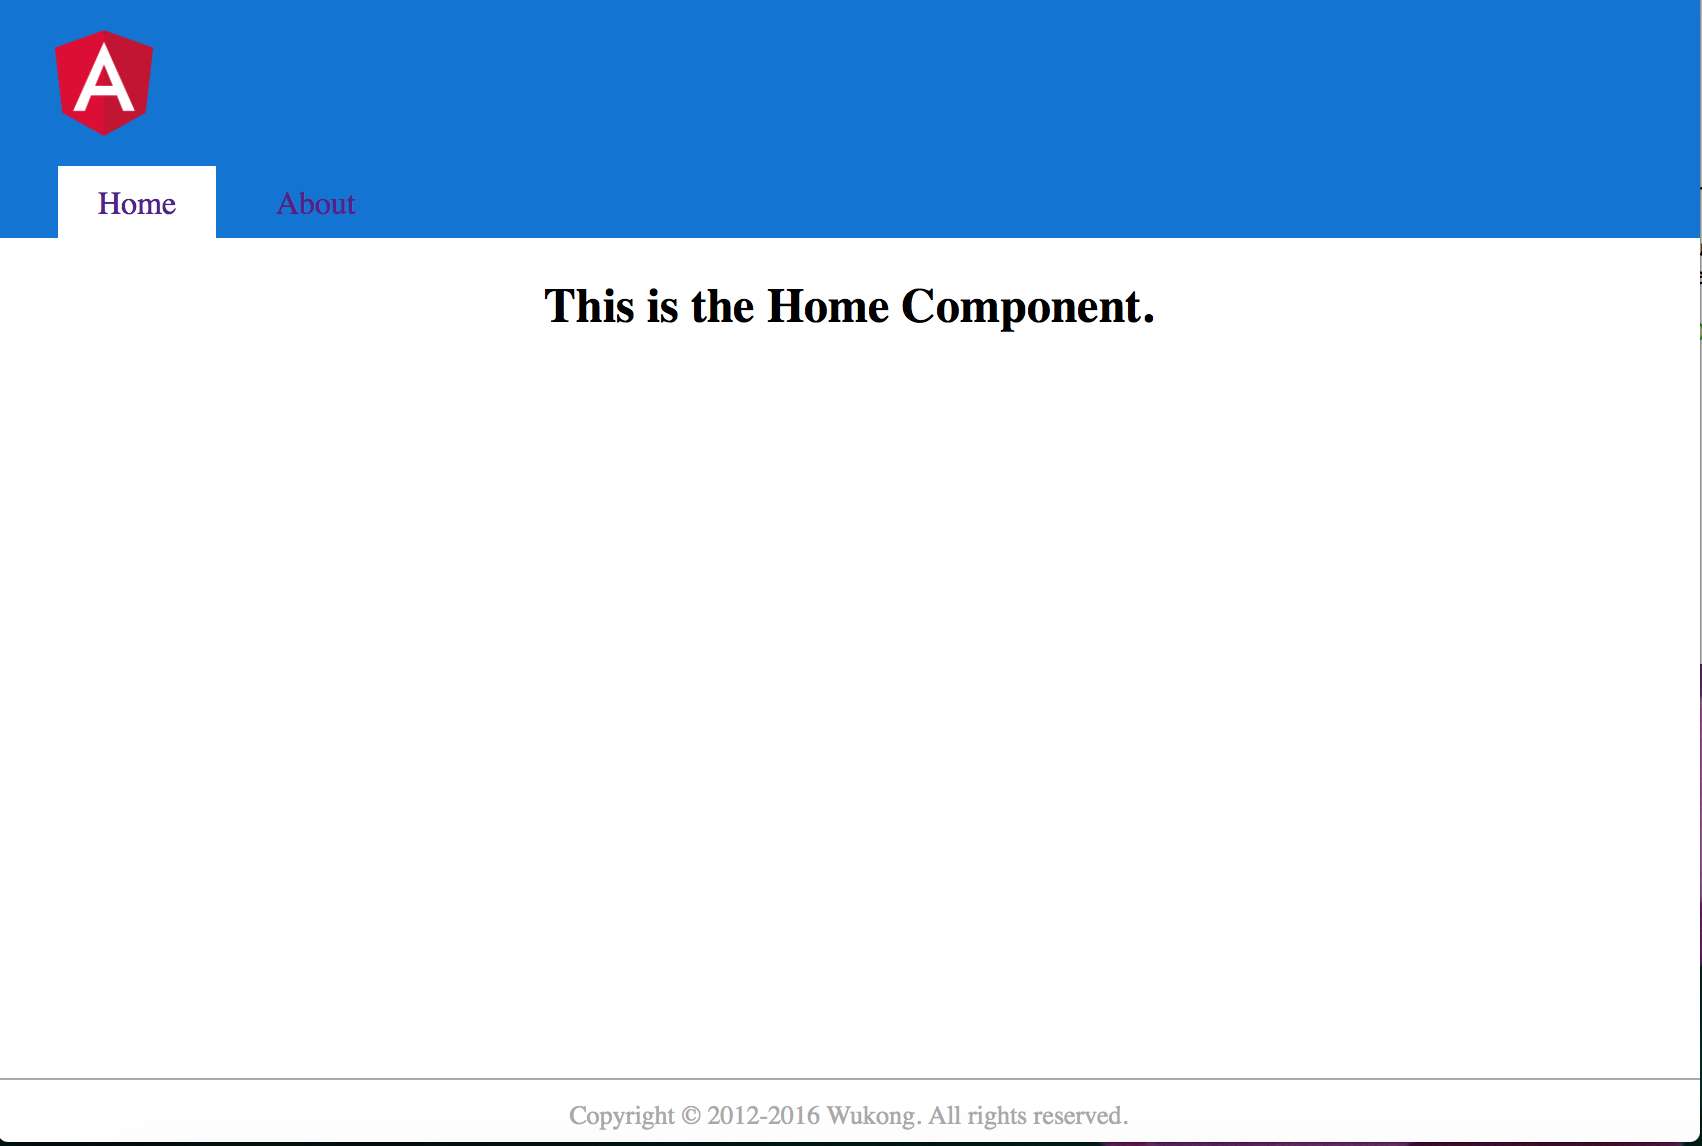
最后,依旧按照惯例来看看我们今天的战利品
代码已经整理上传到GitHub: https://github.com/WuKongW/Angular2_POC
既然Angular是单页应用的框架,那么路由(router)自然就是非常重要的一环,路由控制着整个单页应用的内容切换。
SO~~我们今天就来简单的看一下Angular2中的路由是怎么使用的~
AngularJS 2.0 RC 5发布的同时Angular Router RC 1也同时发布,在新的router模块中还引入了Lazy Loading等新的特性,今天我们主要简单的看一下router的用法,Lazy Loading将会在下一篇中跟NgModule一起介绍~
目录变化
按照惯例我们先来看看跟上次的演示相比([Angular2]创建简单的Angular 2 NgModule与Components)我们项目的目录变动情况我们主要添加了router 文件夹(存放route配置信息),Navbar component(导航栏组件), 引入‘@angular/router’模块,再有就是Home跟About两个child component了,就只有这些~
配置信息
package.json中主要引入‘@angular/router’模块,还有就是start server加了入口文件(为什么呢??动手试试,看看你能不能发现这里的问题){
"name": "angular2-quick-start",
"version": "0.0.1",
"description": "This is one sample for Angular2 quick start",
"scripts": {
"test": "echo \"Error: no test specified\" && exit 1",
"start": "live-server --port=22222 --entry-file=index.html" /** 设置入口文件 **/
},
"author": "Wu Kong",
"dependencies": {
"@angular/common": "2.0.0",
"@angular/compiler": "2.0.0",
"@angular/core": "2.0.0",
"@angular/platform-browser": "2.0.0",
"@angular/platform-browser-dynamic": "2.0.0",
"@angular/router": "3.0.0", /** 引入router模块 **/
"reflect-metadata": "^0.1.3",
"rxjs": "5.0.0-beta.12",
"systemjs": "^0.19.31",
"zone.js": "^0.6.23",
"core-js": "^2.4.1"
},
"devDependencies": {
"live-server": "^0.8.2",
"typescript": "^2.0.2"
}
}systemjs.config.js我们需要为新引入的模块添加识别路径,要不然systemJS不知道去哪加载哦~
System.config({
transpiler: 'typescript', /** 编译typescript*/
typescriptOptions: {
emitDecoratorMetadata: true
},
map: {
'app': 'app', /** 指定代码所在路径*/
'rxjs': 'node_modules/rxjs',
'@angular': 'node_modules/@angular'/** 指定Angular2所在路径*/
},
packages: {/** 指定入口文件!!*/
'app': {
main: 'main.ts',
defaultExtension: 'ts'
},
'rxjs': {
main: 'index.js'
},
'@angular/core': {
main: 'index.js'
},
'@angular/common': {
main: 'index.js'
},
'@angular/compiler': {
main: 'index.js'
},
'@angular/platform-browser': {
main: 'index.js'
},
'@angular/platform-browser-dynamic': {
main: 'index.js'
},
/** 为引入的router配置加载信息 **/
'@angular/router': {
main: 'index.js'
}
}
});
最~最~最~重要的当然就是创建routing的配置信息了,我们这里建了router文件夹存放配置信息,直接上代码,简单粗暴的配置导航信息~
记得要把配置好的routing信息export出去~
import { RouterModule, Routes } from '@angular/router';

import {HomeComponent, AboutComponent} from '../components/index';

const routes: Routes = [
{ path: '', component: HomeComponent },
{ path: 'about', component: AboutComponent }
];

export const routing = RouterModule.forRoot(routes);
然后我们需要把上面export出来的配置信息注入到入口文件里,也就是app.module.ts
import { NgModule } from '@angular/core';
import { BrowserModule  } from '@angular/platform-browser';

import AppComponent from './common/components/app.component';
import {HomeComponent, AboutComponent} from './common/components/index';
import { routing } from './common/router/app.routing';

@NgModule({
imports: [
BrowserModule,
routing, /** 注入我们写好的路由配置信息 **/
],
declarations: [AppComponent, AboutComponent, HomeComponent],
bootstrap: [AppComponent],
})

export class AppModule { }
OK~就这样我们就给我们的第一个Angular 2 单页应用配置好了路由信息啦~~~
导航栏组件(Navbar Component)
现在我们只需要添加导航栏到我们的主页面上,也就是我们的Navbar Component。并且我们需要告诉主页面当我们点击导航栏链接的时候应该显示哪一个component首先我们新建一个Navbarcomponent,跟之前不一样的是我们需要引入router 的指令来识别我们的导航链接(routerLink)import { Component } from '@angular/core';
@Component({
moduleId: 'app/common/components/navbar/',
selector: 'wk-navbar',
templateUrl: 'navbar.html',
styleUrls: ['navbar.css']
})
export class NavbarComponent {}template:添加两个router link
<div class="navbar">
<ul>
<li><a [routerLink]="['']" [routerLinkActiveOptions]="{exact: true}" routerLinkActive="active">Home</a></li>
<li><a [routerLink]="['about']" routerLinkActive="active">About</a></li>
</ul>
</div>
导航栏工作完成,接下来我们只需要告诉我们的app.component该把我们的内容加载到哪里了~
入口组件(App Component)
上一次我们已经提到过<main>里是放我们app内容的,那我们其实只需要把<router-outlet>这个router指令加到我们的main标签里就可以了。这样,当你点击不同的router link的时候router-outlet标签就会切换相应不同的component啦~~所以我们只需要更改AppComponent里的templeate就搞定啦~<wk-header></wk-header> <main> <router-outlet></router-outlet> </main> <wk-footer></wk-footer>
结语
通过上面简单的这几步是不是瞬间觉得单页应用的路由其实挺简单的~~哈哈~最后,依旧按照惯例来看看我们今天的战利品
代码已经整理上传到GitHub: https://github.com/WuKongW/Angular2_POC

相关文章推荐
- Angular配置Router(路由)提示Controller NaNunction/undefined错误
- Angular路由ui-router配置详解
- 【视频】配置信息管理 的 使用方法(二):建表、添加元数据
- 【视频】配置信息管理 的 使用方法(二):建表、添加元数据
- 登录成功或失败直接在当前页面给出提示信息,不必进行struts2的路由配置方案
- 配置vim,快捷键添加作者信息&C语言语法设置
- angular-ui-router页面路由
- ArcIMS 投影问题 如何向地图配置文件中添加投影信息(转载)
- 深入理解ANGULARUI路由_UI-ROUTER
- windows server 2008 R2配置和添加静路由的方法步骤
- windows server 2008R2添加 静路由配置
- SERVERAID 8K和8K-L阵列卡在添加新硬盘时会丢失阵列配置信息
- 【视频】配置信息管理 的 使用方法(六):实现添加、修改、查询
- [zz]在web.config文件中如何添加自己的配置信息
- IBM SERVERAID 8K和8K-L阵列卡在添加新硬盘时会丢失阵列配置信息
- route命令编辑路由信息以及如何为网口添加虚拟ip
- 【视频】配置信息管理 的 使用方法(二):建表、添加元数据
- 配置vim在源码中自动添加作者信息
- 如何添加".Net Framework Data Provider for MySQL"配置信息到目标主机中?
- angular ui-router参数配置说明