Nginx+Tomcat+redis 集群安装及配置
2016-07-09 17:18
711 查看
下载及安装:
redis:http://blog.csdn.net/majian_1987/article/details/9672393
nginx:http://download.csdn.net/detail/cd4_5792/6974455
整合配置:
配置环境使用三个tomcat, 三台tomcat、redis和nginx都在一台机器上,为了方便测试和部署。
大致的整个配置的架构:

在这个图中,nginx做为反向代理,将客户请求根据权重随机分配给三台tomcat服务器,redis做为三台tomcat的共享session数据服务器。
nginx
tomcat
修改tomcat文件夹中conf/context.xml文件,在context节点下添加如下配置:
conf/server.xml文件中的端口根据规划依次修改。
另外要在tomcat的lib文件夹下分别添加三个jar文件,这个地方jar文件的版本有可能会有冲突,配置的时候需要多尝试。我这里的版本如下,是验证过可以使用的,通过maven的库都可以下载到。
tomcat-redis-session-manager-1.2-tomcat-7.jar
jedis-2.2.0.jar
commons-pool-1.6.jar
nginx
修改nginx文件目中的conf/nginx.conf文件为:
redis的配置就直接使用默认配置,因为只是测试用,和tomcat一样没有做参数优化配置。
注:每个tomcat下的标示不同

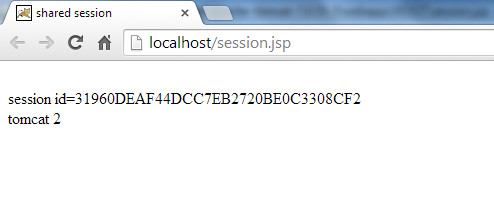

从截图中,可以看出,分别访问了不同的tomcat,但是得到的session却是相同的,说明达到了集群的目的。
在这个架构中,有个明显的瓶颈,就是数据库。因为使用了企业级的oracle数据库,所以在压力测试种也没有出现大的问题。但是作为后续的可以优化的地方,数据库是一定要做读写分离的。
redis:http://blog.csdn.net/majian_1987/article/details/9672393
nginx:http://download.csdn.net/detail/cd4_5792/6974455
整合配置:
配置环境使用三个tomcat, 三台tomcat、redis和nginx都在一台机器上,为了方便测试和部署。
大致的整个配置的架构:
在这个图中,nginx做为反向代理,将客户请求根据权重随机分配给三台tomcat服务器,redis做为三台tomcat的共享session数据服务器。
规划
redislocalhost:6379
nginx
localhost:80
tomcat
localhost:8081
localhost:8082
localhost:8083
配置
tomcat修改tomcat文件夹中conf/context.xml文件,在context节点下添加如下配置:
<Valve  className="com.radiadesign.catalina.session.RedisSessionHandlerValve" />
<Manager className="com.radiadesign.catalina.session.RedisSessionManager"
host="localhost"
port="6379"
database="0"
maxInactiveInterval="60" />
conf/server.xml文件中的端口根据规划依次修改。
另外要在tomcat的lib文件夹下分别添加三个jar文件,这个地方jar文件的版本有可能会有冲突,配置的时候需要多尝试。我这里的版本如下,是验证过可以使用的,通过maven的库都可以下载到。
tomcat-redis-session-manager-1.2-tomcat-7.jar
jedis-2.2.0.jar
commons-pool-1.6.jar
nginx
修改nginx文件目中的conf/nginx.conf文件为:
#user  nobody;
worker_processes  1;

error_log  logs/error.log;

pid        logs/nginx.pid;

events {
worker_connections  1024;
}

http {
include       mime.types;
default_type  application/octet-stream;

log_format  main  '$remote_addr - $remote_user [$time_local] 	"$request" '
'$status $body_bytes_sent "$http_referer" '
'"$http_user_agent" "$http_x_forwarded_for"';

access_log  logs/access.log  main;

sendfile        on;
#tcp_nopush     on;

#keepalive_timeout  0;
keepalive_timeout  65;

#gzip  on;

upstream  localhost   {
server   localhost:8081 weight=1;
server   localhost:8082 weight=2;
server   localhost:8083 weight=3;
}

server {
listen       80;
server_name  localhost;

#charset koi8-r;

#access_log  logs/host.access.log  main;

location / {
root   html;
index  index.html index.htm;
proxy_pass        http://localhost; proxy_set_header  X-Real-IP  $remote_addr;
client_max_body_size  100m;
}

#error_page  404              /404.html;

# redirect server error pages to the static page /50x.html
#
error_page   500 502 503 504  /50x.html;
location = /50x.html {
root   html;
}

}
}
redis的配置就直接使用默认配置,因为只是测试用,和tomcat一样没有做参数优化配置。
运行
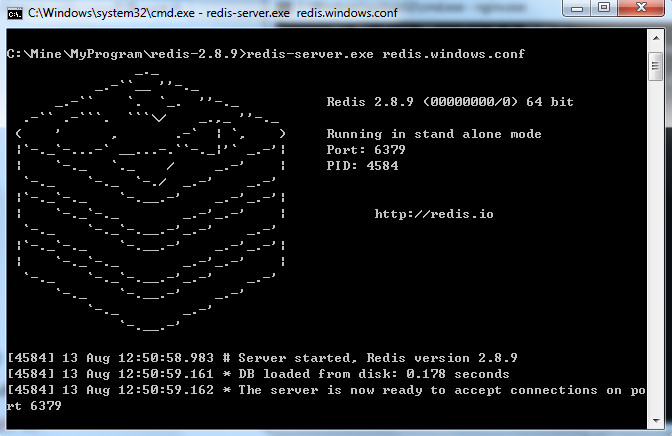
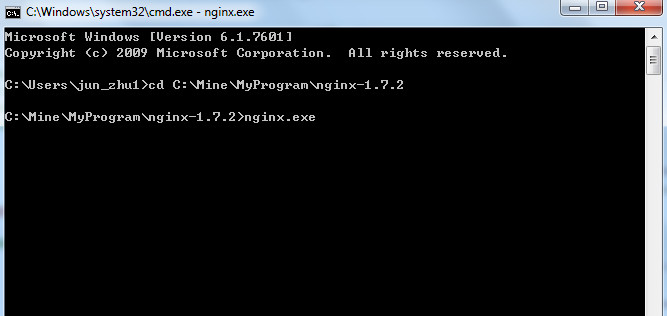
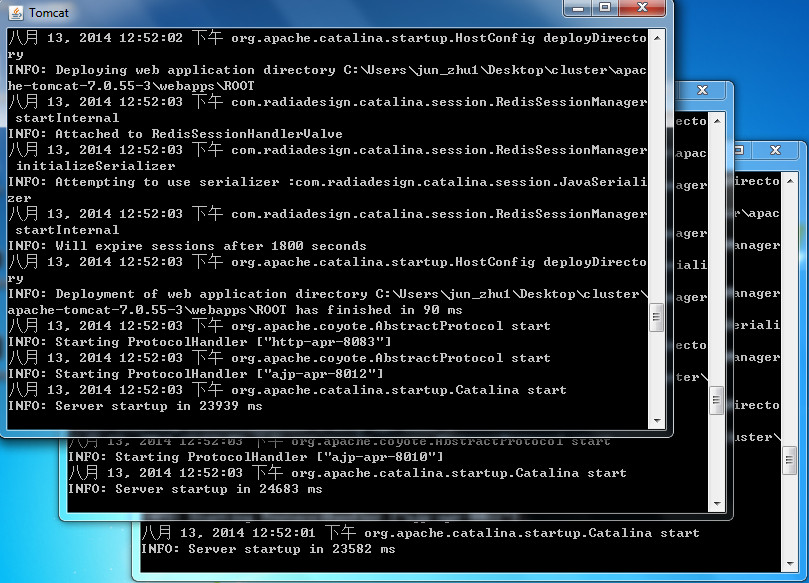
分别启动redis、nginx和三台tomcat。测试
在三个tomcat的webapps/ROOT目录下,分别添加session.jsp<%@ page language="java" contentType="text/html; charset=UTF-8" pageEncoding="UTF-8"%> <!DOCTYPE html> <html> <head> <meta http-equiv="Content-Type" content="text/html; charset=UTF-8"> <title>shared session</title> </head> <body> <br>session id=<%=session.getId()%> <br>tomcat 3 </body> </html>
注:每个tomcat下的标示不同
从截图中,可以看出,分别访问了不同的tomcat,但是得到的session却是相同的,说明达到了集群的目的。
在这个架构中,有个明显的瓶颈,就是数据库。因为使用了企业级的oracle数据库,所以在压力测试种也没有出现大的问题。但是作为后续的可以优化的地方,数据库是一定要做读写分离的。

相关文章推荐
- CentOS 7安装配置Redis数据库
- Redis学习笔记(十)——过期时间、访问限制与缓存
- Redis Cluster分区实现原理
- 02.Redis主从集群的Sentinel配置
- redis sentinel 主从切换(failover)解决方案,详细配置
- Redis Sentinel 机制与用法(二)
- Redis Sentinel机制与用法(一)
- Redis哨兵 Sentinel原理
- zabbix监控redis多实例
- [置顶] redis3.2 学习记录 springmvc +jredis +redis 整合
- hiredis-vip库,集群,异步实例
- redis常用命令
- [置顶] php结合redis实现高并发下的抢购、秒杀功能
- redis配置文件详解
- zabbix监控redis单实例
- redis事物特性
- Redis - 排序
- Redis
- redis多实例运行
- 创建redis集群