Ruby on Rails(二) - 初探Ruby on Rails, 搭建一个博客项目并发布(草稿)
2016-06-19 17:11
661 查看
Rails 快速上手, 搭建一个博客项目并发布
目录:
自动生成blog项目
报错 sqlite3 安装失败
Rails项目目录结构说明
设置项目的欢迎页面显示Hello World
启动项目
报错Javascript Runtime Not Found
用浏览器进行冒烟测试
写一个Hello World
配置项目首页 指向Hello World页面
用浏览器访问localhost3000
编写博文管理模块
Ubuntu16.04 安装Ruby on Rails 的步骤可以参考本人亲测的文章http://blog.csdn.net/caib1109/article/details/51712988
本文环境:
Ubuntu 16.04 64bit
Ruby 2.3.0
Rails 4.2.6
sqlite3 3.11.0 2016-02-15
基于Rails官网入门教程, 并针对鄙人的环境做了一些调整.
注意, 所有的命令全部加
报错信息节选如下:
很明显, 虽然系统安装过sqlite3 3.11.0, 但是没有安装sqlite3的开发插件. 安装之:
安装很顺利. 删除./blog/目录, 以便重新生成Rails项目
再次执行
终端输出如下, 表示成功:
用tree命令看一下blog项目的目录结构
解决方案:
感谢万能的Stackoverflow上的这个问题.
再次
项目已经启动了, 不要关闭这个终端或按
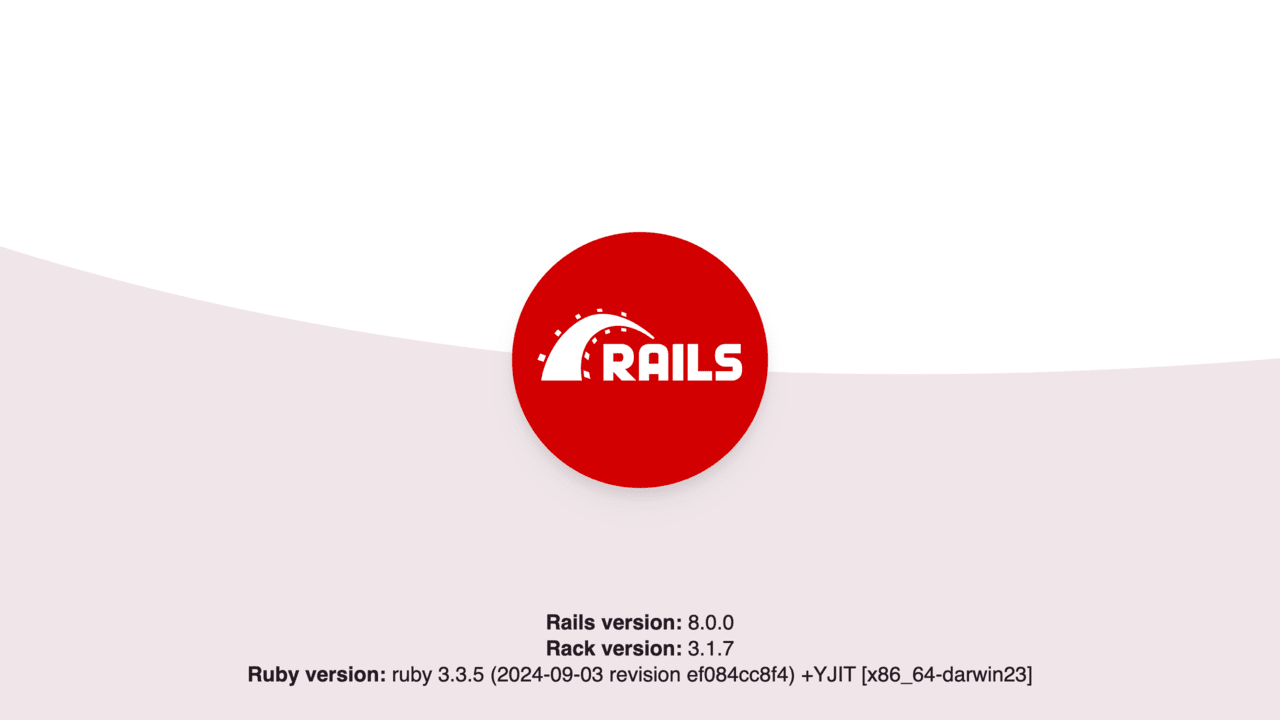
打开浏览器, 地址兰输入http://localhost:3000/可以看到一个Rails默认欢迎页面, 如下图:

图1 Rails默认欢迎页面
说明了项目已经通过”smoke test”.
到这里, 鄙人不得不感慨Rails开发Web项目的方便, 以前用Java开发Web项目, 还要安装Tomcat或JBOSS容器, 把项目发布到容器里才能启动.
显示如下, 说明成功:
现在, 我们有了一个Controller在 app/controllers/welcome_controller.rb
我们也有了一个View在 app/views/welcome/index.html.erb
用gedit文本编辑器打开index.html.erb
添加以下内容并保存:
这个文件的语法是DSL (domain-specific language) , 它会告诉 Rails 如何把收到的http请求转交给Controller和Actions.
这里的Action在执行
现在, 我们把的
现在, 用浏览器访问http://localhost:3000/, 看到Hello, World!, 如图2所示:

图2 Rails默认欢迎页面显示了Hello, World!
目录:
自动生成blog项目
报错 sqlite3 安装失败
Rails项目目录结构说明
设置项目的欢迎页面显示Hello World
启动项目
报错Javascript Runtime Not Found
用浏览器进行冒烟测试
写一个Hello World
配置项目首页 指向Hello World页面
用浏览器访问localhost3000
编写博文管理模块
Ubuntu16.04 安装Ruby on Rails 的步骤可以参考本人亲测的文章http://blog.csdn.net/caib1109/article/details/51712988
本文环境:
Ubuntu 16.04 64bit
Ruby 2.3.0
Rails 4.2.6
sqlite3 3.11.0 2016-02-15
基于Rails官网入门教程, 并针对鄙人的环境做了一些调整.
注意, 所有的命令全部加
sudo, 获得超级管理员权限, 不然经常遇到没有权限的错误.
自动生成blog项目
终端输入sudo rails new blog
报错: sqlite3 安装失败
单独执行sudo gem install sqlite3 -V
报错信息节选如下:
...
...
checking for sqlite3.h... no
sqlite3.h is missing. Try 'port install sqlite3 +universal',
'yum install sqlite-devel' or 'apt-get install libsqlite3-dev'
and check your shared library search path (the
*** extconf.rb failed ***
...
...
很明显, 虽然系统安装过sqlite3 3.11.0, 但是没有安装sqlite3的开发插件. 安装之:
sudo apt install libsqlite3-dev
安装很顺利. 删除./blog/目录, 以便重新生成Rails项目
sudo rm -rf ./blog
再次执行
sudo rails new blog
终端输出如下, 表示成功:
Bundle complete! 12 Gemfile dependencies, 56 gems now installed.
Use `bundle show [gemname]` to see where a bundled gem is installed.
run  bundle exec spring binstub --all
* bin/rake: spring inserted
* bin/rails: spring inserted
用tree命令看一下blog项目的目录结构
sudo apt install tree
tree ./blog
./blog
├── app
│   ├── assets
│   │   ├── images
│   │   ├── javascripts
│   │   │   └── application.js
│   │   └── stylesheets
│   │       └── application.css
│   ├── controllers
│   │   ├── application_controller.rb
│   │   └── concerns
│   ├── helpers
│   │   └── application_helper.rb
│   ├── mailers
│   ├── models
│   │   └── concerns
│   └── views
│       └── layouts
│           └── application.html.erb
├── bin
│   ├── bundle
│   ├── rails
│   ├── rake
│   ├── setup
│   └── spring
├── config
│   ├── application.rb
│   ├── boot.rb
│   ├── database.yml
│   ├── environment.rb
│   ├── environments
│   │   ├── development.rb
│   │   ├── production.rb
│   │   └── test.rb
│   ├── initializers
│   │   ├── assets.rb
│   │   ├── backtrace_silencers.rb
│   │   ├── cookies_serializer.rb
│   │   ├── filter_parameter_logging.rb
│   │   ├── inflections.rb
│   │   ├── mime_types.rb
│   │   ├── session_store.rb
│   │   └── wrap_parameters.rb
│   ├── locales
│   │   └── en.yml
│   ├── routes.rb
│   └── secrets.yml
├── config.ru
├── db
│   └── seeds.rb
├── Gemfile
├── Gemfile.lock
├── lib
│   ├── assets
│   └── tasks
├── log
├── public
│   ├── 404.html
│   ├── 422.html
│   ├── 500.html
│   ├── favicon.ico
│   └── robots.txt
├── Rakefile
├── README.rdoc
├── test
│   ├── controllers
│   ├── fixtures
│   ├── helpers
│   ├── integration
│   ├── mailers
│   ├── models
│   └── test_helper.rb
├── tmp
│   └── cache
│       └── assets
└── vendor
└── assets
├── javascripts
└── stylesheets
Rails项目目录结构说明
基于Rails官网入门教程3.2节, 渣翻轻喷.| 子目录名字 | 功能 |
|---|---|
| 项目核心 app/ | Controllers, models, views(MVC模型是最常用的Web项目模型, 请自行学习), helpers, mailers and assets for your application. |
| bin/ | 项目的启动脚本, 以及其他脚本(如安装项目和发布项目脚本) |
| config/ | 项目的配置文件, 包括路劲, 数据库等等. 详情请看Configuring Rails Applications一节. |
| config.ru | Rack configuration for Rack based servers used to start the application. |
| db/ | 数据库文件 |
| Gemfile Gemfile.lock | 指定项目的gem依赖包, Bundler gem会用这里的配置.Bundler是管理项目gem包的工具, 详细请看Bundler官网. |
| lib/ | 项目的拓展模块(Extended modules) |
| log/ | 项目日志 |
| public/ | The only folder seen by the world as-is. 包含了static files and compiled assets. |
| Rakefile | 不要修改此文件! 你可以在项目的 lib/tasks 增加文件. Rakefile locates and loads 可以从命令行执行的 tasks. The task definitions are defined throughout the components of Rails. |
| README.rdoc | 项目简介. 你应该在这里告诉别人你的项目的目的,如何安装项目等等 |
| test/ | 单元测试, fixtures, and other test apparatus. 详情请看Testing Rails Applications一节. |
| tmp/ | Temporary files (like cache, pid, and session files). |
| vendor/ | all third-party code. In a typical Rails application this includes vendored gems. |
设置项目的欢迎页面显示Hello, World!
1 启动项目
sudo bin/rails server
报错Javascript Runtime Not Found
报错信息如下... ... Gem Load Error is: Could not find a JavaScript runtime. See https://github.com/rails/execjs for a list of available runtimes. ... ...
解决方案:
sudo apt-get install nodejs
感谢万能的Stackoverflow上的这个问题.
再次
sudo bin/rails server, 终端输出以下内容说明项目已经启动了:
=> Booting WEBrick
=> Rails 4.2.6 application starting in development on http://localhost:3000 => Run `rails server -h` for more startup options
=> Ctrl-C to shutdown server
[2016-06-19 18:01:46] INFO  WEBrick 1.3.1
[2016-06-19 18:01:46] INFO  ruby 2.3.0 (2015-12-25) [x86_64-linux-gnu]
项目已经启动了, 不要关闭这个终端或按
Ctrl + C, 否则项目停止.
2 用浏览器进行冒烟测试
smoke test - 对一个硬件或硬件组件进行更改或修复后,直接给设备加电。如果没有冒烟,则该组件就通过了测试打开浏览器, 地址兰输入http://localhost:3000/可以看到一个Rails默认欢迎页面, 如下图:

图1 Rails默认欢迎页面
说明了项目已经通过”smoke test”.
到这里, 鄙人不得不感慨Rails开发Web项目的方便, 以前用Java开发Web项目, 还要安装Tomcat或JBOSS容器, 把项目发布到容器里才能启动.
3 写一个Hello, World!
终端输入:sudo bin/rails generate controller welcome index
显示如下, 说明成功:
create  app/controllers/welcome_controller.rb
route  get 'welcome/index'
invoke  erb
create    app/views/welcome
create    app/views/welcome/index.html.erb
invoke  test_unit
create    test/controllers/welcome_controller_test.rb
invoke  helper
create    app/helpers/welcome_helper.rb
invoke    test_unit
invoke  assets
invoke    coffee
create      app/assets/javascripts/welcome.coffee
invoke    scss
create      app/assets/stylesheets/welcome.scss
现在, 我们有了一个Controller在 app/controllers/welcome_controller.rb
我们也有了一个View在 app/views/welcome/index.html.erb
用gedit文本编辑器打开index.html.erb
sudo gedit app/views/welcome/index.html.erb
添加以下内容并保存:
<h1>Hello, World!</h1>
配置项目首页, 指向Hello, World!页面
用gedit文本编辑器打开config/routes.rb, 存在以下内容:
Rails.application.routes.draw do
get 'welcome/index'
# The priority is based upon order of creation:
# first created -> highest priority.
#
# You can have the root of your site routed with "root"
# root 'welcome#index'
# ...
# ...
end
这个文件的语法是DSL (domain-specific language) , 它会告诉 Rails 如何把收到的http请求转交给Controller和Actions.
root 'welcome#index'告诉 Rails 把http://localhost:3000/的请求转发给welcome这个 Action, Action收到并返回http://localhost:3000/weclome/index.
这里的Action在执行
sudo bin/rails generate controller welcome index的时候就已经设置好了.
现在, 我们把的
root 'welcome#index'这一行的注释符号去掉, 这样它就能发挥作用了. 记得保存哦.
用浏览器访问localhost:3000
再次启动项目sudo bin/rails server
现在, 用浏览器访问http://localhost:3000/, 看到Hello, World!, 如图2所示:

图2 Rails默认欢迎页面显示了Hello, World!
编写博文管理模块
相关文章推荐
- 红宝石(Ruby)史话
- Ruby简明教程之循环语句介绍
- ruby 一些简单的例子
- Ruby on Rails在Ping ++ 平台实现支付
- Ruby 之 class 中的 private、 protected、public
- Ruby中操作文件的方法介绍
- 详解Ruby中的单件方法和单件类
- Ruby中的集合编写指南
- CentOS 6.3下编译安装Ruby 2.0笔记
- Ruby基本的环境变量设置以及常用解释器命令介绍
- 详解Ruby中的代码块及其参数传递
- Ruby编程中关于中断和返回的用法教程
- Ruby中的异常处理代码编写示例
- Ruby程序中发送基于HTTP协议的请求的简单示例
- Ruby中的变量学习总结
- 几个加速Ruby on Rails的编程技巧
- Ruby配置rspec和RestClient来检测服务器
- 分析Cache 在 Ruby China 里面的应用情况
- Ruby中数组的一些相关使用方法
