阿里dubbo框架使用系列:开发环境搭建之zookeeper注册中心(单节点)
2016-05-10 02:24
741 查看
dubbo框架需要在注册中心上面登记服务之后才可以进行调用,所以我们必须要先安装注册中心,这里我选择用zookeeper来做注册中心
首先先下载zookeeper的安装包
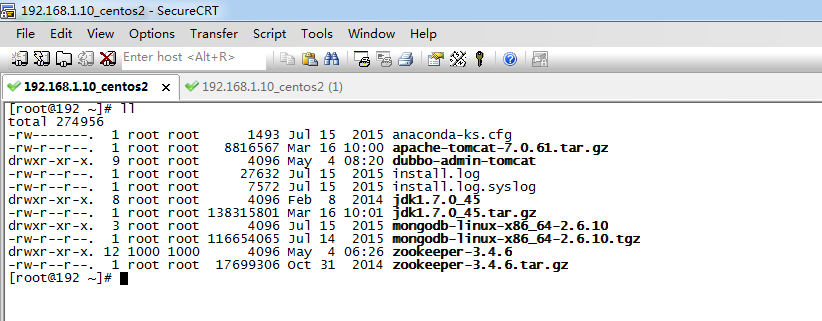
linux上我们可以通过命令
wget http://apache.fayea.com/zookeeper/zookeeper-3.4.6/zookeeper-3.4.6.tar.gz
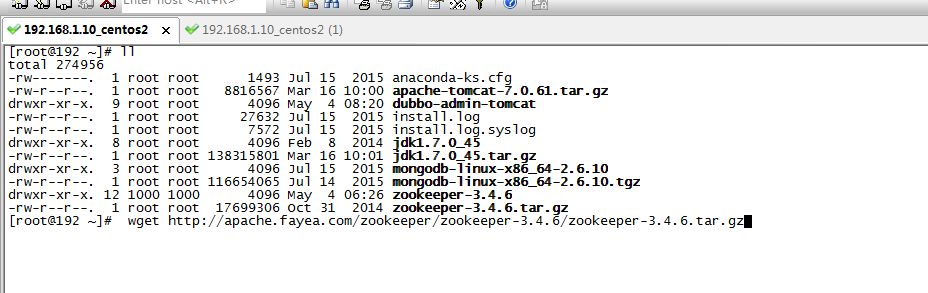
当然我们也可以直接访问连接 http://apache.fayea.com/zookeeper/zookeeper-3.4.6/zookeeper-3.4.6.tar.gz
下载到windows本地
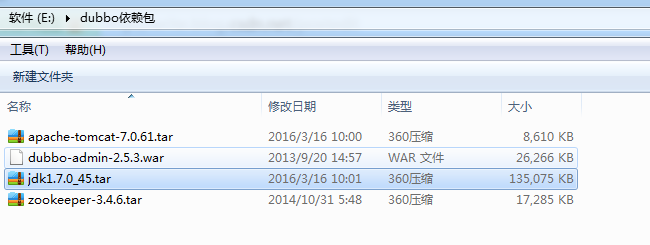
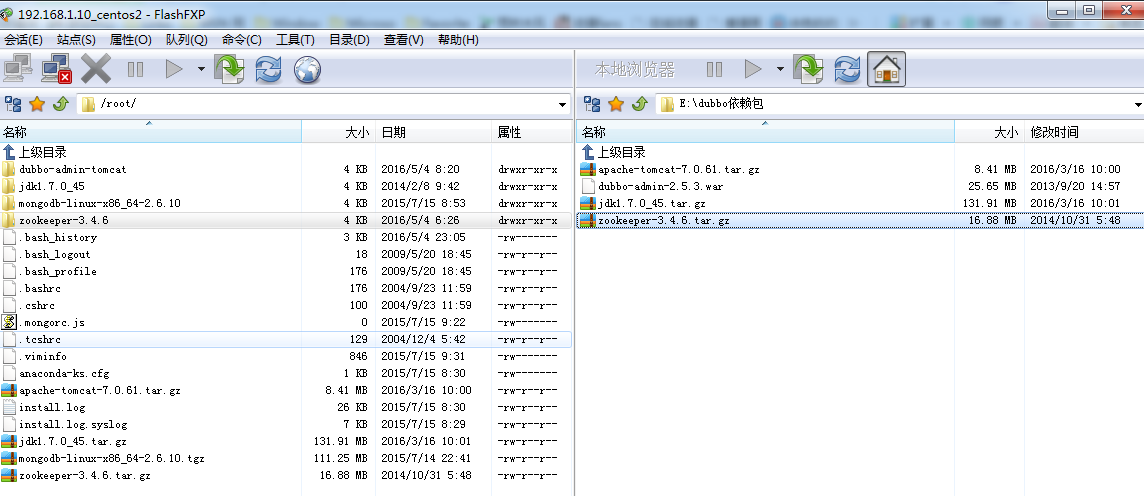
然后通过flashfxp上传到linux
安装包下载完之后我们解压
<span style="white-space:pre"> </span>tar -zxvf zookeeper-3.4.6.tar.gz
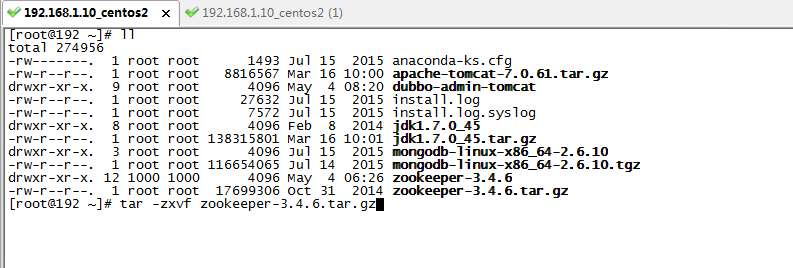
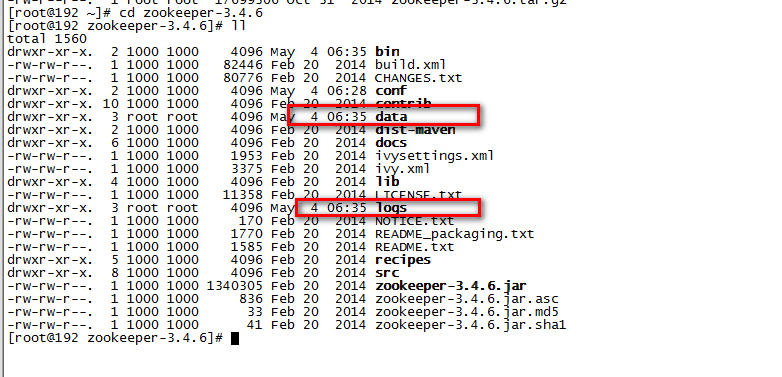
解压完之后我们可以看到解压出来的文件

cd 进入zookeeper文件夹下,创建两个文件夹
<span style="white-space:pre"> </span>mkdir data
<span style="white-space:pre"> </span>mkdir logs
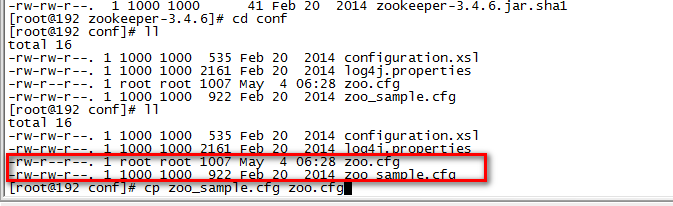
cd 进入conf目录,备份一份zoo_sample.cfg
<span style="white-space:pre"> </span> cp zoo_sample.cfg zoo.cfg
编辑zoo.cfg文件
<span style="white-space:pre"> </span>vi zoo.cfg
配置如下
# The number of milliseconds of each tick
tickTime=2000
# The number of ticks that the initial
# synchronization phase can take
initLimit=10
# The number of ticks that can pass between
# sending a request and getting an acknowledgement
syncLimit=5
# the directory where the snapshot is stored.
# do not use /tmp for storage, /tmp here is just
# example sakes.
<pre name="code" class="html"># 这里两个路径就配置我们刚刚创建文件夹的那个路径dataDir=/root/zookeeper-3.4.6/datadataLogDir=/root/zookeeper-3.4.6/logs# the port at which the clients will connect
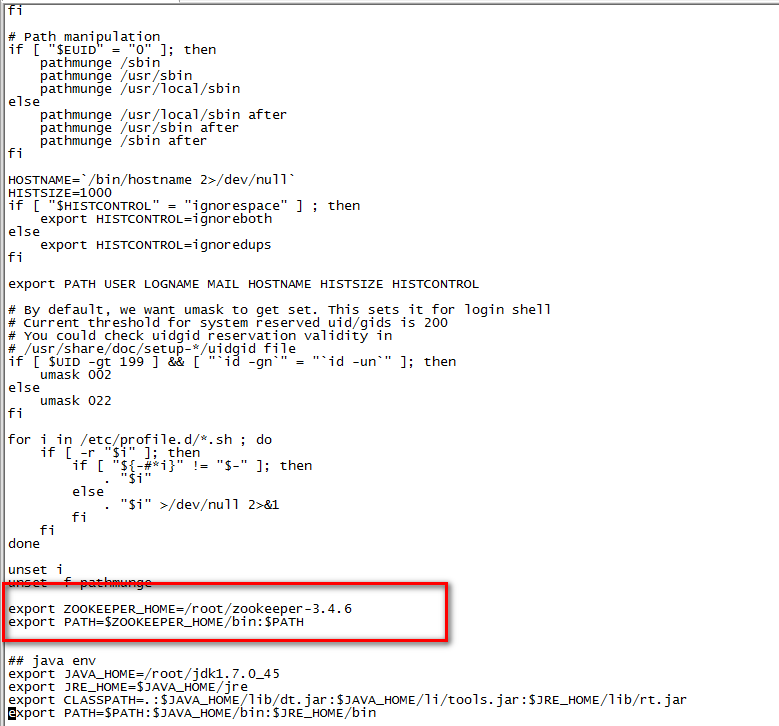
进入/etc目录下,打开profile,在文件最末尾添加环境变量

退出保存过后,输入以下命令使修改立即生效
<span style="white-space:pre"> </span>source /etc/profile
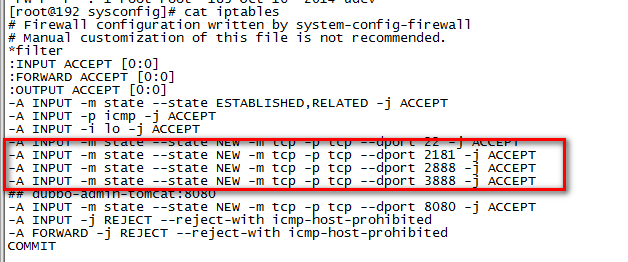
修改防火墙使得zookeeper的端口可以被外界访问
<span style="white-space:pre"> </span>vi /etc/sysconfig/iptables
保存完后输入以下命令重启防火墙
<span style="white-space:pre"> </span>service iptables restart
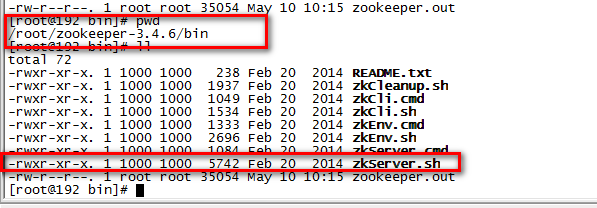
进入zookeeper的安装路径的bin/目录下,启动zk服务
<span style="white-space:pre"> </span>./zkServer.sh start
好了到此zookeeper的安装完毕
首先先下载zookeeper的安装包
linux上我们可以通过命令
wget http://apache.fayea.com/zookeeper/zookeeper-3.4.6/zookeeper-3.4.6.tar.gz
当然我们也可以直接访问连接 http://apache.fayea.com/zookeeper/zookeeper-3.4.6/zookeeper-3.4.6.tar.gz
下载到windows本地
然后通过flashfxp上传到linux
安装包下载完之后我们解压
<span style="white-space:pre"> </span>tar -zxvf zookeeper-3.4.6.tar.gz
解压完之后我们可以看到解压出来的文件
cd 进入zookeeper文件夹下,创建两个文件夹
<span style="white-space:pre"> </span>mkdir data
<span style="white-space:pre"> </span>mkdir logs
cd 进入conf目录,备份一份zoo_sample.cfg
<span style="white-space:pre"> </span> cp zoo_sample.cfg zoo.cfg
编辑zoo.cfg文件
<span style="white-space:pre"> </span>vi zoo.cfg
配置如下
# The number of milliseconds of each tick
tickTime=2000
# The number of ticks that the initial
# synchronization phase can take
initLimit=10
# The number of ticks that can pass between
# sending a request and getting an acknowledgement
syncLimit=5
# the directory where the snapshot is stored.
# do not use /tmp for storage, /tmp here is just
# example sakes.
<pre name="code" class="html"># 这里两个路径就配置我们刚刚创建文件夹的那个路径dataDir=/root/zookeeper-3.4.6/datadataLogDir=/root/zookeeper-3.4.6/logs# the port at which the clients will connect
clientPort=2181
# the maximum number of client connections.
# increase this if you need to handle more clients
#maxClientCnxns=60
#
# Be sure to read the maintenance section of the
# administrator guide before turning on autopurge.
#
# http://zookeeper.apache.org/doc/current/zookeeperAdmin.html#sc_maintenance #
# The number of snapshots to retain in dataDir
#autopurge.snapRetainCount=3
# Purge task interval in hours
# Set to "0" to disable auto purge feature
#autopurge.purgeInterval=1
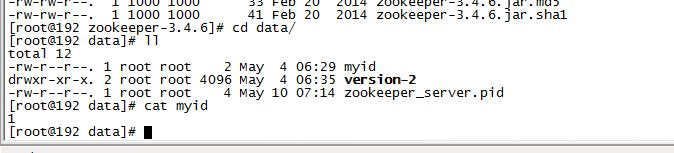
#解释一下192.168.1.10是我本机的ip,不知道自己ip的可以在linux里面输入命令ifconfig查看
server.1=192.168.1.10:2888:3888
在/root/zookeeper-3.4.6/data 目录下面创建文件myid 内容为1
进入/etc目录下,打开profile,在文件最末尾添加环境变量
退出保存过后,输入以下命令使修改立即生效
<span style="white-space:pre"> </span>source /etc/profile
修改防火墙使得zookeeper的端口可以被外界访问
<span style="white-space:pre"> </span>vi /etc/sysconfig/iptables
保存完后输入以下命令重启防火墙
<span style="white-space:pre"> </span>service iptables restart
进入zookeeper的安装路径的bin/目录下,启动zk服务
<span style="white-space:pre"> </span>./zkServer.sh start
好了到此zookeeper的安装完毕

相关文章推荐
- android开发笔记之 Activity四种加载模式
- chrome加载本地其他文件启动参数设置
- iOS中利用 runtime 一键改变字体
- GIS本科毕业如何防止结束GIS职业生涯
- experiment
- leetcode_c++:2Sum (001)
- ES6新特性:Proxy代理器
- 虚拟机中新增磁盘空间并开机自动挂载
- Unity Shaders and Effects Cookbook (6-4) GUI 和 透明度
- nginx下 499错误
- 网络编程中常见错误码总结
- Retrofit2 source
- 03判断字符串是否在数组中
- jdbc连接数据库
- 【C#进阶系列】26 计算限制的异步操作
- 【C#进阶系列】26 计算限制的异步操作
- HDOJ(HDU) 2521 反素数(因子个数~)
- ubuntu下安装mininet,ns-3,和OpenNet
- HDOJ(HDU) 2521 反素数(因子个数~)
- C++ strlen