oracle 11g for redhat 64
2015-10-26 11:55
567 查看
环境:
(1) Linux localhost.localdomain 2.6.32-358.el6.x86_64 #1 SMP Tue Jan 29 11:47:41 EST 2013 x86_64 x86_64 x86_64 GNU/Linux
(2) 内存:2G
(3) 硬盘容量:30G
(4) 系统必须为有桌面
(5) YUM自己提前配好哦
(6) 如果在虚拟机上操作,提前先做镜像,在执行以下步骤之前。
步骤:
cat 1.txt
binutils gcc gcc-c++ gcc-32bit gcc43 gcc43-32bit glibc glibc-32bit glibc-devel glibc-devel-32bit ksh libaio libaio-devel libaio-devel-32bit libelf0 libelf1 libgcc43 libgcc43-32bit libstdc++33 libstdc++33-32bit libstdc++43 libstdc++43-32bit libstdc++43-devel libstdc++43-devel-32bit libstdc++-devel libgomp43-32bit make sysstat libcap unixODBC然后:执行脚本: sh install.sh
以下是脚本内容:
#!/bin/bash
for i in `cat 1.txt`;
do
yum install -y $i
done
#
groupadd oinstall
groupadd dba
#
mkdir -p /opt/app
useradd -g oinstall -G dba -d /opt/app/u01 oracle
#
sh mkdi.sh
#useradd -g oinstall -G dba -d /opt/app/u01 oracle
#
echo "123456"|passwd --stdin oracle
#
cp /etc/sysctl.conf /etc/sysctl.conf.bak
#
for i in `cat 2.txt`;
do
echo $? >> /etc/sysctl.conf
done
#
sysctl -p
#
cp /etc/security/limits.conf /etc/security/limits.conf.bak
#
echo "oracle soft nproc 2047" >>/etc/security/limits.conf
echo "oracle hard nproc 16384" >>/etc/security/limits.conf
echo "oracle soft nofile 1024" >>/etc/security/limits.conf
echo "oracle hard nofile 65536" >> /etc/security/limits.conf
echo "oracle soft stack 10240" >>/etc/security/limits.conf
#
echo "export ORACLE_BASE=/opt/app/product" >>/opt/app/u01/.bash_profile
echo "export ORACLE_HOME=/opt/app/product/software" >>/opt/app/u01/.bash_profile
echo "export ORACLE_SID=keyman" >>/opt/app/u01/.bash_profile
echo "PATH=$PATH:$ORACLE_HOME/bin">>/opt/app/u01/.bash_profile
#
chown oracle:oinstall /opt/*
注意:以上可以写在一个脚本内,一次性执行完毕。
完成以上以后,重启到oracle桌面用户,解压2个oracle的文件

#unzip linux.x64_11gR2_database_1of2
#unzip linux.x64_11gR2_database_2of2
在完成以上动作后,得到一个database的文件夹,进入到database里面:
#./runInstaller 执行里面这个文件
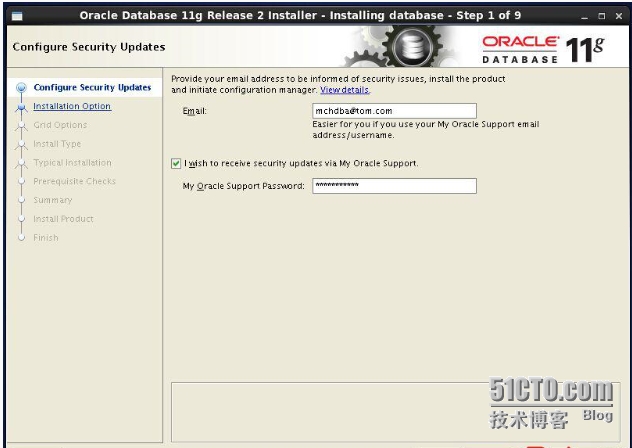
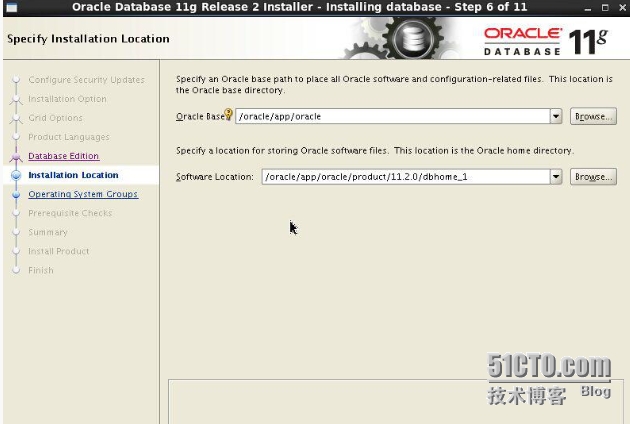
注意: 把Oracle Base: /opt/app/product
Software Location: /opt/app/product/software
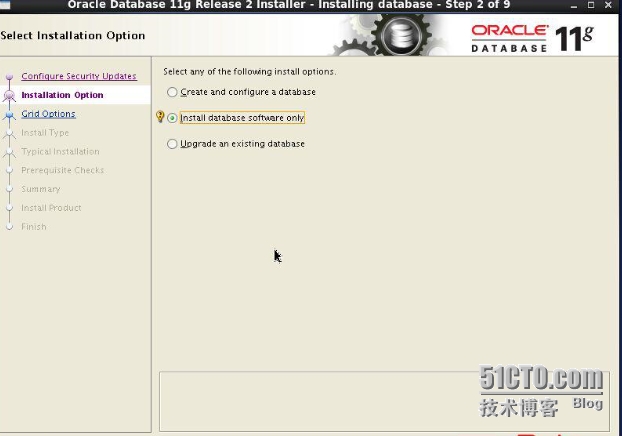
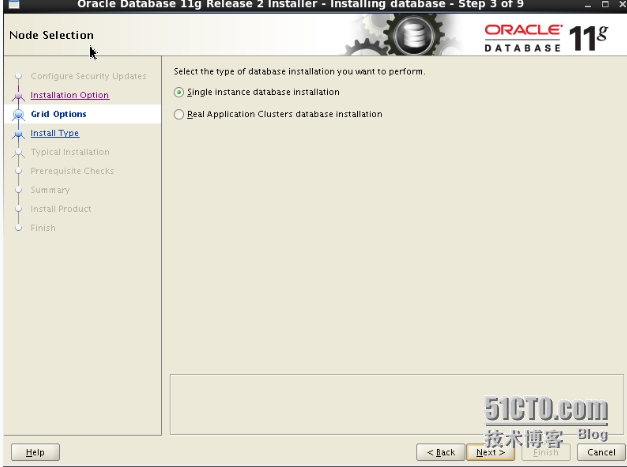
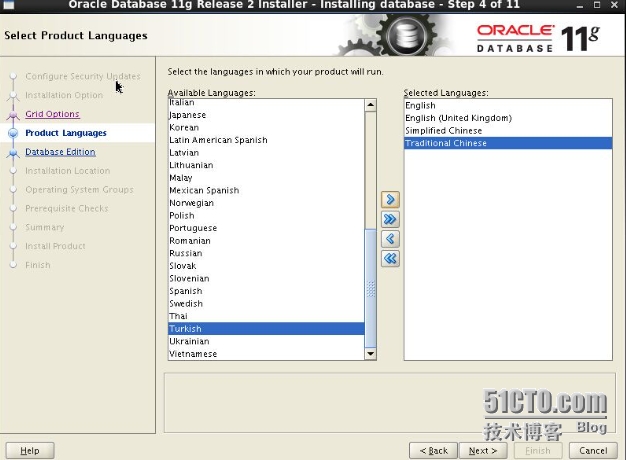
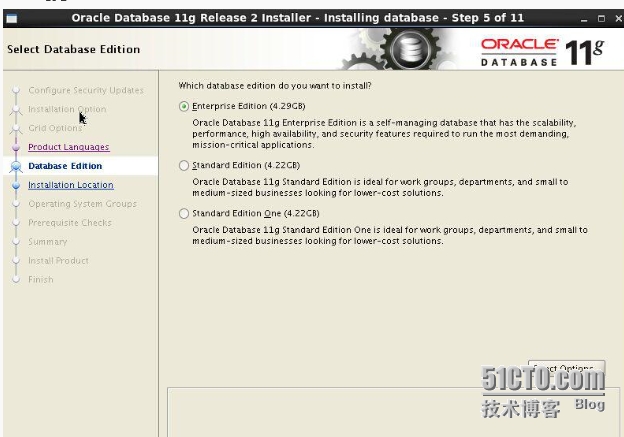
剩下的全部默认即可,下一步,下一步即可。
到了检查软件包的那一步,就ignore all,在前面的步骤中,我们已经全部安装了,
即使它还是说没有安装,不用管它,是版本不一样而已,其实已经安装了。
最后finished,结束,退出即可。
到目前,为止,歇一口气,我们只是把oracle软件安装上了,还没有安装oracle数据库和监听listener.
完成上述步骤,继续做:
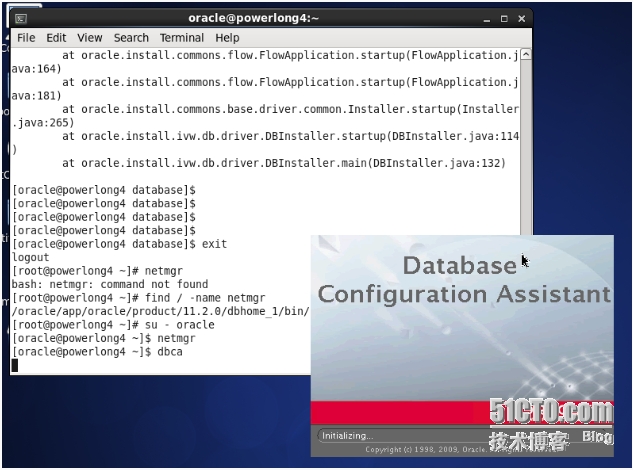
#netca 配置监听,一步一步做,全部默认。
完成之后:
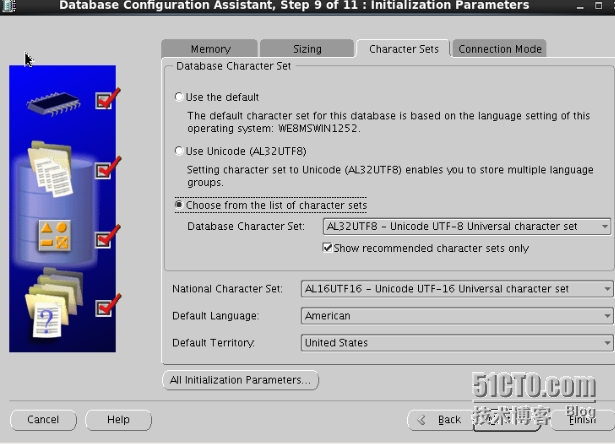
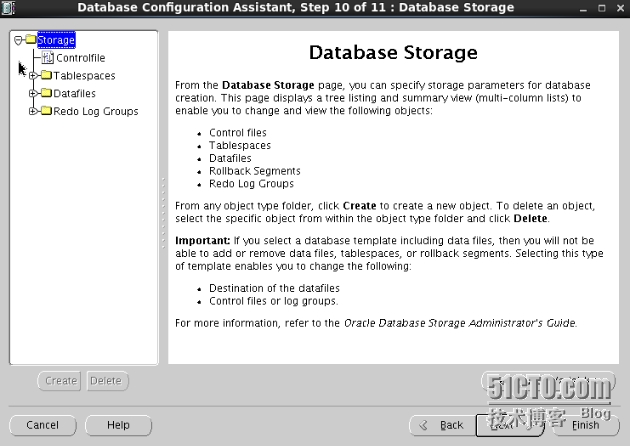
#dbca 配置数据库 ,如果这个命令不识别,那就/opt/app/product/software/bin/dbca就可以
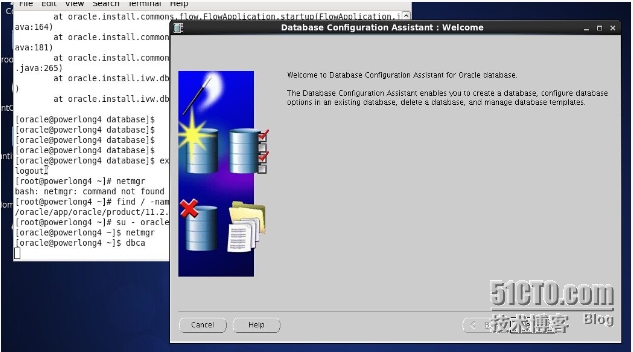
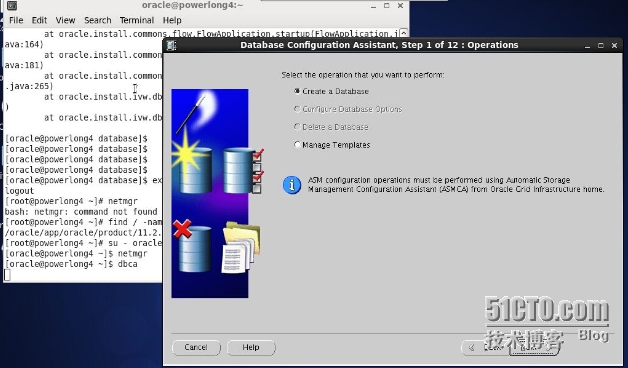
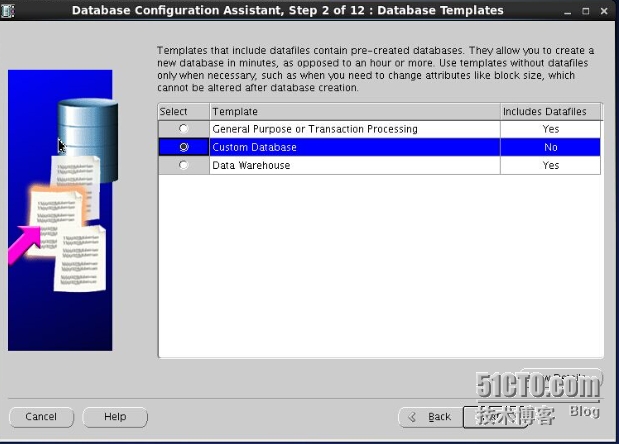
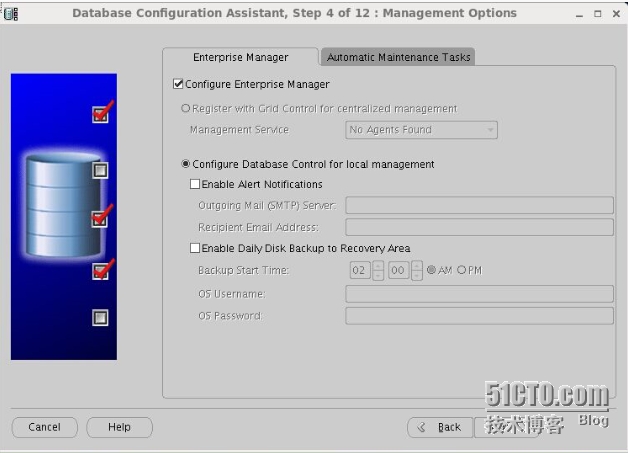
下一步,下一步的做就行,配置密码时,可以写123qweQWE,继续下一步。
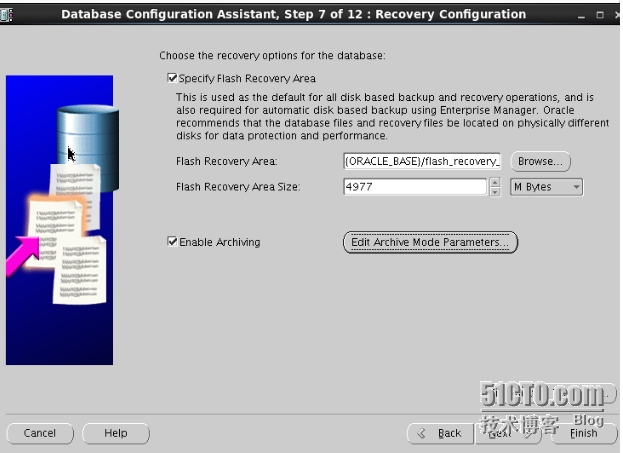
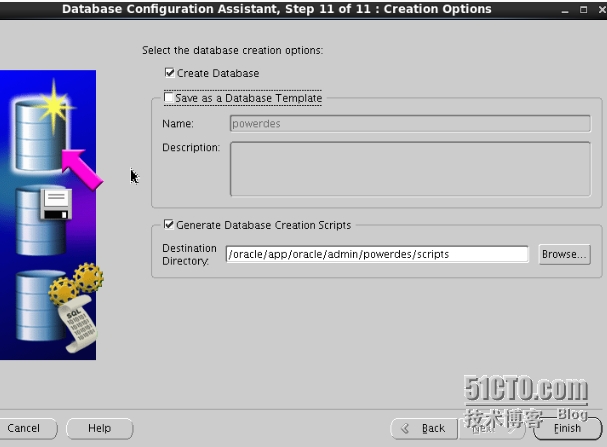
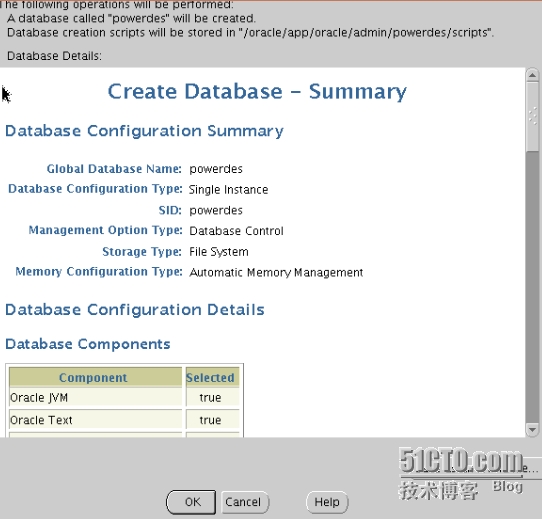
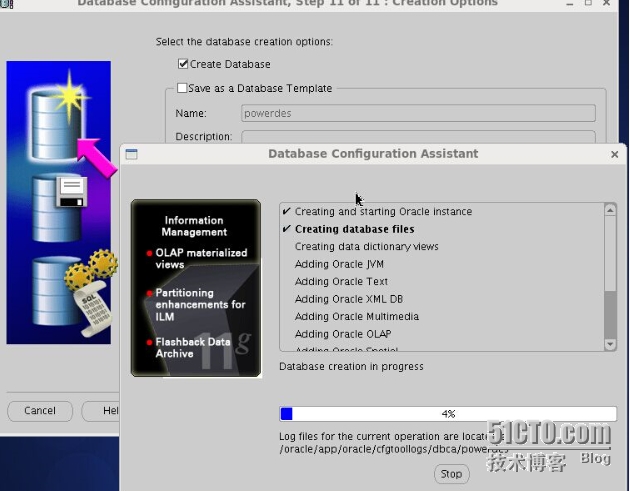
等待35之后,数据库完成,接下来测试一下:
简单验证
[oracle@powerlong4 ~]$ sqlplus "/ as sysdba"
SQL*Plus: Release 11.2.0.1.0 Production on Sat Jan 24 14:51:10 2015
Copyright (c) 1982, 2009, Oracle. All rights reserved.
Connected to:
Oracle Database 11g Enterprise Edition Release 11.2.0.1.0 - 64bit Production
With the Partitioning, OLAP, Data Mining and Real Application Testing options
SQL> create table z_test(id number,name varchar(20));
Table created.
SQL> insert into z_test select 1,'a' from dual;
1 row created.
SQL> select * from z_test;
ID NAME
---------- ----------------------------------------
1 a
SQL> commit;
Commit complete.
SQL> exit
Disconnected from Oracle Database 11g Enterprise Edition Release 11.2.0.1.0 - 64bit Production
With the Partitioning, OLAP, Data Mining and Real Application Testing options
[oracle@powerlong4 ~]$
(1) Linux localhost.localdomain 2.6.32-358.el6.x86_64 #1 SMP Tue Jan 29 11:47:41 EST 2013 x86_64 x86_64 x86_64 GNU/Linux
(2) 内存:2G
(3) 硬盘容量:30G
(4) 系统必须为有桌面
(5) YUM自己提前配好哦
(6) 如果在虚拟机上操作,提前先做镜像,在执行以下步骤之前。
步骤:
cat 1.txt
binutils gcc gcc-c++ gcc-32bit gcc43 gcc43-32bit glibc glibc-32bit glibc-devel glibc-devel-32bit ksh libaio libaio-devel libaio-devel-32bit libelf0 libelf1 libgcc43 libgcc43-32bit libstdc++33 libstdc++33-32bit libstdc++43 libstdc++43-32bit libstdc++43-devel libstdc++43-devel-32bit libstdc++-devel libgomp43-32bit make sysstat libcap unixODBC然后:执行脚本: sh install.sh
以下是脚本内容:
#!/bin/bash
for i in `cat 1.txt`;
do
yum install -y $i
done
#
groupadd oinstall
groupadd dba
#
mkdir -p /opt/app
useradd -g oinstall -G dba -d /opt/app/u01 oracle
#
sh mkdi.sh
#useradd -g oinstall -G dba -d /opt/app/u01 oracle
#
echo "123456"|passwd --stdin oracle
#
cp /etc/sysctl.conf /etc/sysctl.conf.bak
#
for i in `cat 2.txt`;
do
echo $? >> /etc/sysctl.conf
done
#
sysctl -p
#
cp /etc/security/limits.conf /etc/security/limits.conf.bak
#
echo "oracle soft nproc 2047" >>/etc/security/limits.conf
echo "oracle hard nproc 16384" >>/etc/security/limits.conf
echo "oracle soft nofile 1024" >>/etc/security/limits.conf
echo "oracle hard nofile 65536" >> /etc/security/limits.conf
echo "oracle soft stack 10240" >>/etc/security/limits.conf
#
echo "export ORACLE_BASE=/opt/app/product" >>/opt/app/u01/.bash_profile
echo "export ORACLE_HOME=/opt/app/product/software" >>/opt/app/u01/.bash_profile
echo "export ORACLE_SID=keyman" >>/opt/app/u01/.bash_profile
echo "PATH=$PATH:$ORACLE_HOME/bin">>/opt/app/u01/.bash_profile
#
chown oracle:oinstall /opt/*
注意:以上可以写在一个脚本内,一次性执行完毕。
完成以上以后,重启到oracle桌面用户,解压2个oracle的文件
#unzip linux.x64_11gR2_database_1of2
#unzip linux.x64_11gR2_database_2of2
在完成以上动作后,得到一个database的文件夹,进入到database里面:
#./runInstaller 执行里面这个文件
注意: 把Oracle Base: /opt/app/product
Software Location: /opt/app/product/software
剩下的全部默认即可,下一步,下一步即可。
到了检查软件包的那一步,就ignore all,在前面的步骤中,我们已经全部安装了,
即使它还是说没有安装,不用管它,是版本不一样而已,其实已经安装了。
最后finished,结束,退出即可。
到目前,为止,歇一口气,我们只是把oracle软件安装上了,还没有安装oracle数据库和监听listener.
完成上述步骤,继续做:
#netca 配置监听,一步一步做,全部默认。
完成之后:
#dbca 配置数据库 ,如果这个命令不识别,那就/opt/app/product/software/bin/dbca就可以
下一步,下一步的做就行,配置密码时,可以写123qweQWE,继续下一步。
等待35之后,数据库完成,接下来测试一下:
简单验证
[oracle@powerlong4 ~]$ sqlplus "/ as sysdba"
SQL*Plus: Release 11.2.0.1.0 Production on Sat Jan 24 14:51:10 2015
Copyright (c) 1982, 2009, Oracle. All rights reserved.
Connected to:
Oracle Database 11g Enterprise Edition Release 11.2.0.1.0 - 64bit Production
With the Partitioning, OLAP, Data Mining and Real Application Testing options
SQL> create table z_test(id number,name varchar(20));
Table created.
SQL> insert into z_test select 1,'a' from dual;
1 row created.
SQL> select * from z_test;
ID NAME
---------- ----------------------------------------
1 a
SQL> commit;
Commit complete.
SQL> exit
Disconnected from Oracle Database 11g Enterprise Edition Release 11.2.0.1.0 - 64bit Production
With the Partitioning, OLAP, Data Mining and Real Application Testing options
[oracle@powerlong4 ~]$

相关文章推荐
- Linux socket 初步
- linux lsof详解
- linux 文件权限
- Linux 执行数学运算
- 10 篇对初学者和专家都有用的 Linux 命令教程
- 基于 Red Hat 的发行版 Oracle Linux 正式发布Oracle Linux 7.1
- Linux 与 Windows 对UNICODE 的处理方式
- Ubuntu12.04下QQ完美走起啊!走起啊!有木有啊!
- 解決Linux下Android开发真机调试设备不被识别问题
- 运维入门
- 运维提升
- Linux 自检和 SystemTap
- Ubuntu Linux使用体验
- c语言实现hashmap(转载)
- Linux 信号signal处理机制
- linux下mysql添加用户
- Scientific Linux 5.5 图形安装教程
- XP下使用虚拟机安装配置Solaris[多图]
- Oracle Containers for J2EE远程安全漏洞(CVE-2014-0413)