IOS申请发布证书-图文详解
2015-06-02 16:56
295 查看
m
首先登陆https://developer.apple.com(99美元账号)
a.点击页面右上角
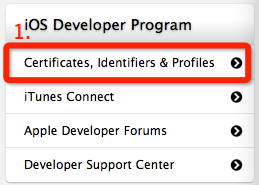
b.进入

c.选择证书类型 distribution,选择添加

d.点击+后,选择distribution->App Store and Ad Hoc,continue

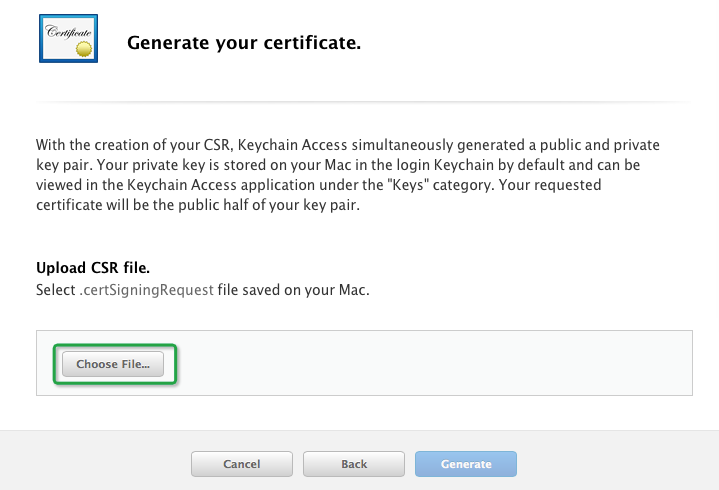
e.之后继续continue,会看到需要上传证书界面
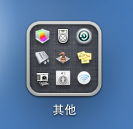
f.打开mac的钥匙串访问
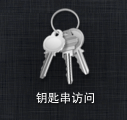
g.选择钥匙串的证书助理(有些可能是英文的)
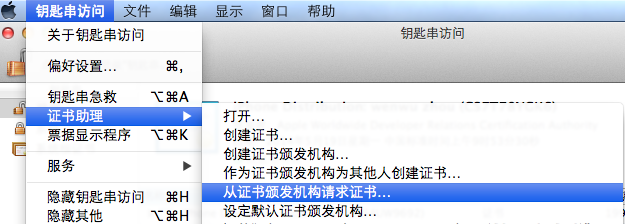
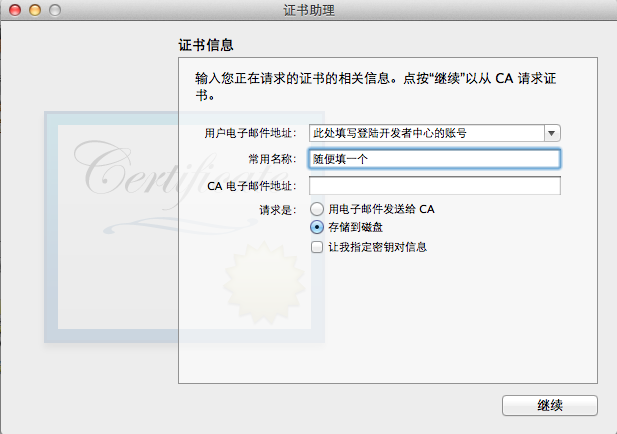
h.点击继续后存储证书,一般选择桌面(依据个人喜好)
i.在e的界面选择choose File将刚刚存储的证书上传。

j.下载证书,双击安装
k.生成证书对应的provision File

l.continue-选择App ID

PS:此处App ID选择自己原来建的,这个应该在真机调试之时就生成过。如果没有,到Identifiers->App IDs中新建一个
m.点击继续->然后选择刚刚新建的发布证书
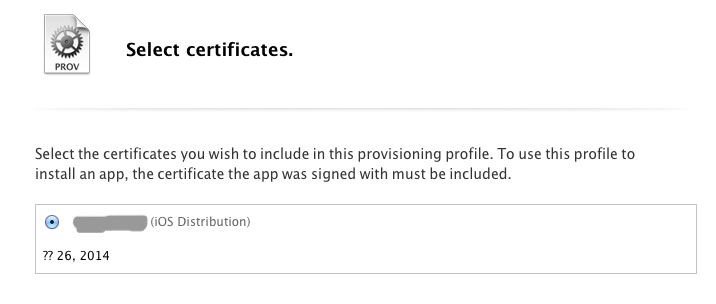
n.选择继续

PS:此处profile Name填写需与App ID 的后缀一致。如果为*则自定义一个。
o.点击生成后会在provision profiles 里看到你锁生成的profiles,选择type为distribution的那个下载下来,同样双击安装即可

发布证书就申请并安装完成了。
有什么问题欢迎大家指出
IOS申请发布证书-图文详解
摘要: 发布产品到App Store所需证书,2013年5月26亲测,真机调试证书与此类似,只需将证书类型换成开发就行了首先登陆https://developer.apple.com(99美元账号)
a.点击页面右上角
b.进入
c.选择证书类型 distribution,选择添加
d.点击+后,选择distribution->App Store and Ad Hoc,continue
e.之后继续continue,会看到需要上传证书界面
f.打开mac的钥匙串访问
g.选择钥匙串的证书助理(有些可能是英文的)
h.点击继续后存储证书,一般选择桌面(依据个人喜好)
i.在e的界面选择choose File将刚刚存储的证书上传。
j.下载证书,双击安装
k.生成证书对应的provision File
l.continue-选择App ID
PS:此处App ID选择自己原来建的,这个应该在真机调试之时就生成过。如果没有,到Identifiers->App IDs中新建一个
m.点击继续->然后选择刚刚新建的发布证书
n.选择继续
PS:此处profile Name填写需与App ID 的后缀一致。如果为*则自定义一个。
o.点击生成后会在provision profiles 里看到你锁生成的profiles,选择type为distribution的那个下载下来,同样双击安装即可
发布证书就申请并安装完成了。
有什么问题欢迎大家指出

相关文章推荐
- 从零开始系列之iOS地图获取当前城市
- iOS中如何通过instruments工具来找崩溃信息
- iOS 调试
- 最新版SDWebImage的使用
- ios代码行数
- 网易新闻iOS版使用的18个开源组件
- 关于ios
- iOS开发之版本控制(SVN)
- IOS 播放动态Gif图片
- IOS 播放动态Gif图片
- iOS开发之让你的应用“动”起来
- iOS 版本更新
- iOS程序在后台进行任务的方法
- 苹果要把Google Now装进iOS 9?
- [问题记录]'dismissModalViewControllerAnimated:' is deprecated: first deprecated in iOS 6.0
- [学习记录]判断设备是否IOS7
- iOS开发实战:如何将非ARC的项目转换成ARC项目
- ios
- iOS开发——播放系统音效、自定义音效
- iOS autolayout使用