RHEL5.6 64bit安装oracle 11gR2单节点数据库
2014-02-21 13:38
603 查看
一、前期准备
Redhat linux的安装比较简单,这里不做演示;
1、查看防火墙状态,若开启,则关闭防火墙;
# service iptables status
Firewall is stopped.
# service iptables stop(关闭防火墙)
2、查看selinux状态,若开启,则关闭selinux;
# getenforce
Disabled
# setenforce 0
#change /etc/sysconfig/selinux disabled (关闭selinux)
3、更改主机名,设置hosts解析;
# vi /etc/sysconfig/network
NETWORKING=yes
NETWORKING_IPV6=no
HOSTNAME=oracle
# vi /etc/hosts
127.0.0.1 localhost.localdomain localhost
::1 localhost6.localdomain6 localhost6
10.36.34.129 oracle
4、创建oracle用及oracle用户相关组;
# groupadd oinstall
# groupadd dba
# useradd -g oinstall -G dba oracle
# passwd oracle
5、创建oracle安装目录,拷贝安装文件到目录,解压并更改目录权限;
# mkdir -p /u01/app/oracle
# cp /tmp/linux.x64_11gR2_database_1of2.zip /u01/app
# cp /tmp/linux.x64_11gR2_database_2of2.zip /u01/app
# cd /u01/app
# unzip linux.x64_11gR2_database_1of2.zip
# unzip linux.x64_11gR2_database_2of2.zip
# chmod -R 775 /u01
# chown -R oracle:oinstall /u01
6、设置oracle用户环境变量;
# su - oracle
$ vi ~/.bash_profile
export PATH
export ORACLE_SID=orcl
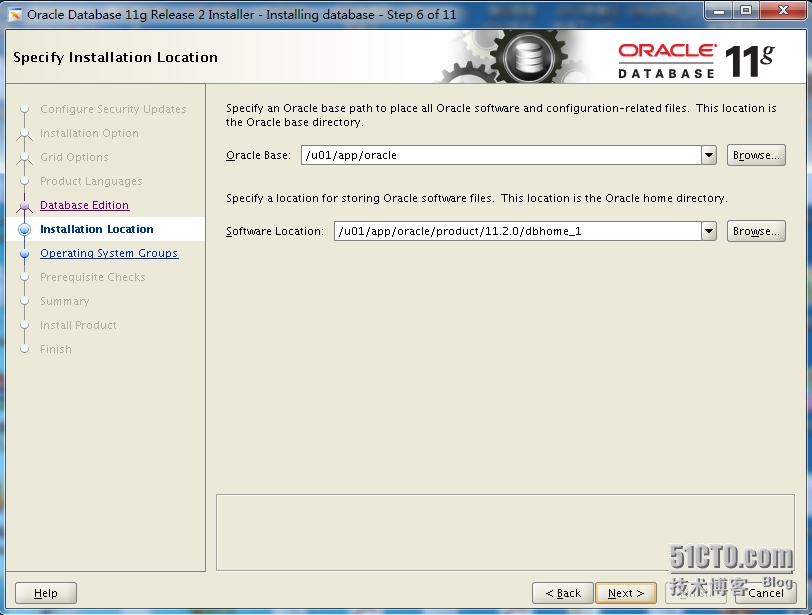
export ORACLE_BASE=/u01/app/oracle
export ORACLE_HOME=/u01/app/oracle/product/11.2.0/dbhome_1
export PATH=$ORACLE_HOME/bin:$PATH
$ source ~/.bash_profile
7、为oracle用户设定Shell的限制,修改limits.conf文件。Nofile可打开的文件描述符的最大数,nproc当个用户可用的最大进程数量;
# vi /etc/security/limits.conf
oracle soft nproc 2047
oracle hard nproc 16384
oracle soft nofile 1024
oracle hard nofile 65536
8、登陆验证,修改login文件;
# vi /etc/pam.d/login
session required /lib/security/pam_limits.so
session required pam_limits.so
9、修改oracle用户默认脚本,编辑/etc/profile文件;
# vi /etc/profile
if [ $USER = "oracle" ] ; then
if [ $SHELL = "/bin/ksh" ] ; then
ulimit -p 16384
ulimit -n 65536
else
ulimit -u 16384 -n 65536
fi
fi
10、修改系统内核参数;
# vi /etc/sysctl.conf
kernel.shmmni = 4096
kernel.sem = 250 32000 100 128
fs.file-max = 6815744
net.ipv4.ip_local_port_range = 9000 65500
net.core.rmem_default = 262144
net.core.wmem_default = 262144
net.core.rmem_max = 4194304
net.core.wmem_max = 1048576
fs.aio-max-nr = 1048576
# sysctl -p 生效
11、安装软件包;
检查一下软件包是否安装,未安装则安装
gcc-4.1.2
elfutils-libelf-devel-0.125
glibc-devel-2.5(x86_64)
glibc-devel-2.5(i386)
glibc-headers-2.5
gcc-c++-4.1.2
libaio-devel-0.3106(x86_64)
libaio-devel-0.3106(i386)
libstdc++-devel-4.1.2
sysstat-7.0.2
unixODBC-2.2.11(x86_64)
unixODBC-2.2.11(i386)
unixODBC-devel-2.2.11(x86_64)
unixODBC-2.2.11(i386)
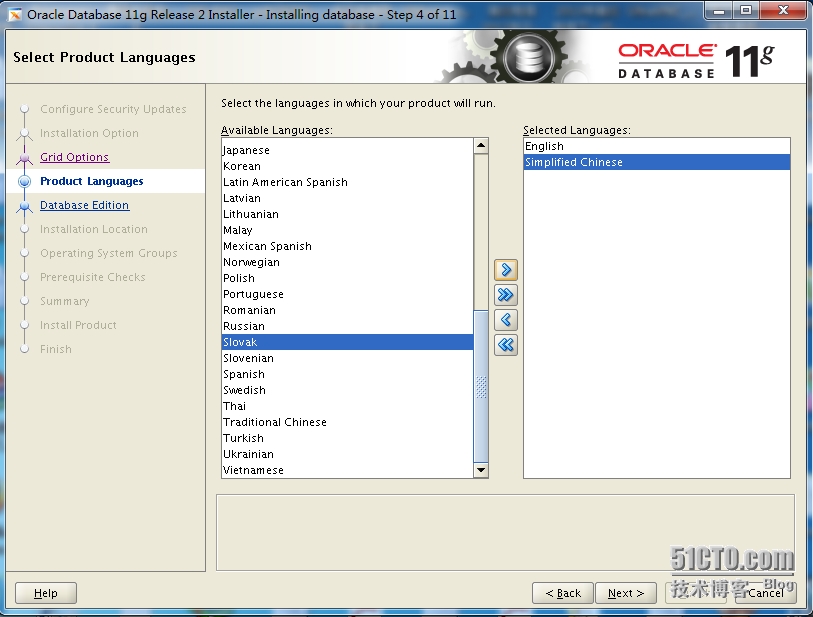
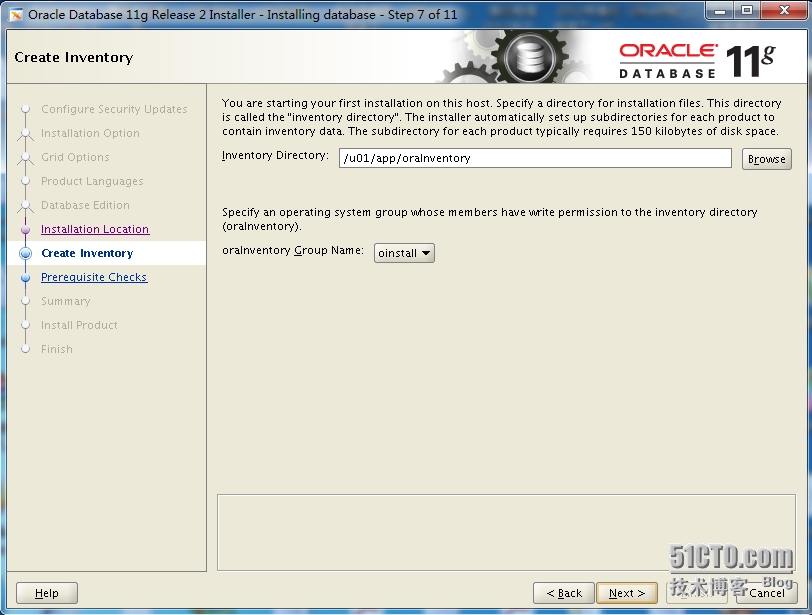
二、安装软件
切换至oracle用户,运行安装脚本
$ cd /u01/app/database/
$./runInstaller
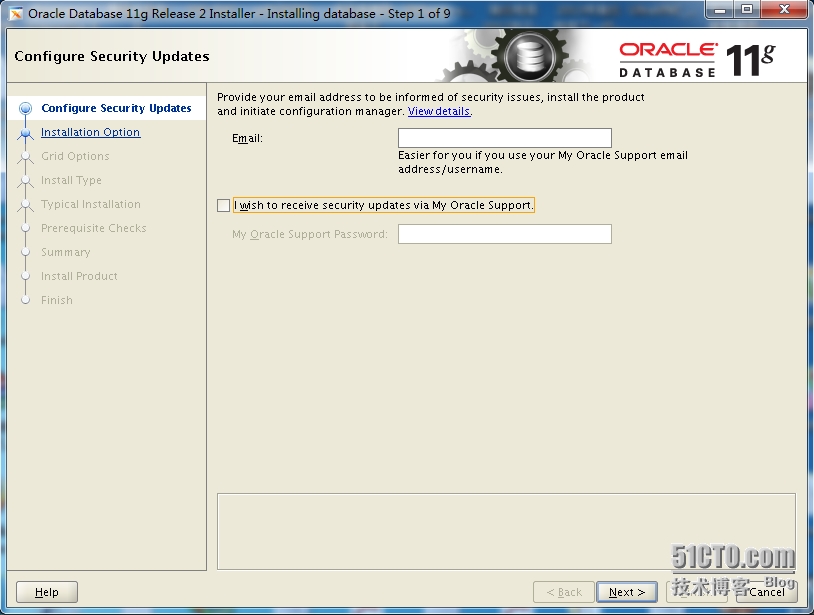


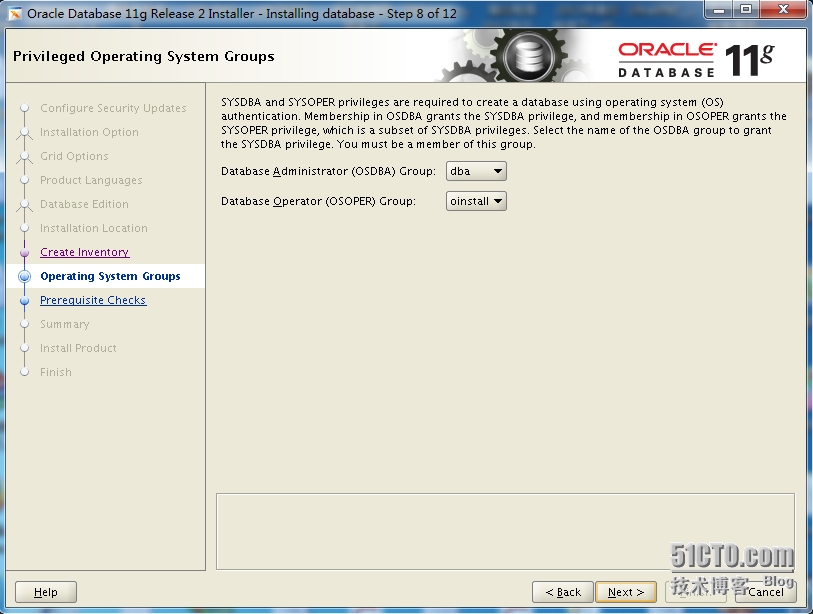
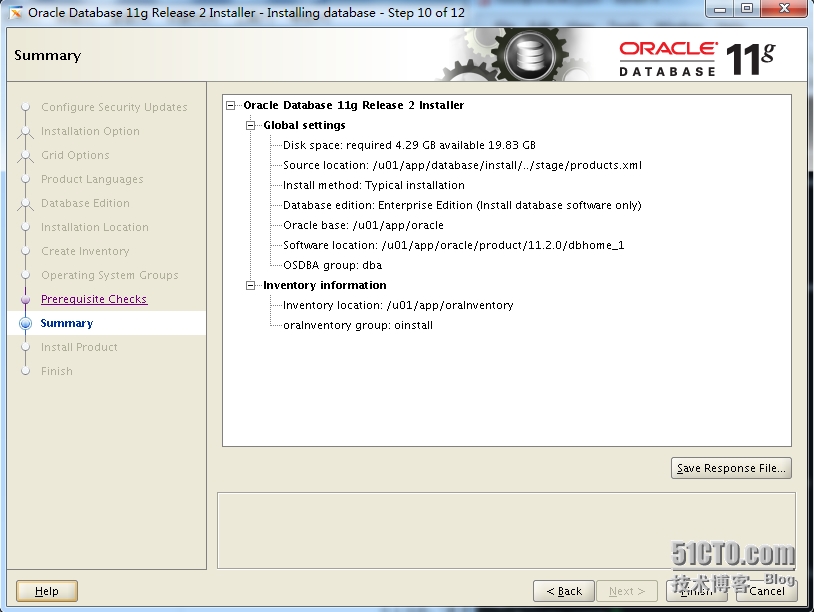
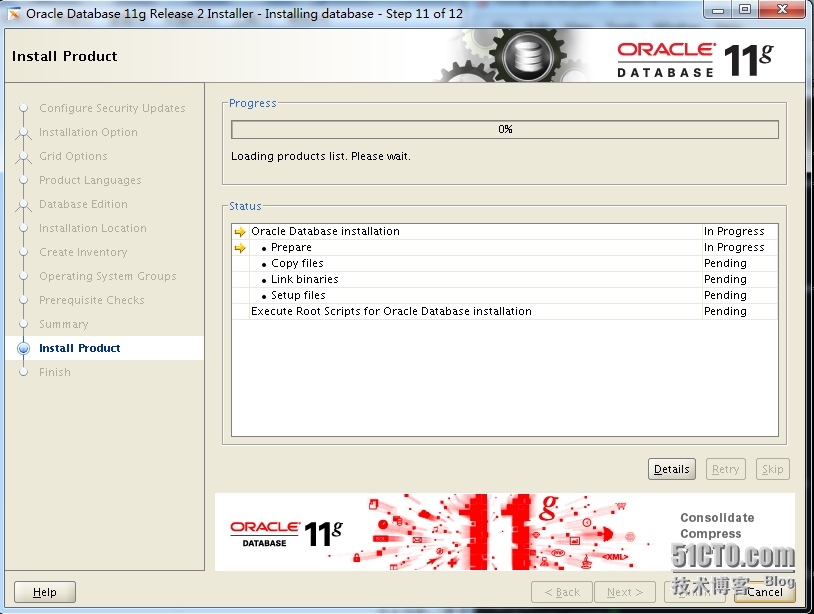
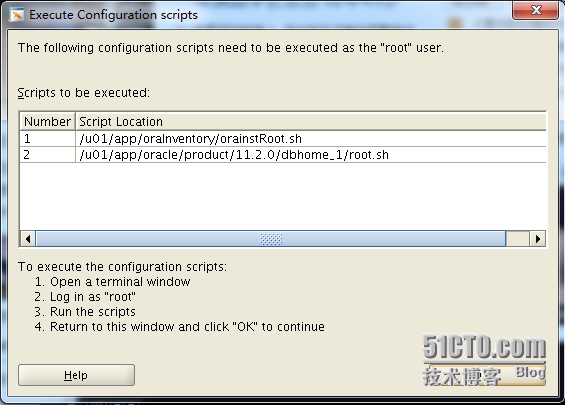


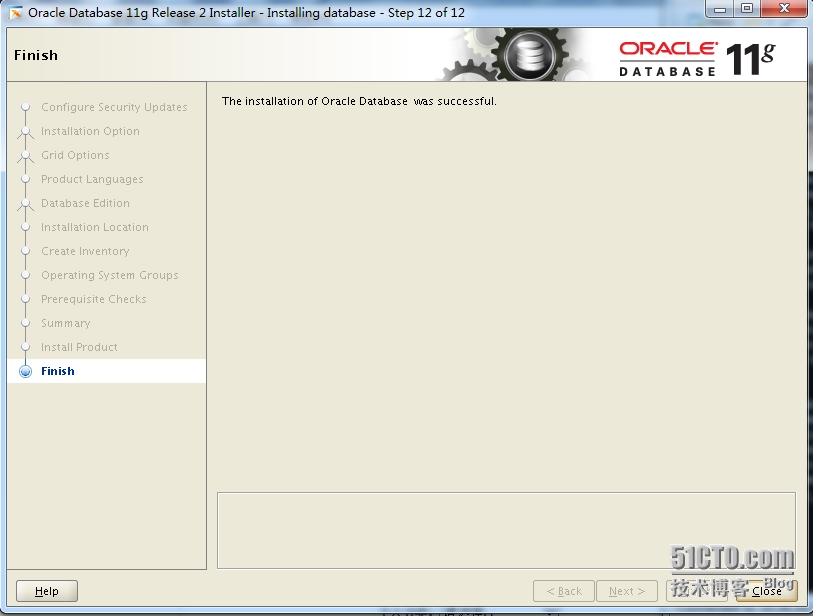
三、开启监听
$ netca
一路下一步创建默认监听
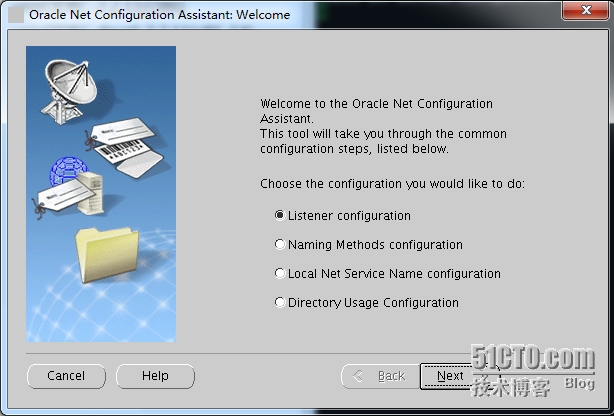
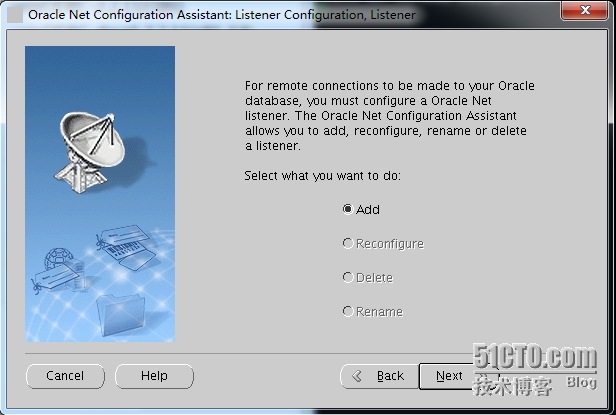
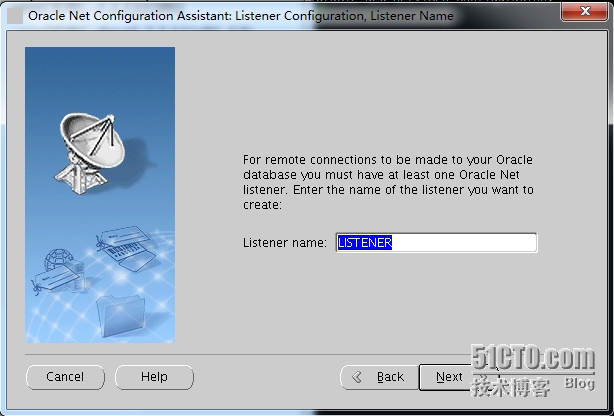

默认监听端口为1152,需要更改端口则选择use another port number

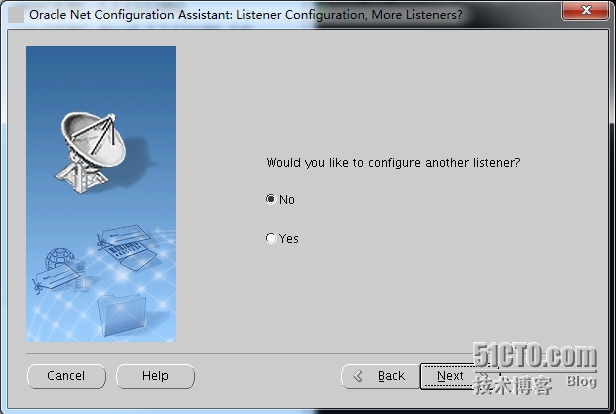
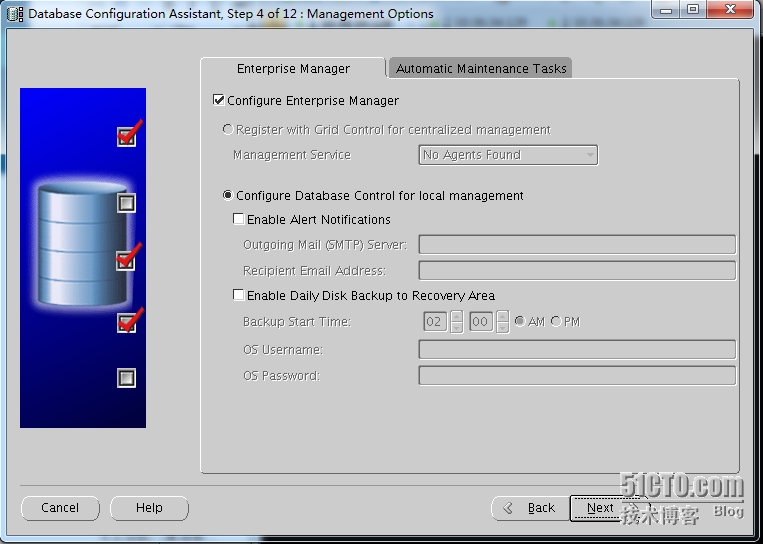
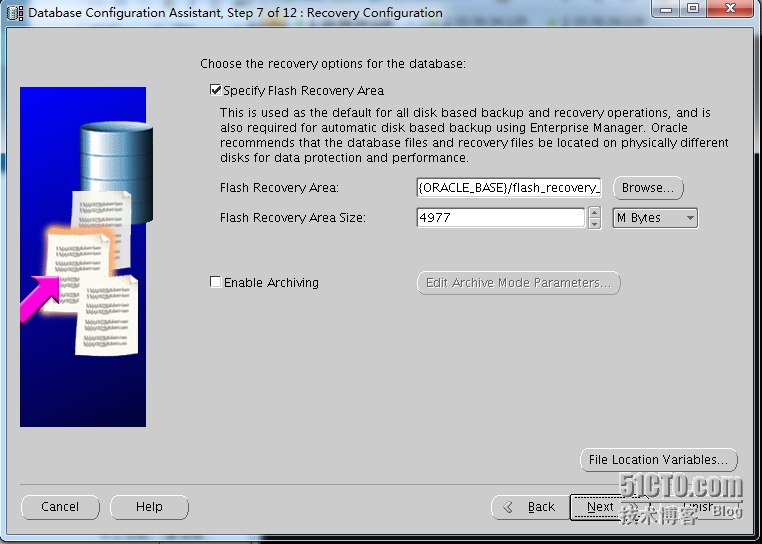
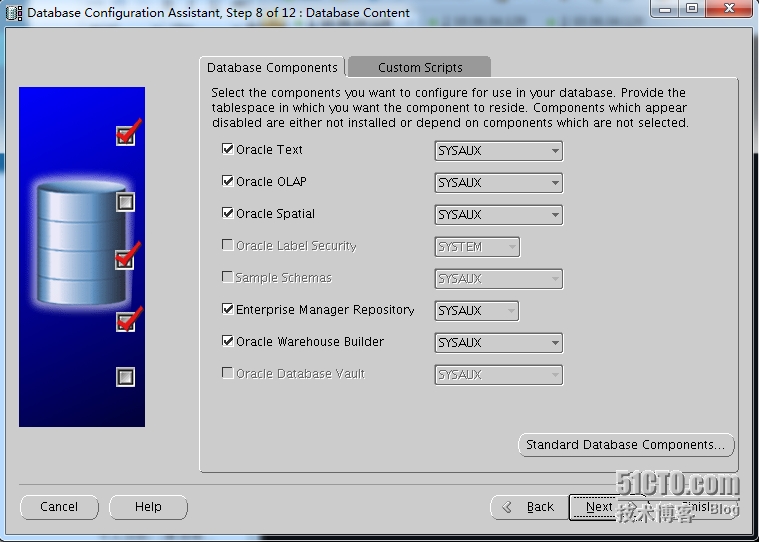
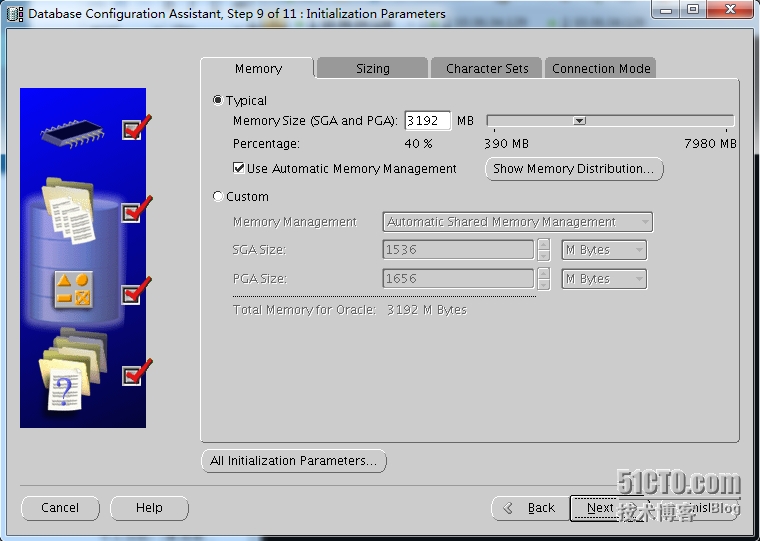
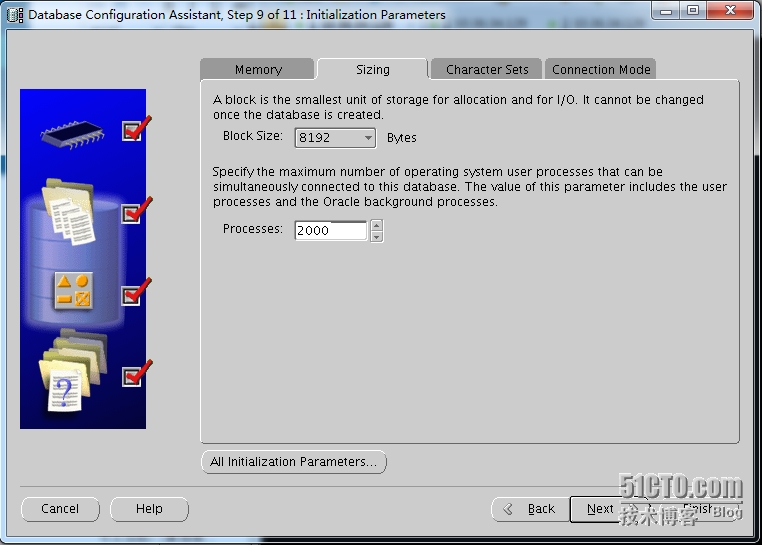
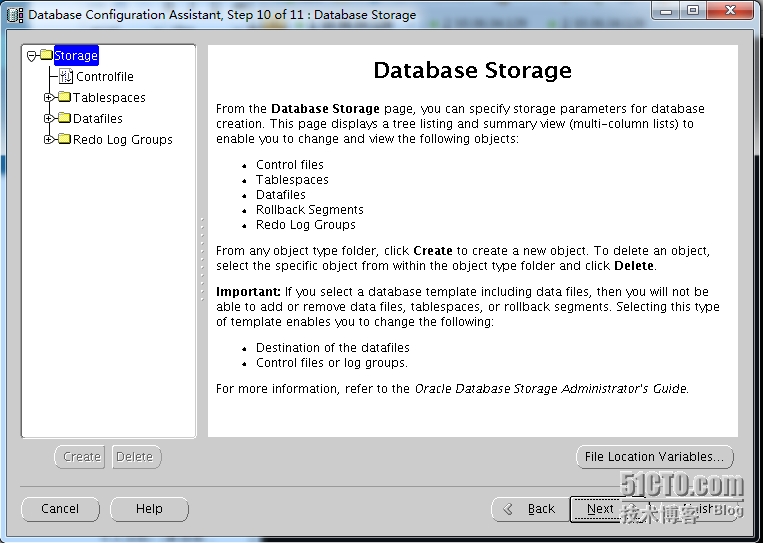
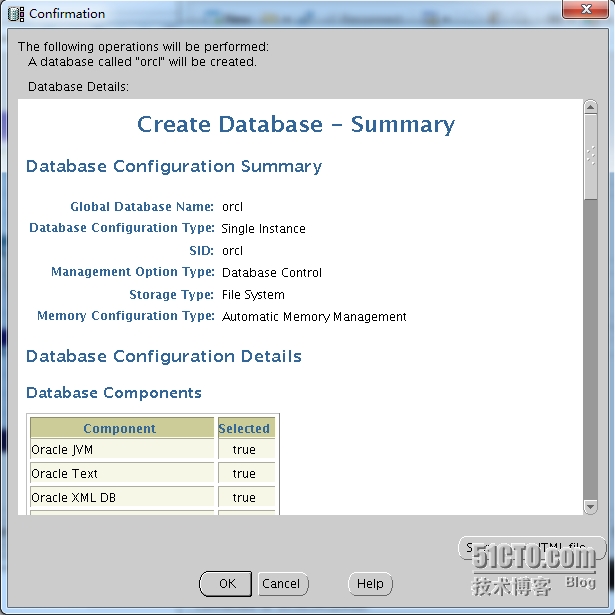
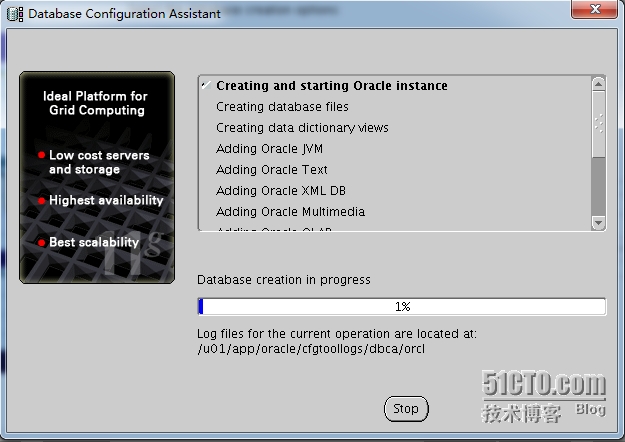
四、创建数据库
[oracle@oracle ~]$ dbca
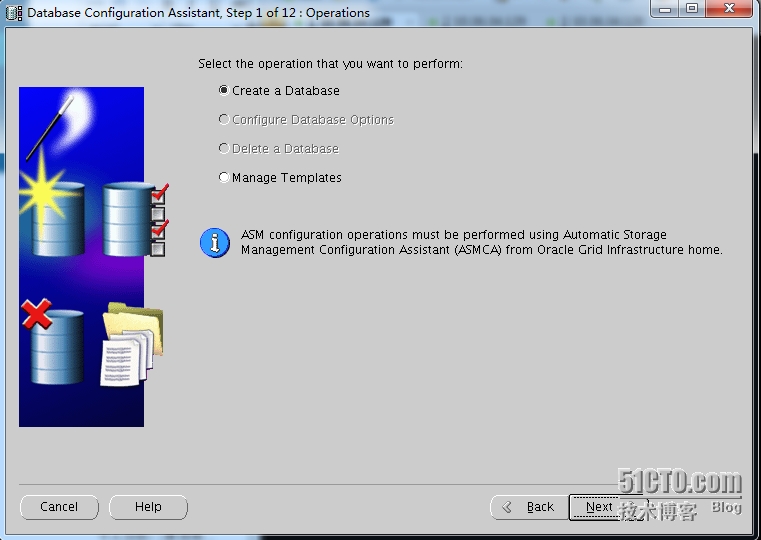
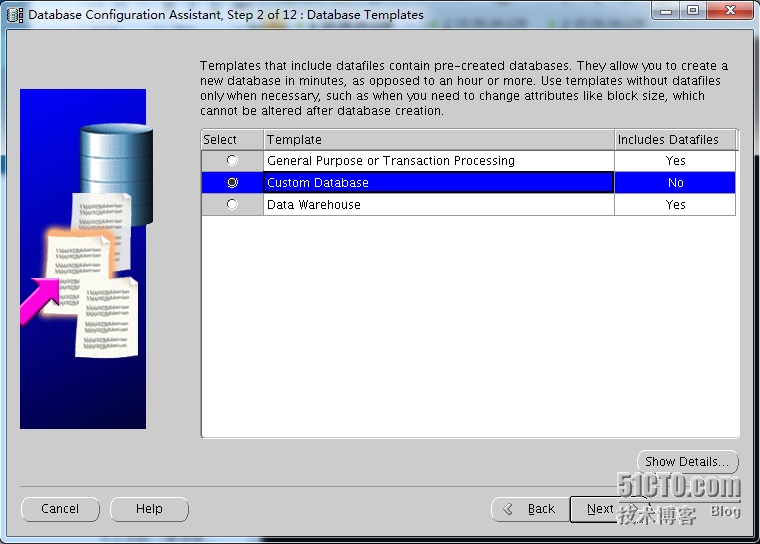
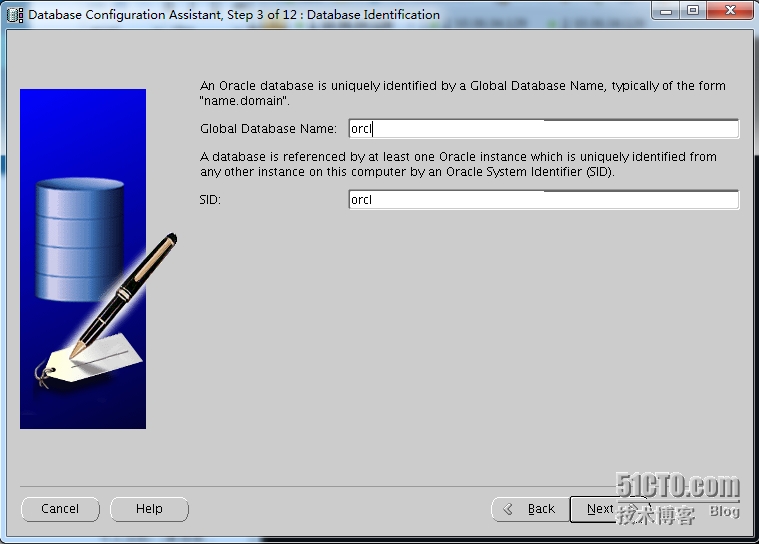


本文出自 “乔巴超人” 博客,请务必保留此出处http://chopper.blog.51cto.com/3946170/1361643
Redhat linux的安装比较简单,这里不做演示;
1、查看防火墙状态,若开启,则关闭防火墙;
# service iptables status
Firewall is stopped.
# service iptables stop(关闭防火墙)
2、查看selinux状态,若开启,则关闭selinux;
# getenforce
Disabled
# setenforce 0
#change /etc/sysconfig/selinux disabled (关闭selinux)
3、更改主机名,设置hosts解析;
# vi /etc/sysconfig/network
NETWORKING=yes
NETWORKING_IPV6=no
HOSTNAME=oracle
# vi /etc/hosts
127.0.0.1 localhost.localdomain localhost
::1 localhost6.localdomain6 localhost6
10.36.34.129 oracle
4、创建oracle用及oracle用户相关组;
# groupadd oinstall
# groupadd dba
# useradd -g oinstall -G dba oracle
# passwd oracle
5、创建oracle安装目录,拷贝安装文件到目录,解压并更改目录权限;
# mkdir -p /u01/app/oracle
# cp /tmp/linux.x64_11gR2_database_1of2.zip /u01/app
# cp /tmp/linux.x64_11gR2_database_2of2.zip /u01/app
# cd /u01/app
# unzip linux.x64_11gR2_database_1of2.zip
# unzip linux.x64_11gR2_database_2of2.zip
# chmod -R 775 /u01
# chown -R oracle:oinstall /u01
6、设置oracle用户环境变量;
# su - oracle
$ vi ~/.bash_profile
export PATH
export ORACLE_SID=orcl
export ORACLE_BASE=/u01/app/oracle
export ORACLE_HOME=/u01/app/oracle/product/11.2.0/dbhome_1
export PATH=$ORACLE_HOME/bin:$PATH
$ source ~/.bash_profile
7、为oracle用户设定Shell的限制,修改limits.conf文件。Nofile可打开的文件描述符的最大数,nproc当个用户可用的最大进程数量;
# vi /etc/security/limits.conf
oracle soft nproc 2047
oracle hard nproc 16384
oracle soft nofile 1024
oracle hard nofile 65536
8、登陆验证,修改login文件;
# vi /etc/pam.d/login
session required /lib/security/pam_limits.so
session required pam_limits.so
9、修改oracle用户默认脚本,编辑/etc/profile文件;
# vi /etc/profile
if [ $USER = "oracle" ] ; then
if [ $SHELL = "/bin/ksh" ] ; then
ulimit -p 16384
ulimit -n 65536
else
ulimit -u 16384 -n 65536
fi
fi
10、修改系统内核参数;
# vi /etc/sysctl.conf
kernel.shmmni = 4096
kernel.sem = 250 32000 100 128
fs.file-max = 6815744
net.ipv4.ip_local_port_range = 9000 65500
net.core.rmem_default = 262144
net.core.wmem_default = 262144
net.core.rmem_max = 4194304
net.core.wmem_max = 1048576
fs.aio-max-nr = 1048576
# sysctl -p 生效
11、安装软件包;
检查一下软件包是否安装,未安装则安装
gcc-4.1.2
elfutils-libelf-devel-0.125
glibc-devel-2.5(x86_64)
glibc-devel-2.5(i386)
glibc-headers-2.5
gcc-c++-4.1.2
libaio-devel-0.3106(x86_64)
libaio-devel-0.3106(i386)
libstdc++-devel-4.1.2
sysstat-7.0.2
unixODBC-2.2.11(x86_64)
unixODBC-2.2.11(i386)
unixODBC-devel-2.2.11(x86_64)
unixODBC-2.2.11(i386)
二、安装软件
切换至oracle用户,运行安装脚本
$ cd /u01/app/database/
$./runInstaller
三、开启监听
$ netca
一路下一步创建默认监听
默认监听端口为1152,需要更改端口则选择use another port number
四、创建数据库
[oracle@oracle ~]$ dbca
本文出自 “乔巴超人” 博客,请务必保留此出处http://chopper.blog.51cto.com/3946170/1361643

相关文章推荐
- RHEL 5.3 下单节点oracle 11G RAC的安装
- RHEL6 64位系统安装ORACLE 10g 64bit 数据库
- RHEL6.7 x64双节点安装Oracle 11g R2 RAC
- CentOS 5.6 上安装 Oracle 11g R2 单实例数据库详解
- 在 Rhel Linux 5.1 (32 位)上安装 Oracle ASM数据库 11g (第二部分)
- RHEL5下安装Oracle 11g 数据库系统
- rhel5.6下安装oracle 11g
- 在RHEL6.0 X64系统中安装oracle 11g数据库及安装后设置
- rhel 5.10下安装oracle 11g R1 启动数据库报错问题解决方法
- oracle 11g ASM单节点数据库安装grid执行root.sh脚本报错
- RedHat 5.6_x86_64 + ASM + RAW+ Oracle 10g RAC (九) 添加节点—安装数据库软件
- RHEL5.5_x64安装Oracle_11g_R2(用于vCenter数据库)-1
- RHEL5.5_x64安装Oracle_11g_R2(用于vCenter数据库)-2
- win7 64bit 安装oracle 11g R2 + plsql
- oracle 11g在安装过程中出现监听程序未启动或数据库服务未注册到该监听程序
- oracle 11g数据库的安装及服务讲解
- Oracle 11g数据库安装与卸载的方法图解
- Oracle 11g静默安装软件+手工创建数据库
- Rhel6.3下安装oracle 11g R2
- 基于RHEL 6.5安装Oracle 11g详细教程(4)——安装Oracle前的准备