Cocos2d瓦片地图的导入
2013-10-14 12:06
423 查看
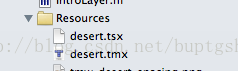
第一步:将生成的文件导入resource中,如图,分别为地图和图片集
第二步:在HelloWorldLayer.h中修改代码,有一定基础的人还是比较好理解的。
[objc] view
plaincopy
#import <GameKit/GameKit.h>
// When you import this file, you import all the cocos2d classes
#import "cocos2d.h"
// HelloWorldLayer
@interface HelloWorldLayer : CCLayer <GKAchievementViewControllerDelegate, GKLeaderboardViewControllerDelegate>
{
CCTMXTiledMap *tileMap;//地图文件
CCTMXLayer *background;//地图文件的一个层
}
@property(nonatomic,retain)CCTMXTiledMap *tileMap;//声明tileMap
@property(nonatomic,retain)CCTMXLayer *background;//声明background
// returns a CCScene that contains the HelloWorldLayer as the only child
+(CCScene *) scene;
@end
(注意:background是地图文件的图层
,有几个图层就要声明几个CCTMXLayer)
第三步:修改HelloWorldLayer.m文件
1)在implentation后加入
[objc] view
plaincopy
@synthesize tileMap;
@synthesize background;
2)在dealloc加入(应该是垃圾处理,因为object-c没有这种机制,要手动处理)
[objc] view
plaincopy
- (void) dealloc
{
self.tileMap=nil;
self.background=nil;
// in case you have something to dealloc, do it in this method
// in this particular example nothing needs to be released.
// cocos2d will automatically release all the children (Label)
// don't forget to call "super dealloc"
[super dealloc];
}
3)替换init
[objc] view
plaincopy
-(id) init
{
// always call "super" init
// Apple recommends to re-assign "self" with the "super's" return value
if( (self=[super init]) ) {
self.tileMap=[CCTMXTiledMap tiledMapWithTMXFile:@"desert.tmx"];//desert.tmx是导入资源名
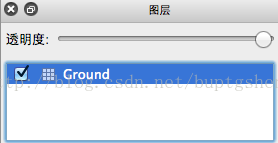
self.background=[tileMap layerNamed:@"Ground"];//Ground是图层名
[self addChild:tileMap z:-1];
}
return self;
}
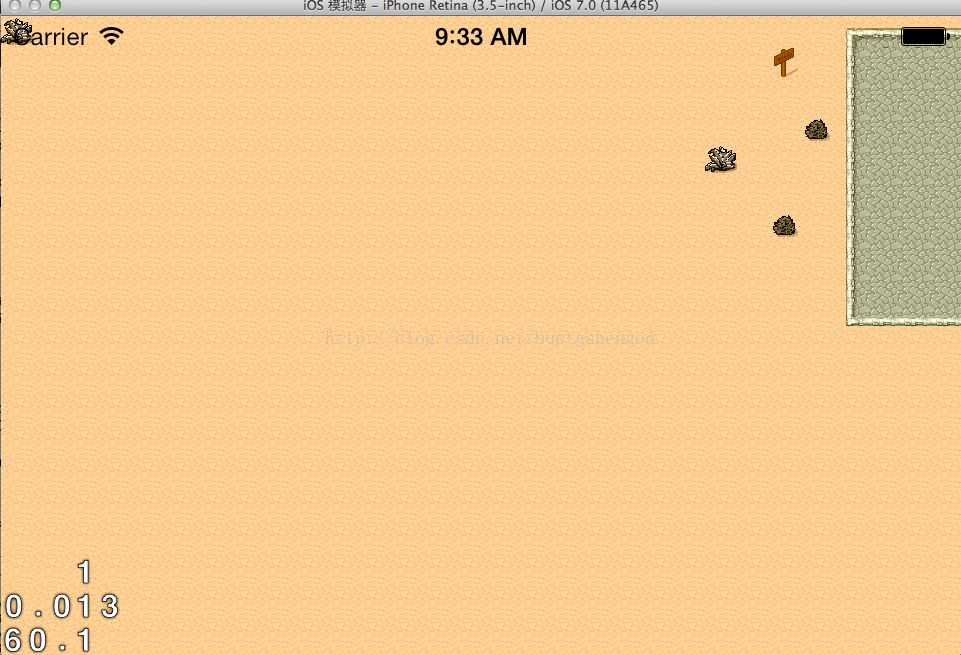
最后生成程序。如图
第二步:在HelloWorldLayer.h中修改代码,有一定基础的人还是比较好理解的。
[objc] view
plaincopy
#import <GameKit/GameKit.h>
// When you import this file, you import all the cocos2d classes
#import "cocos2d.h"
// HelloWorldLayer
@interface HelloWorldLayer : CCLayer <GKAchievementViewControllerDelegate, GKLeaderboardViewControllerDelegate>
{
CCTMXTiledMap *tileMap;//地图文件
CCTMXLayer *background;//地图文件的一个层
}
@property(nonatomic,retain)CCTMXTiledMap *tileMap;//声明tileMap
@property(nonatomic,retain)CCTMXLayer *background;//声明background
// returns a CCScene that contains the HelloWorldLayer as the only child
+(CCScene *) scene;
@end
(注意:background是地图文件的图层
,有几个图层就要声明几个CCTMXLayer)
第三步:修改HelloWorldLayer.m文件
1)在implentation后加入
[objc] view
plaincopy
@synthesize tileMap;
@synthesize background;
2)在dealloc加入(应该是垃圾处理,因为object-c没有这种机制,要手动处理)
[objc] view
plaincopy
- (void) dealloc
{
self.tileMap=nil;
self.background=nil;
// in case you have something to dealloc, do it in this method
// in this particular example nothing needs to be released.
// cocos2d will automatically release all the children (Label)
// don't forget to call "super dealloc"
[super dealloc];
}
3)替换init
[objc] view
plaincopy
-(id) init
{
// always call "super" init
// Apple recommends to re-assign "self" with the "super's" return value
if( (self=[super init]) ) {
self.tileMap=[CCTMXTiledMap tiledMapWithTMXFile:@"desert.tmx"];//desert.tmx是导入资源名
self.background=[tileMap layerNamed:@"Ground"];//Ground是图层名
[self addChild:tileMap z:-1];
}
return self;
}
最后生成程序。如图

相关文章推荐
- 【Cocosd2d实例教程三】Cocos2d瓦片地图的导入
- Cocos2d-X 瓦片地图使用的实例项目(包含碰撞检测,移动)
- 【爱上cocos2d-x之十八】Tiled瓦片地图编辑器的基本使用
- cocos2d from python 瓦片地图
- 跑酷类游戏------quick-Cocos2d-X lua添加瓦片地图、瓦片地图的移动以及碰撞检测
- 如何解决cocos2d-x显示瓦片地图黑线的问题
- cocos2d js 学习笔记之瓦片地图
- cocos2d-x 瓦片地图的黑线及地图抖动解决方案
- 「cocos2d-x」之直角瓦片地图学习
- [cocos2d-x]瓦片地图的应用
- cocos2d-x tile map瓦片地图的黑线及地图抖动解决方案
- Cocos2d-X研究之v3.x瓦片地图详解
- Cocos2d-x 3.x瓦片地图
- 解决Cocos2d-X显示瓦片地图黑线的问题
- cocos2d-x 基本概念 瓦片地图(Tiled Map)
- cocos2d-x 瓦片地图的黑线及地图抖动解决方案
- 「cocos2d-x」瓦片地图学习之地图滚动及触摸事件处理
- [cocos2d-x]瓦片地图的应用
- cocos2d-x 瓦片地图CCTMXTiledMap和图层类CCTMXLayer
- Cocos2d-X中使用瓦片地图《二》